June 9, 2018
Removing paint from a bike frame
Uncover the aluminium with chemicals and sanding paper
There is beauty in raw, unfinished material that is often hidden with superfluous layers of paint. I like things to be true to the nature of the material. My bike was painted black - not bad - but I wondered what it really looked like from a material point of view.
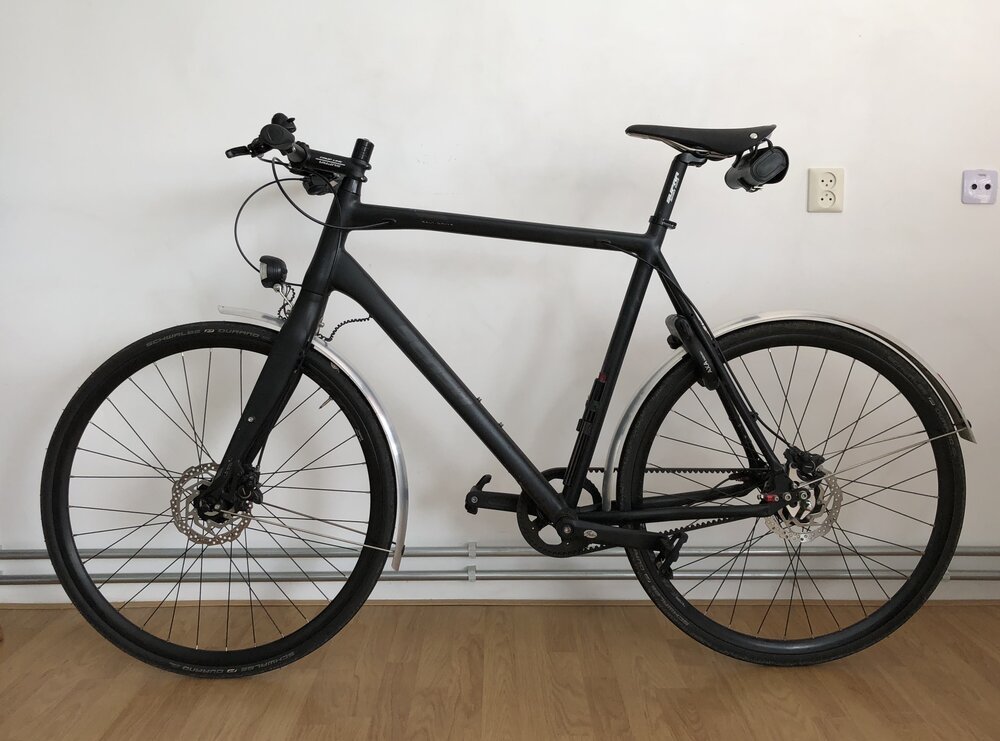
My bike is made from aluminium. That's a lightweight alloy that is resistant to corrosion. Well, technically it still corrodes; but during corrosion it forms a tiny layer of aluminium oxide that protects the material from corroding further (unlike iron that can rust away completely).
Warning
Obviously you'll void any warranty if you attempt anything like what I have done to my bike. It's irreversible, and you have a real chance to permanently damage your bike. Some of the chemicals I used are highly dangerous. Take all the necessary safety precautions. If you like the pure aluminium look, it's much safer and easier to buy an unpainted bike rather than to remove paint yourself.
Testing the chemical
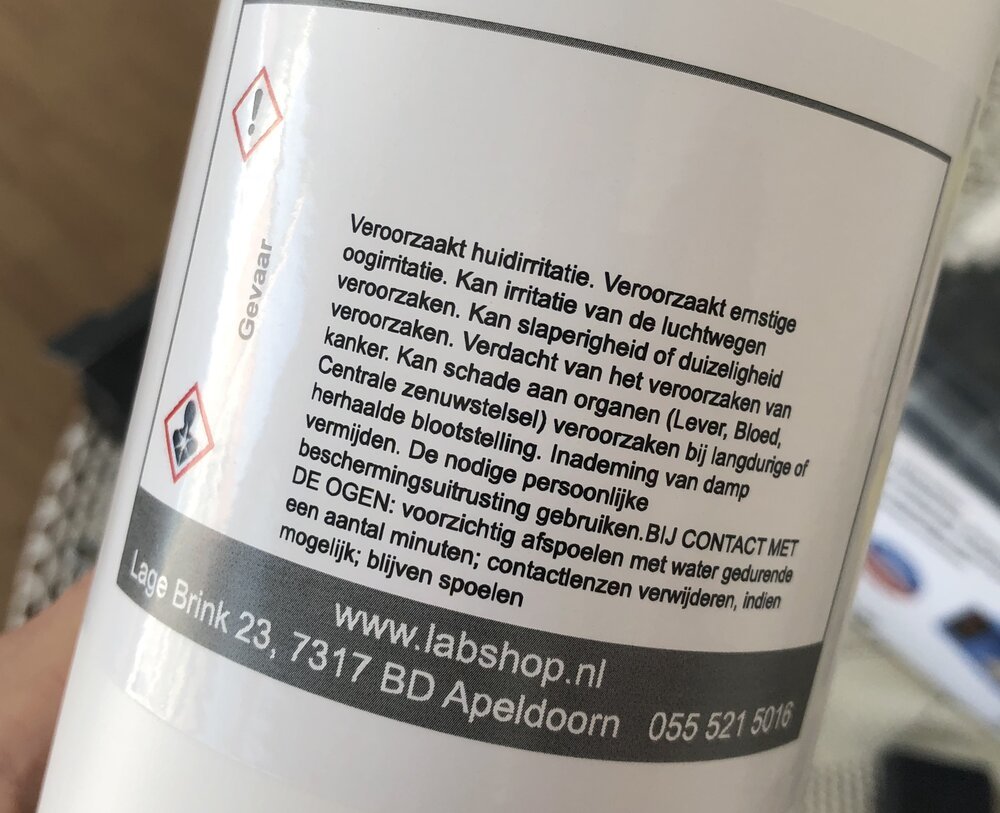
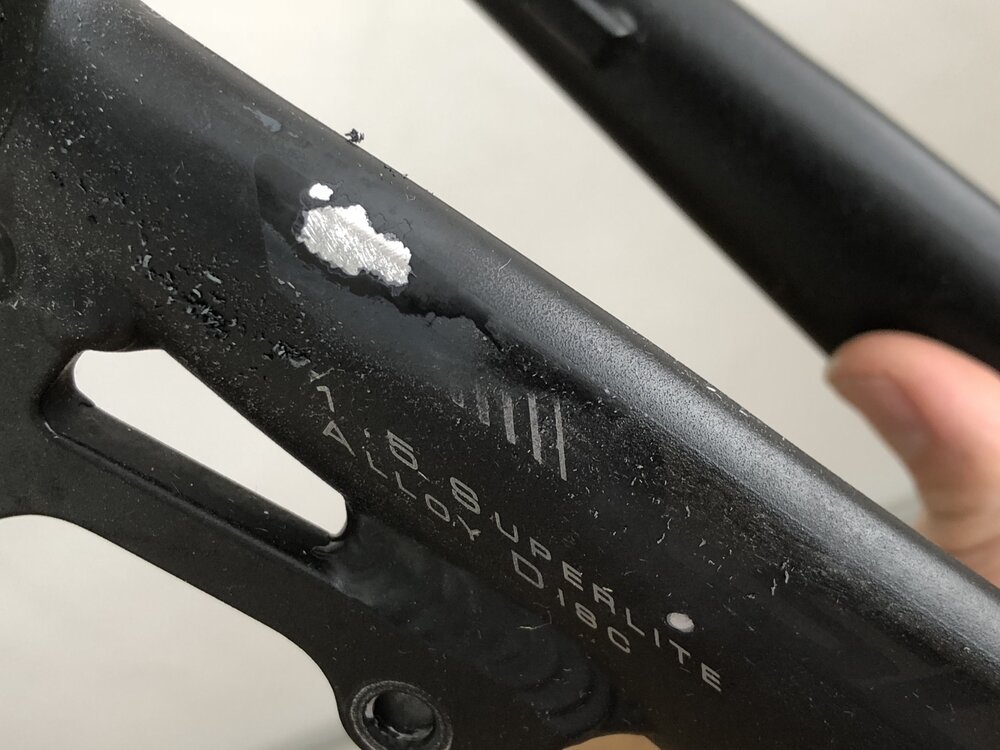
Before going in "all the way", I tested if the paint could be removed on a small spot on my bike. I used dichloromethane which is no longer allowed to be sold in regular shops - but using "the amazing internets", you'll probably be able to find it.
Keeping it wet
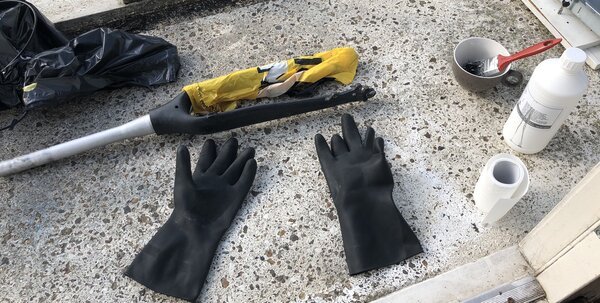
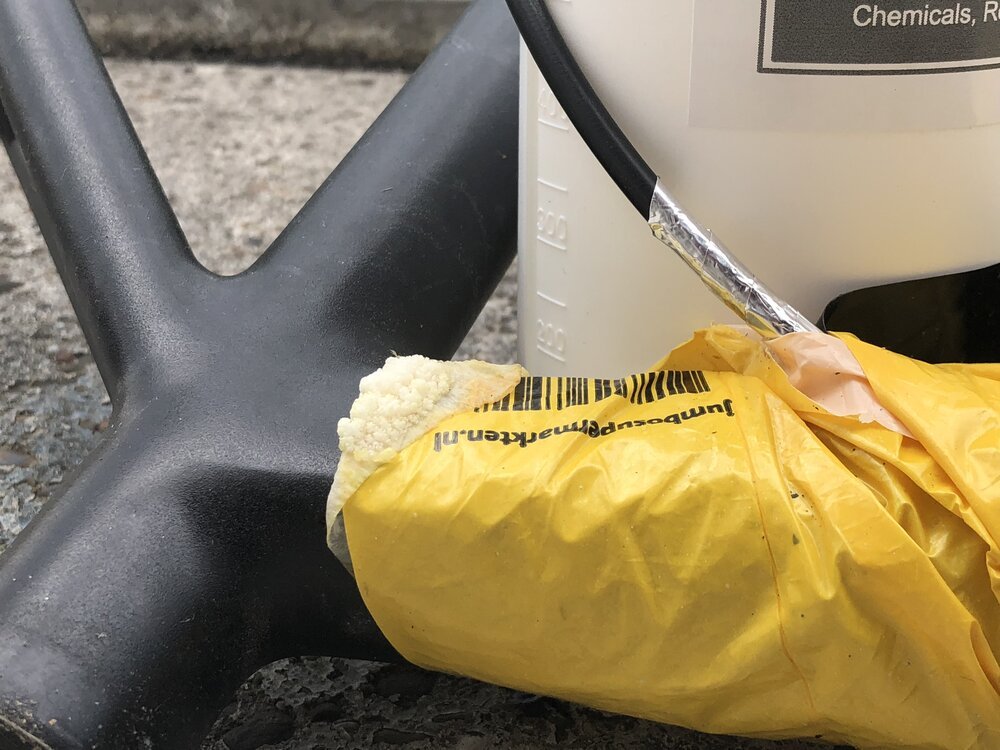
The problem with the paint removing chemical is that it evaporates quickly. To extend its working time you can "catch it" with some paper and a plastic bag. The painted surface will stay wet for a longer period of time, reducing the amount of chemical fluid you need to use.
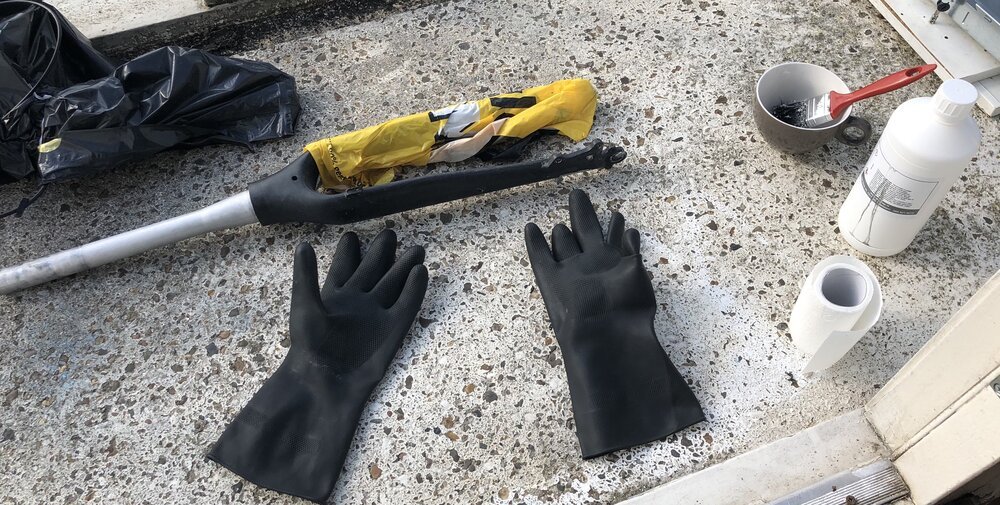
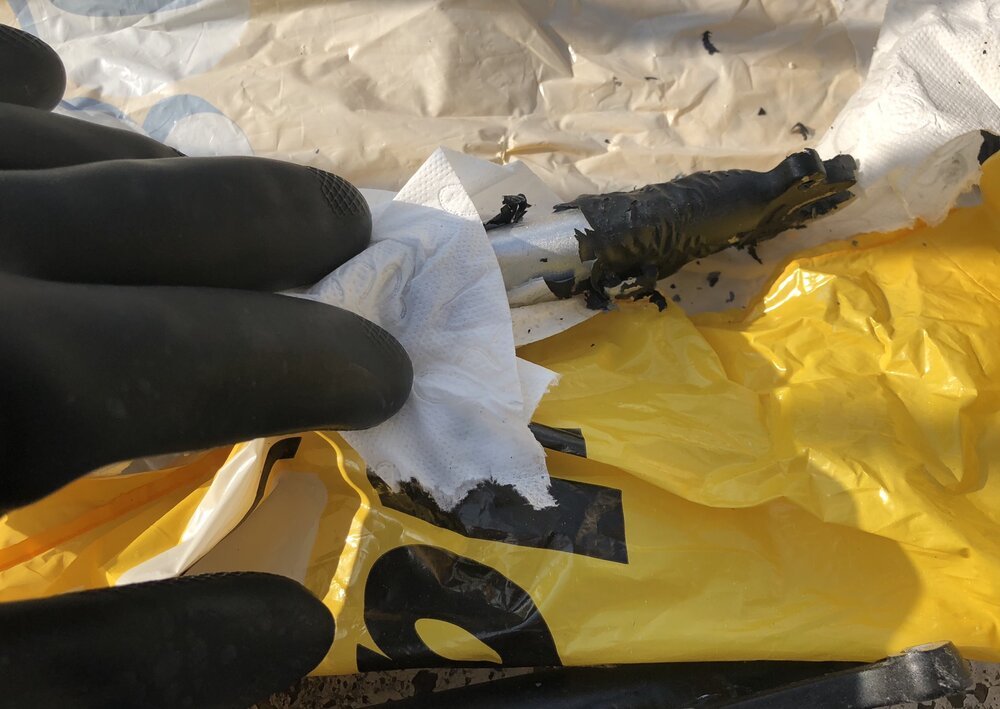
After about 15 minutes you can uncover the material to check if the paint is letting go. You can clearly see flocks of paint literally falling of the frame:
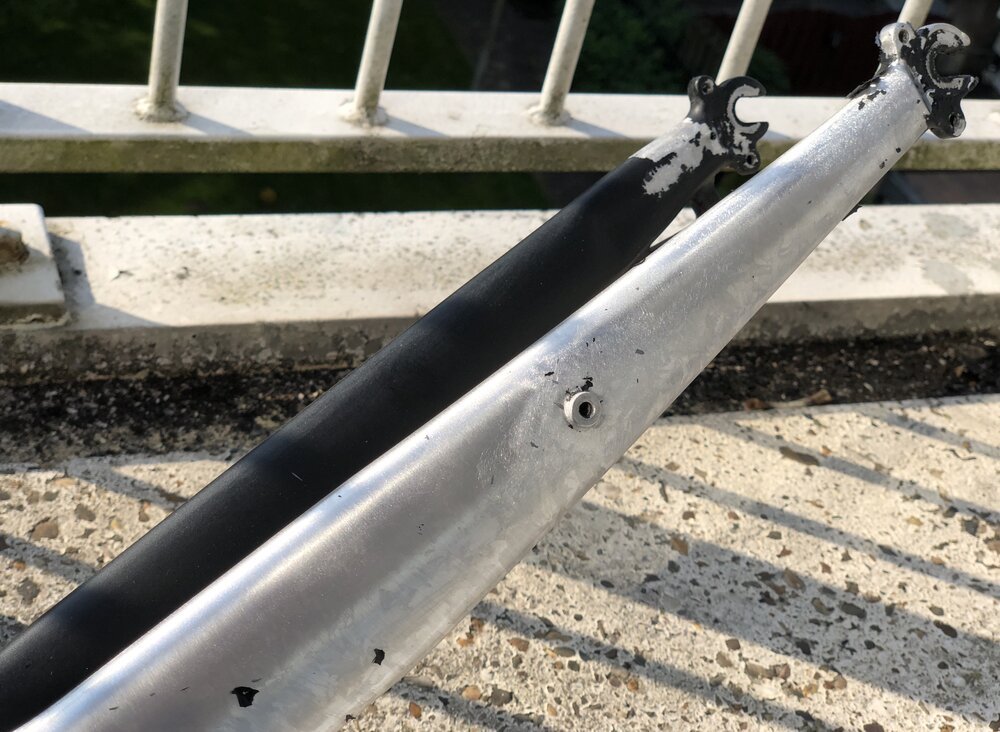
One thing I noticed directly is how badly the frame was sanded before painting. Uncovering the paint revealed the original finish of the material - including numerous scratches and rough finishing. I guess the frame builder never expected anybody to see...
Testing the look
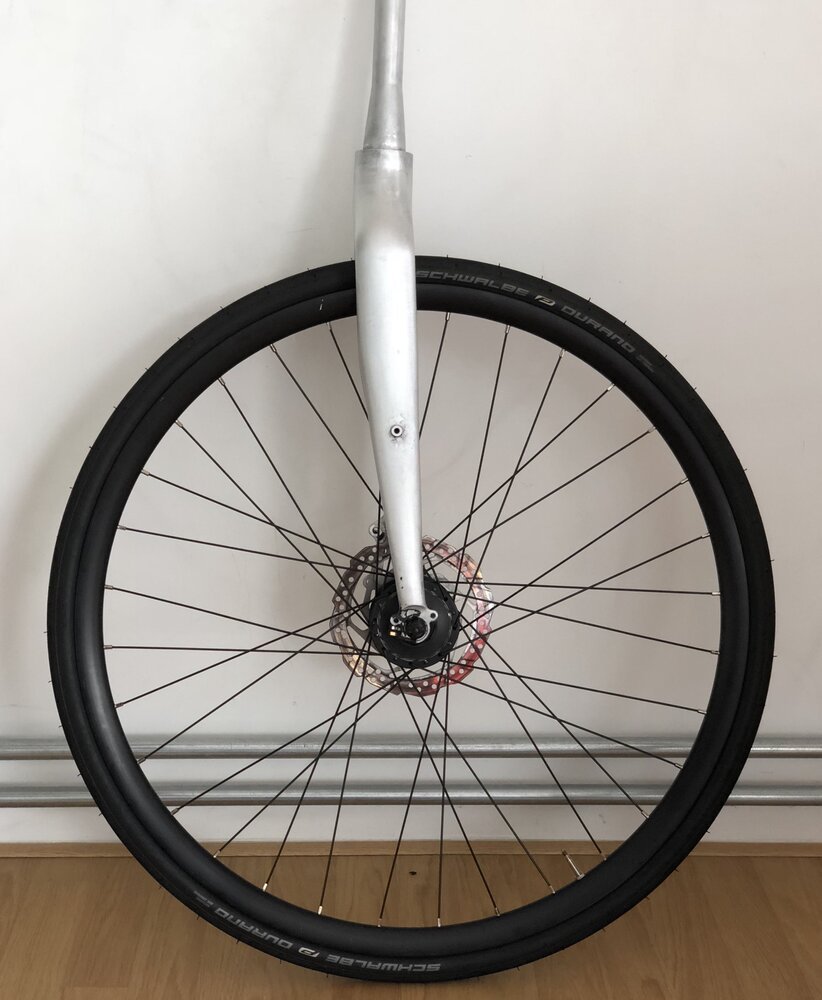
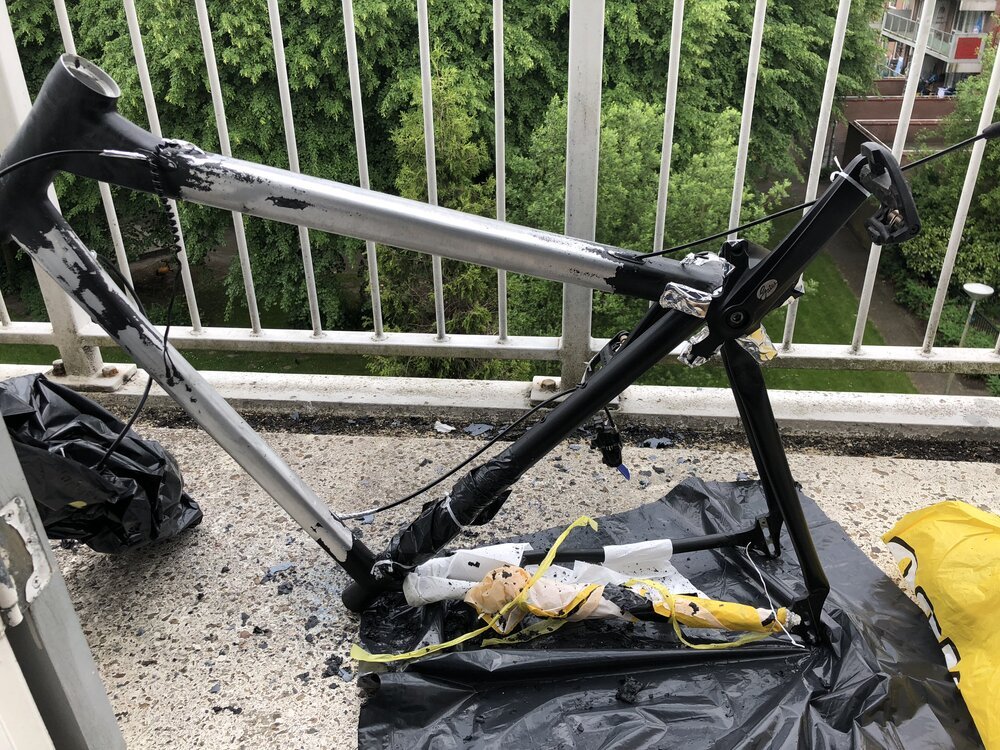
I first completed the front fork before moving on to the rest of the frame. This way I could still decide to go back to the original black look - I would only have to replace or restore the front fork.
The frame
Being satisfied with the new looks, I moved on to the frame. That is a lot of work, moving piece by piece at a time.
Finishing touch
Once you have removed most of the paint from the frame, you'll end up with parts of paint that keep stuck to the frame. I noticed this around aluminium welds.
Upon closer inspection, I noticed that the frame builder used some kind of filler to smoothen the welds. I used sanding paper to remove the filler.
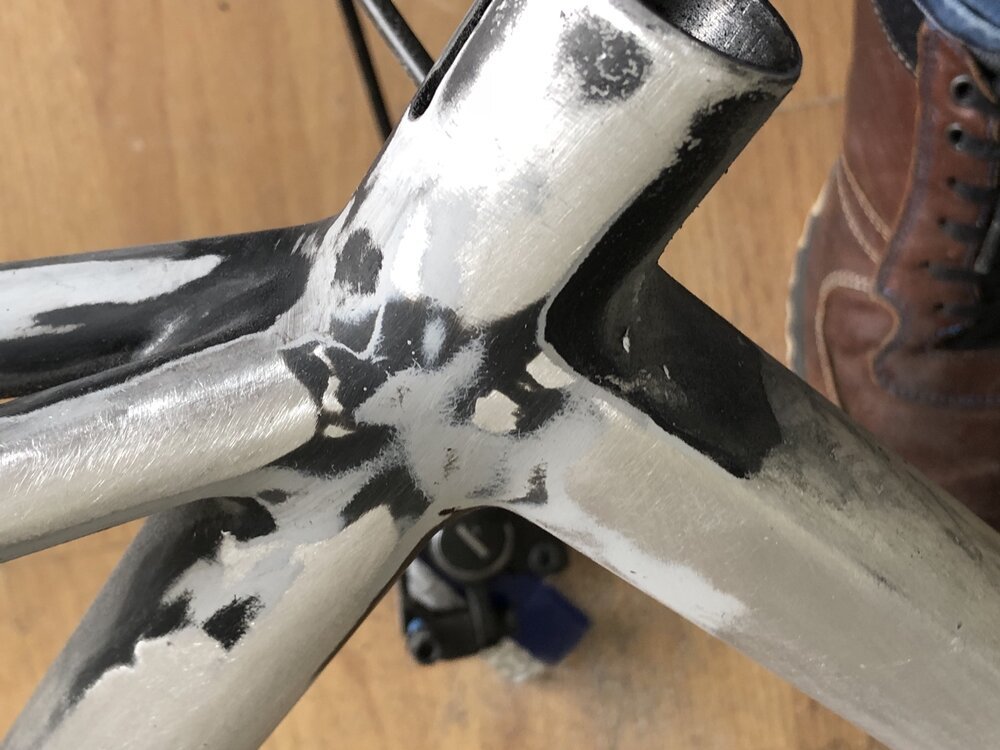
You can achieve different kind of aluminium finishes by using different kinds of sanding paper and brushes. I experimented with different kinds of paper and settled with a matte, raw, aluminium finish. Although you can perfectly polish the frame to become very shiny - I simply prefer the "Apple MacBook" kind of finish. It's a personal choice that you can perfectly make (and change) during the process.
Conclusion
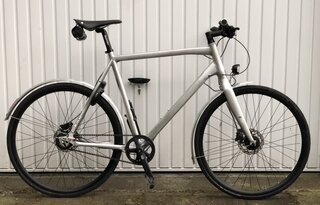
After uncovering the raw aluminium I ended up with a different kind of bike. While it's still the same machine, it - quite literally - feels different.
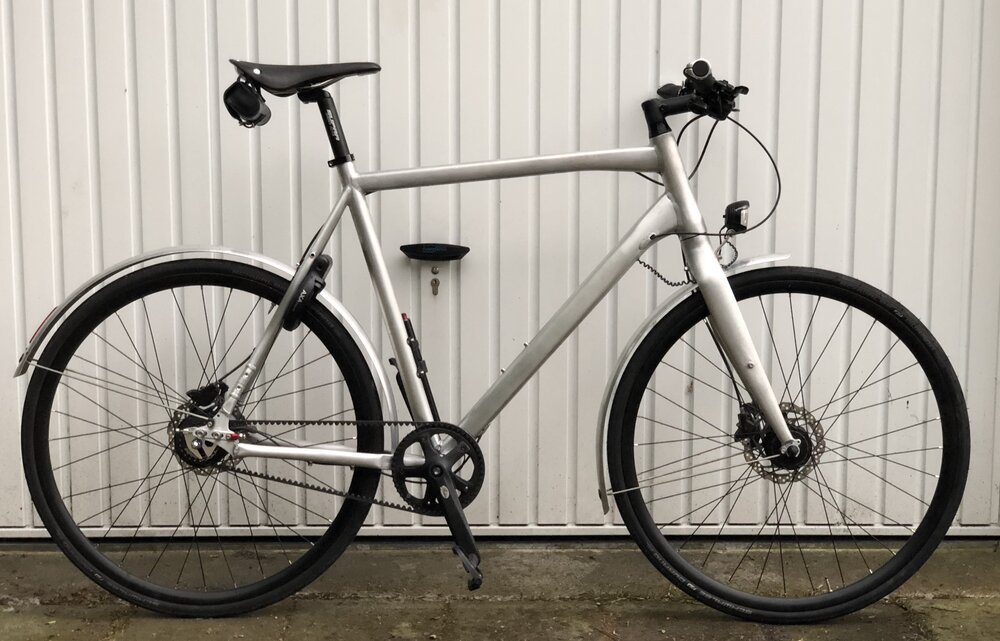
The frame feels colder due to the direct contact with the metal. As a bonus you'll learn to disassemble and reassemble all the parts of your bike.
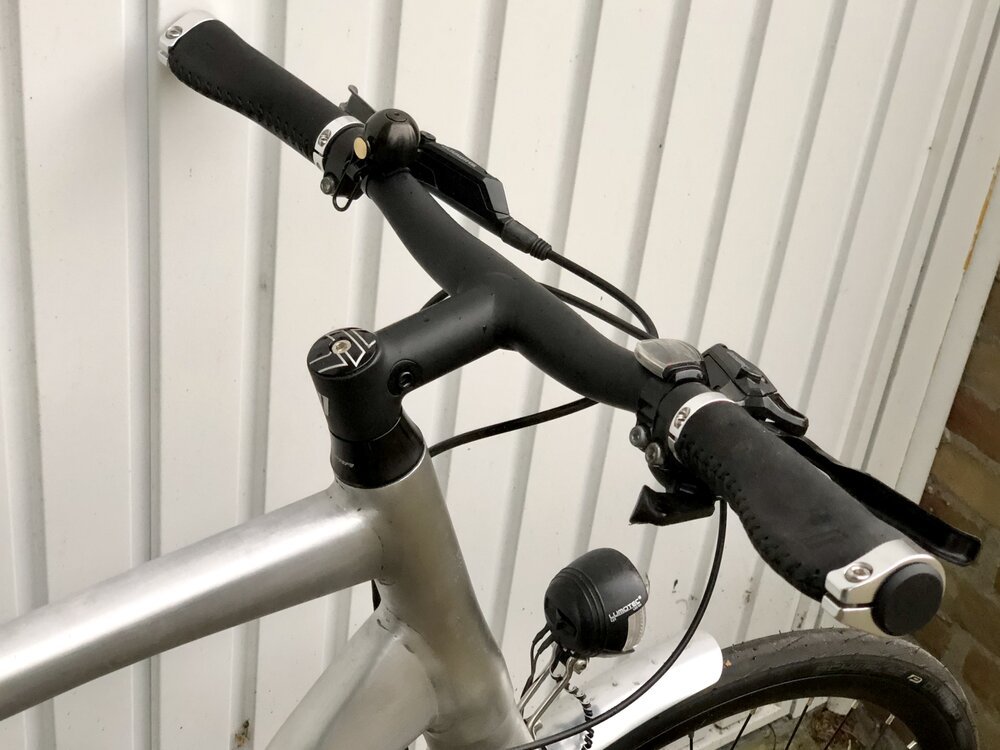
I am very happy with the results, but next time I definitely would consider buying an unpainted bike instead, like the ones from Schindelhauer. Happy riding!
Download
If you enjoy reading offline, this article is available for download:
Translations
This article is available in the following languages:
RSS / Atom
Grab one of the feeds to stay up to date, the feeds contain the full posts:
