June 2, 2018
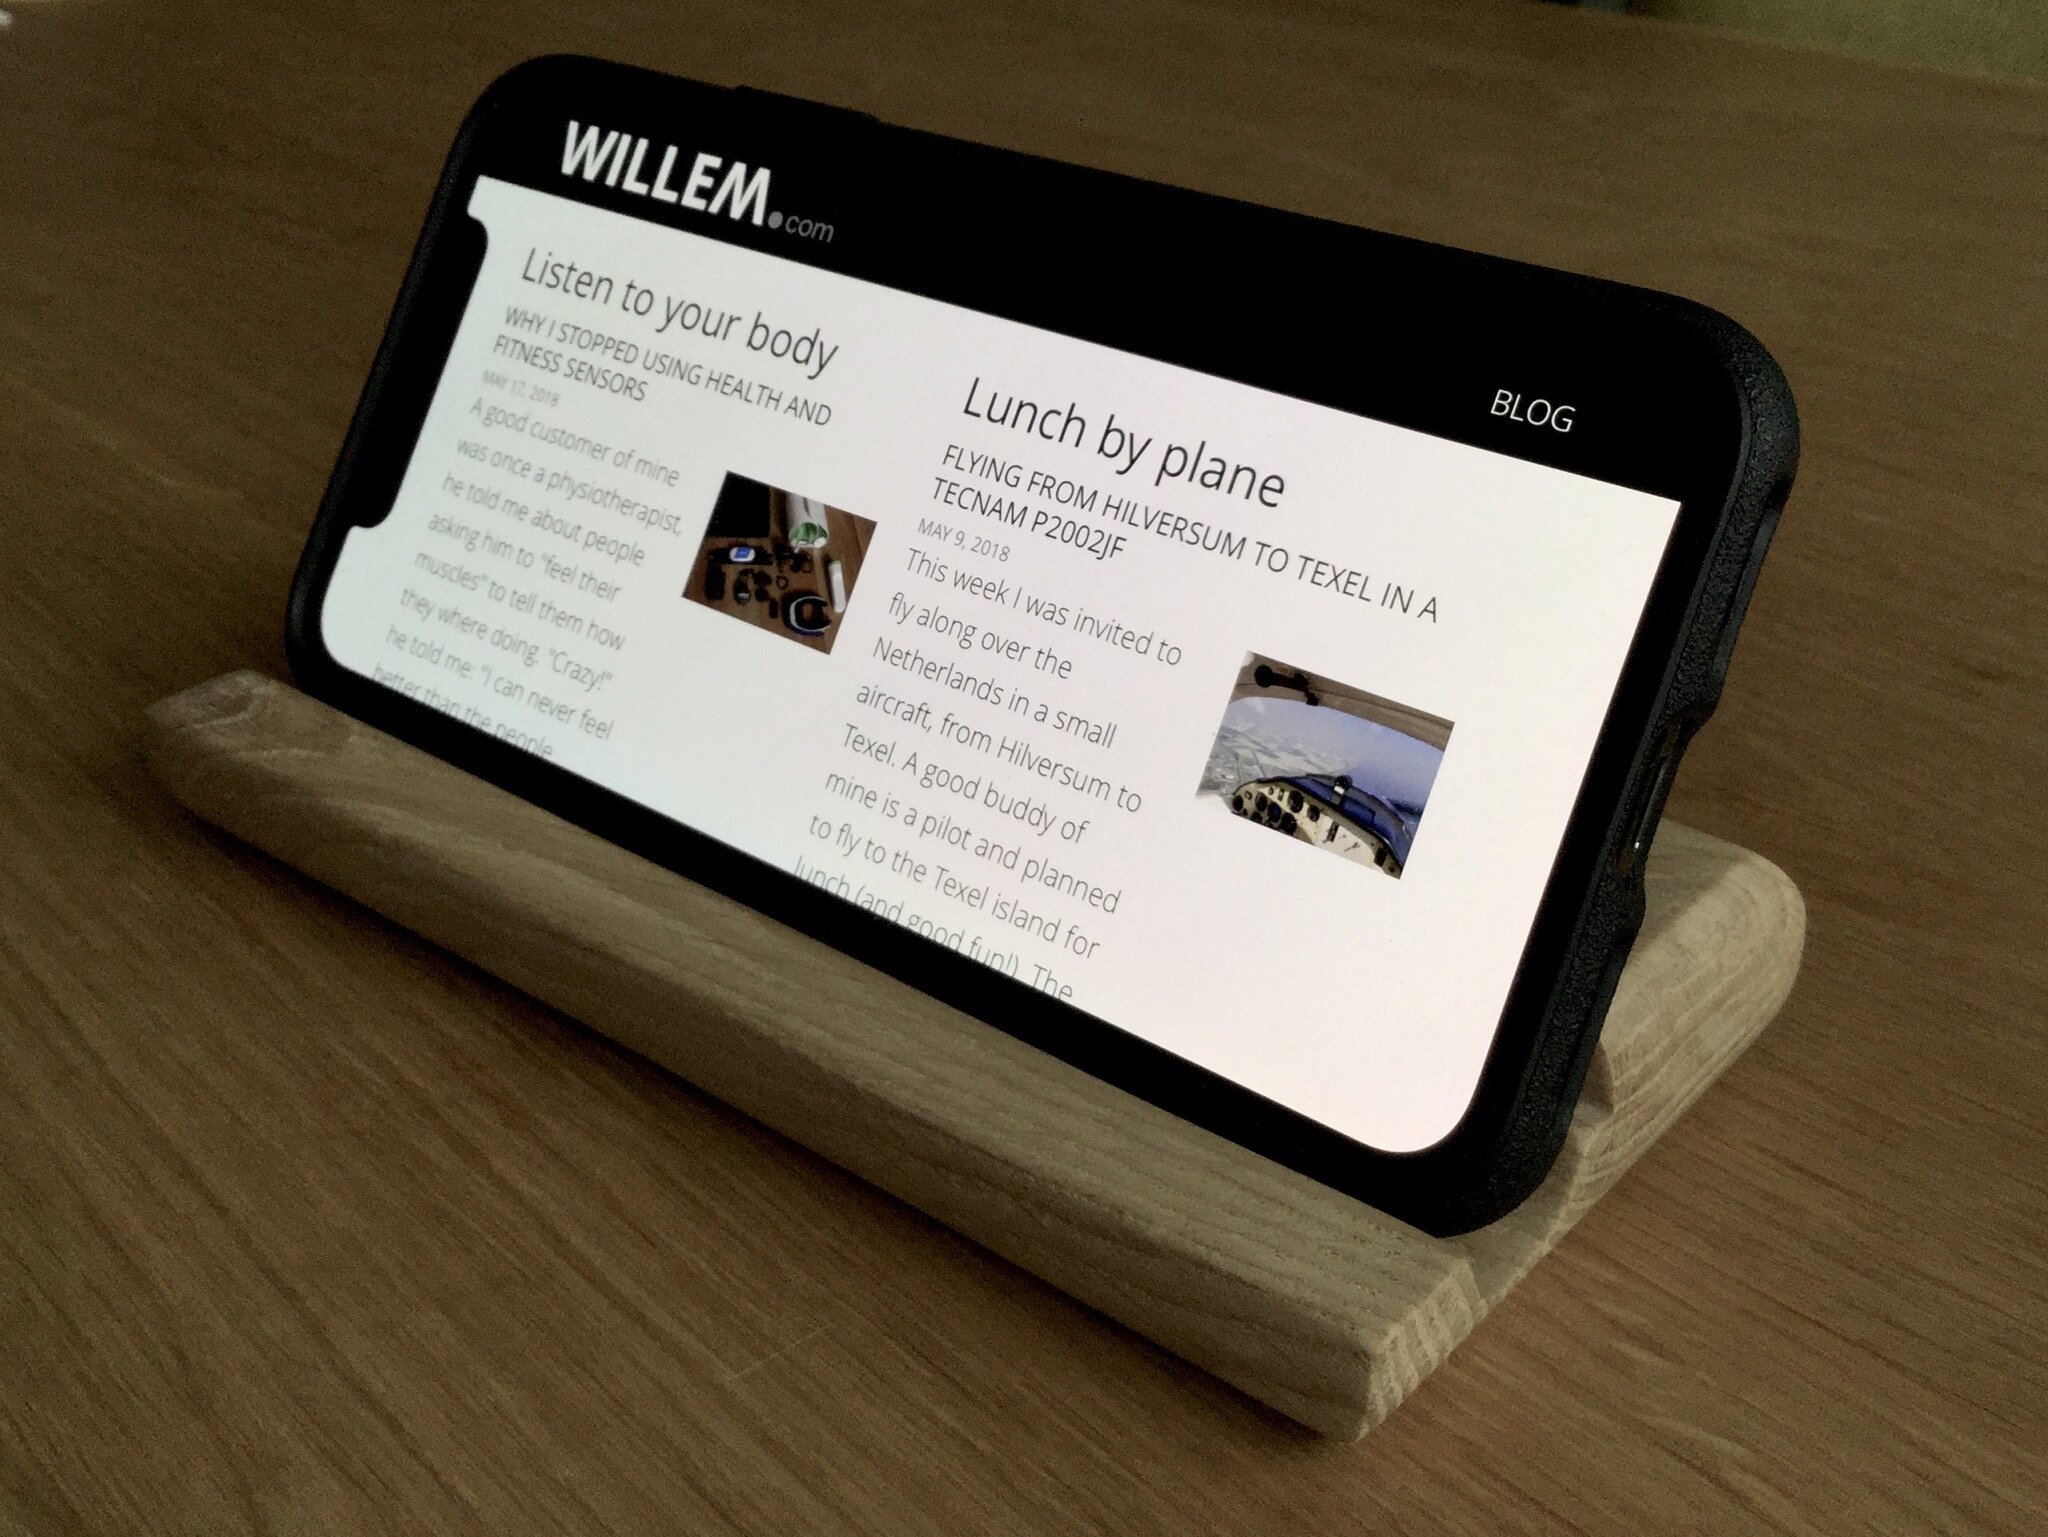
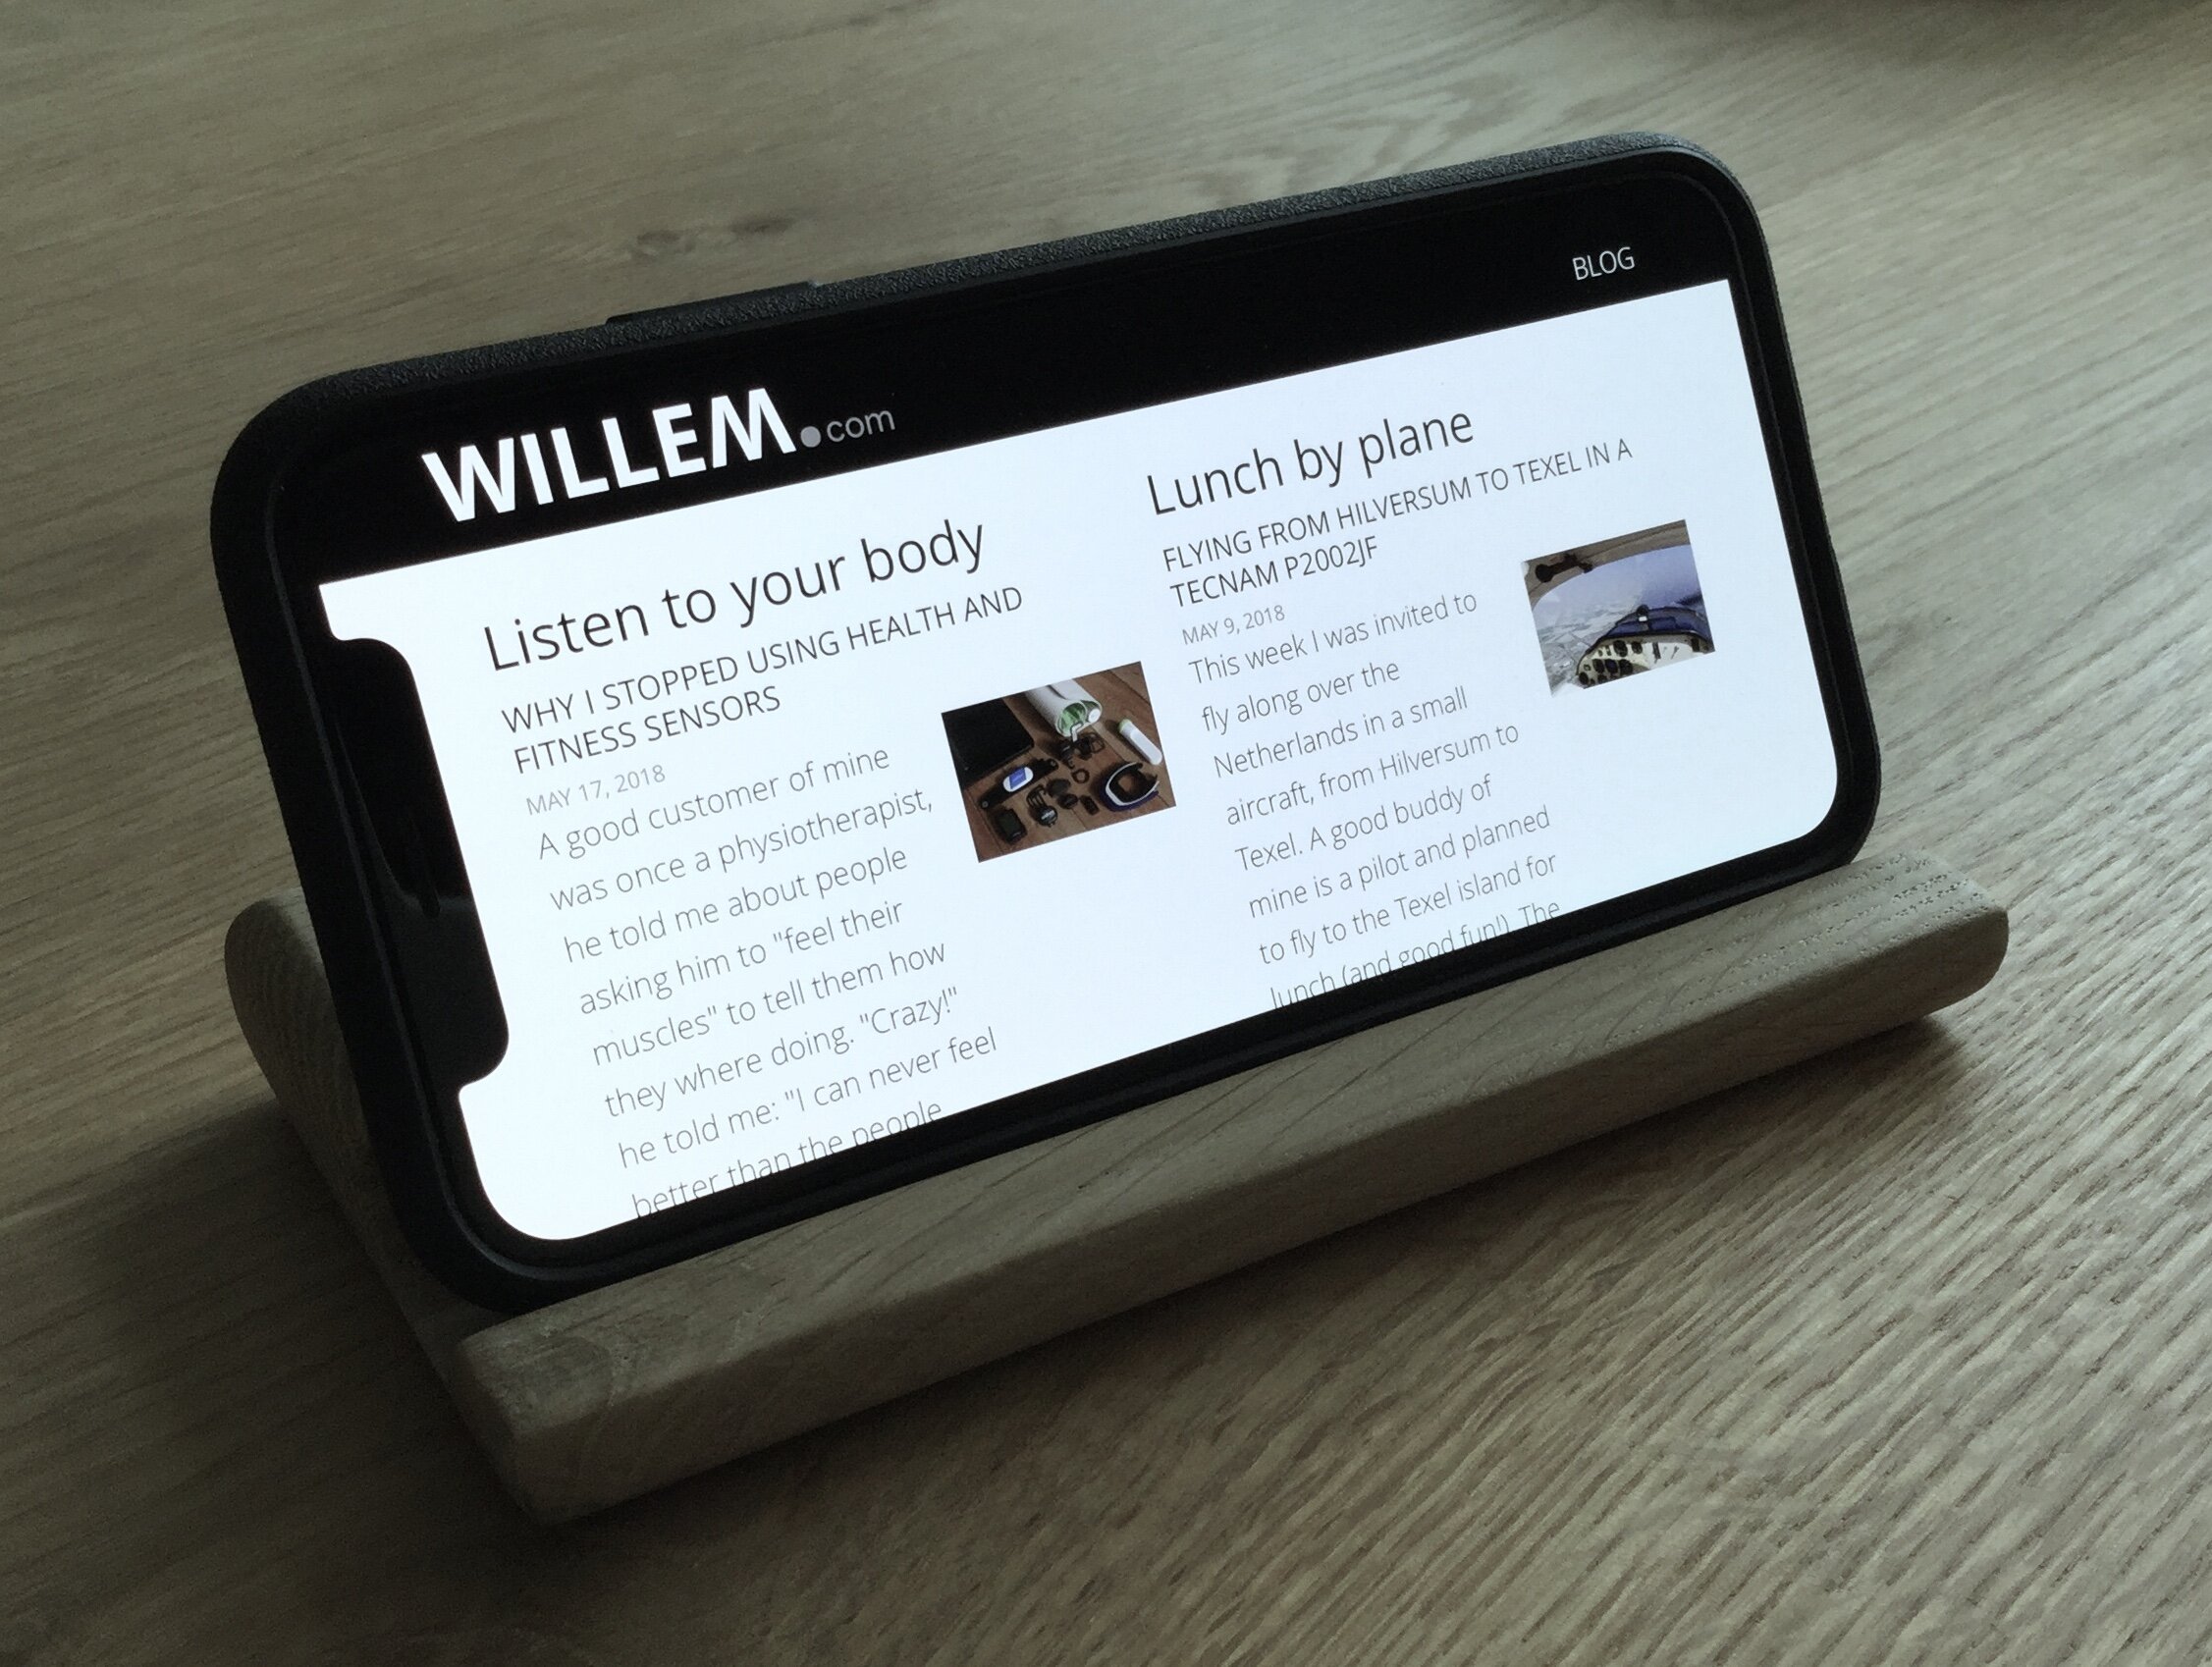
Creating a minimal iPhone stand
Routing oak wood for a custom fit
Today I created a minimal iPhone stand from oak wood. While it's much faster to buy one online, I wanted one to fit my phone horizontally, with its case on. I like minimal design, so I opted to machine a single piece of wood to get it done.
Need for an horizontal stand
I use my smartphone in combination with a bluetooth keyboard to get serious work done using just my phone (writing, server management over SSH, even programming using VIM). The keyboard is really great, but the combination keyboard+smartphone is even better with a decent stand (for a better angle).
I use most apps in horizontal or landscape mode. The stand must allow the phone to be picked up easily (to change display orientation, take photos or walk away). Although I use a very common iPhone X, I do use a case that is slightly thicker than most: it doubles as wallet.
Preferably I wanted a minimal stand, made from one single piece, with no moving parts - but as compact as possible for easy transport (on my bike, the train, plane, etc). I like "raw materials", preferably without paint or lacquer.
Prototyping
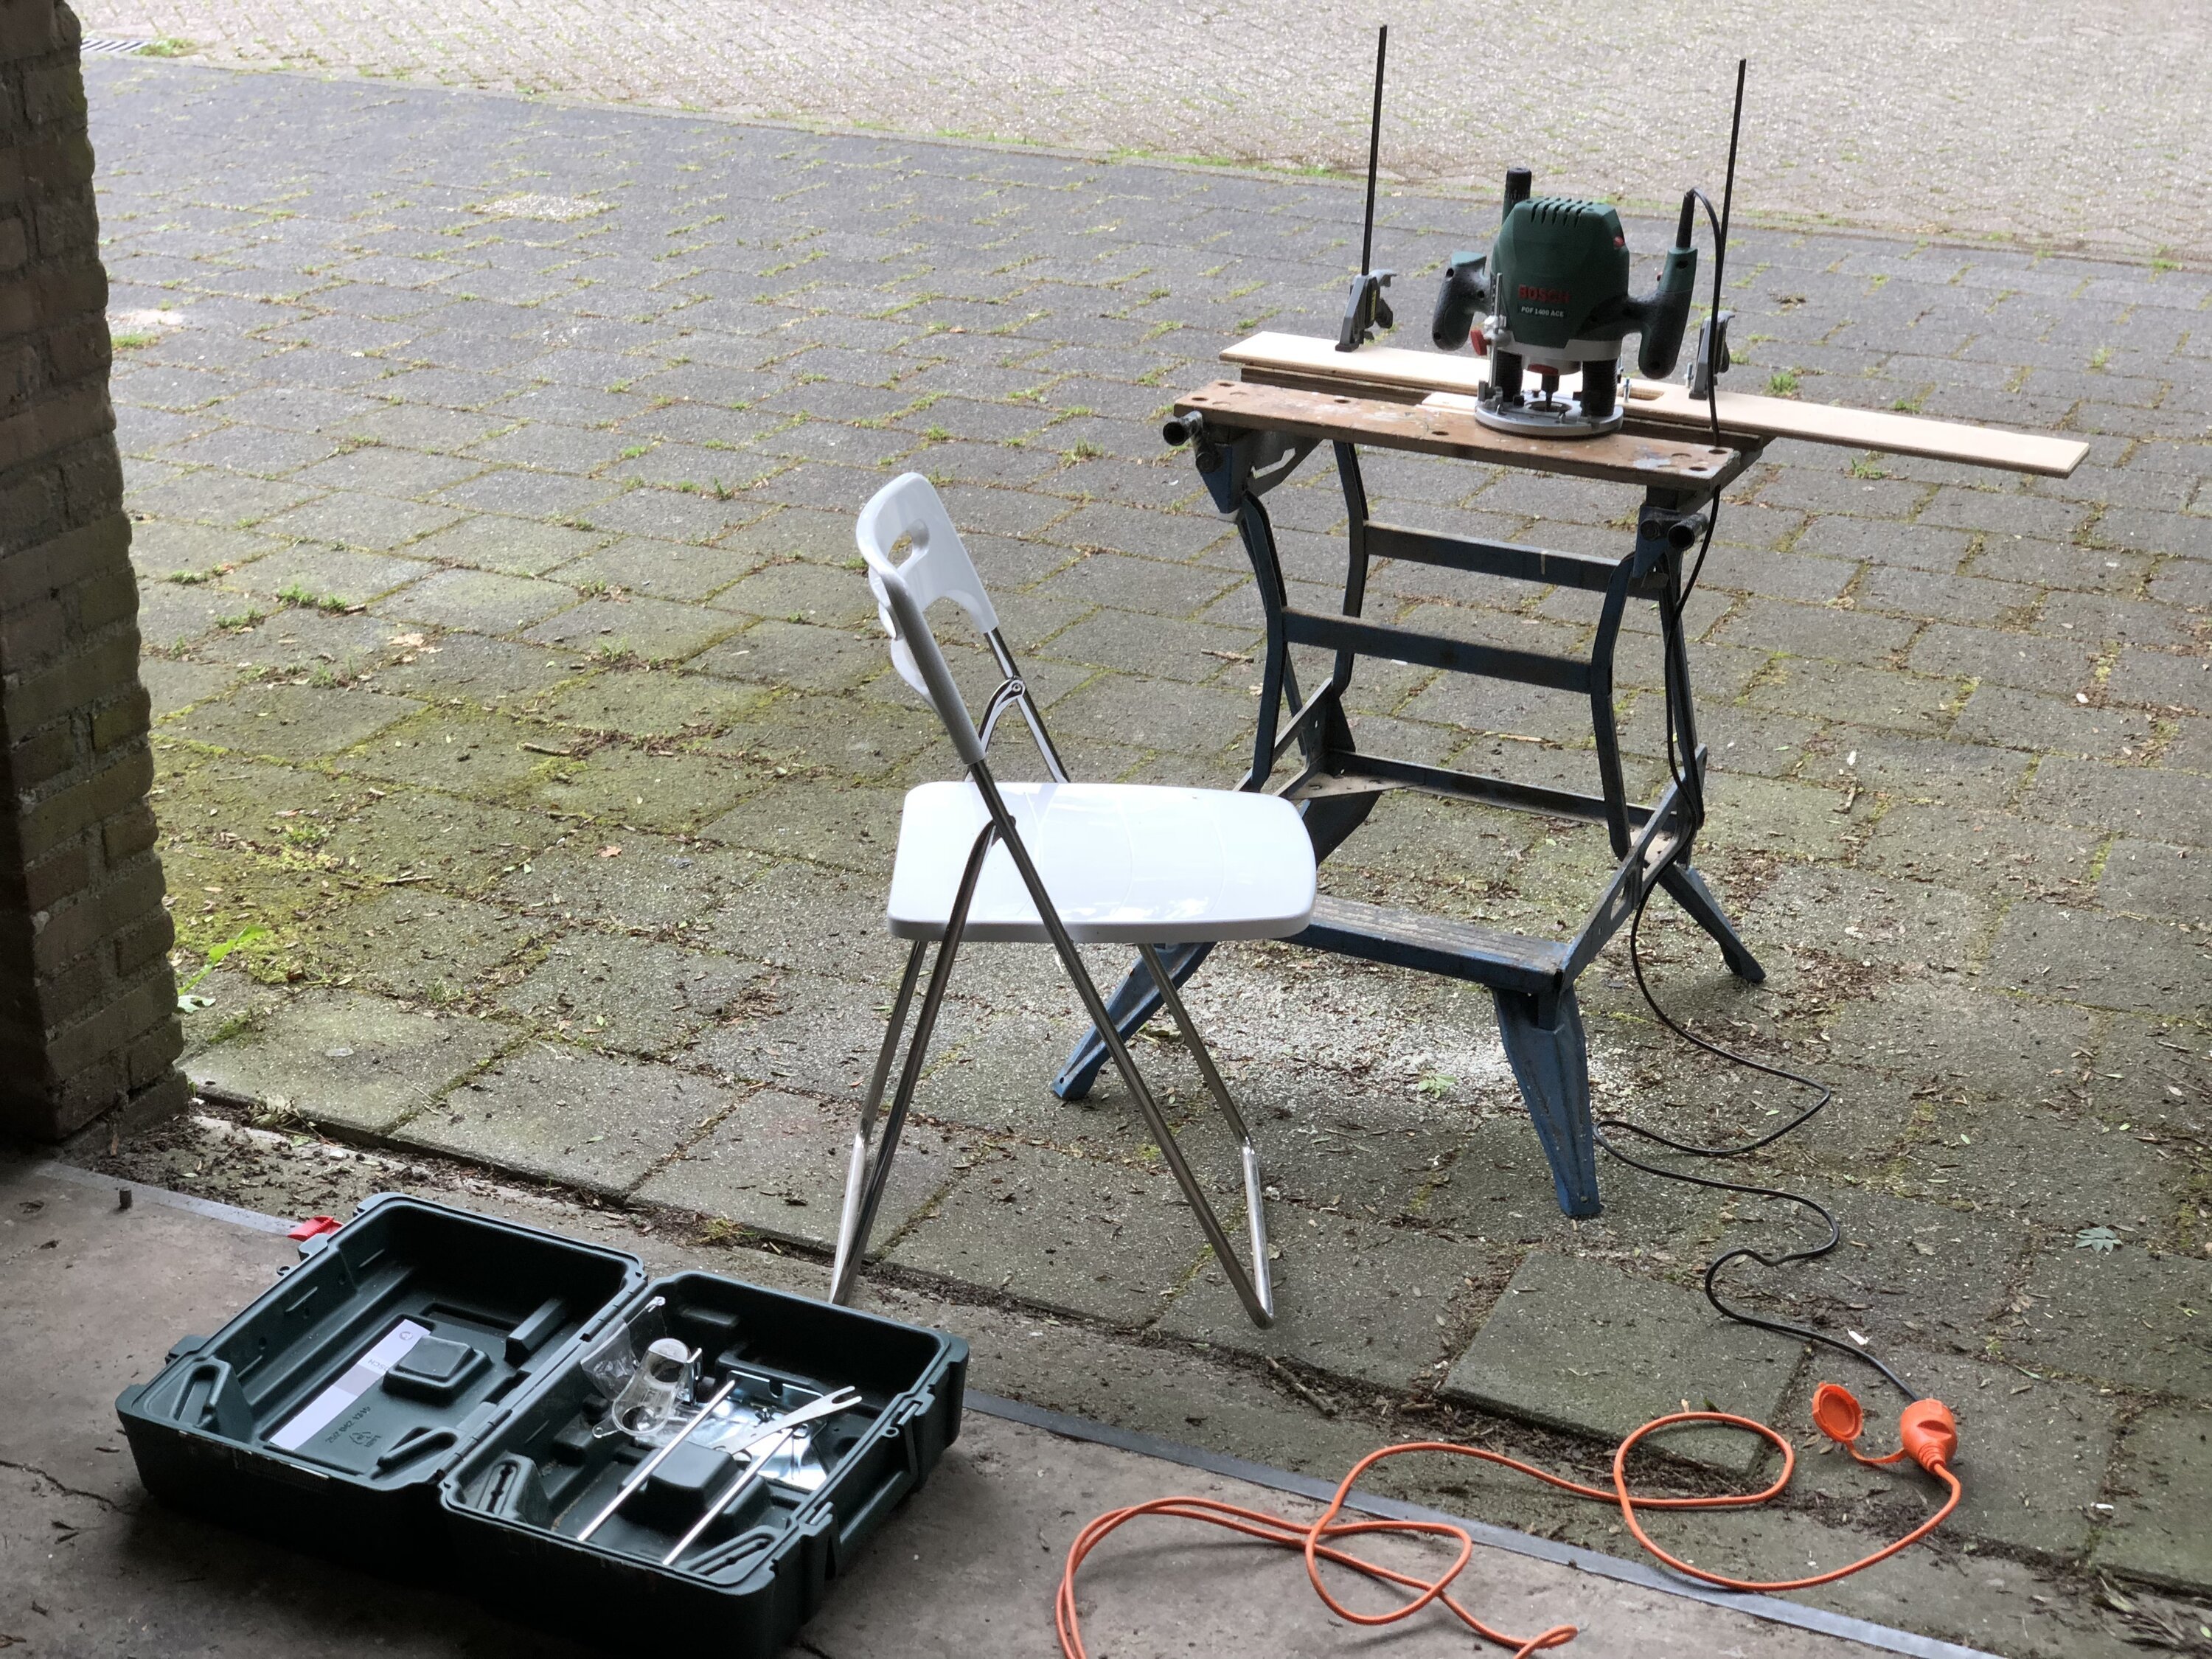
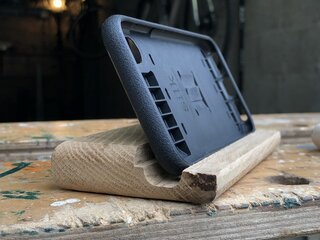
The software engineer in me decided it was a good idea to develop a prototype using spruce wood. This is a very light type of wood that is easy to machine. I picked up some leftover wood from the local do-it-yourself store and determined the right size and profile for my phone to fit.

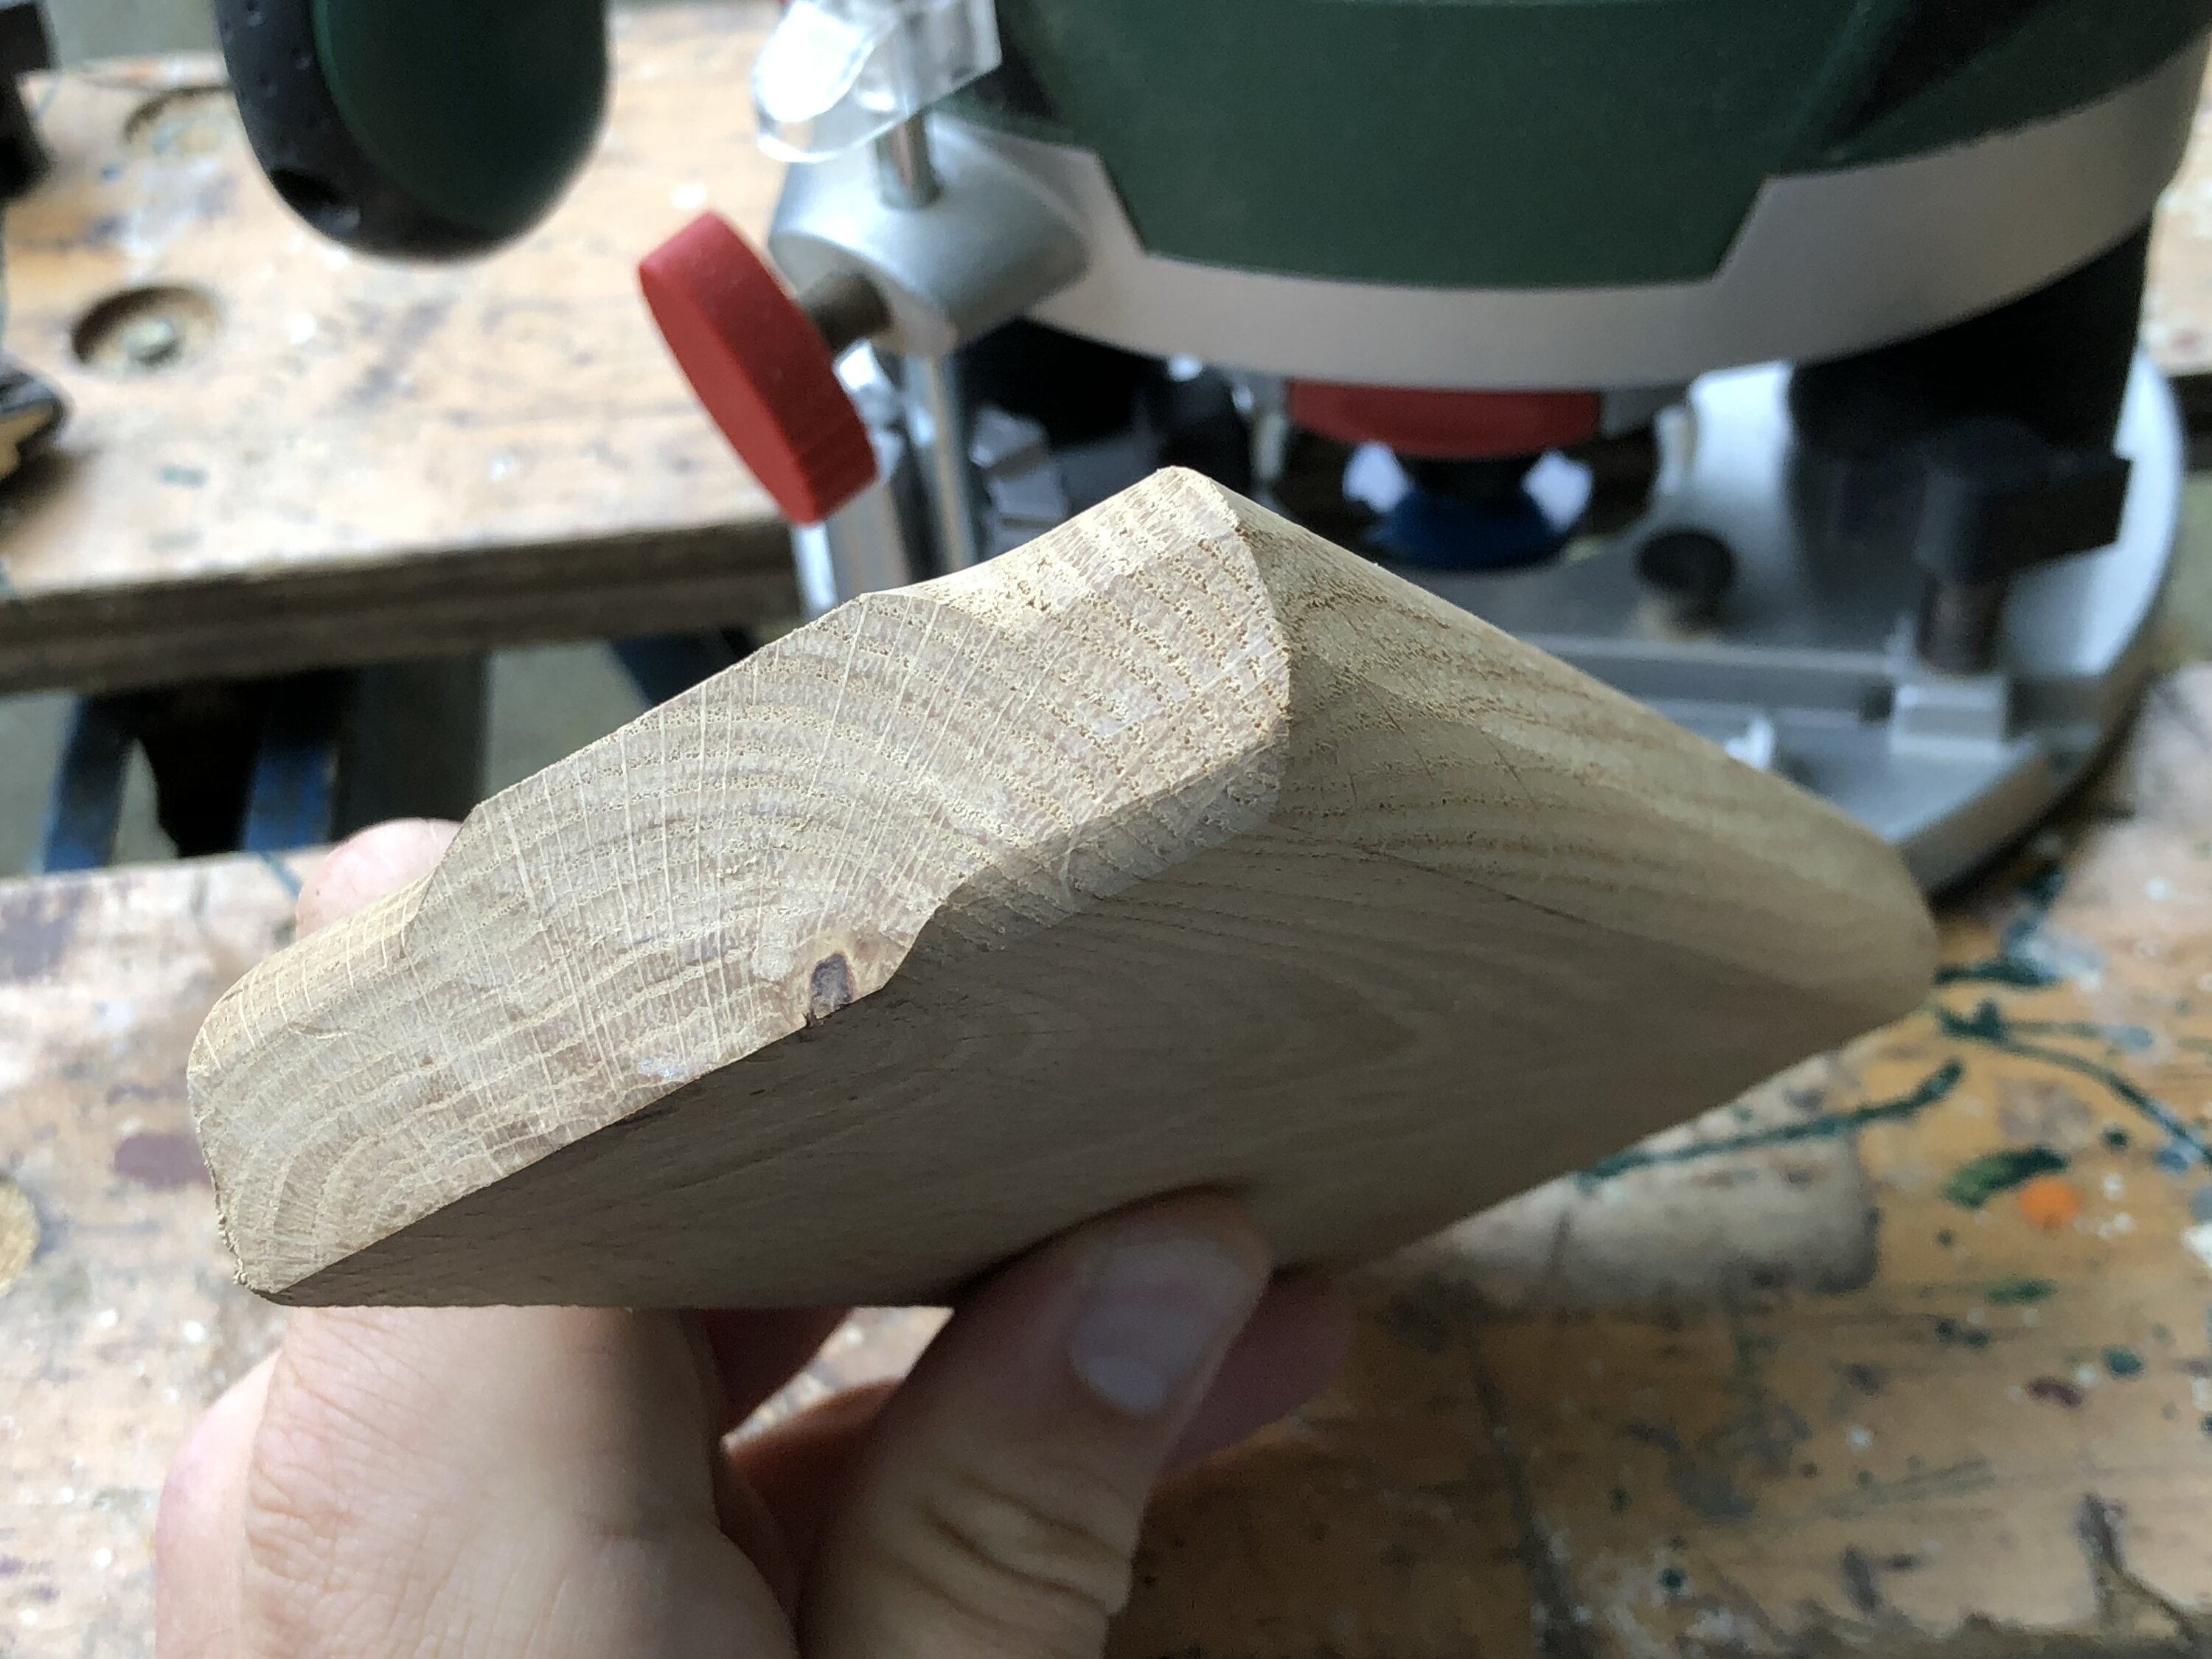
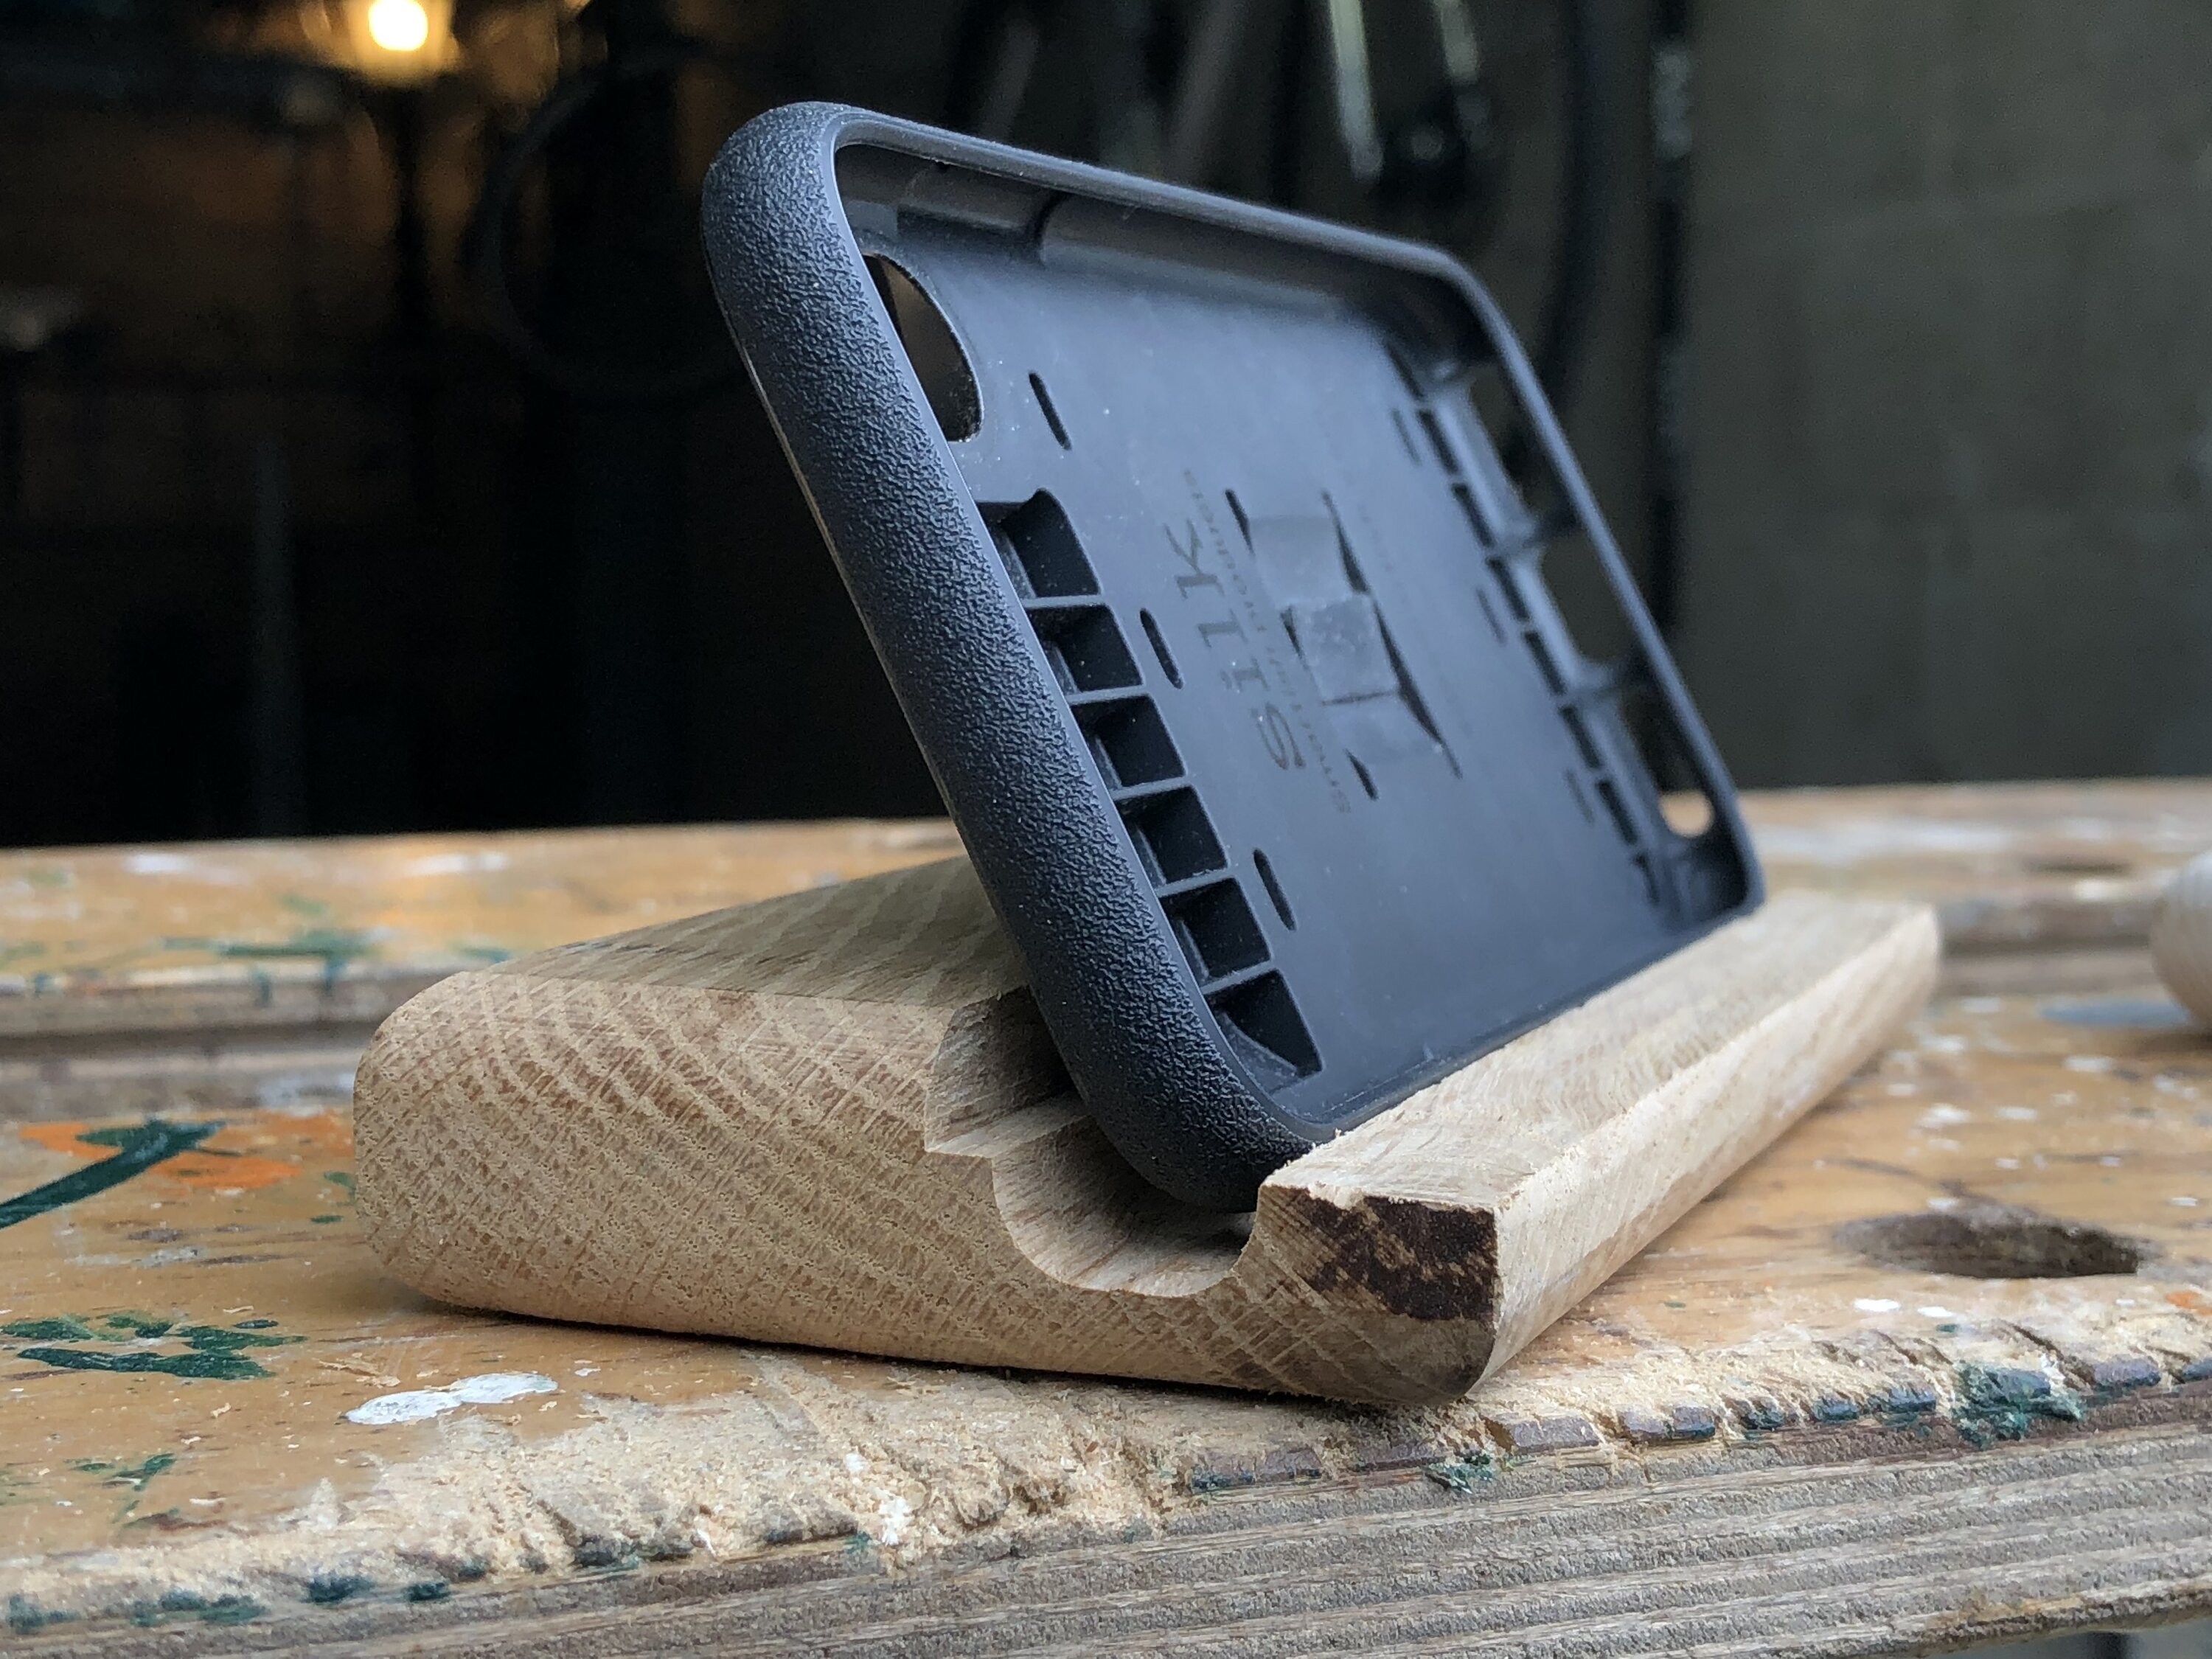
Because my smartphone with its case is slightly thicker, I needed a wider profile to arrange a secure fit. The "stair like" side in the profile allows the phone to fit with a nice angle. Finding the right profile was a matter of trial and error, making minor adjustments to improve fit and angle.
Final version from oak
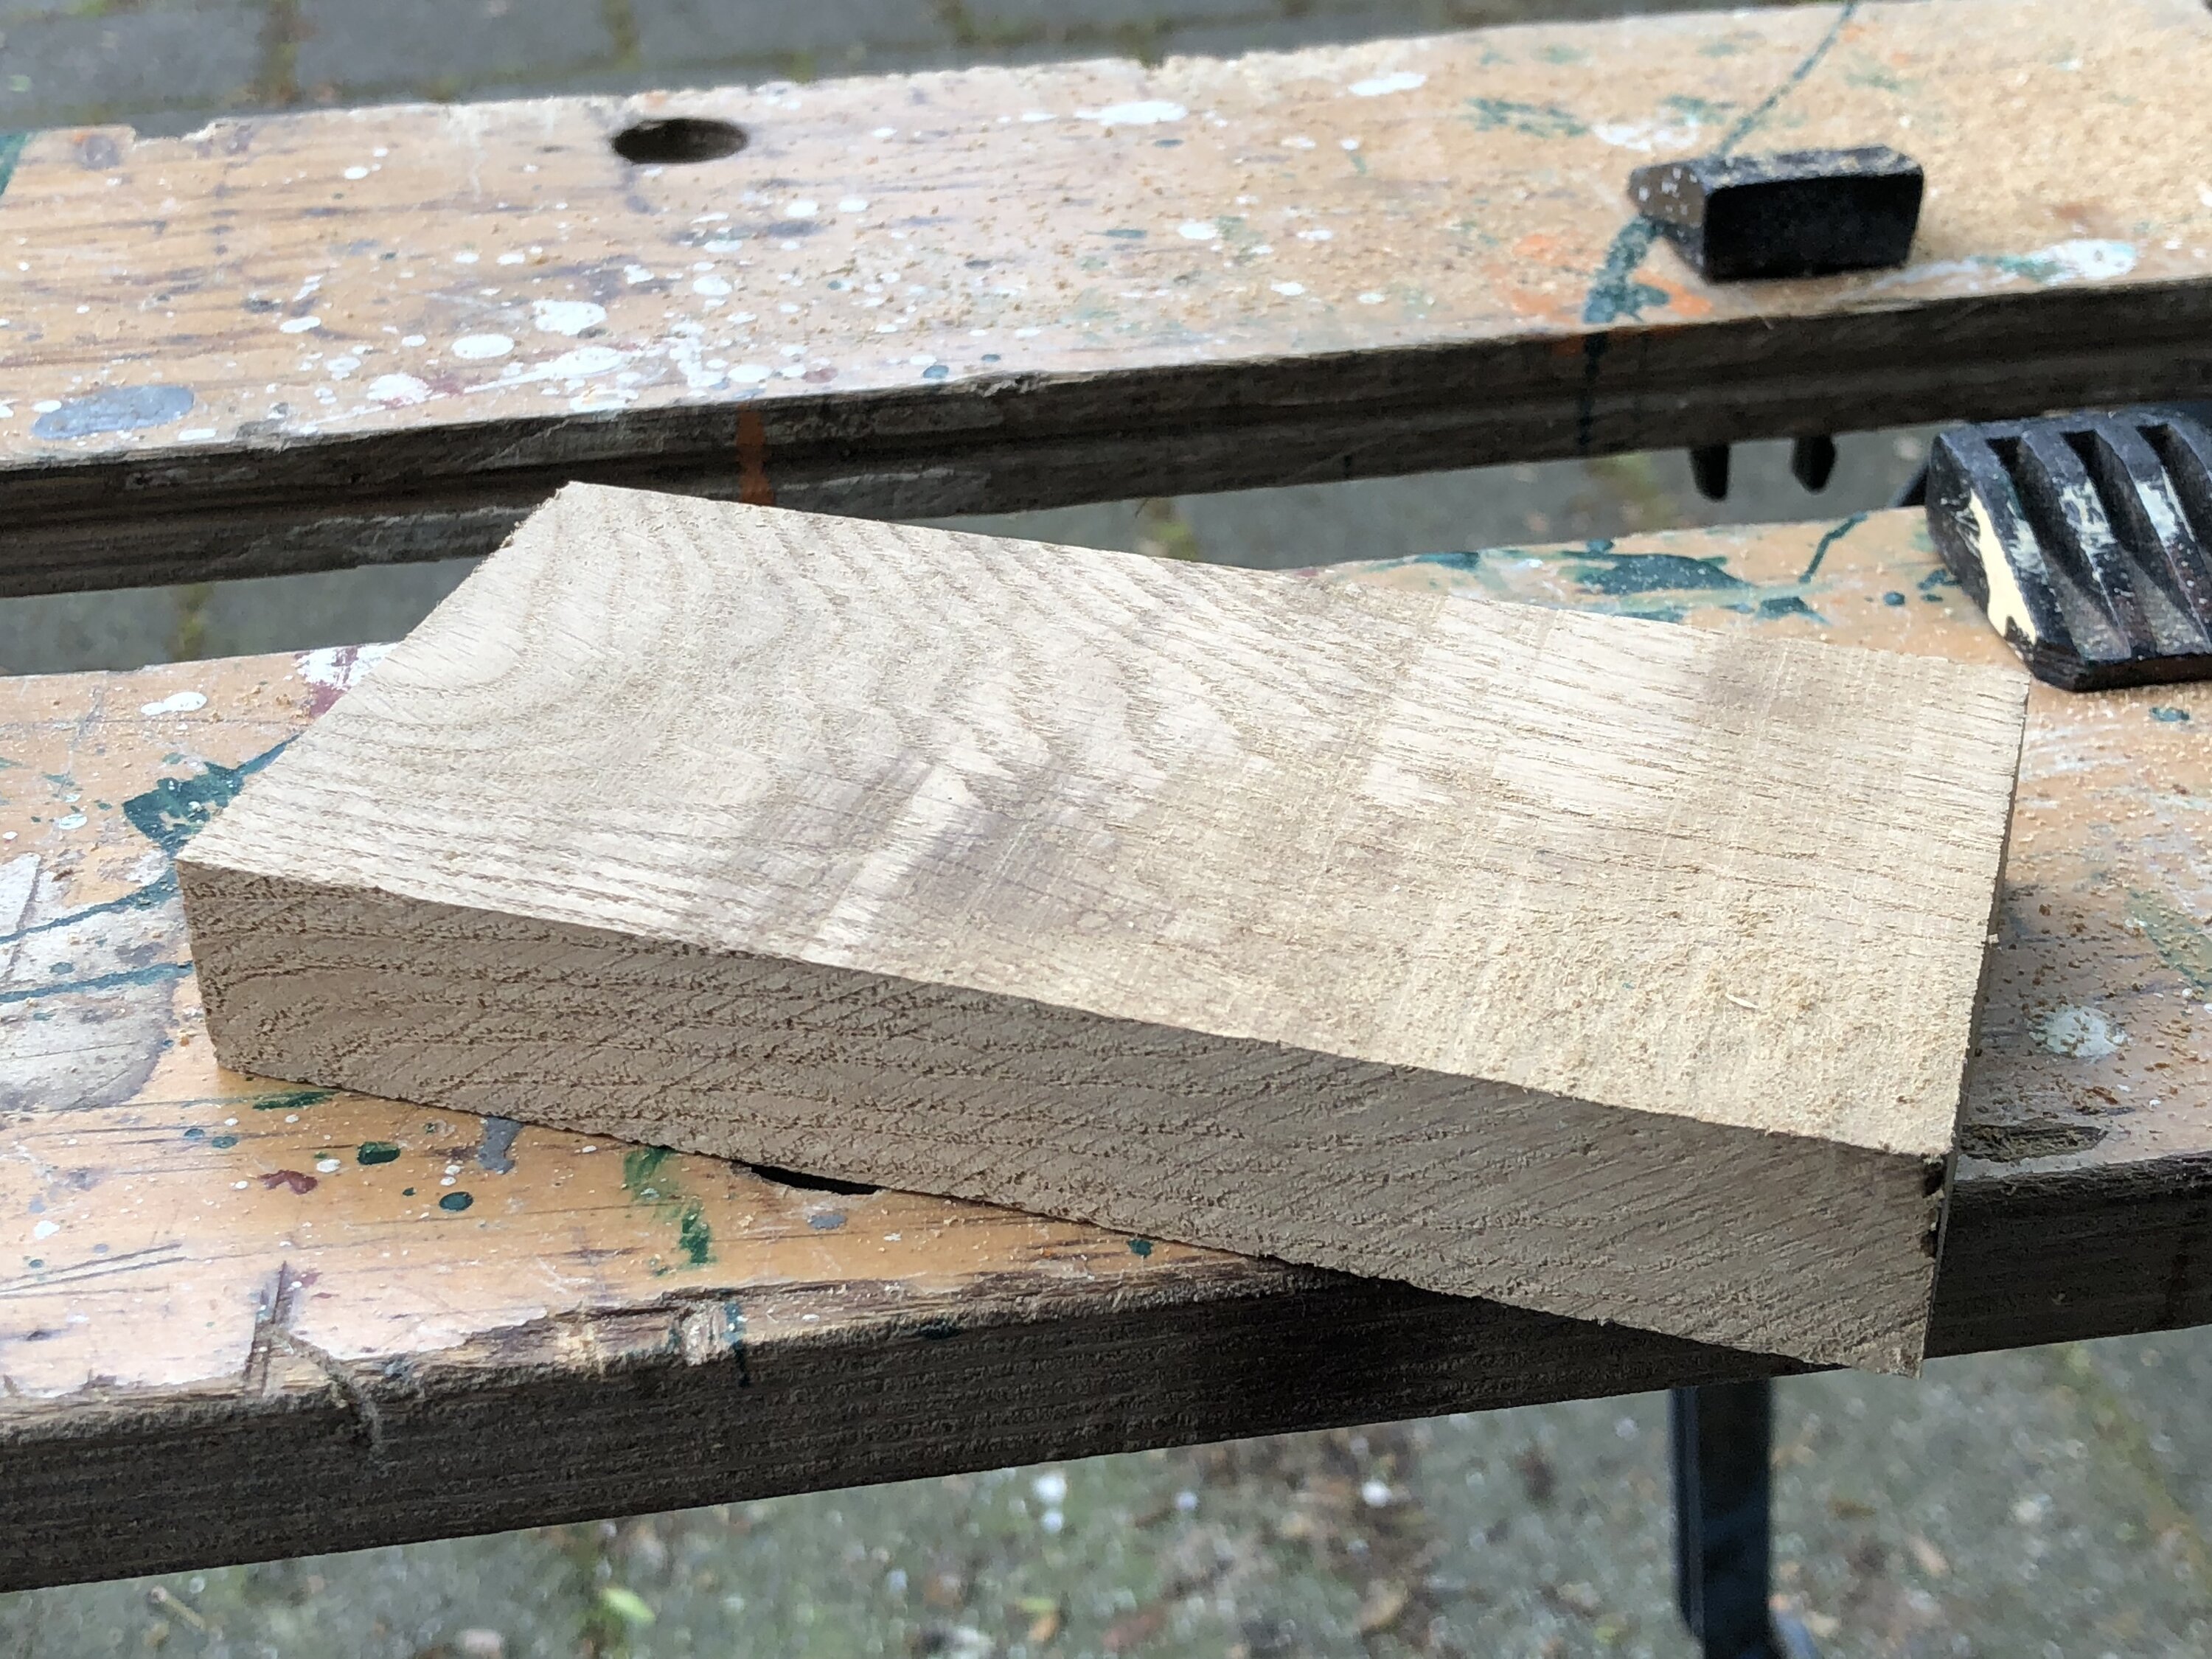
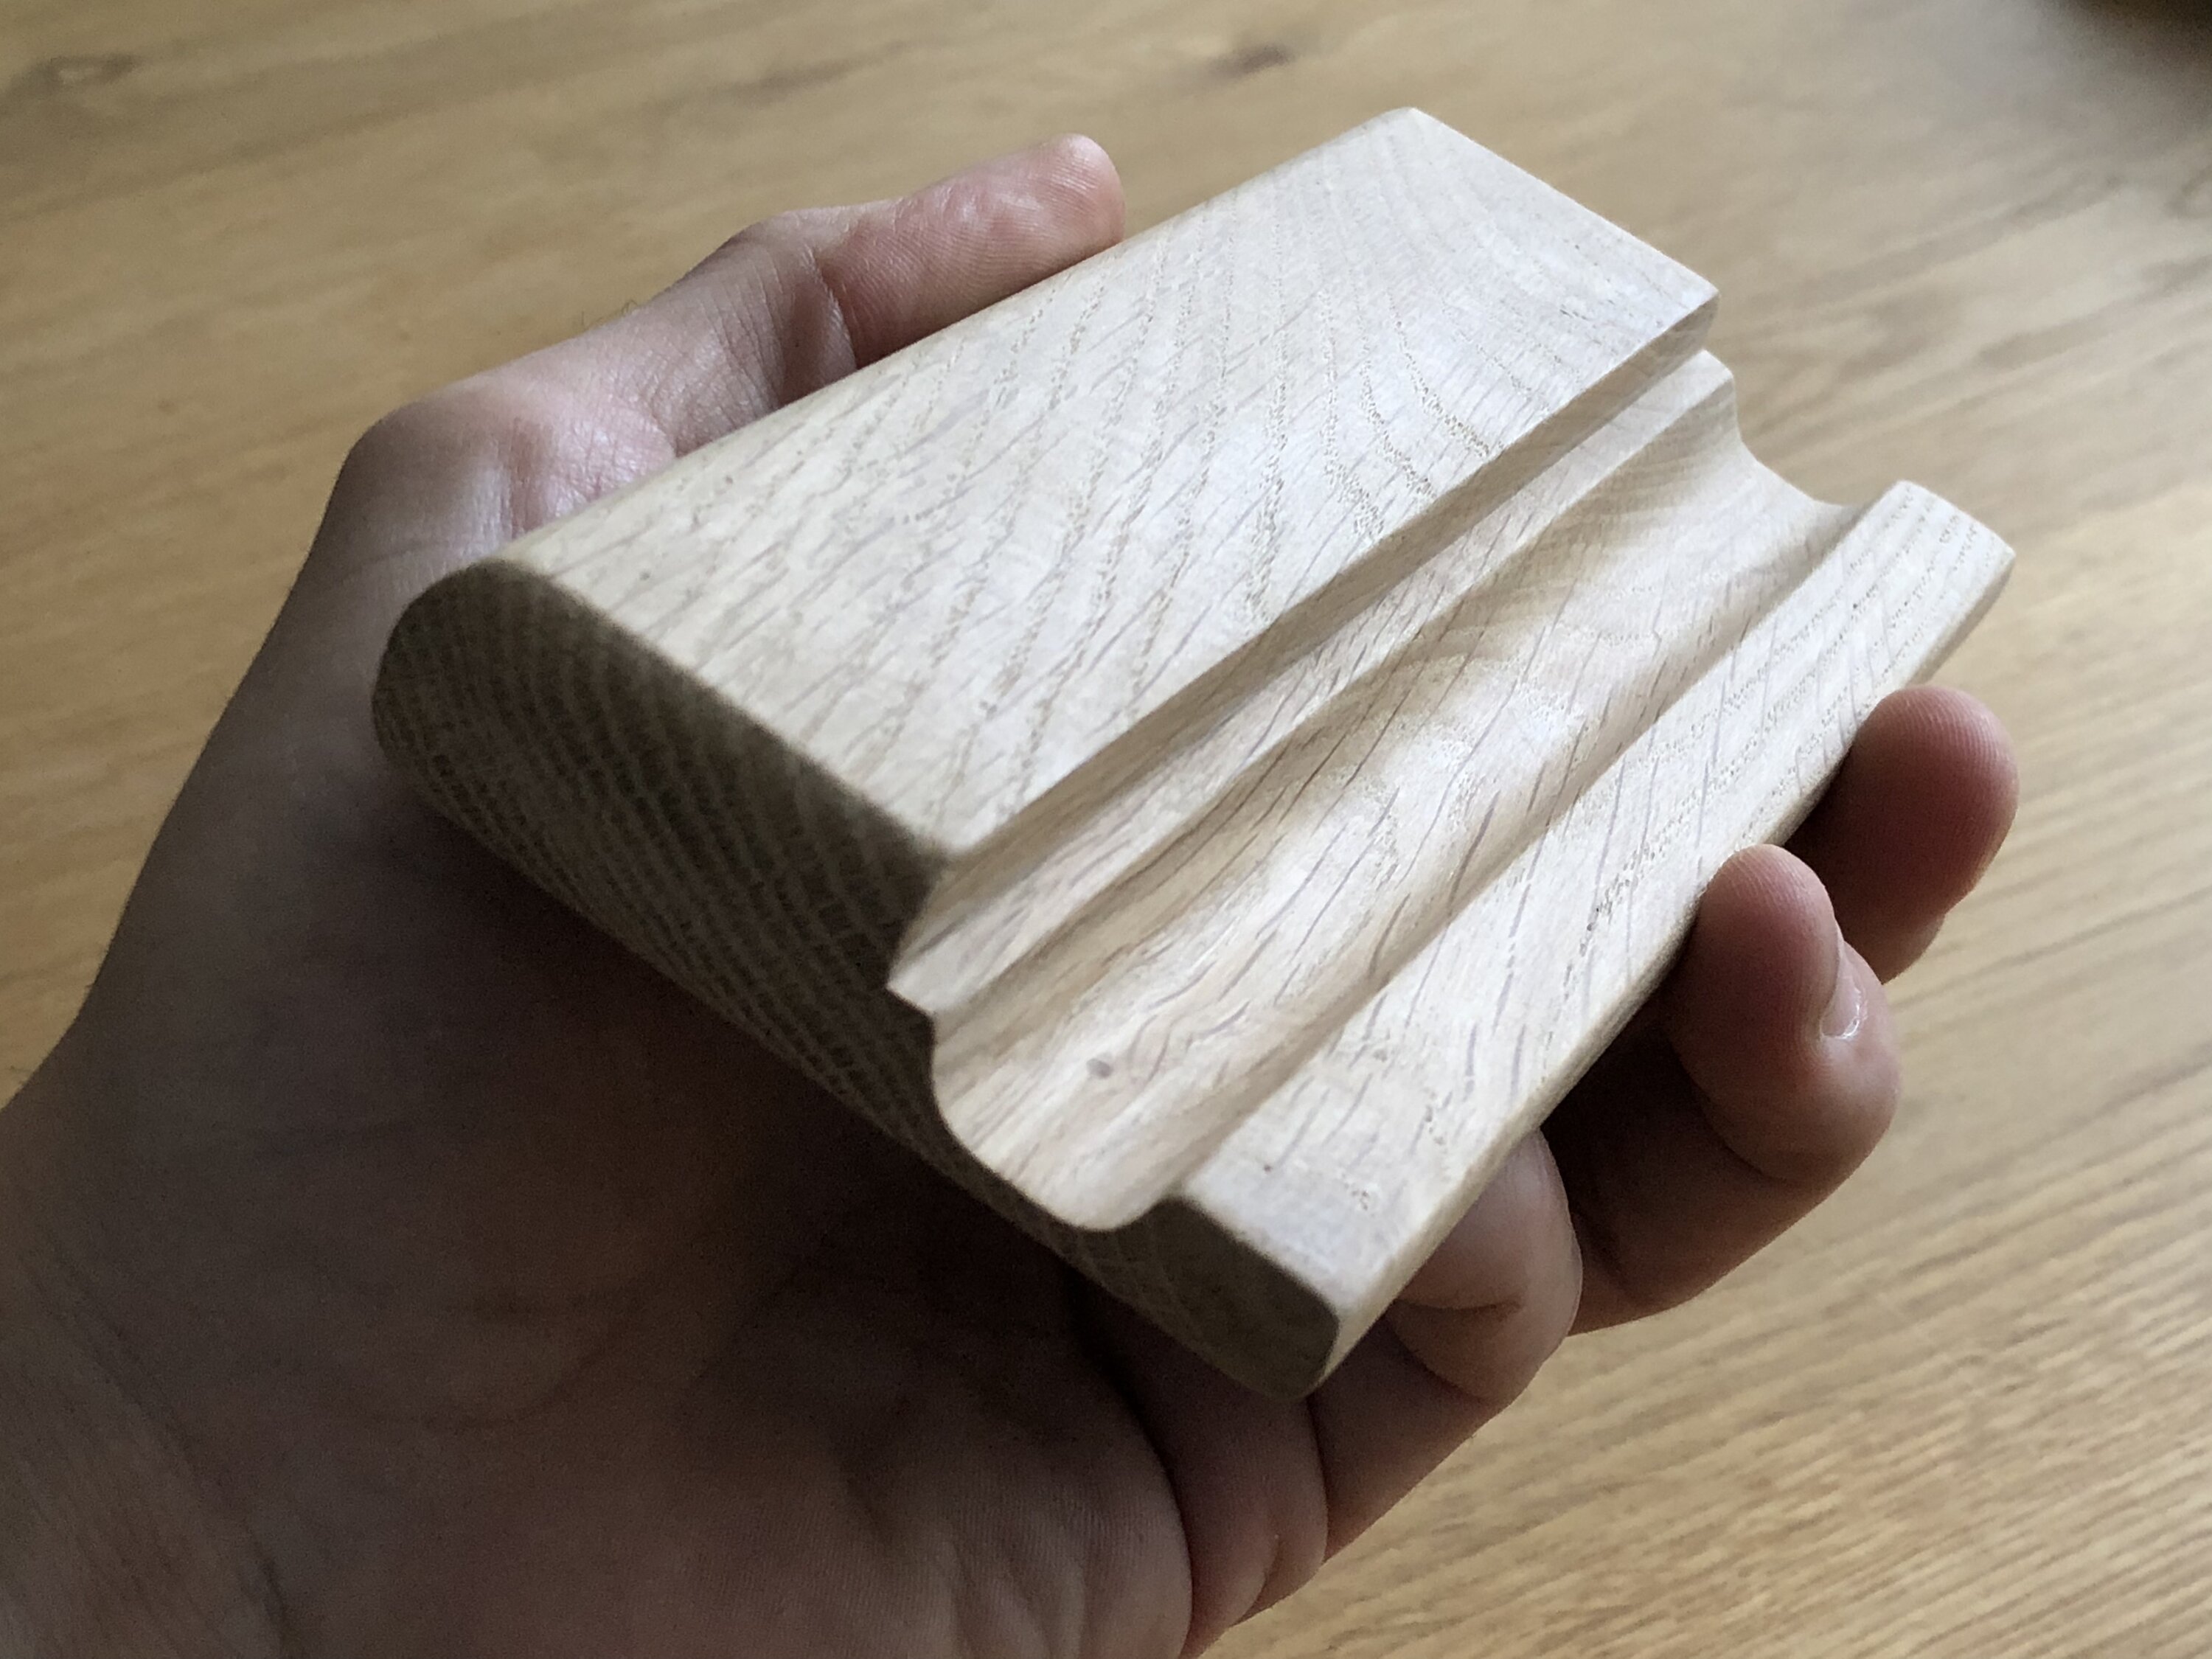
Once I was satisfied with the prototype, it was time for the final version. For this I selected a different kind of wood: oak. This is much harder, heavier and therefore durable. Its more difficult to machine, but having learned from my prototype I could skip testing and go straight to the right fit.
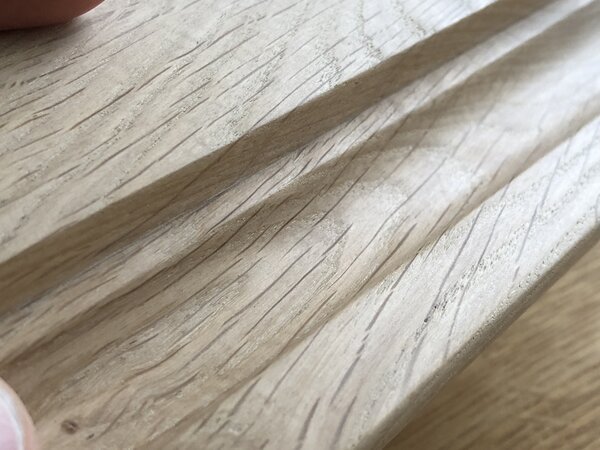
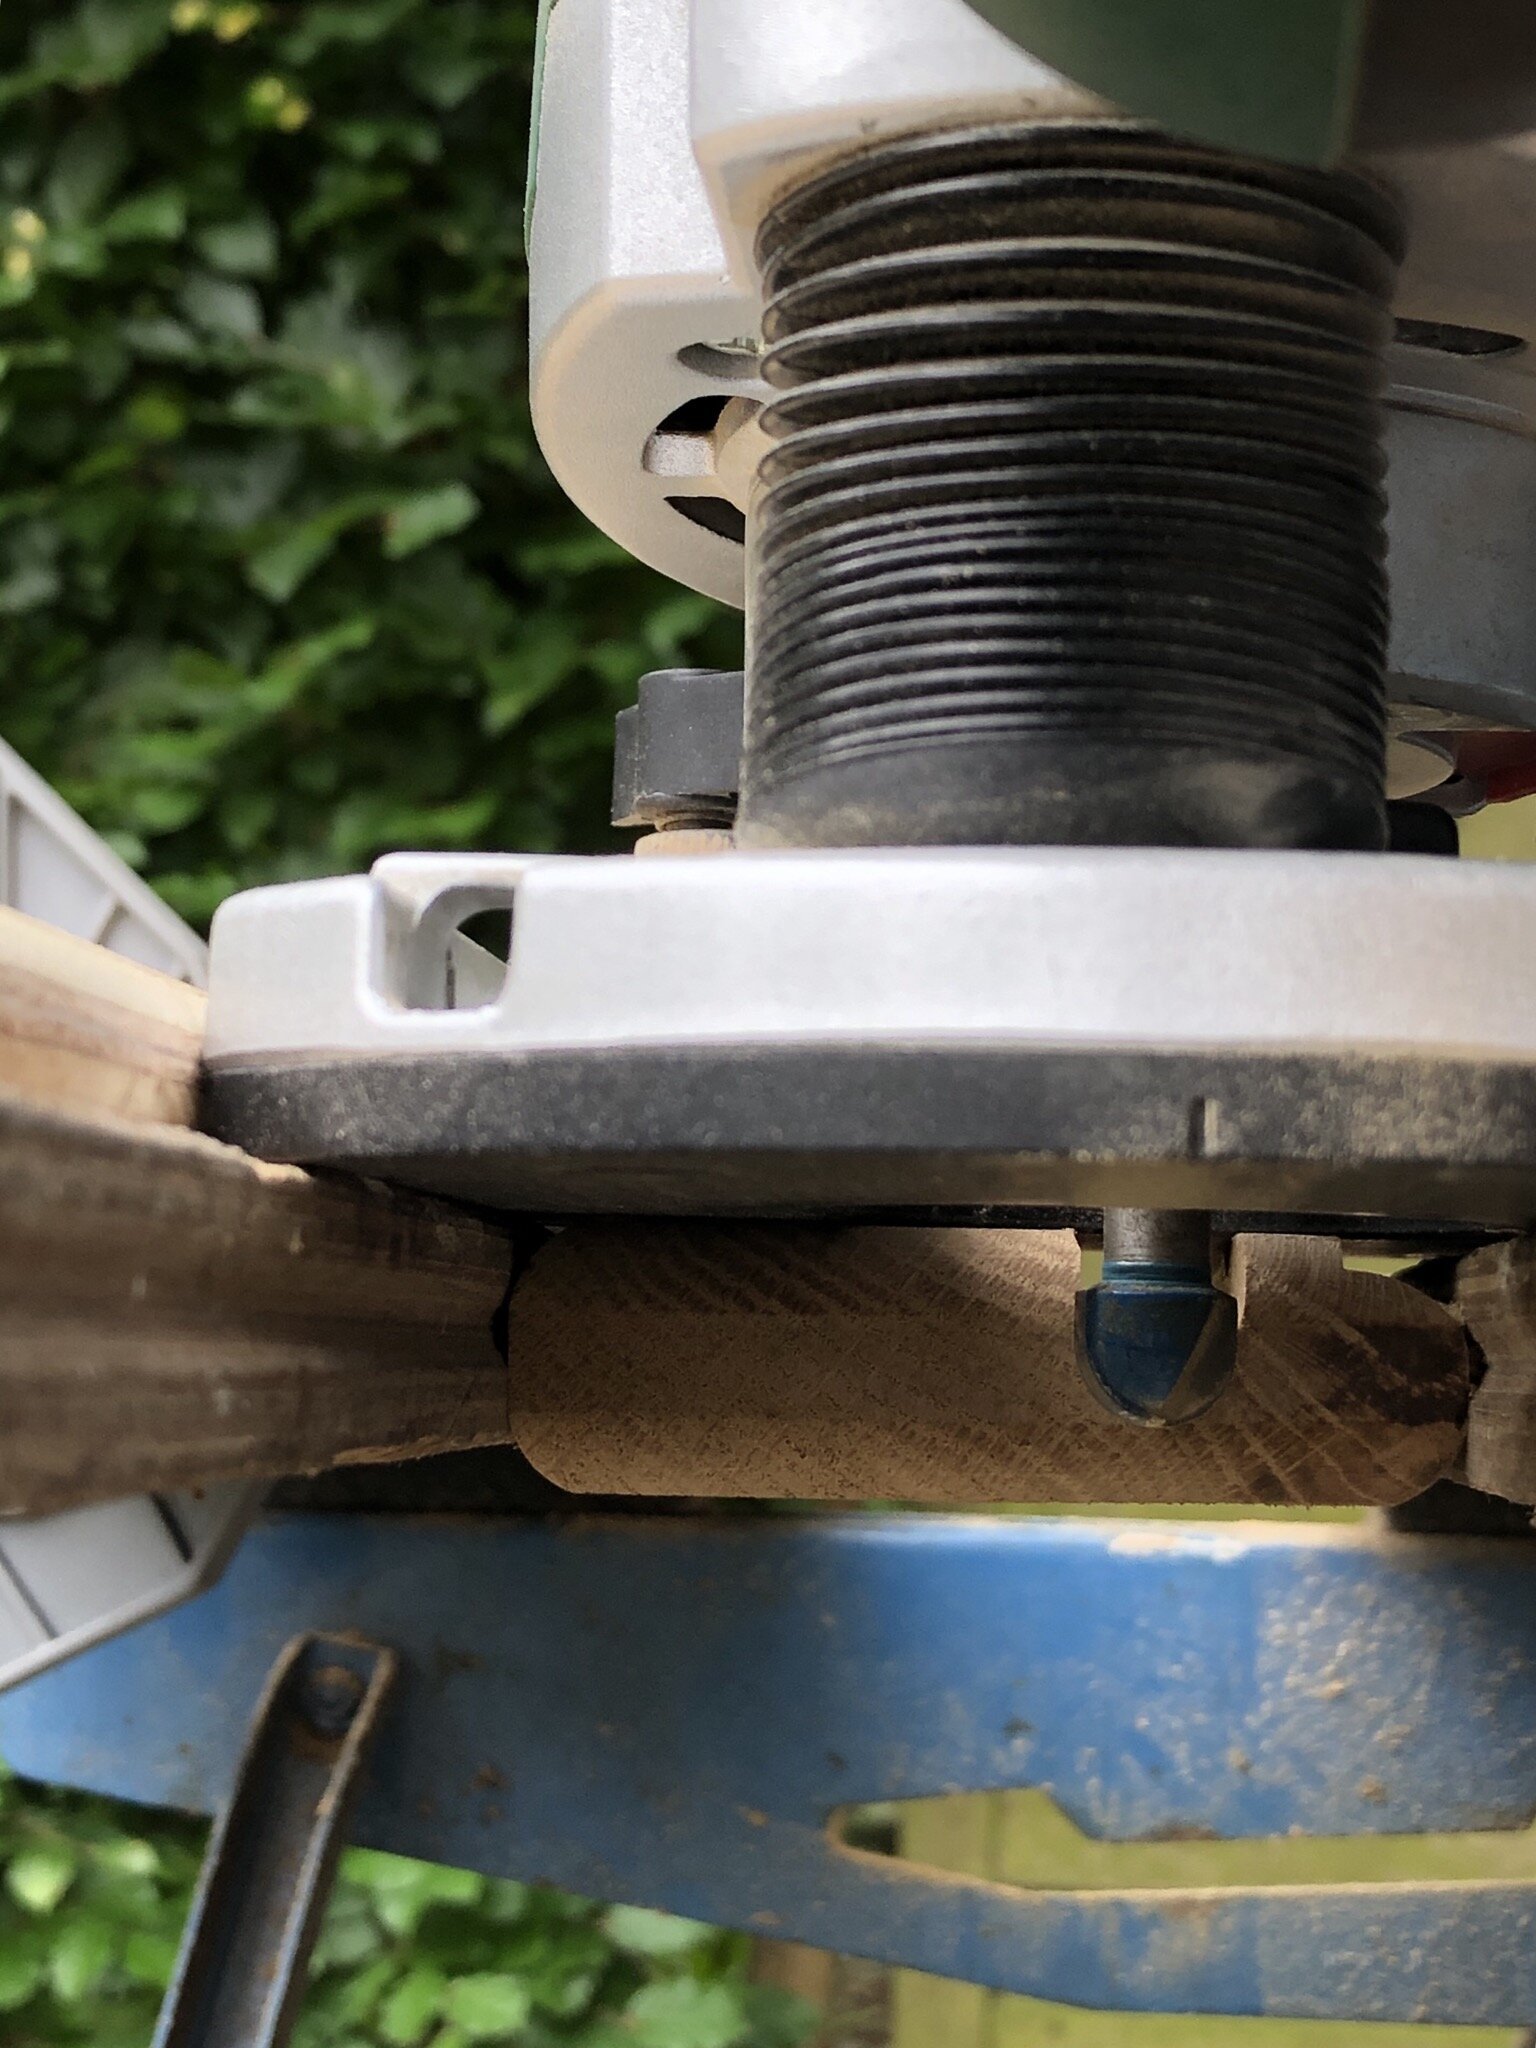
To give the stand a friendly and high-end feel, I used a special router piece for rounding the edges.
Just like the outer edges, I machined the inner ridge with an inverted round routing piece for better looks (and softer feel to the fingers).
During my work on the final version I regularly checked the prototype to ensure a proper fit.

After completing the wood routing I tested the final version. Although both versions where functionally the same, they feel different. It's amazing how much of a difference the kind of wood makes in feel; the oak feels like it will outlast the phone like a thousand times.
Finishing touch
Using fine grained sanding paper I finished the surface of the wood. I went from paper 80 all the way up to grain size 400. Its really surprising how silky smooth the wood becomes.

Conclusion
After some hours of wood working fun, I got myself a perfect fitting wooden iPhone stand.
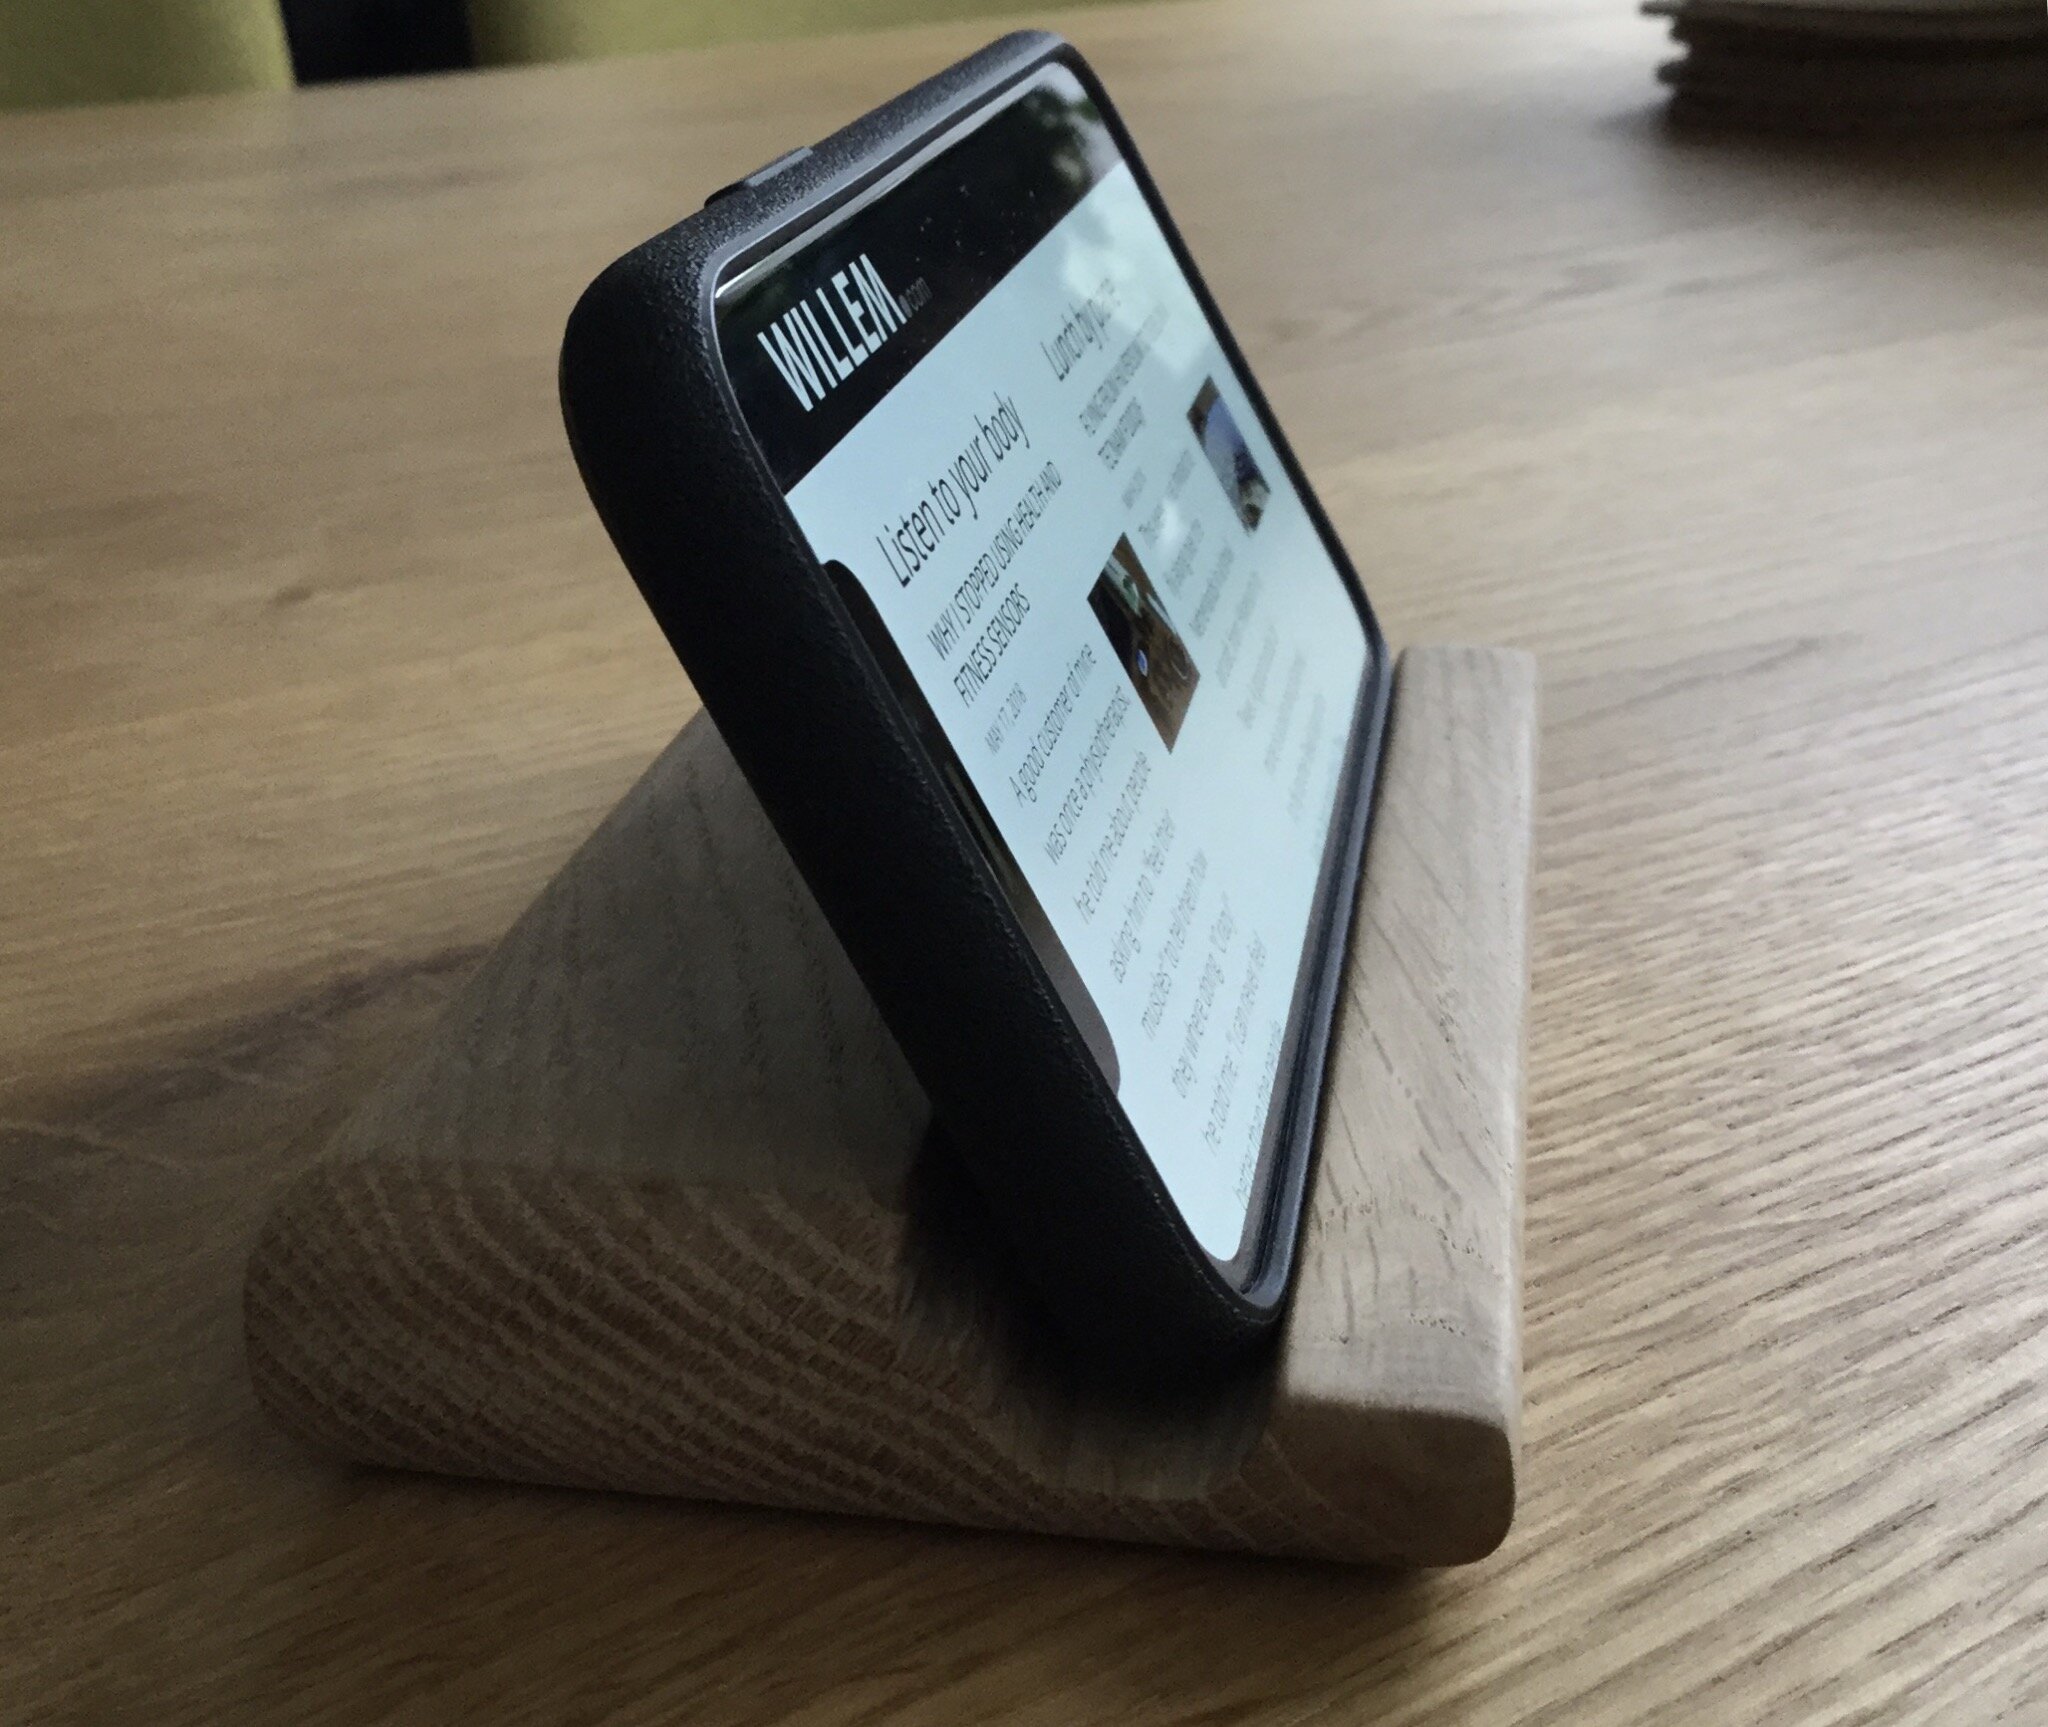
Although its much faster to buy a stand, there is something strangely rewarding in doing it yourself. You learn to machine and to handle raw materials. You never know when these skills become handy in the future!
Download
If you enjoy reading offline, this article is available for download:
Translations
This article is available in the following languages:
RSS / Atom
Grab one of the feeds to stay up to date, the feeds contain the full posts: