Feb. 10, 2025
Better Laptop
Assembling the DIY Framework 13
Consumer electronics often lock us into sealed hardware and forced upgrades, creating enormous e-waste. Framework challenges that norm by making laptops you can service, upgrade, and customise, which extends their lifespan and cuts down on unnecessary e-waste. My Framework 13 arrived this week and I assembled it myself. This post is a quick rundown of what that process involved, why I chose this brand, and what’s next.
Why Framework?
Framework’s core idea is simple: create well-built, repairable devices that aren’t doomed by minor failures or limited upgrade paths. Unlike most modern laptops, the Framework Laptop has user-friendly internals—no proprietary glue, minimal specialised screws, and swappable modules. This reduces e-waste and keeps your device relevant for longer. You are free to change parts, perform upgrades or repairs. Parts can be bought via the Framework Marketplace or elsewhere. The computer uses many standard components so you're not necessarily bound to Framework.
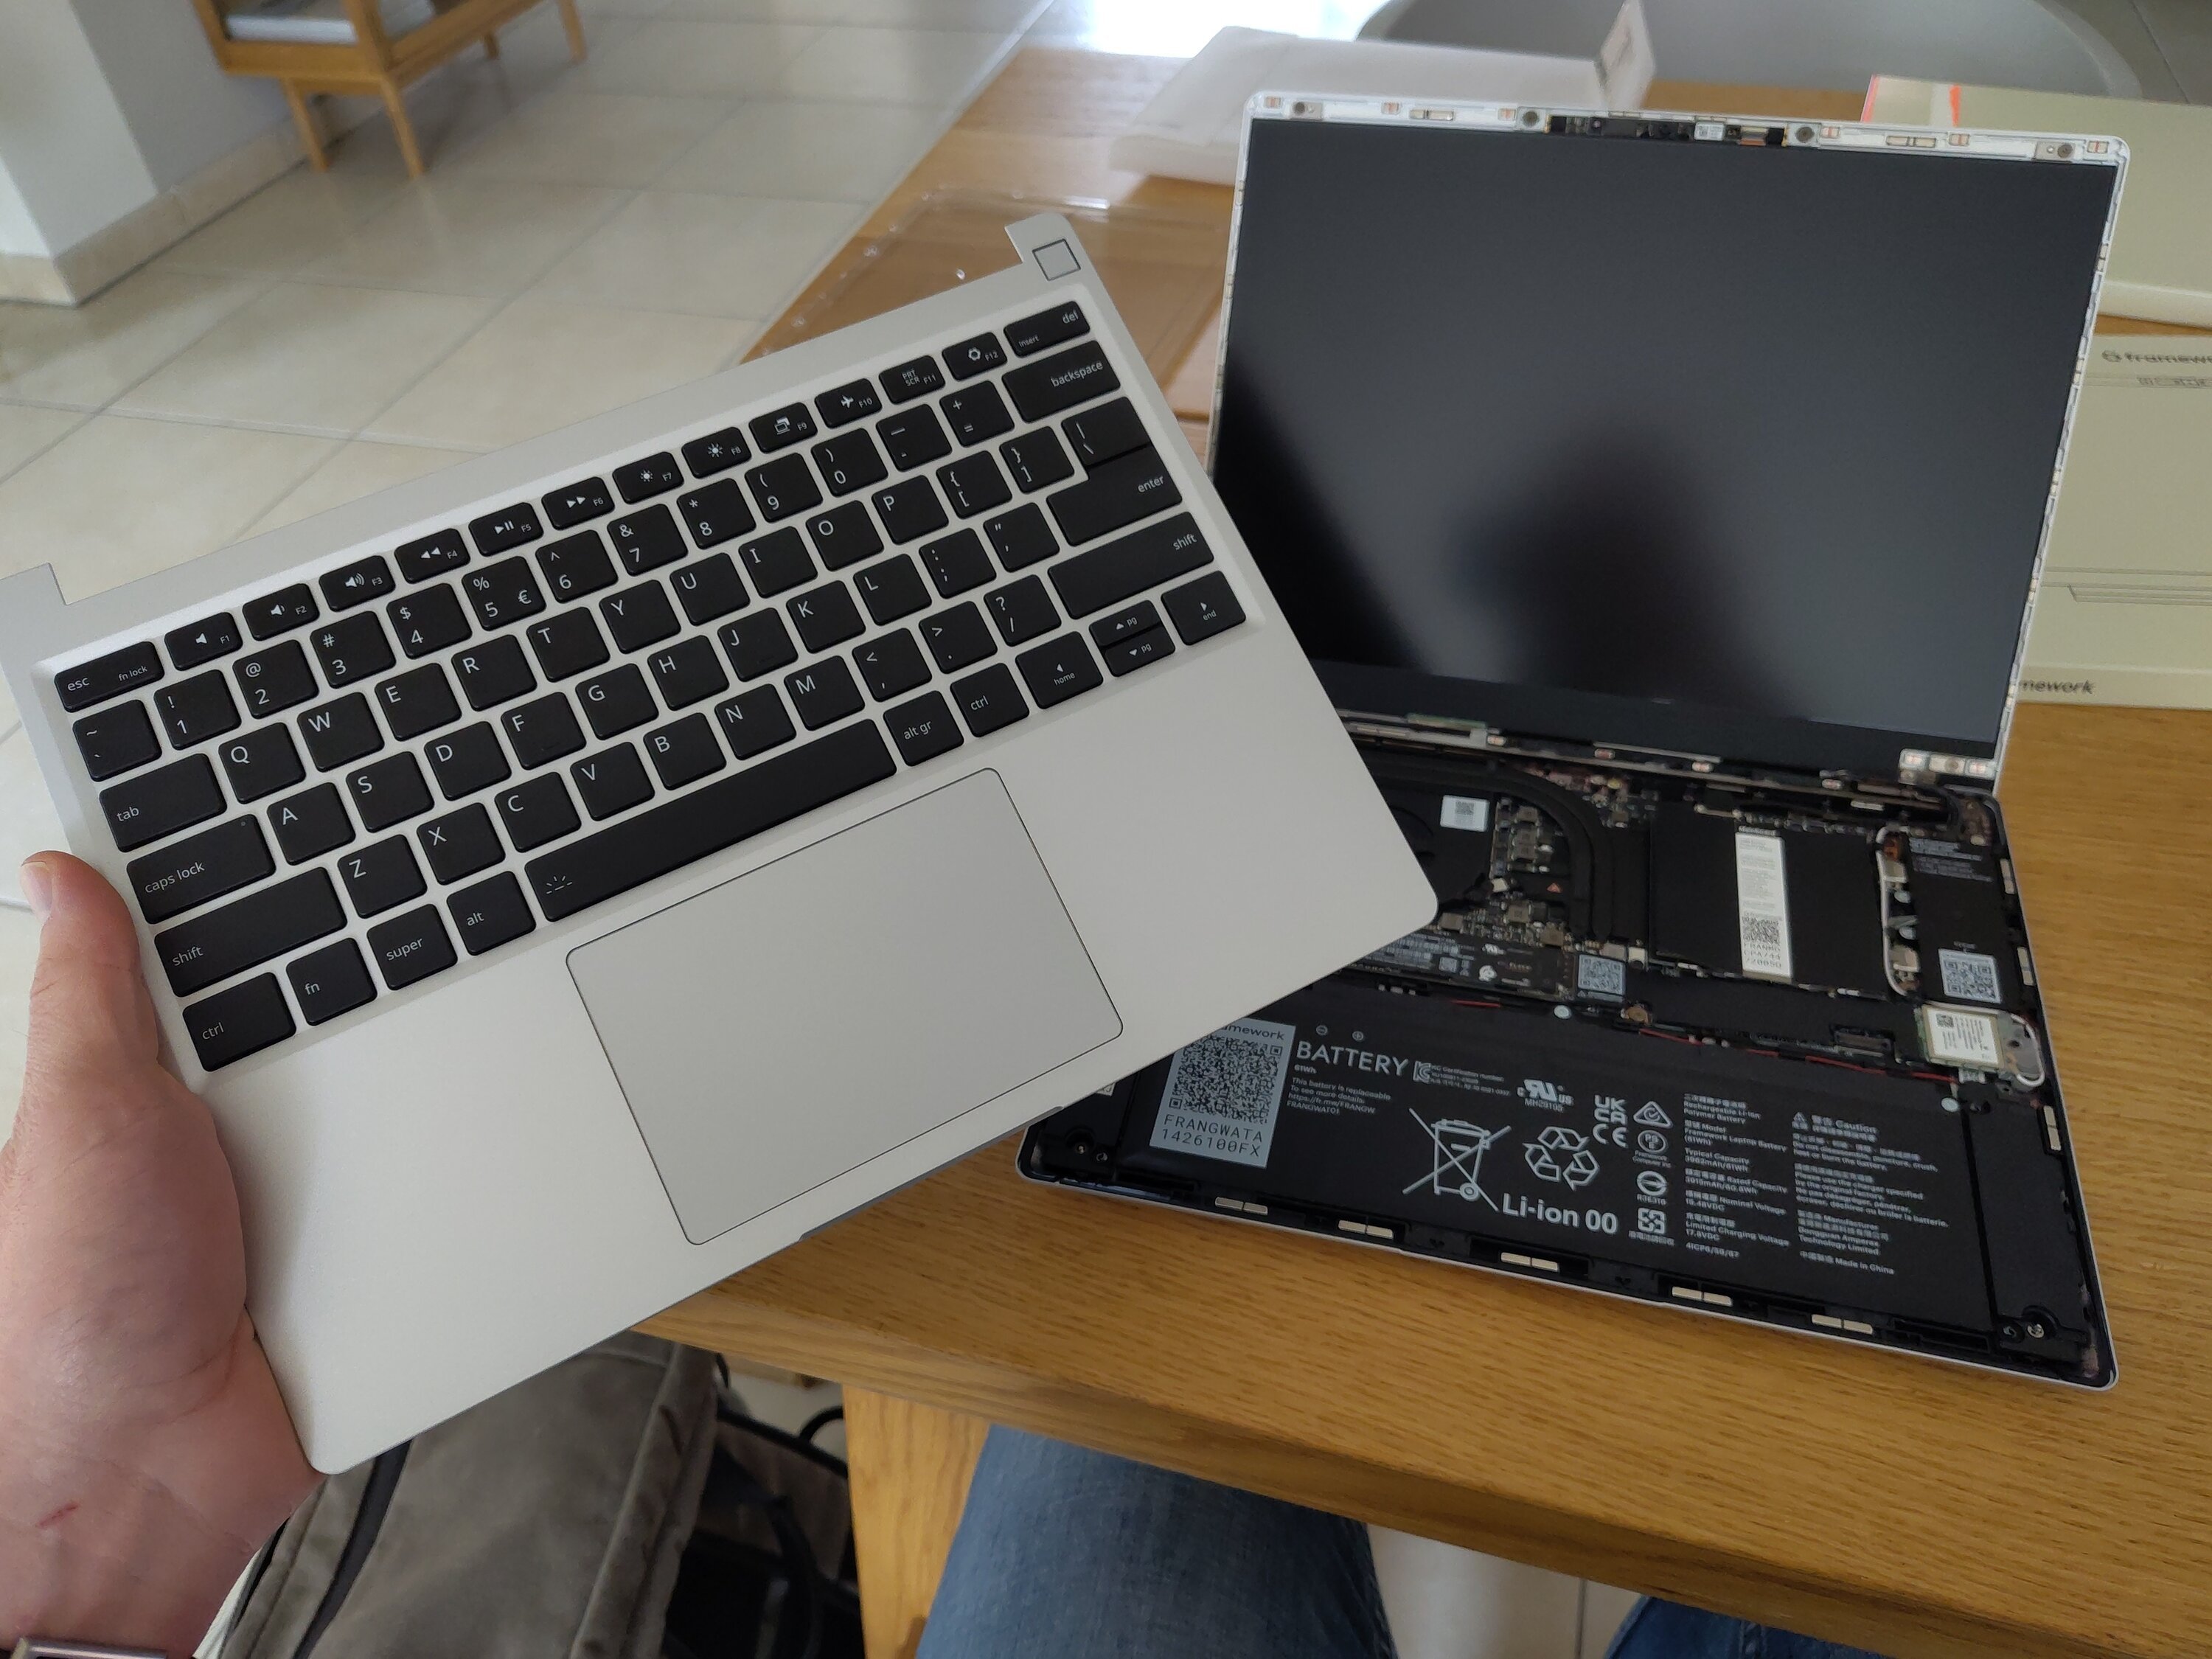
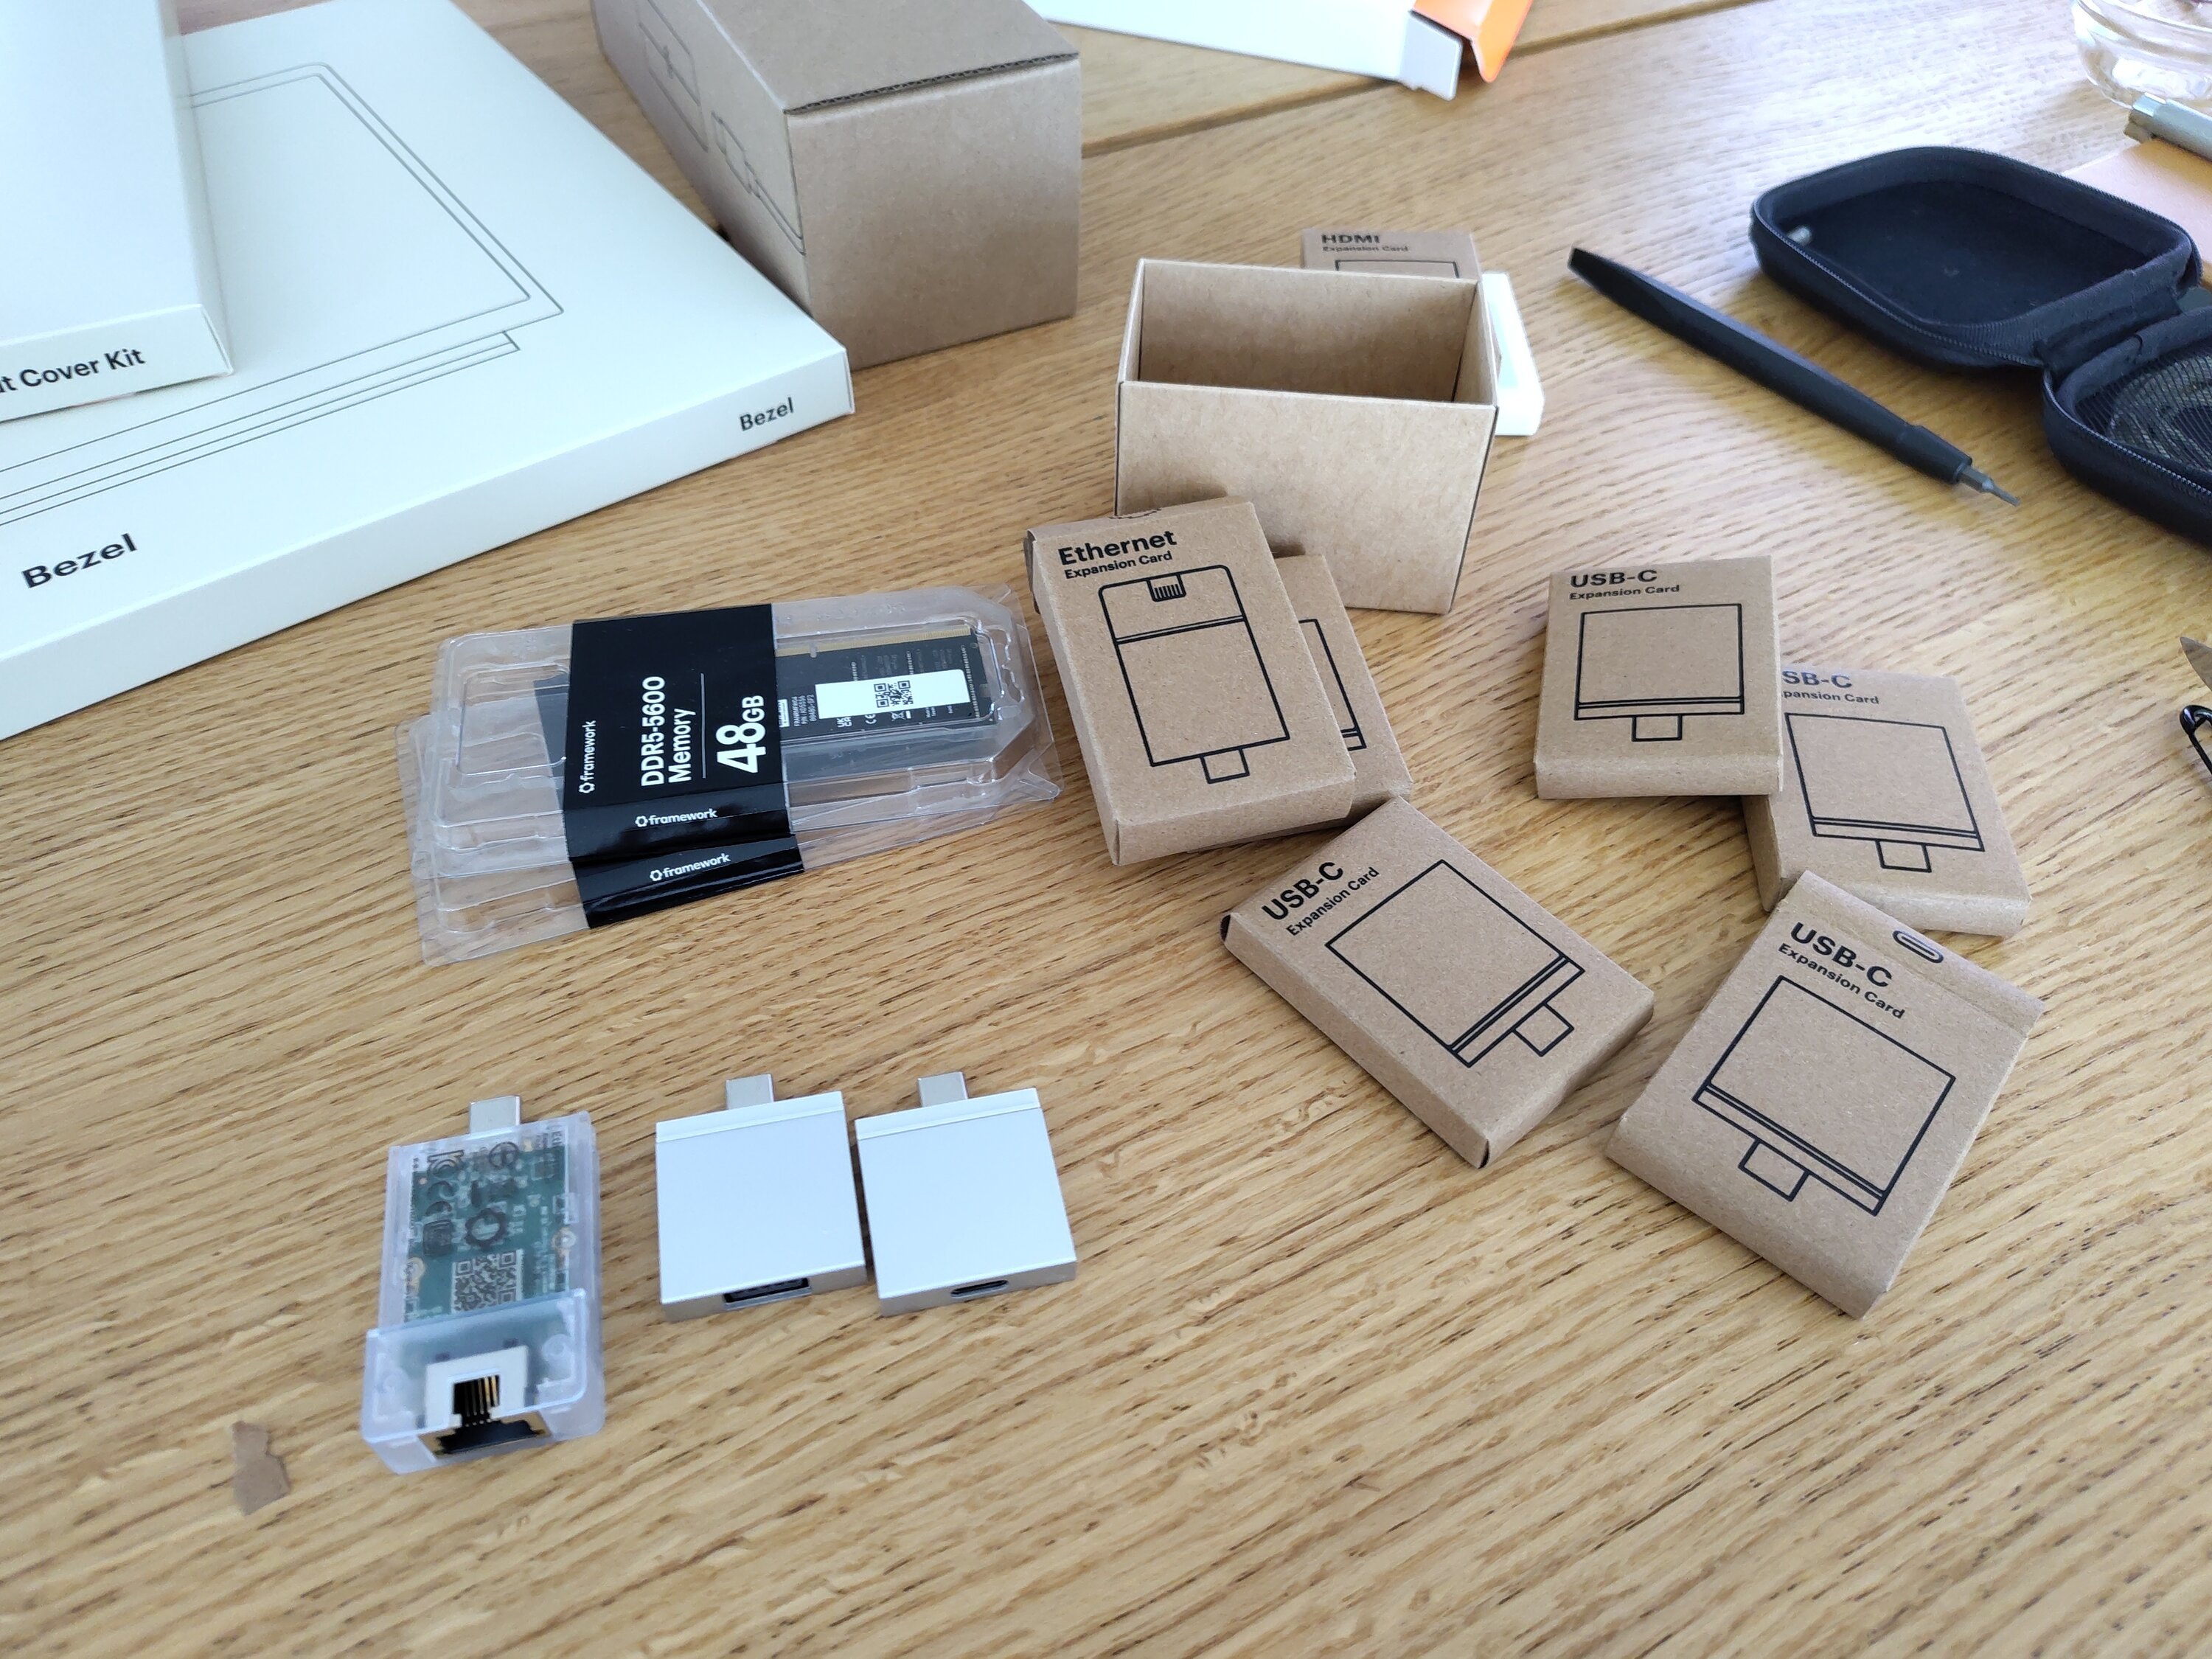
The Unboxing and Components
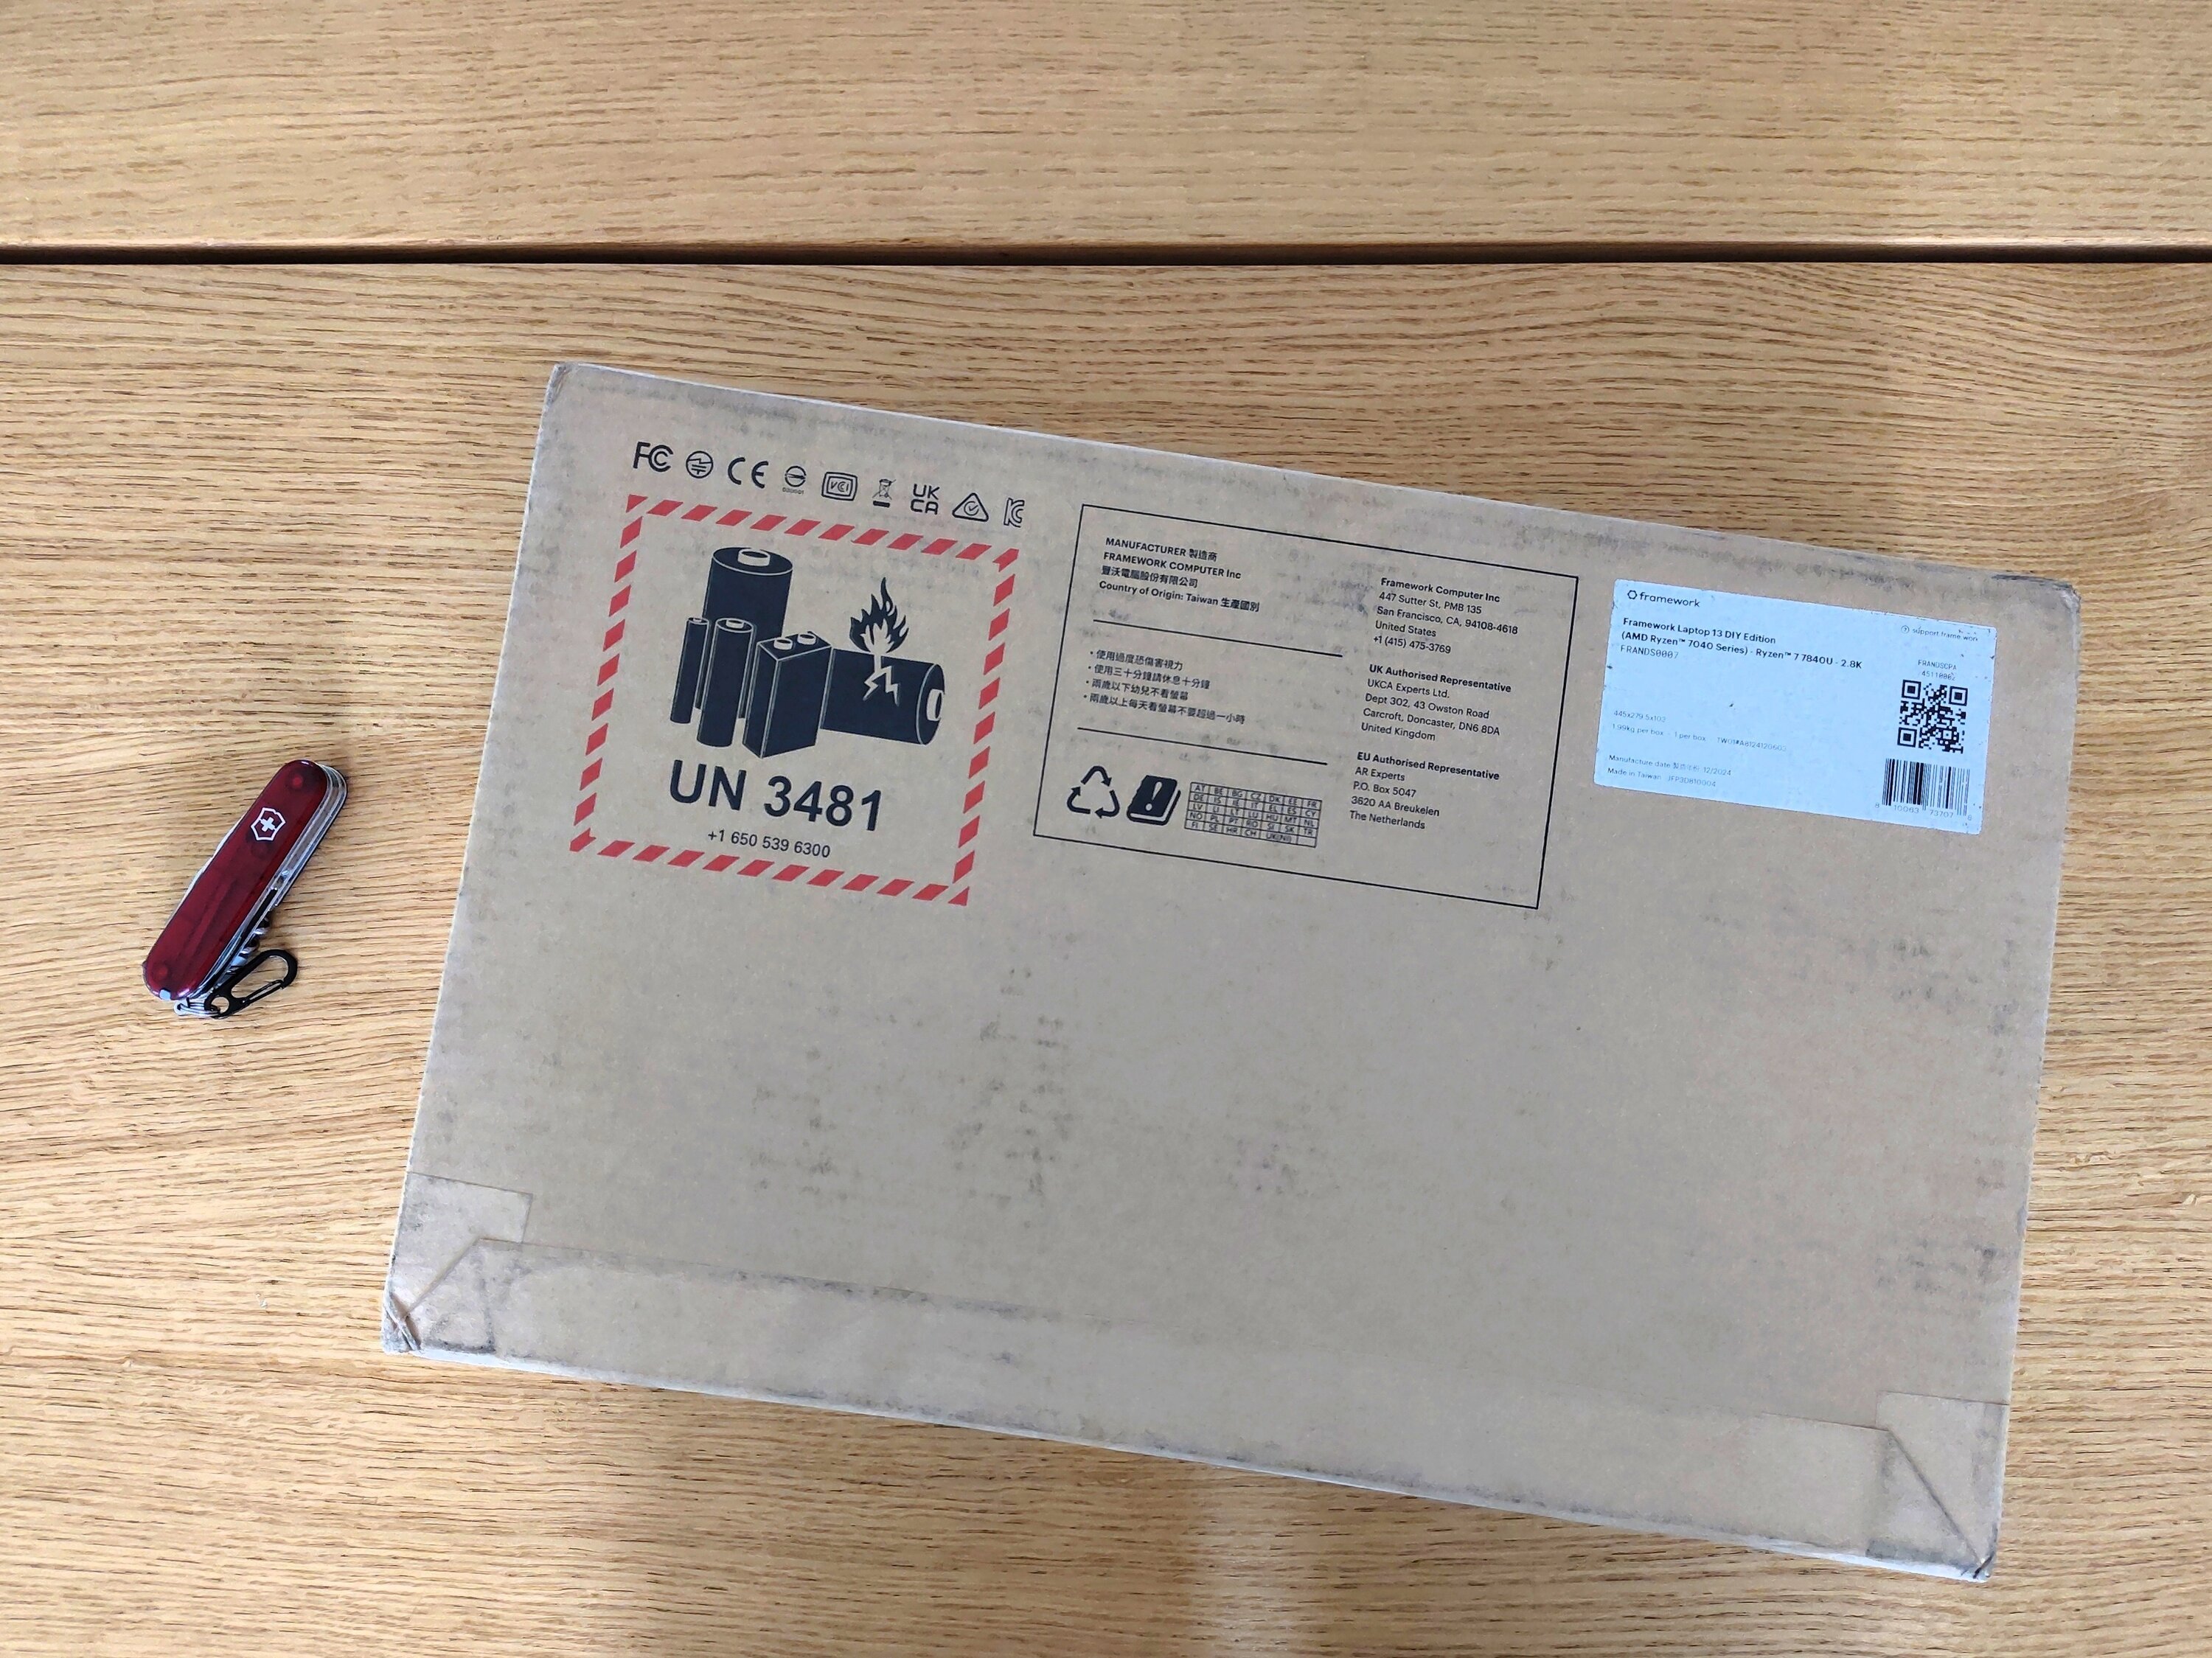
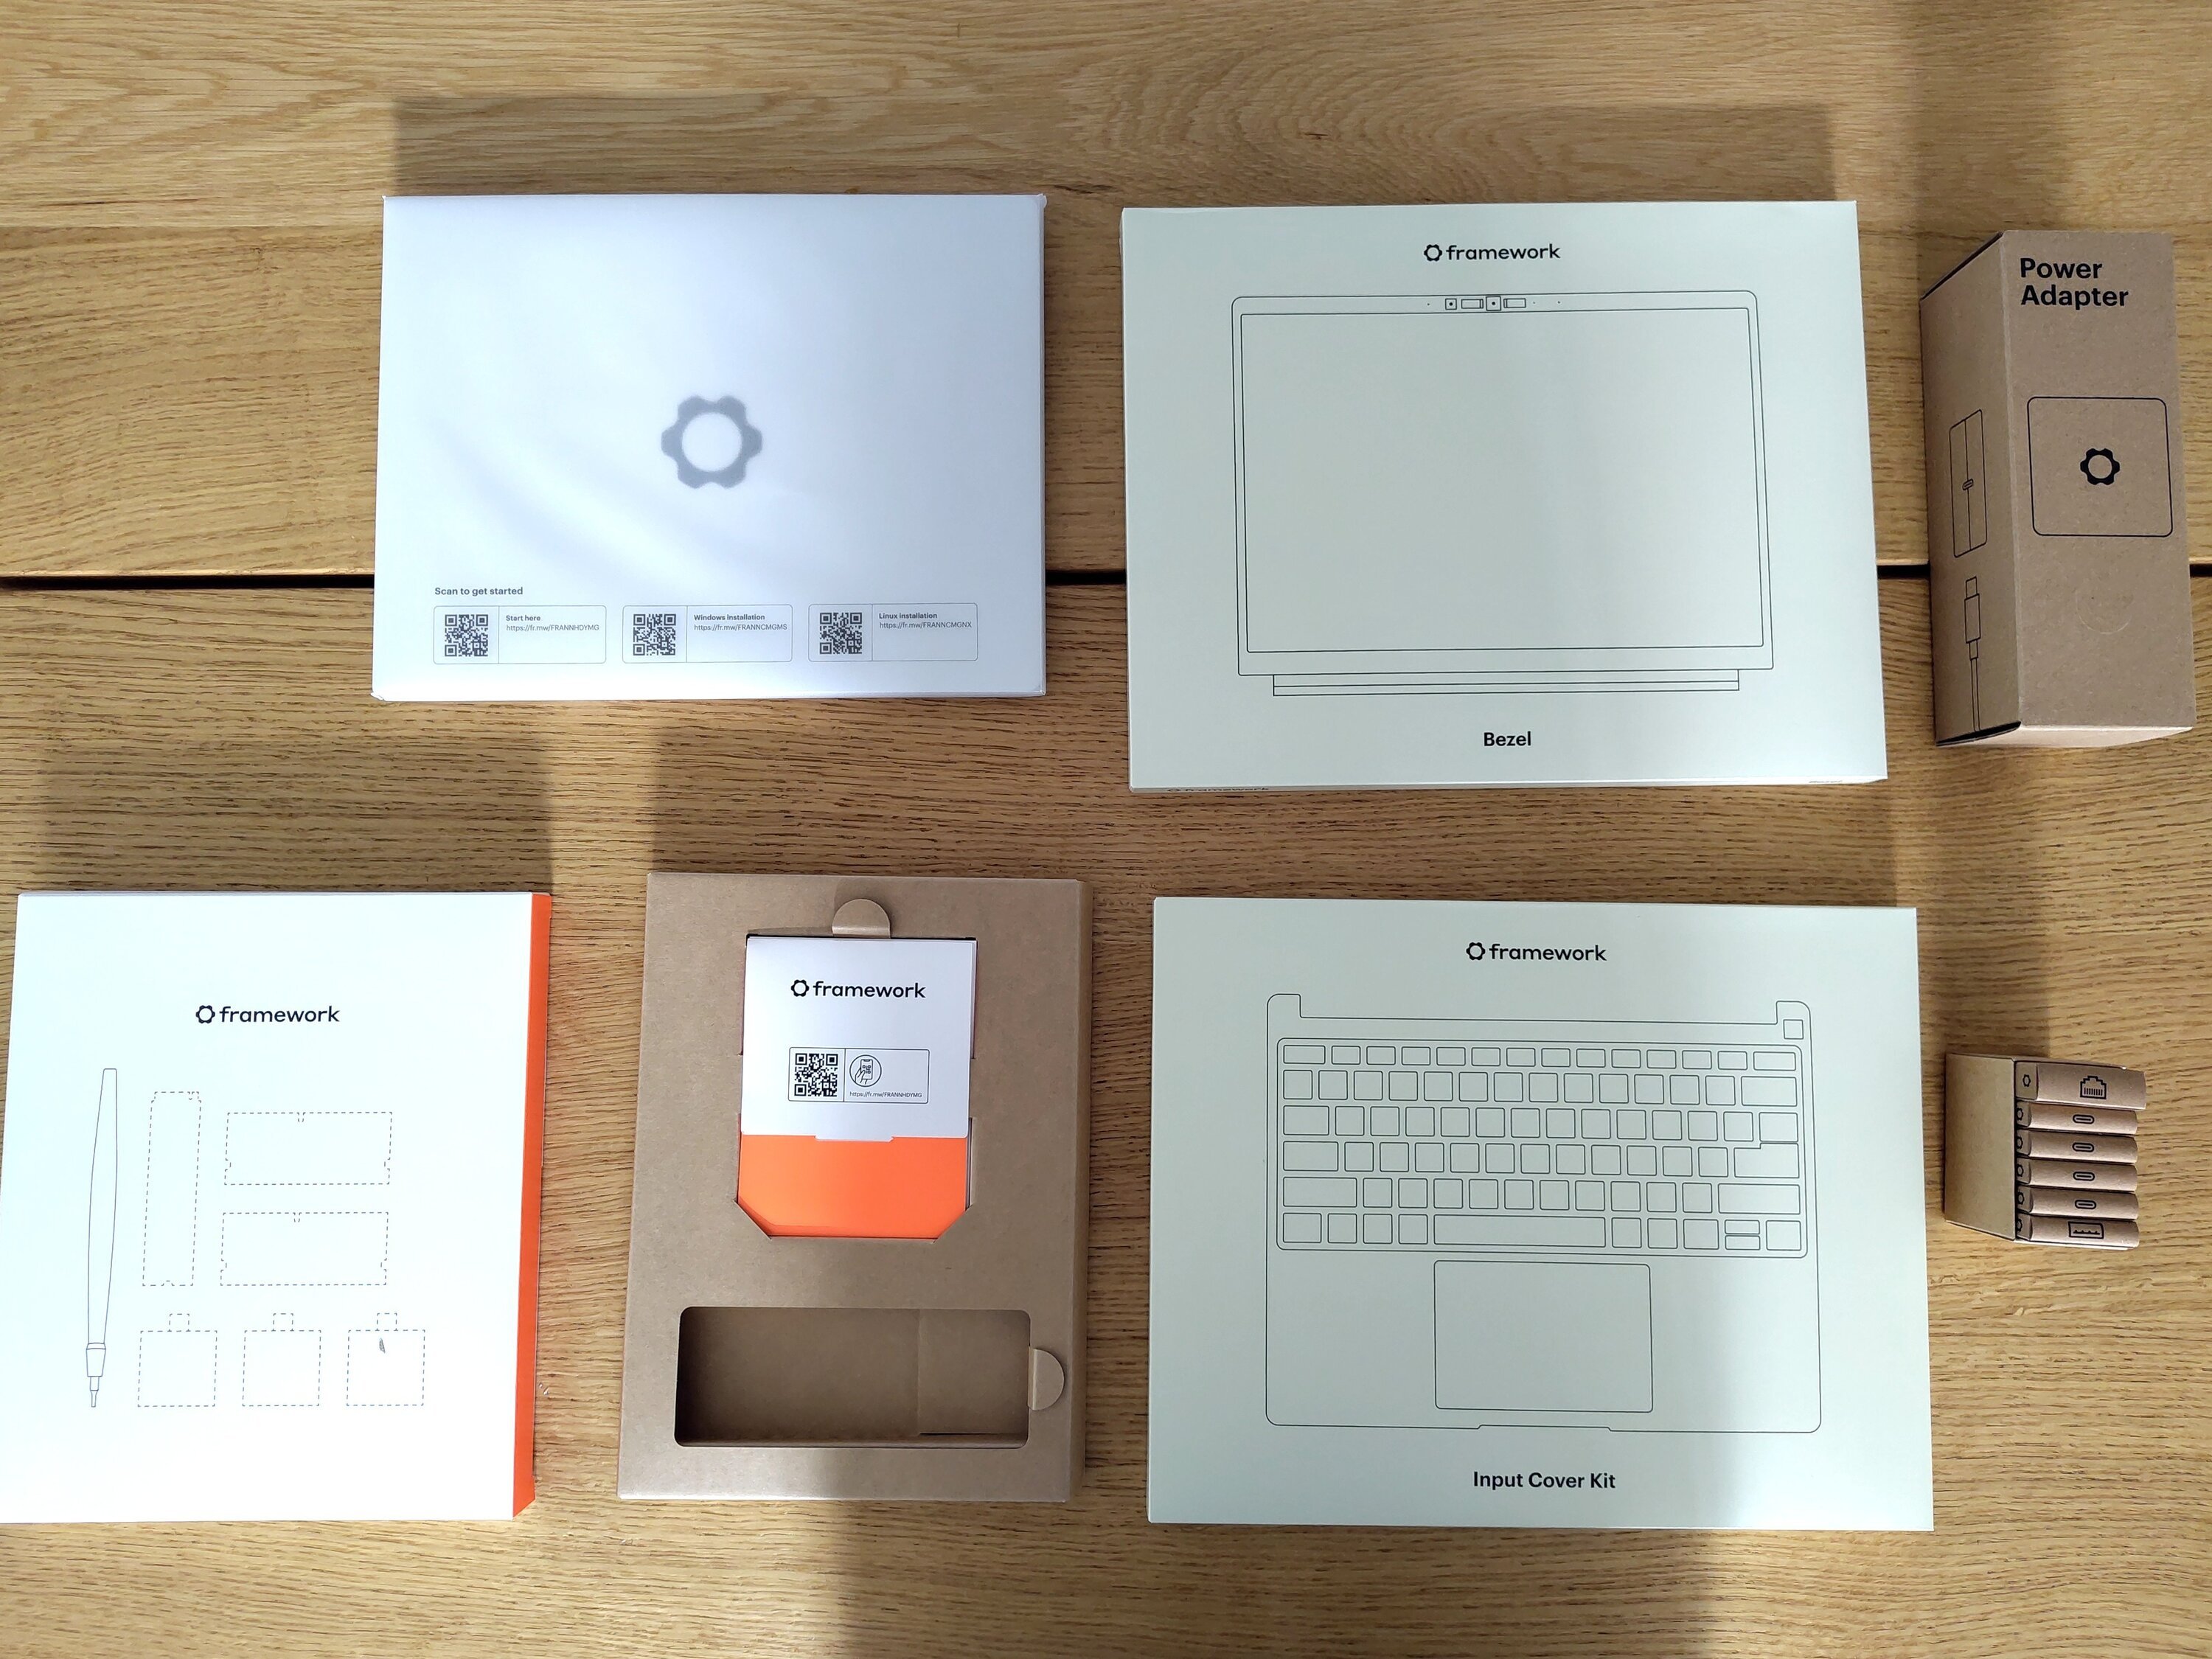
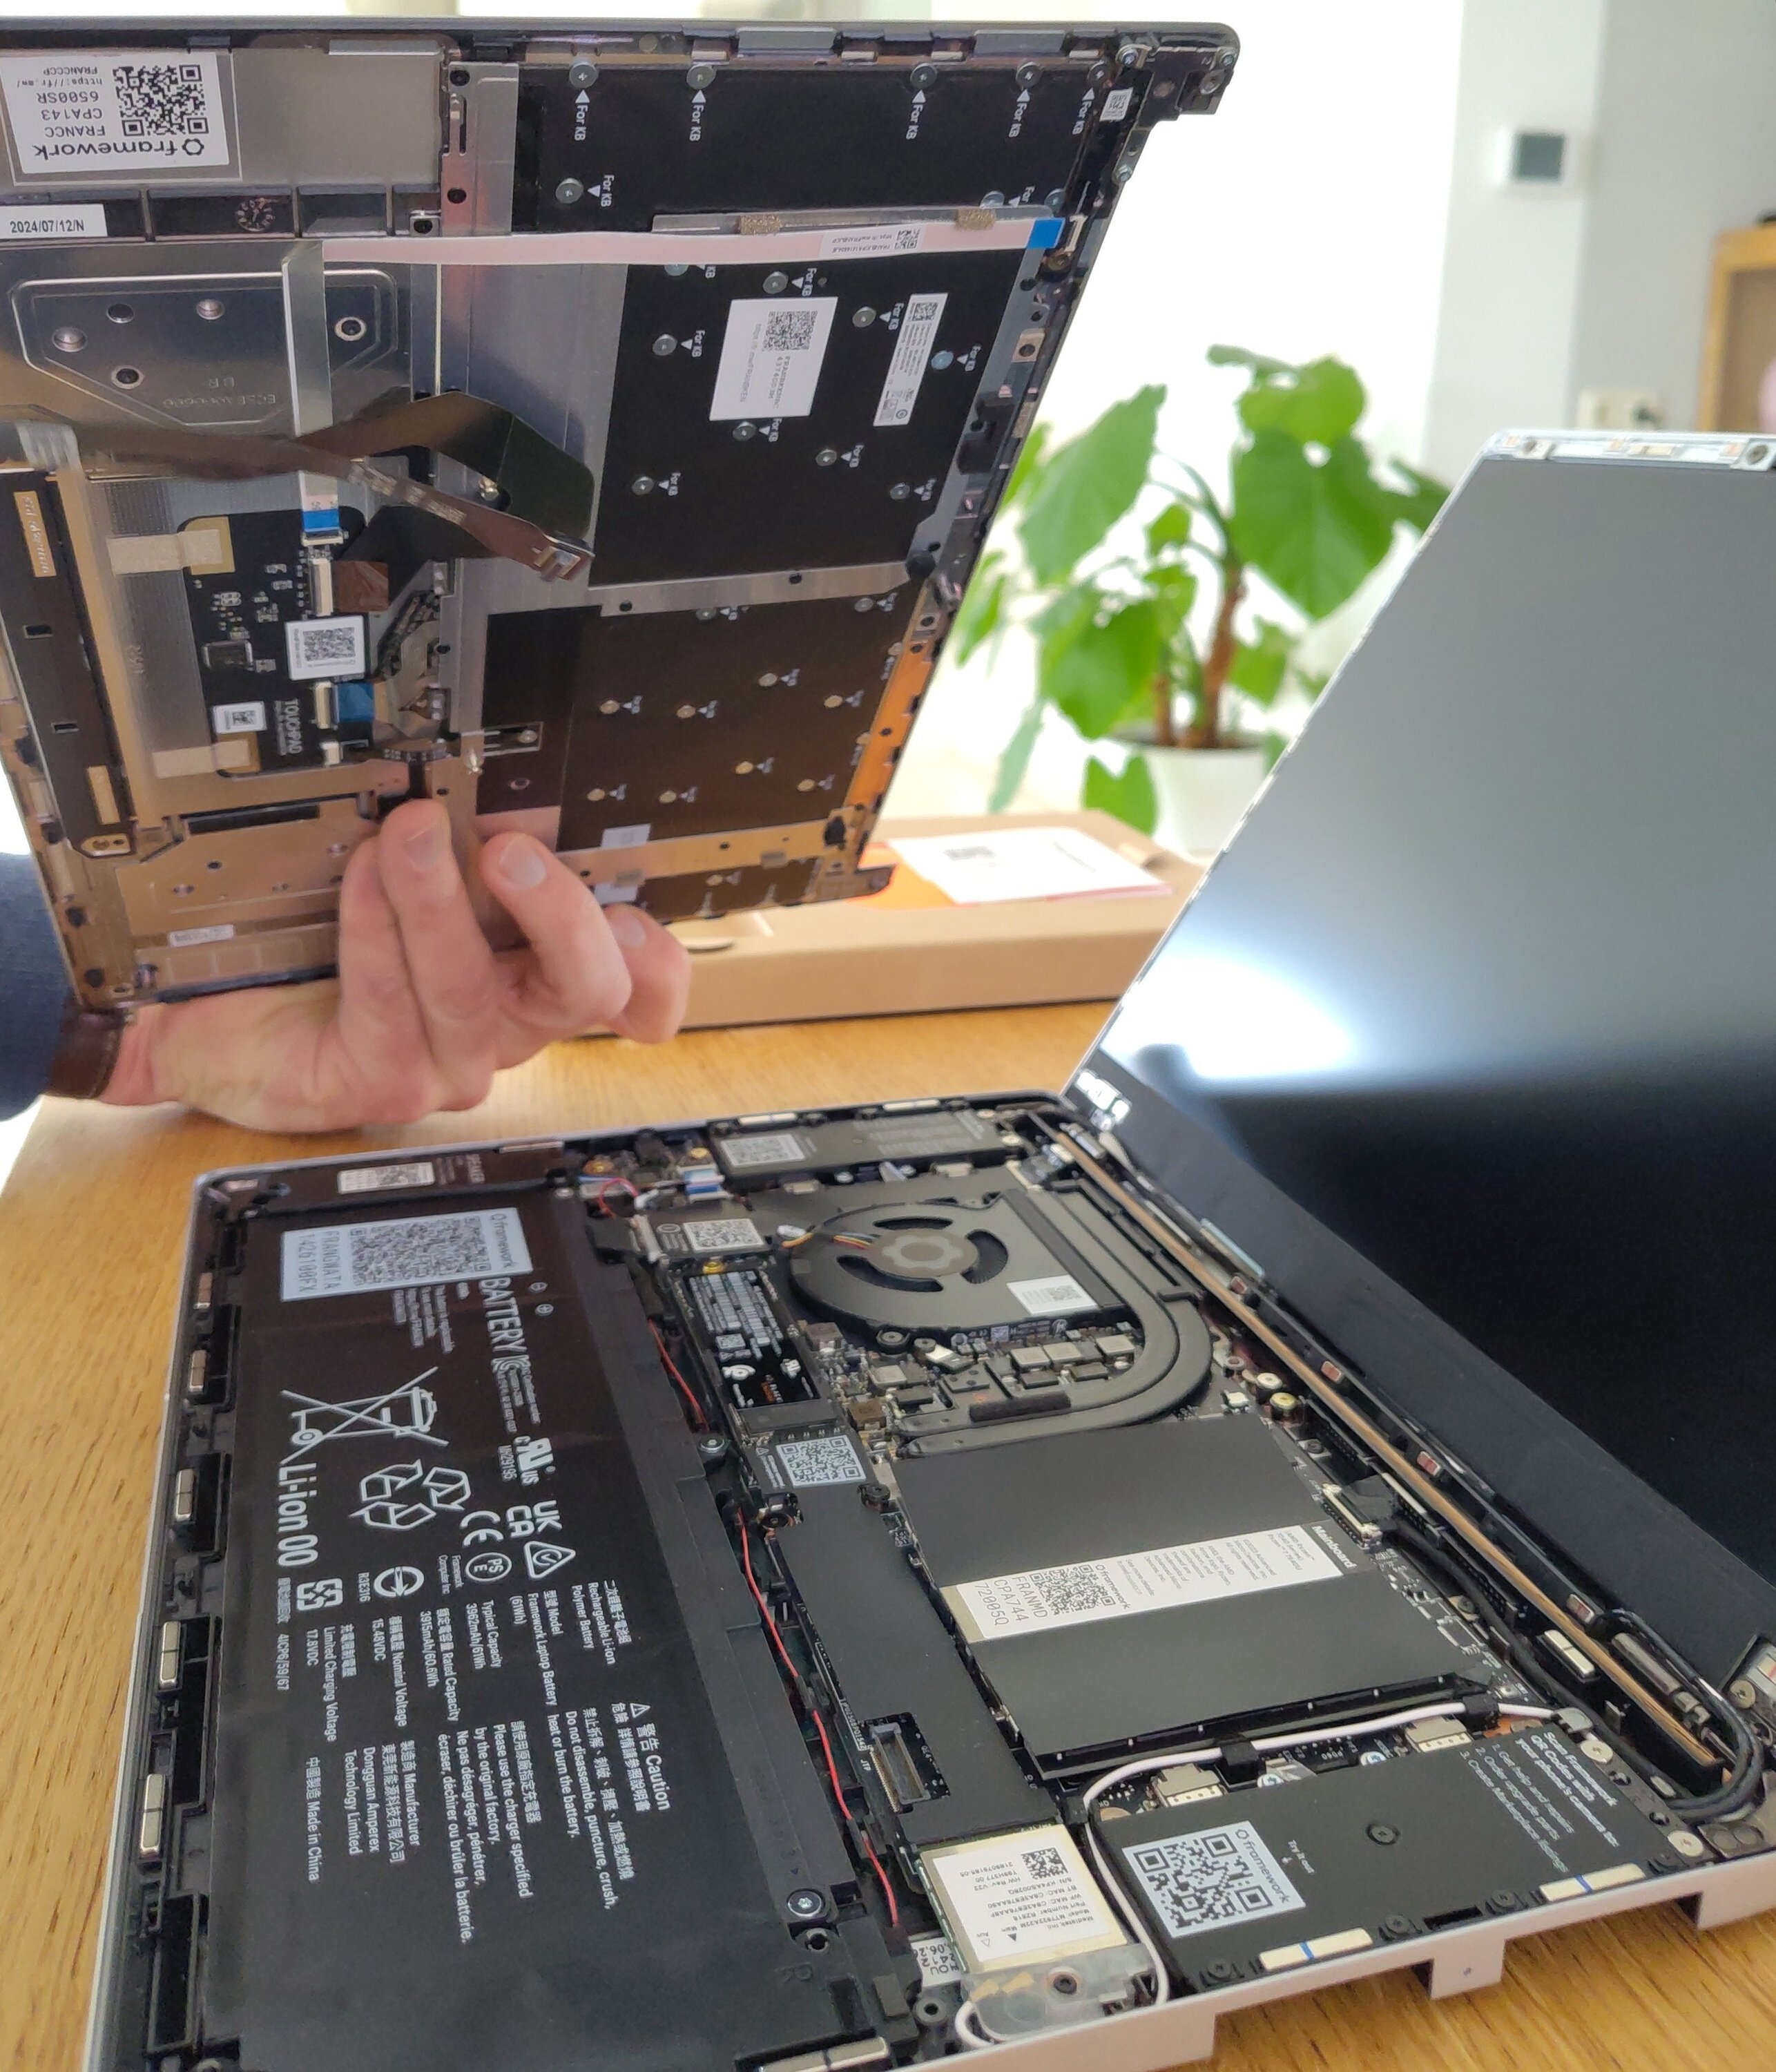
The laptop arrives in straightforward, eco-conscious packaging. Inside, you’ll find the main chassis, the display panel and bezel, the keyboard assembly, and optional port modules. This design keeps things modular. If a part breaks or you want to upgrade, you swap in a new module rather than throwing out the entire device.
Assembly Steps
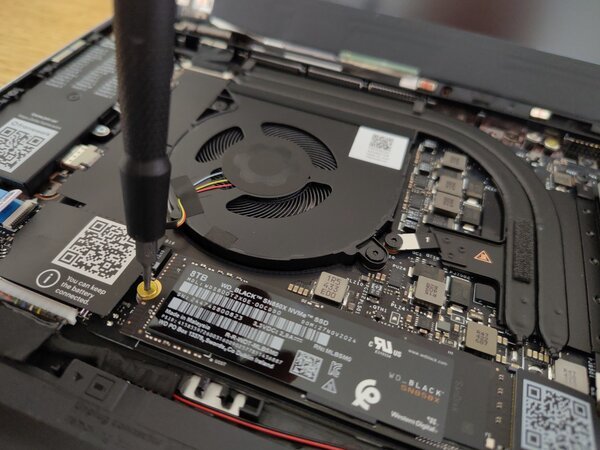
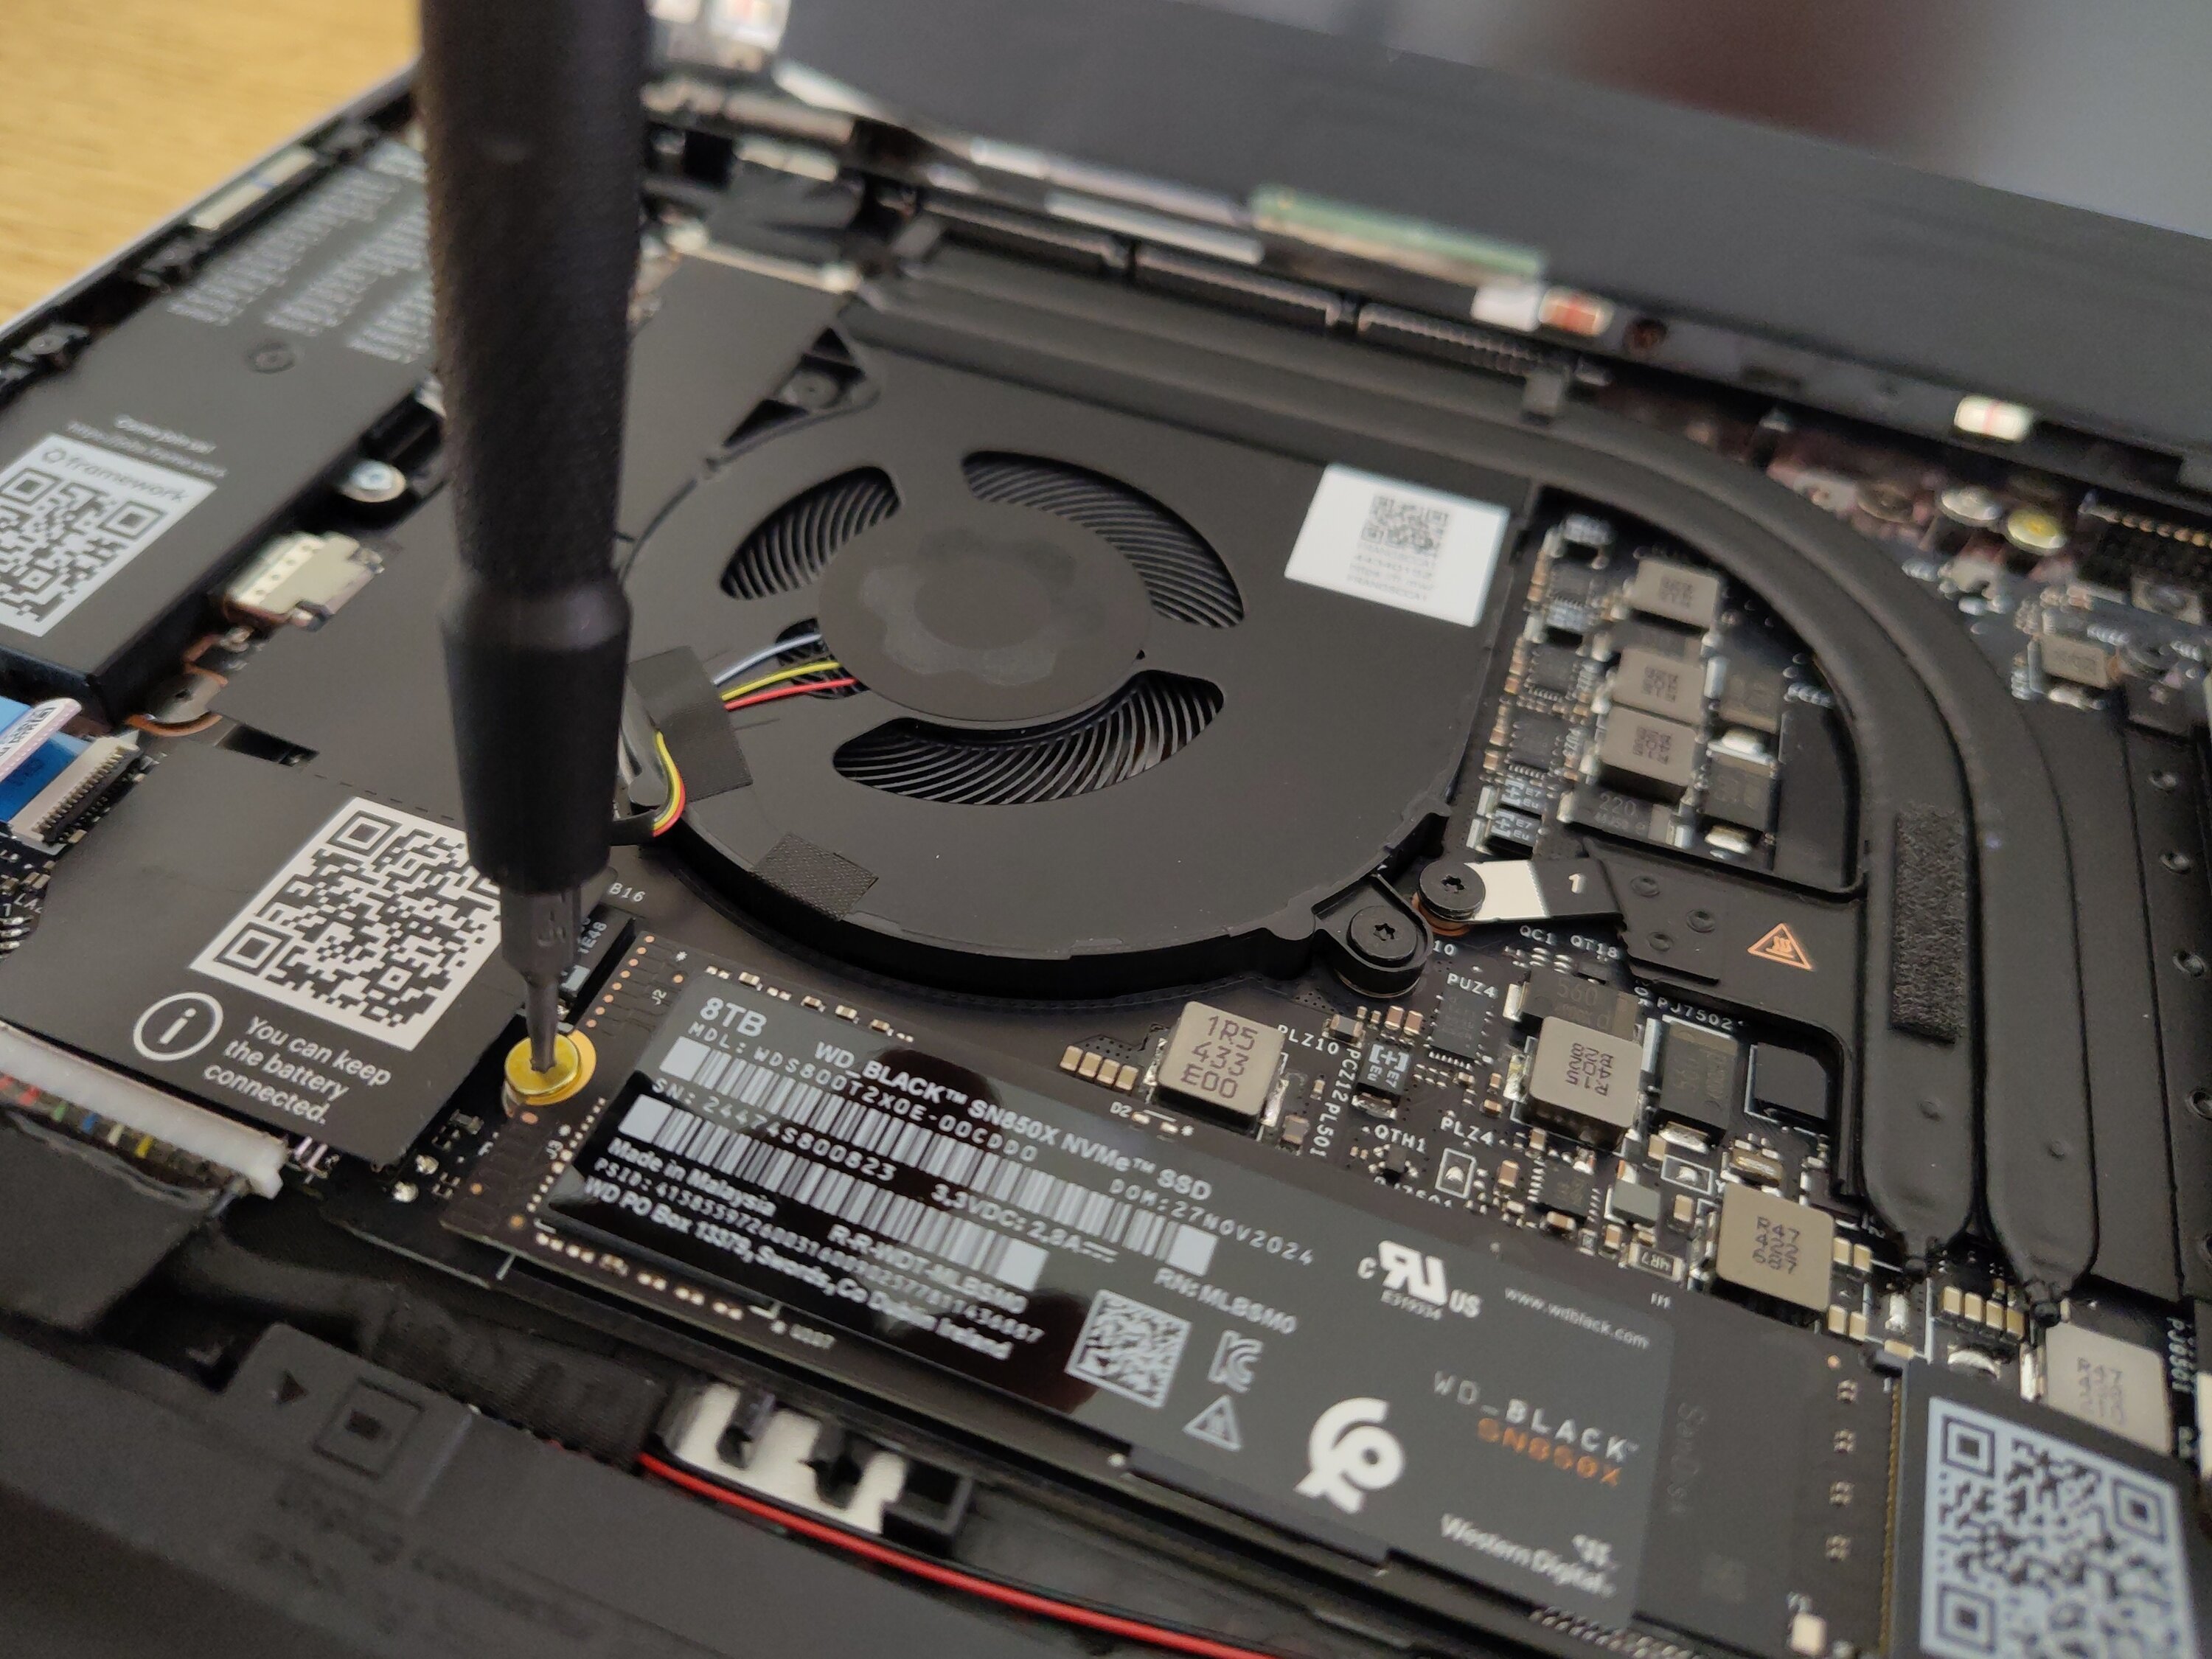
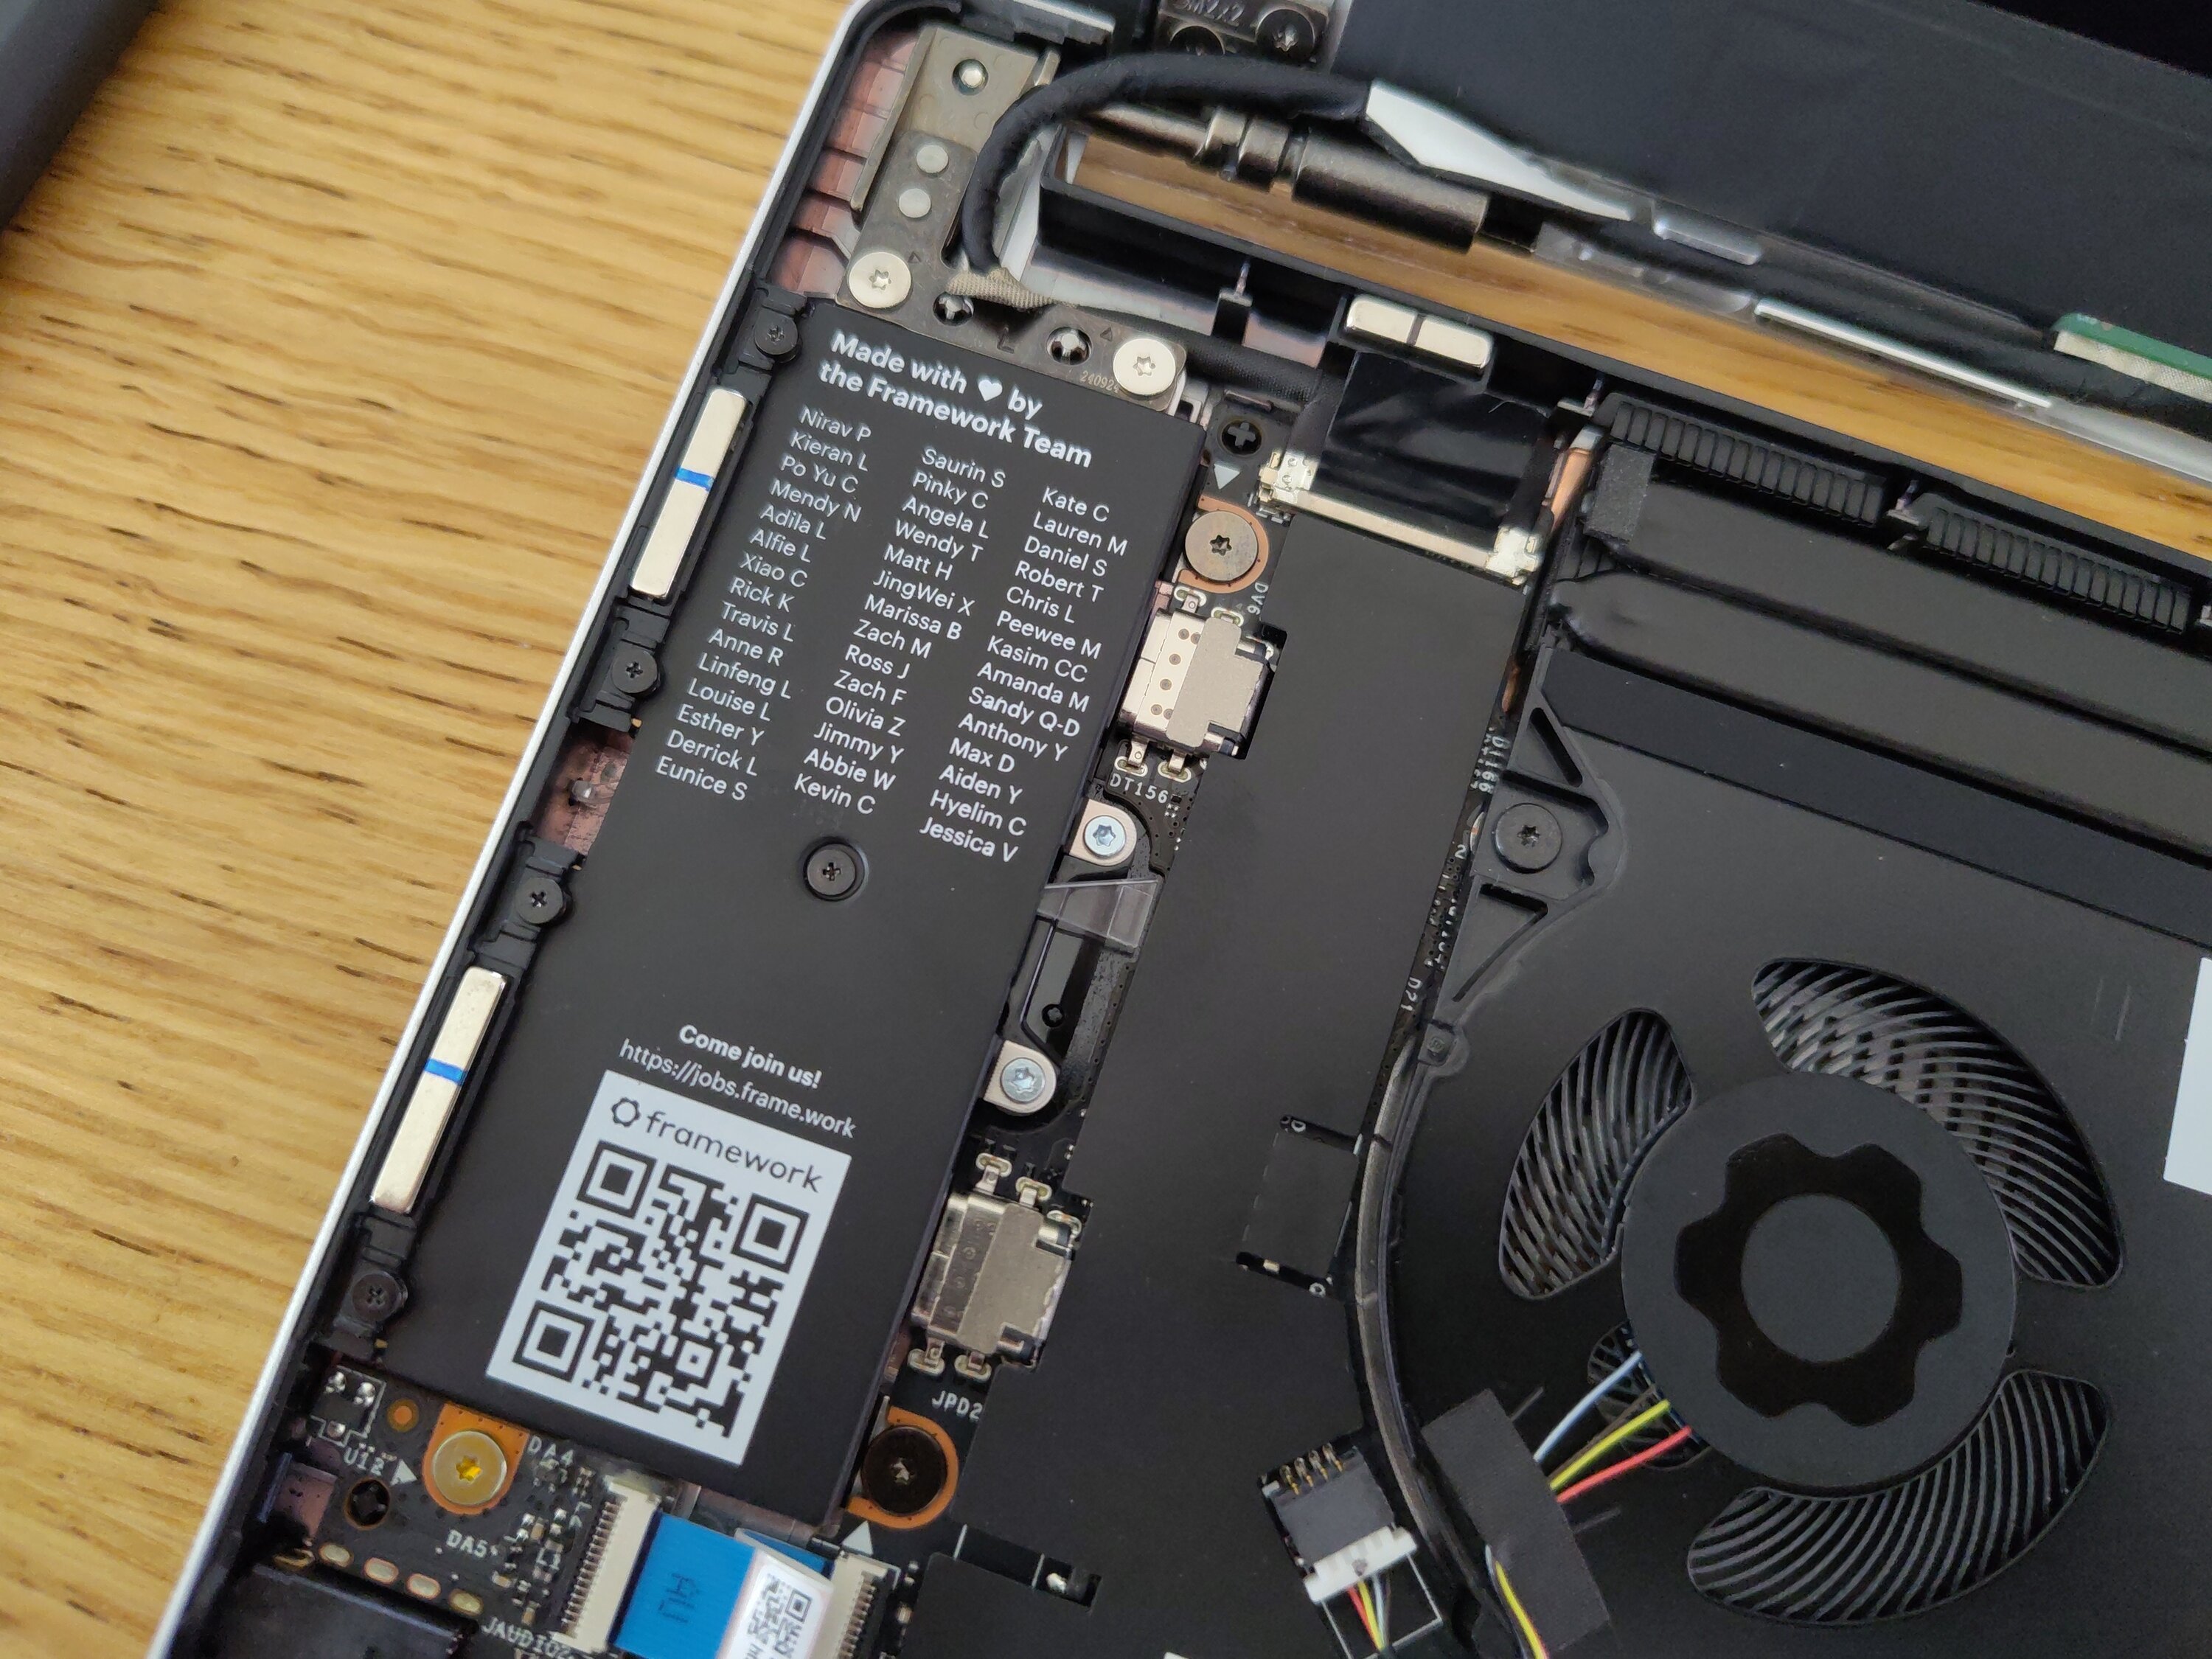
All parts, boxes and internals have QR codes on them that point you to online manuals explaining how to service or assemble the machine. You only need standard, simple tools (that are included with your purchase). The process is pretty straightforward:
- CPU selection: Upon ordering you select the processor and main board, this comes installed in the chassis. You can change it later if you want to change your CPU type or if you want to install an upgrade. Framework sells a compact case to repurpose old main boards as standalone computers. I selected the AMD Ryzen™ 7 7840U (up to 5.1GHz, 8-core/16-thread), the best option currently available.
- Memory installation: The motherboard includes two accessible RAM slots. I installed 2x 48GB RAM modules—an easy fit with clear instructions—resulting in a spacious 96GB of RAM, it's an unusually high amount for a laptop!
- NVMe SSD: I opted for an 8TB NVMe drive. It slides into the dedicated slot and secures with a single screw. The ability to choose and replace storage is a key selling point. I like a lot of (fast) integrated storage as I seek to cut my dependencies on cloud services.
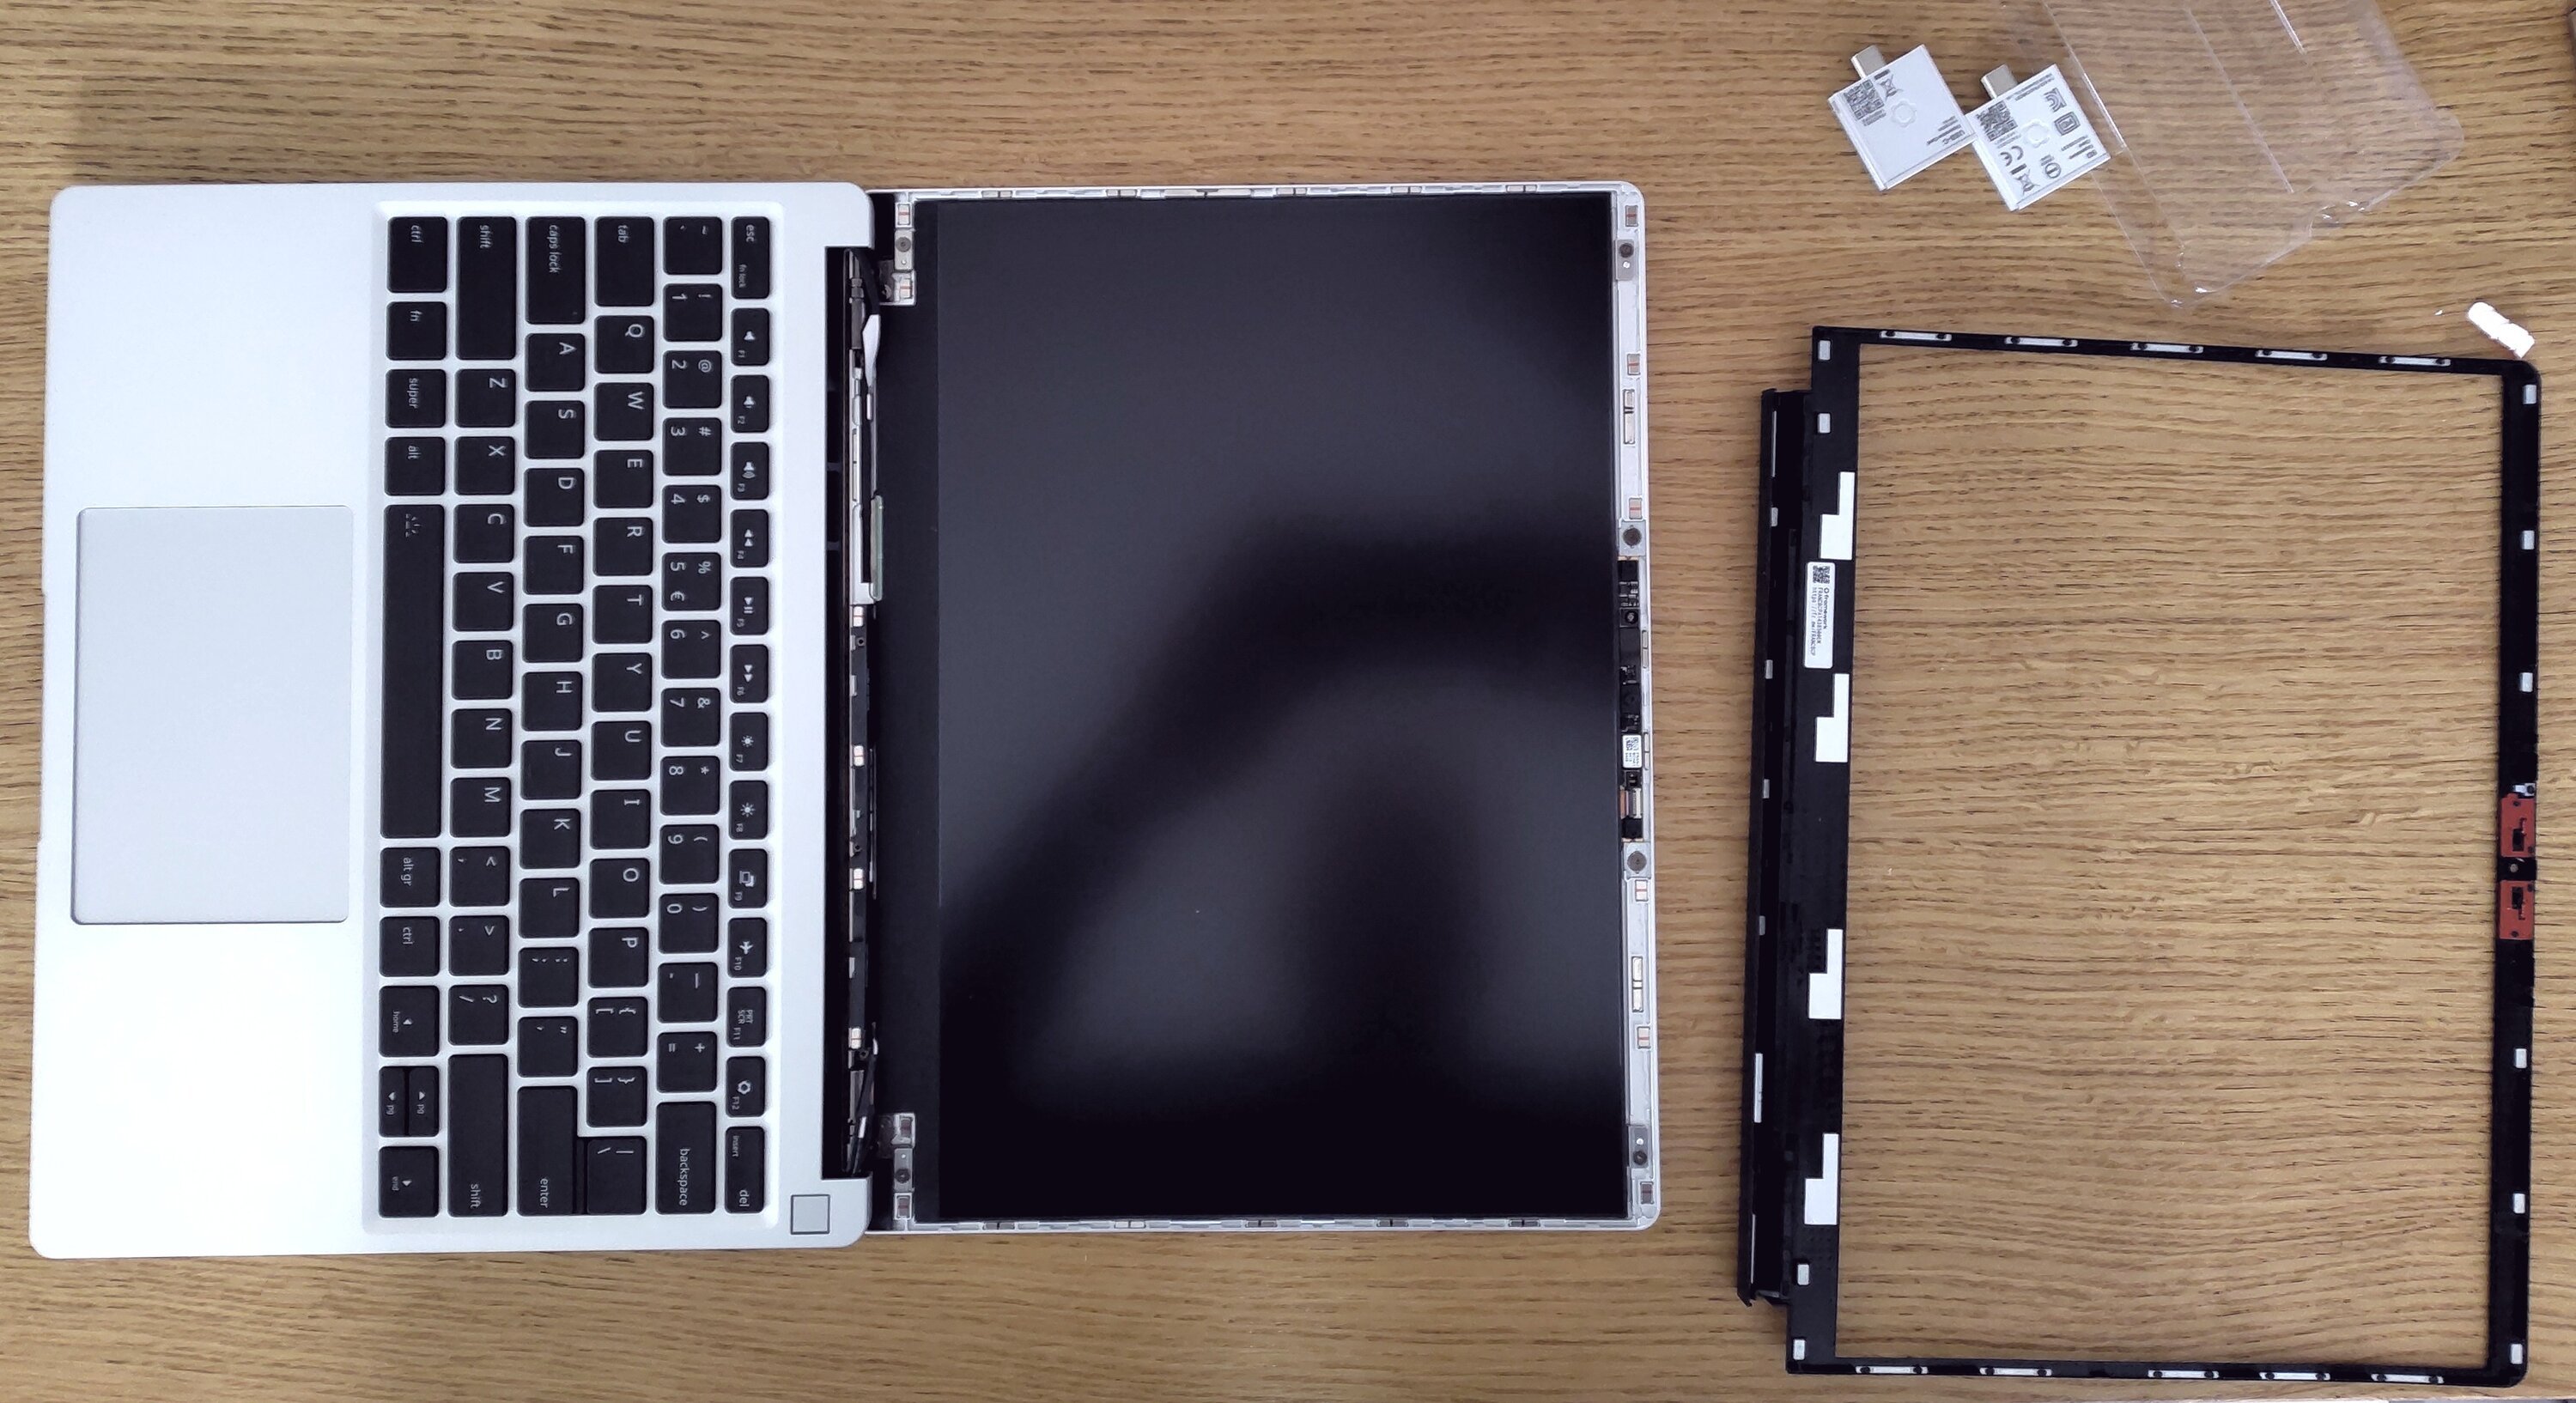
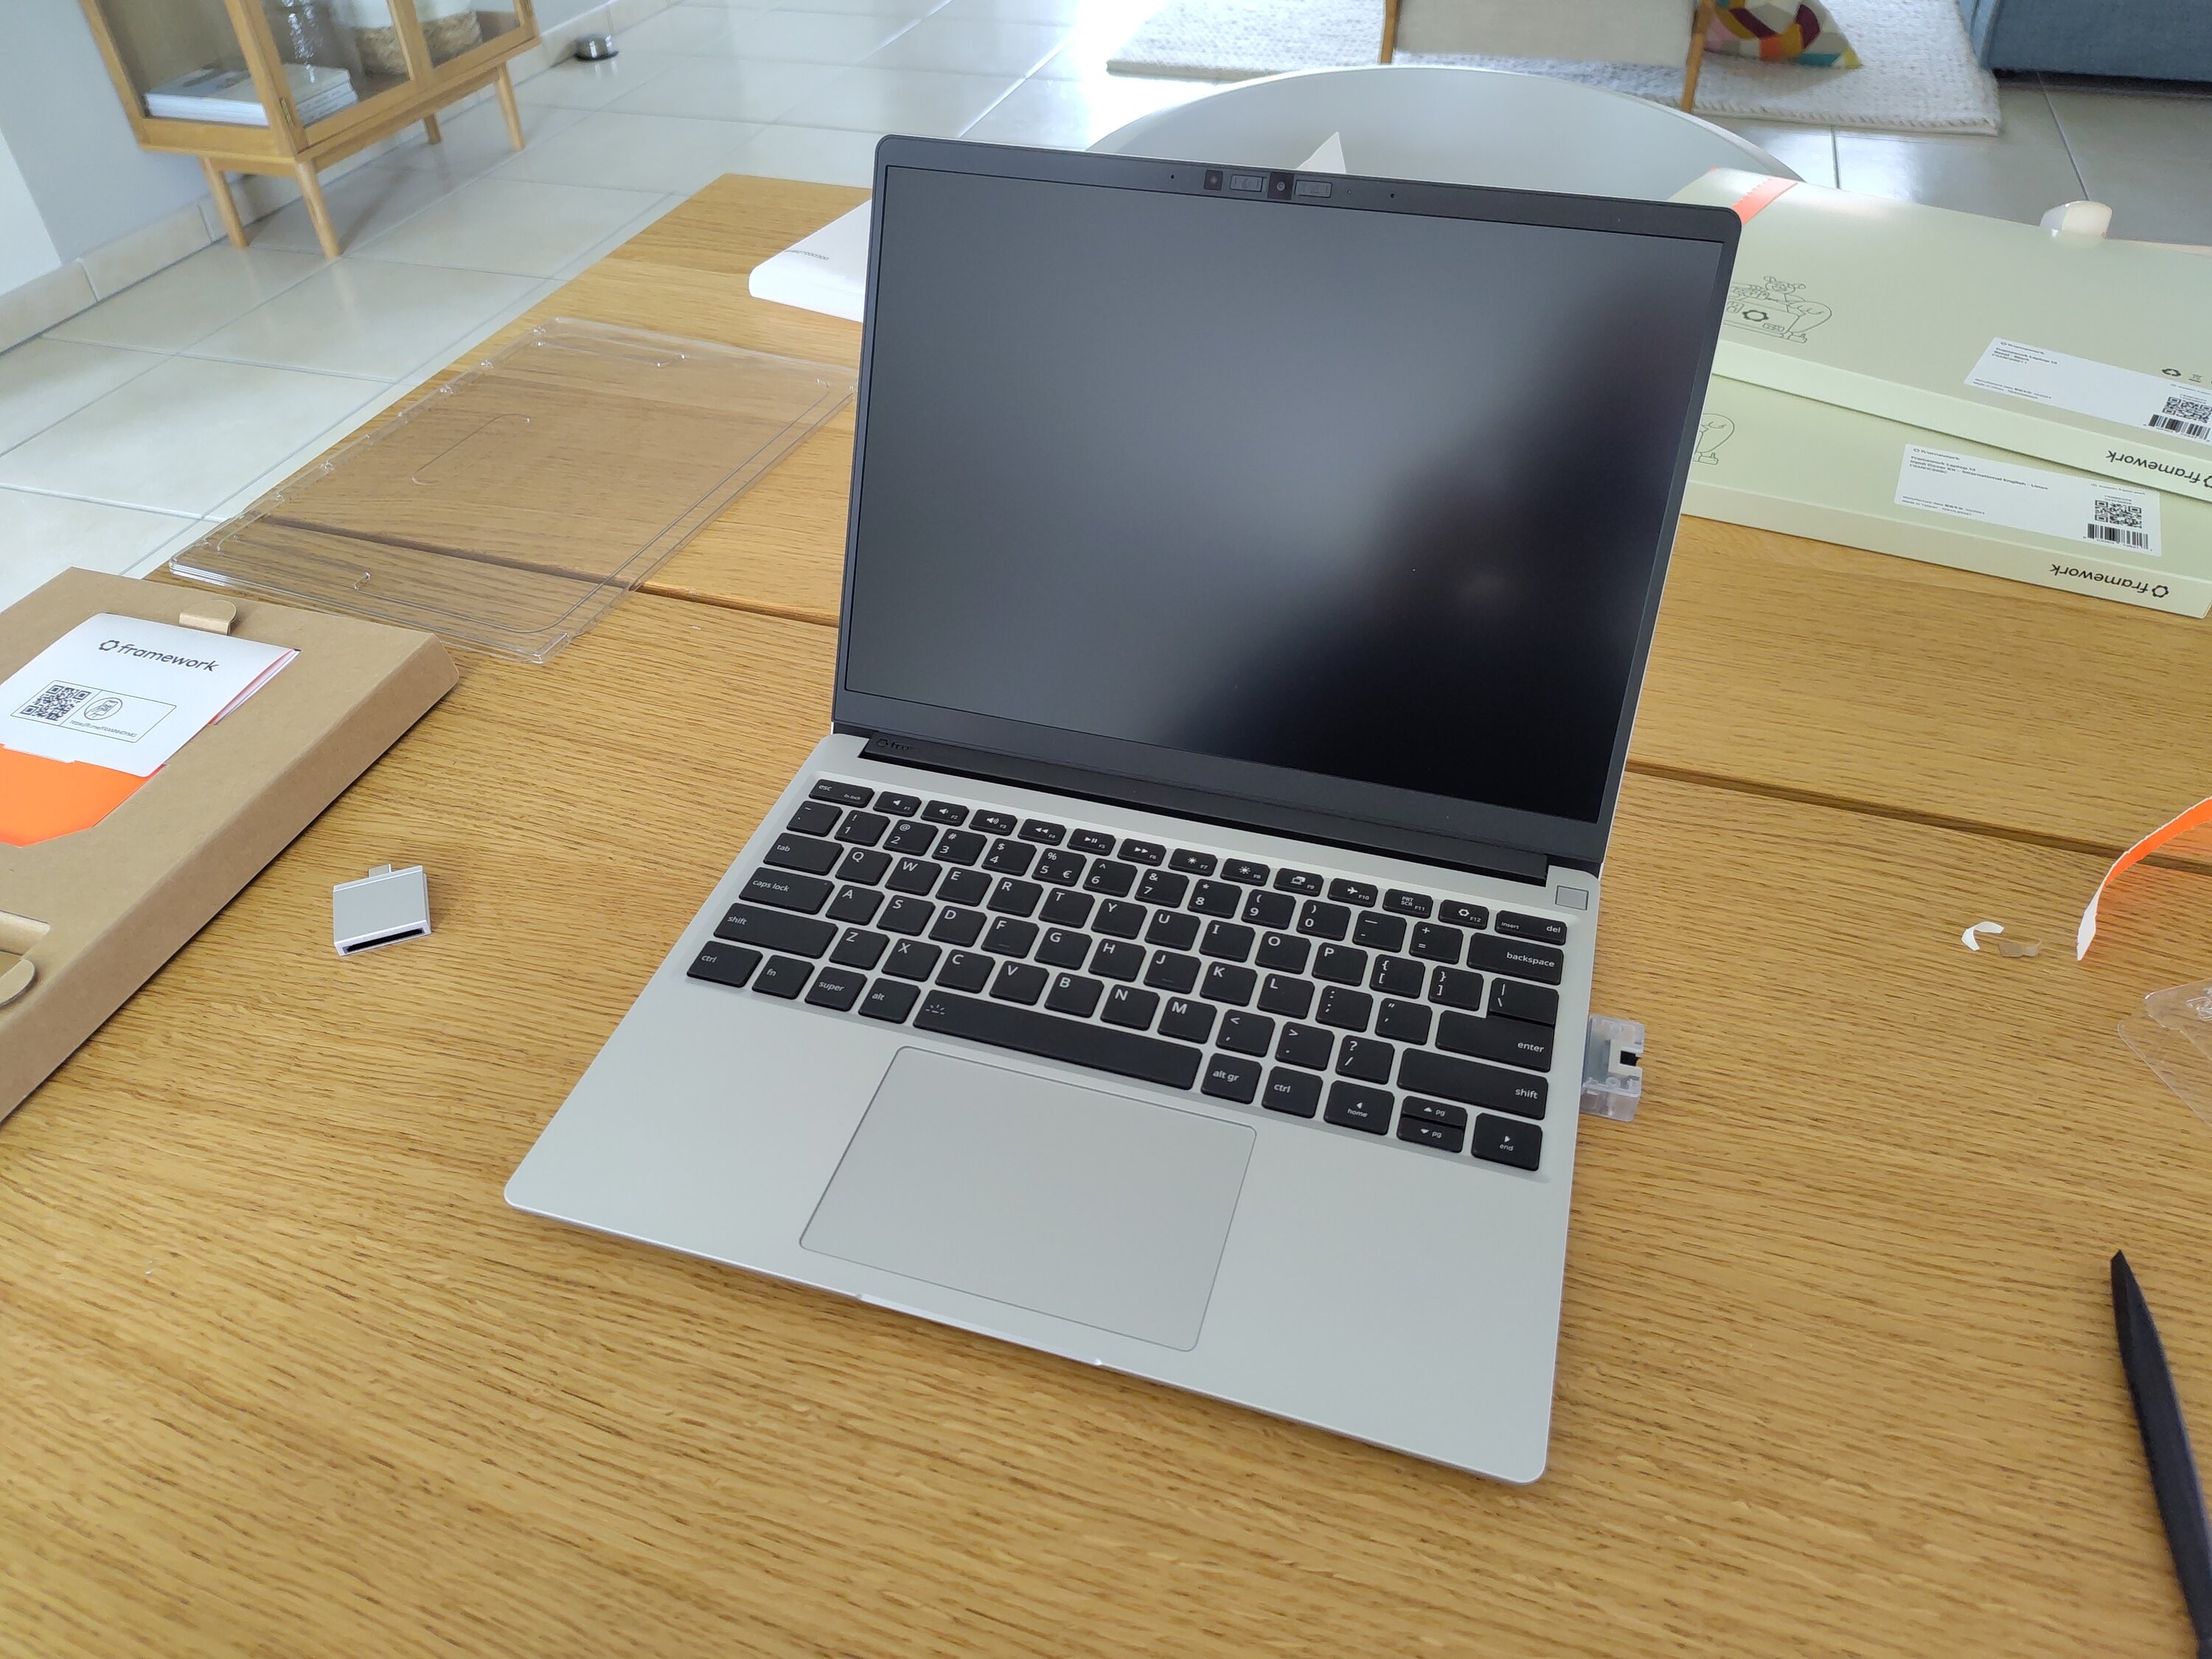
- Matte display bezel: Framework offers a 3:2 high-resolution panel, ideal for coding. The matte finish cuts glare, and attaching the bezel requires just a bit of careful alignment. I opted for a 'boring' black bezel, but if you fancy you can select all kinds of colours.
- Keyboard and top cover: Different keyboard layouts are available. Once the cable is connected, the top cover magnetically snaps into place. I choose a standard Linux keyboard, but you can go bonkers with all black or all transparent keys.
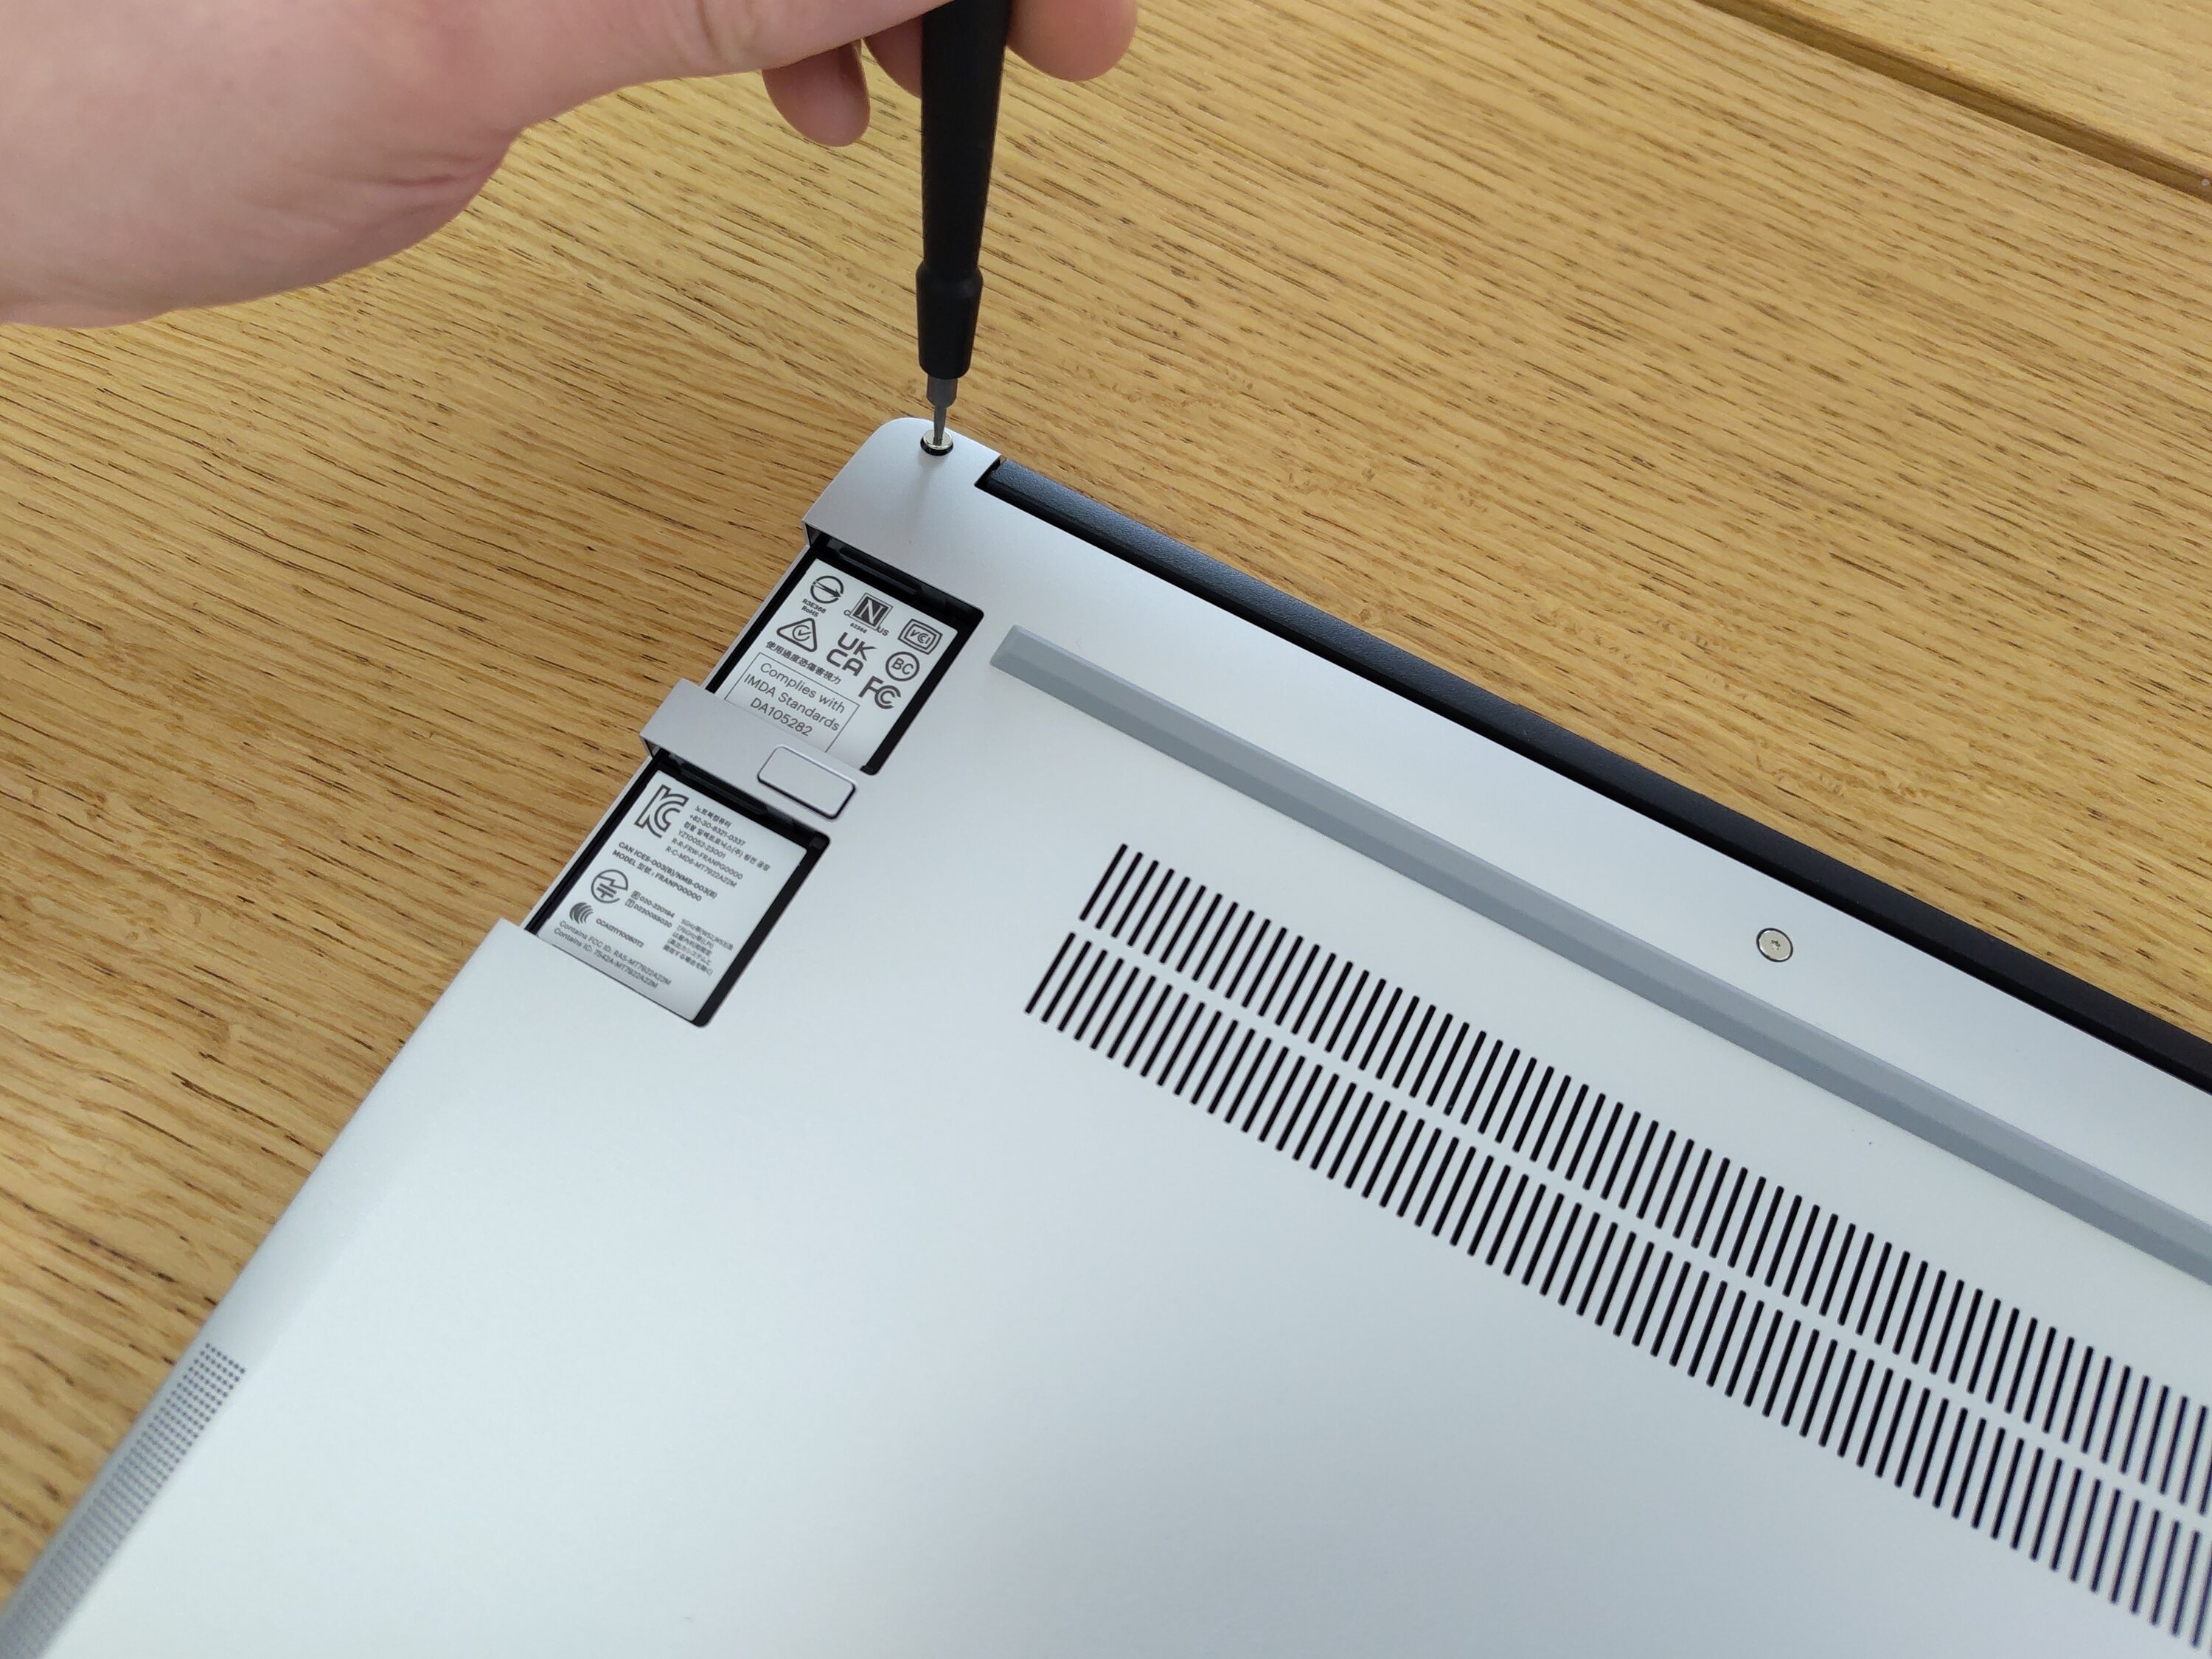
- Closing the chassis: The laptop’s bottom case attaches with standard screws. If you need to reopen it, it’s simple—no prying or special adhesives. The screws also locks the keyboard on the chassis.
- Swappable ports: Each side of the laptop has port slots. You can choose USB-C, USB-A, HDMI, DisplayPort, Ethernet, or microSD. This flexibility saves buying extra dongles.

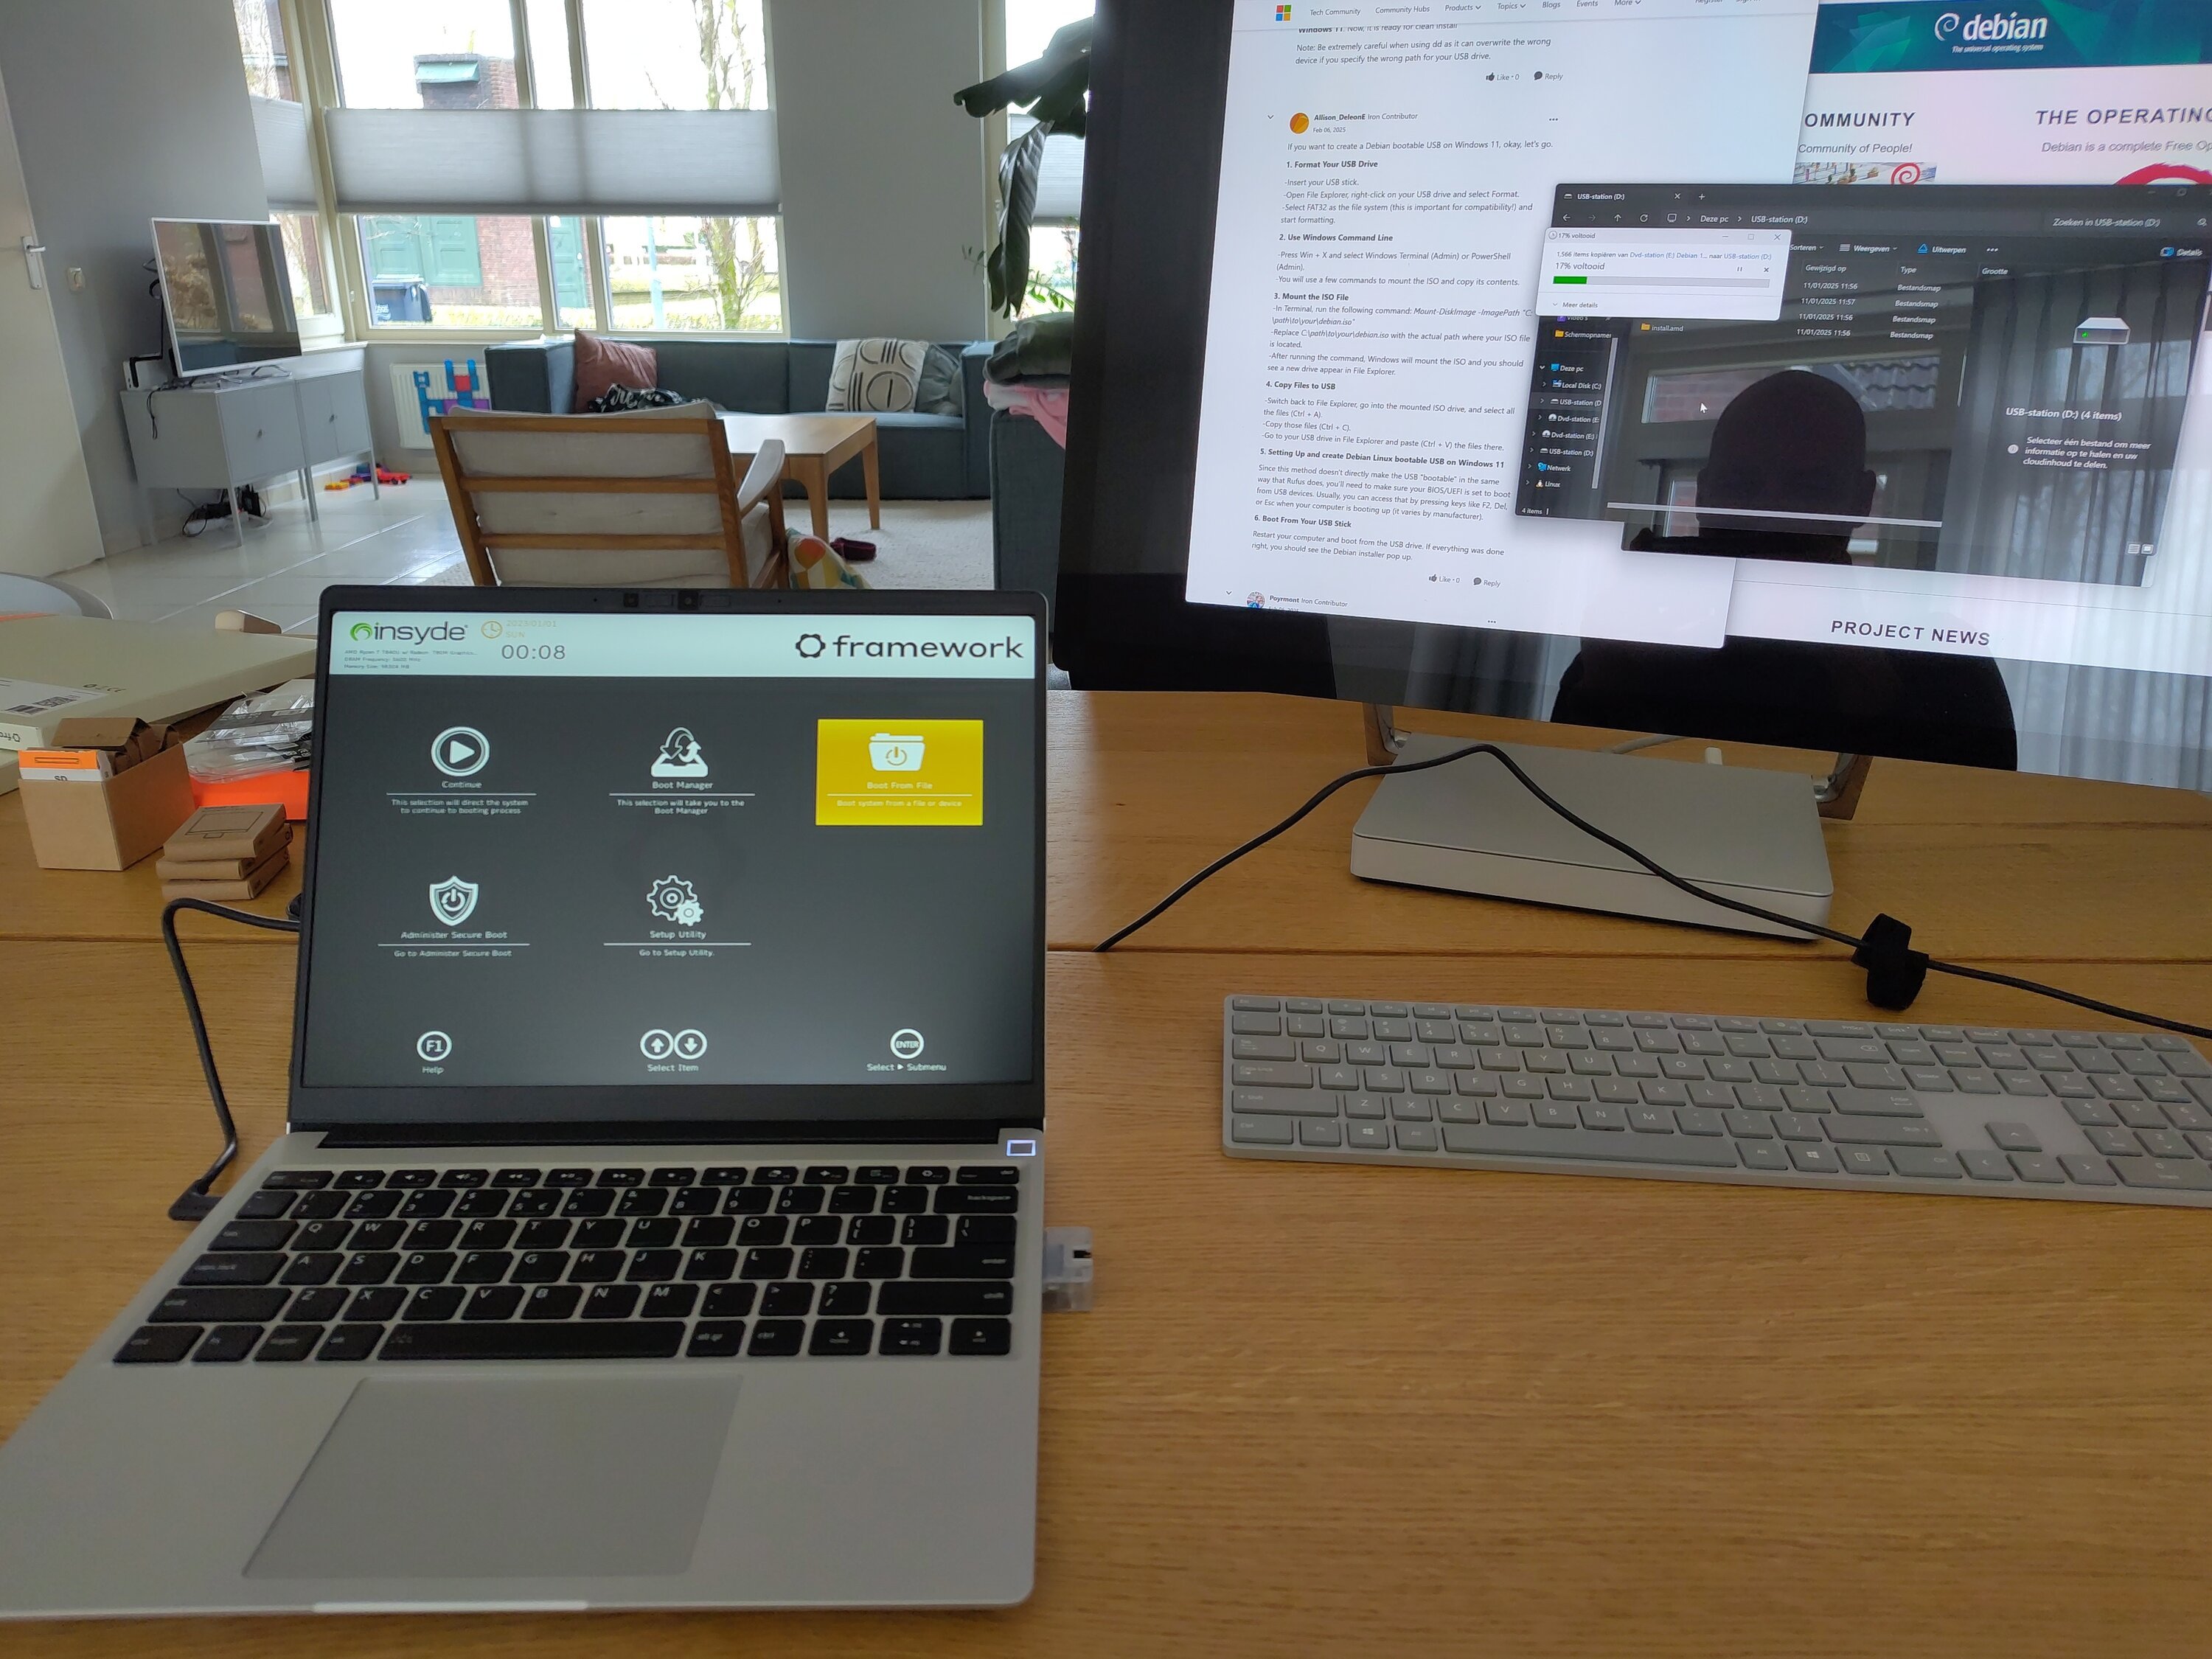
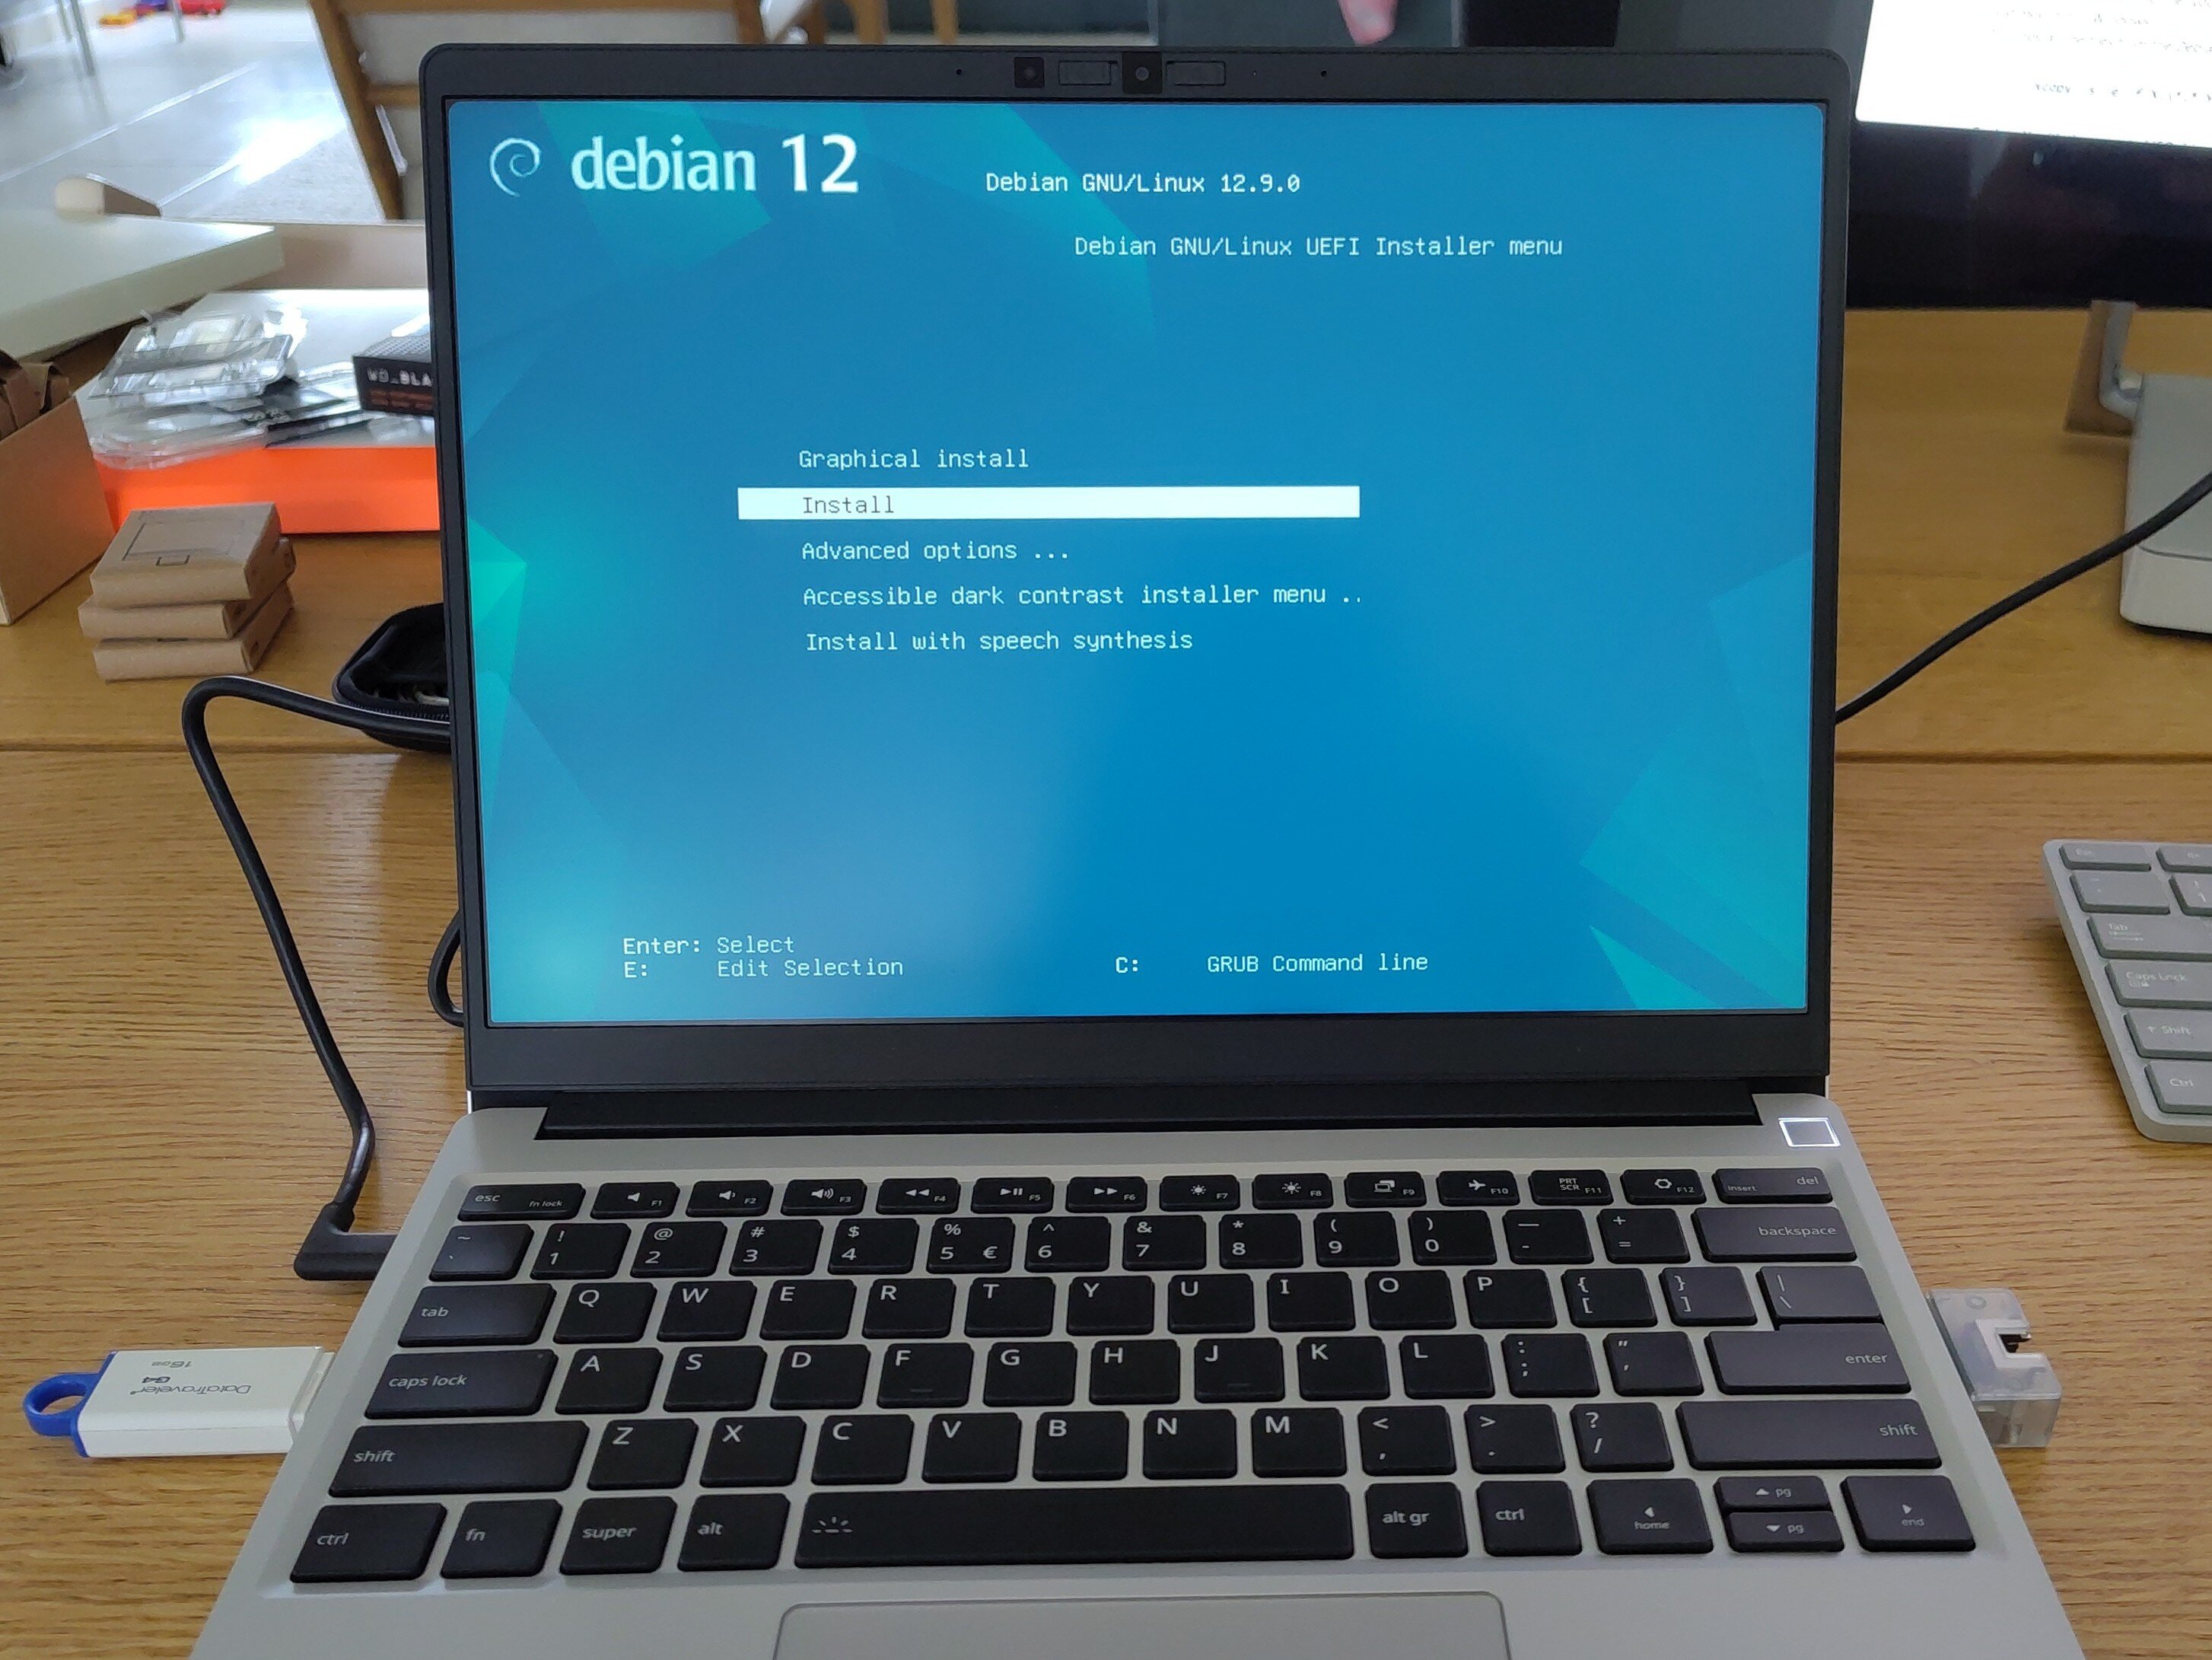
Setting up Debian GNU/Linux
I created a bootable USB drive using a Windows PC by downloading a Debian installation ISO. The Framework boot menu recognised it immediately, and the Debian installer ran without issue. Networking, trackpad, and display features worked out of the box, which is a relief compared to some other laptops’ patchy Linux support.
First Impressions
The Framework 13 looks and feels as polished as many premium notebooks, yet it remains serviceable and upgradable. The design is relatively slim and durable, which counters the notion that repairable devices must be clunky or compromised. Being able to customise ports is especially handy. No more searching for dongles or hubs each time you need a different I/O option—just swap an port module.
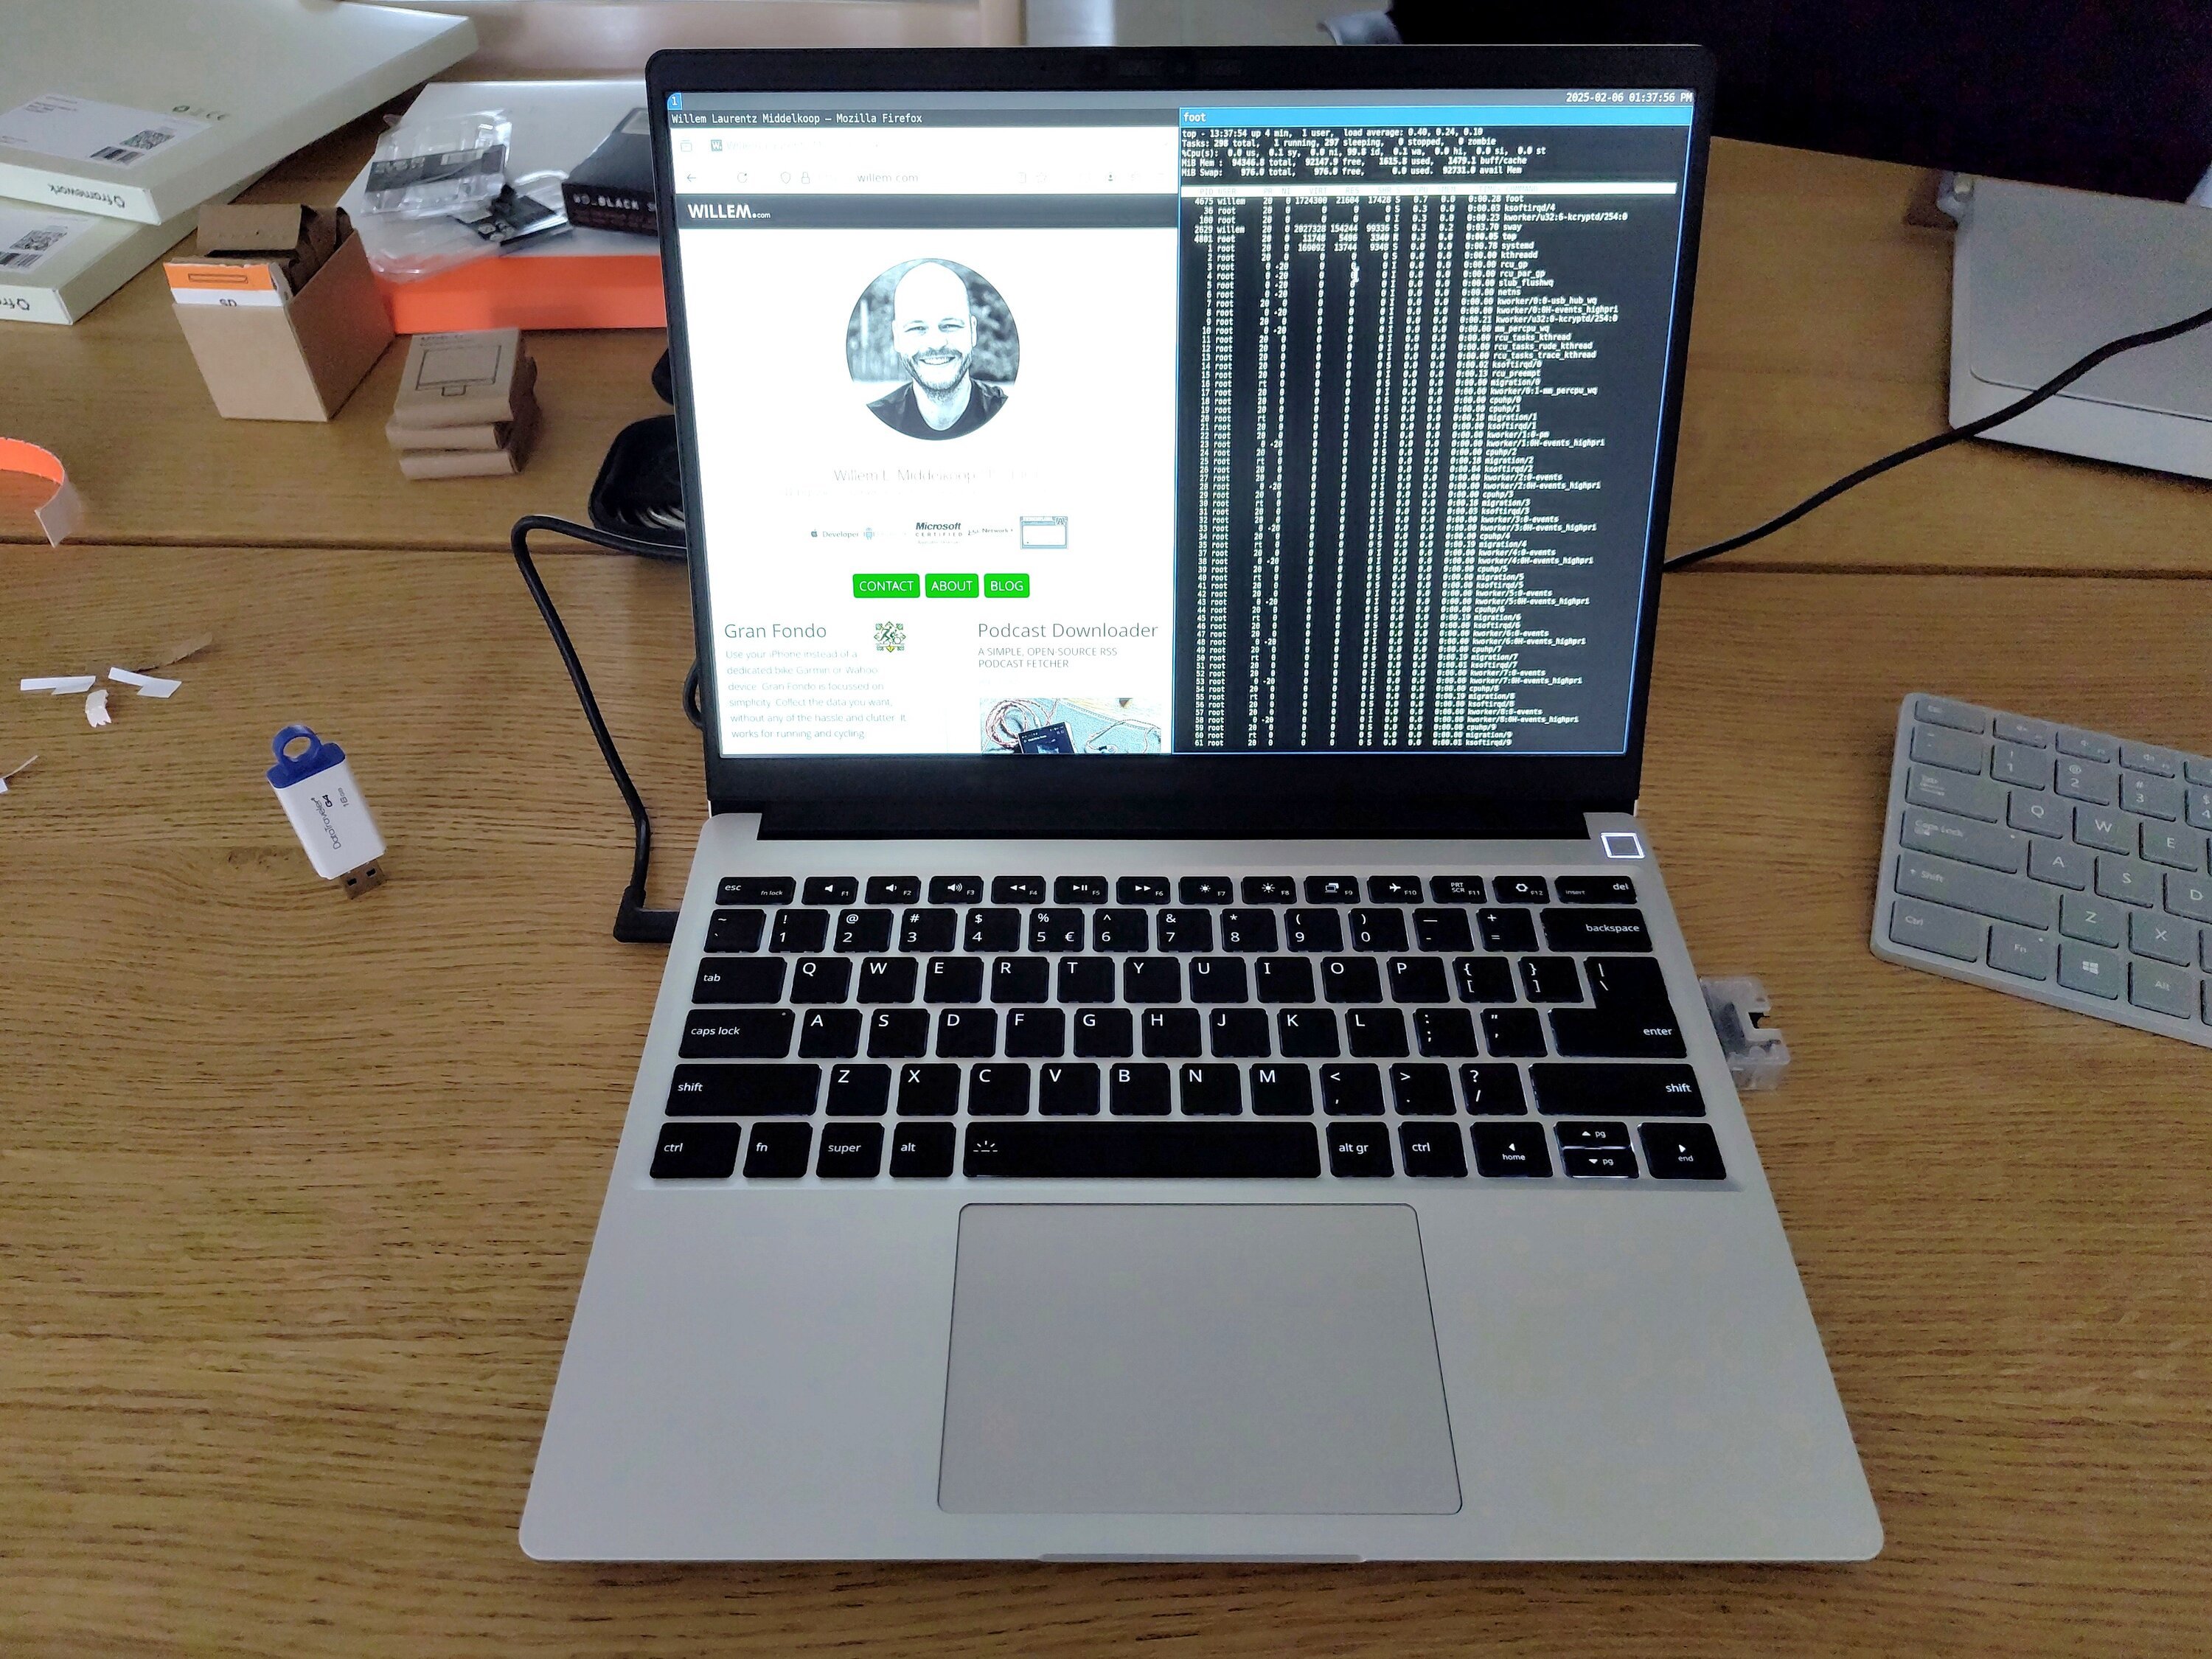
Performance so far is excellent, thanks to the choice of modern CPUs and a generous amount of RAM and SSD space. While assembling the laptop takes more effort than a typical off-the-shelf device, it’s rewarding to know you can replace components later. Framework’s documentation is clear, and the process is user-friendly if you follow the step-by-step guide.
Conclusion
My next step is preparing Debian for daily use—installing developer tools, enabling encryption, and refining workflows. This aligns with my shift to free/libre software and reducing e-waste. I’ll share more details soon; for now, the Framework 13 proves we can—and should—demand better from consumer electronics.

Download
If you enjoy reading offline, this article is available for download:
Translations
This article is available in the following languages:
RSS / Atom
Grab one of the feeds to stay up to date, the feeds contain the full posts: