Aug. 28, 2019
Riding with a power meter on your bike
Installing and using the 4iiii Precision Powermeter
After I created a minimal road bike, I decided to install a power meter to find out what's it like to measure the power output of my legs. What can you learn from a power meter? Is it difficult to install? Is it worth it? Read along to find out.
Power Meters
Most power meters use strain gauges that deflect slightly when force is applied. By measuring this torque and combining it with angular velocity, power (measured in Watts) can be calculated. In addition to speed, cadence and heart rate sensors, power meters are a perfect tool to quantify your (training) performance.
There are different types of power meters available, differing in accuracy, ease of installation, maintenance requirements and bike portability. Power meter types:
- Rear wheel hub: measuring the power applied to the rear wheel is considered the most accurate location to measure power. It is however, 'further from your legs' as both the chain and sprockets are 'in between' your legs and the power meter, causing measurements to be slightly lower.
- Pedals: measuring the power applied to the pedal is done using special pedals that are relatively easy to swap between bikes. Each pedal can be equipped with its own power meter, allowing idependent measurements of the right and left leg.
- Chain ring: measuring the power applied to the (front)sprocket is another very accurate way to measure power. They're not easy to swap between different bikes and its difficult to accurately differentiate between left/right legs.
- Bottom bracket: measuring power from the bottom bracket can be accurate and low maintenance. Installing such a power meter can be difficult and your bike (or groupset) may not be compatible.
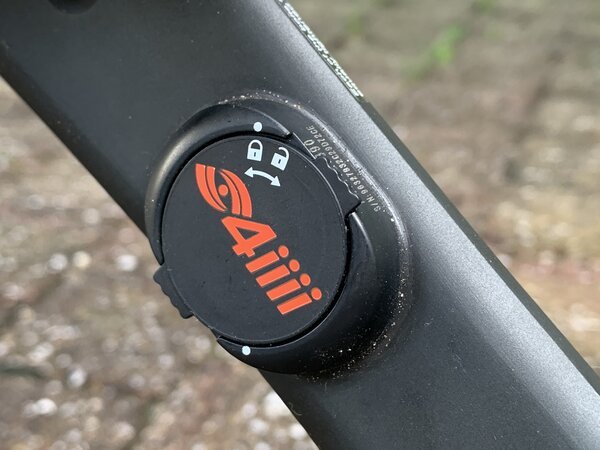
- Crank arm: measuring power from the crank arm is very popular because of its flexibility, accuracy and ease of installation. The power meter I installed on my bike, a 4iiii Precision Powermeter, is of this type.
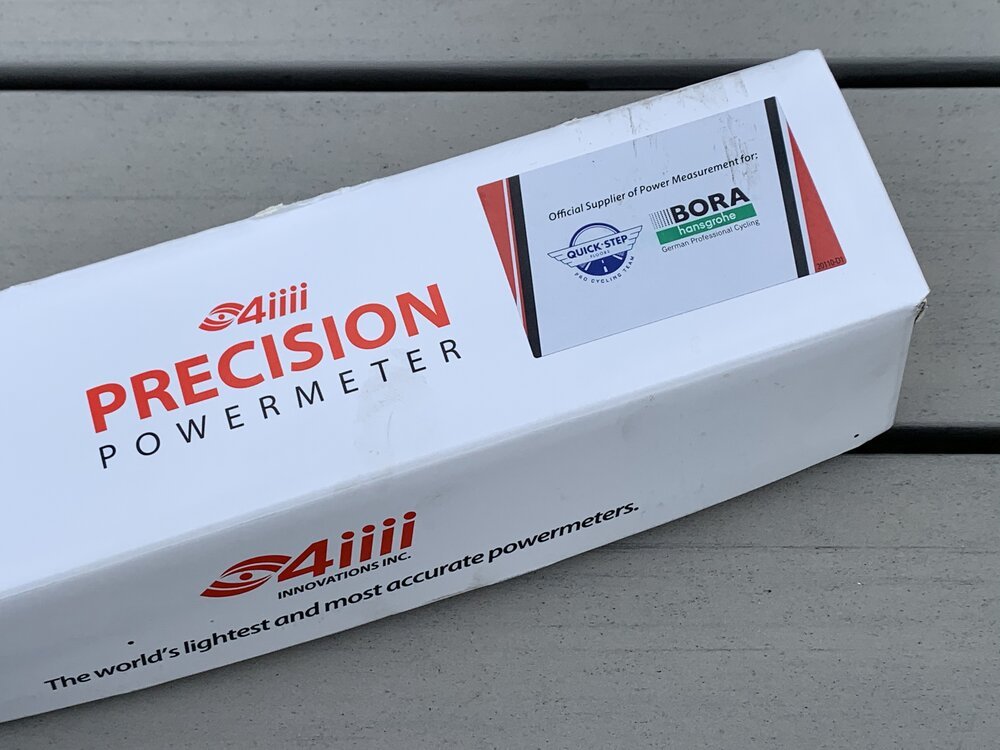
4iiii Precision Power meter
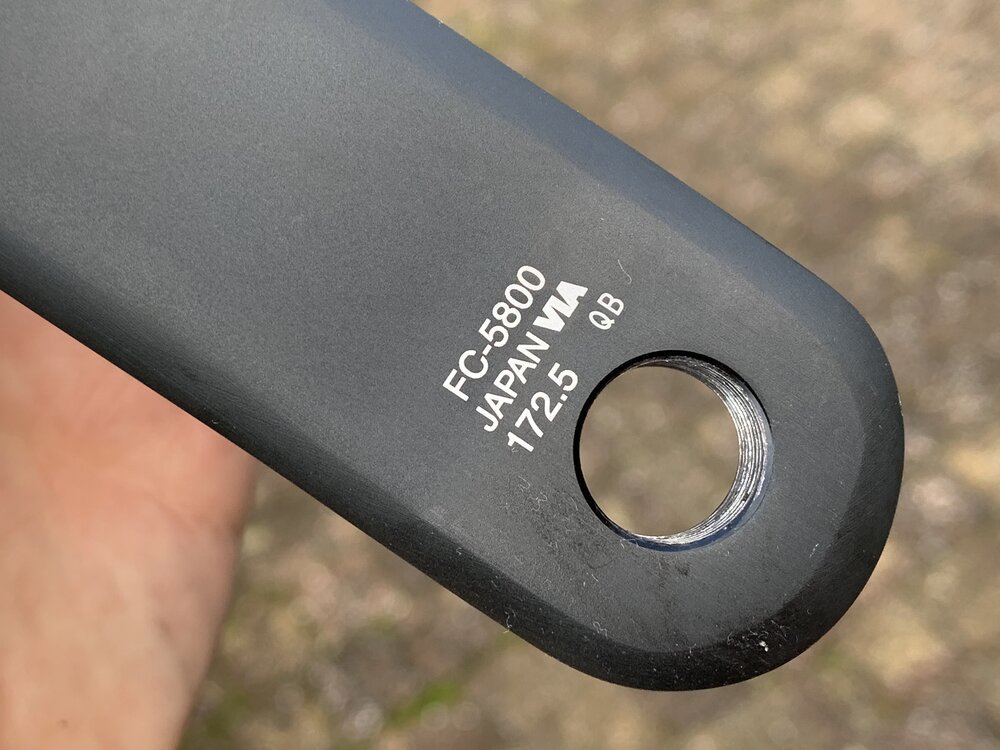
A very popular pedal power meter is the 4iiii precision powermeter. Like the popular Stages power meters, the 4iiii power meter replaces your existing crank. Selecting the right power meter model is as easy as looking at your existing crank, you'll find the model and crank arm length near the pedal bolt
Installing the power meter
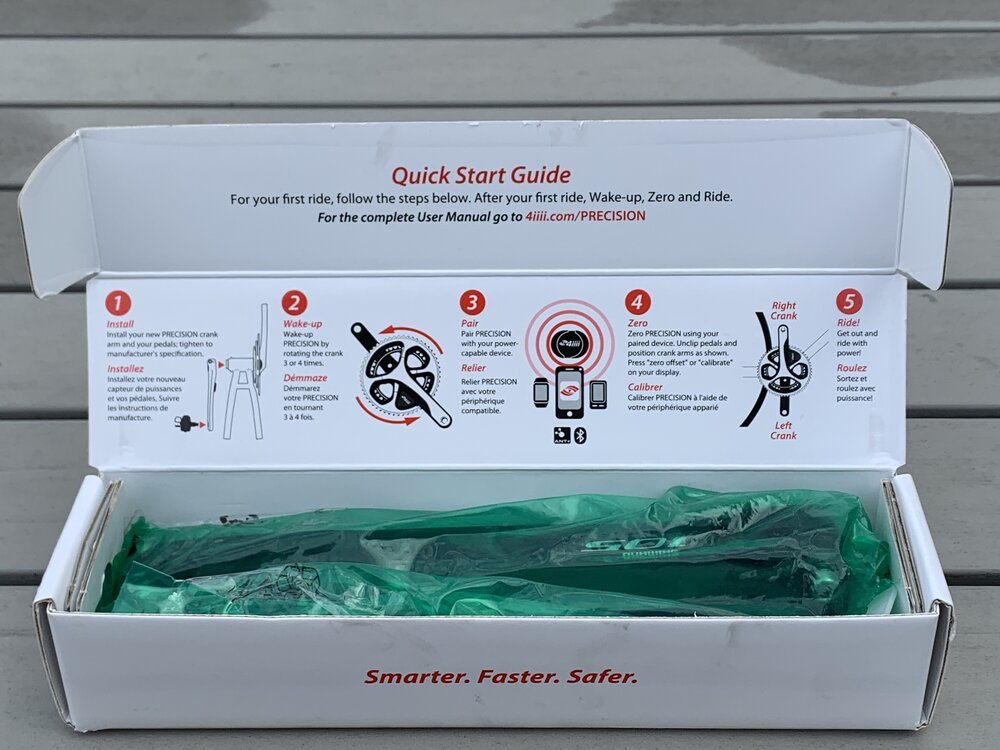
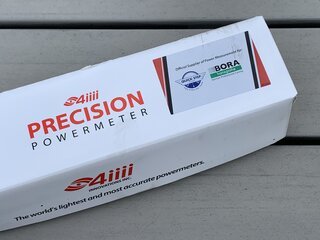
The 4iiii Precision Powermeter comes in a small box with a clear 5-step instruction printed on it.
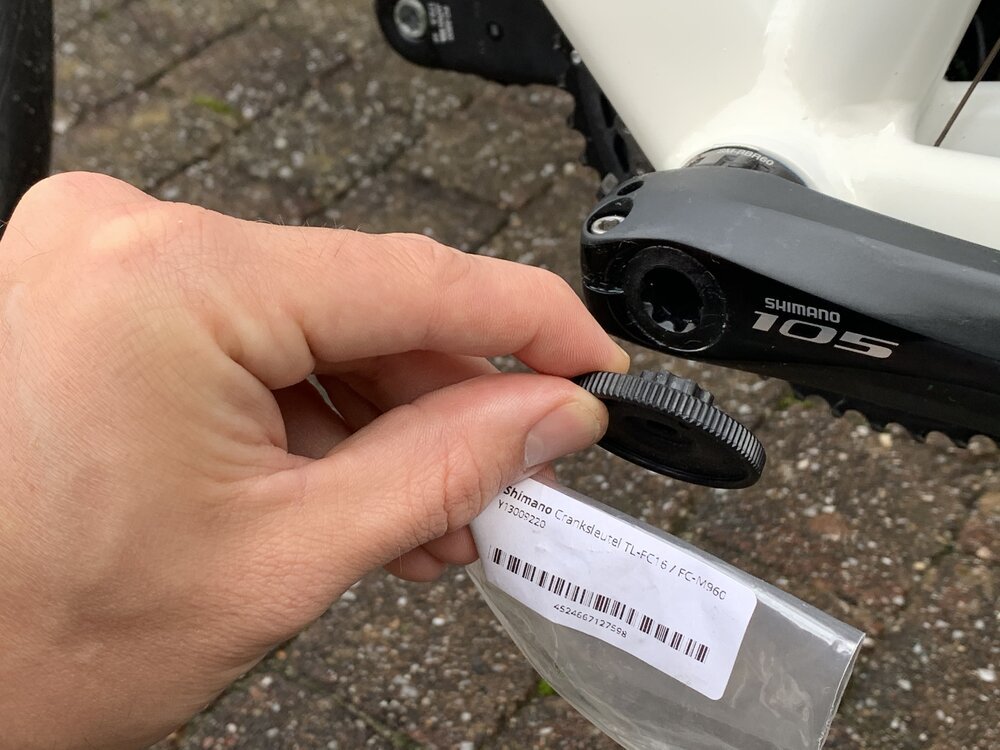
Use a crank tool to remove the exising crank from your bike. I have a Shimano groupset and used the TL-FC16/FC-M960 crank tool. It's a (cheap) piece of plastic that allows you to remove the bearing cap from the crank. Use an alley key to loosen the two bolts, there is a small plate between the crank ends that you should popout to remove the crank.
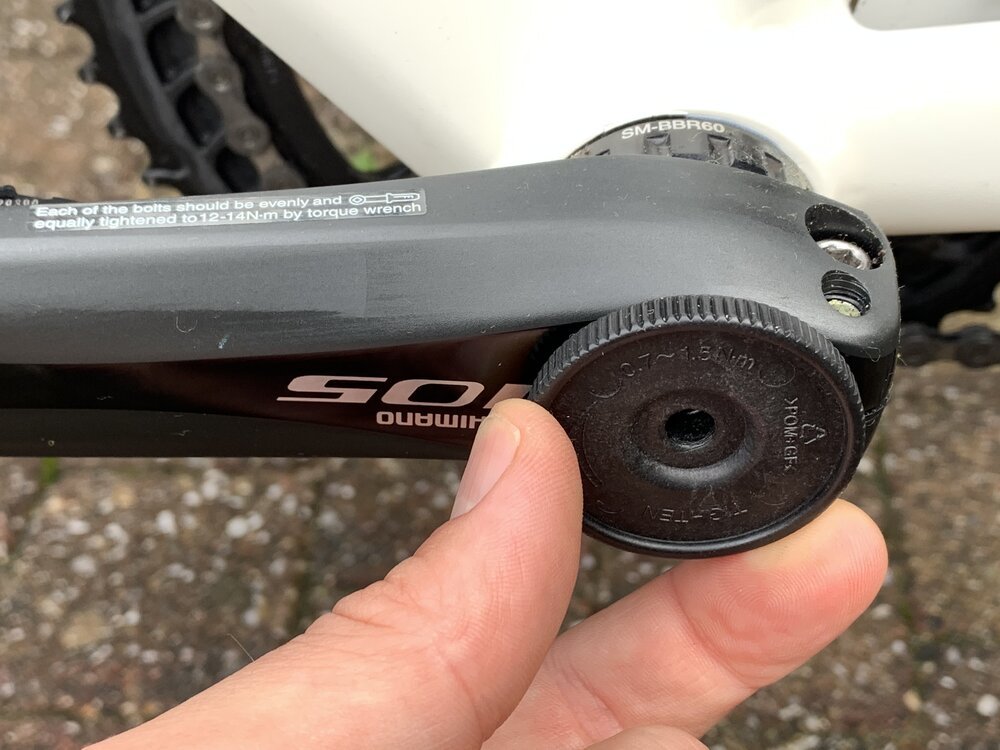
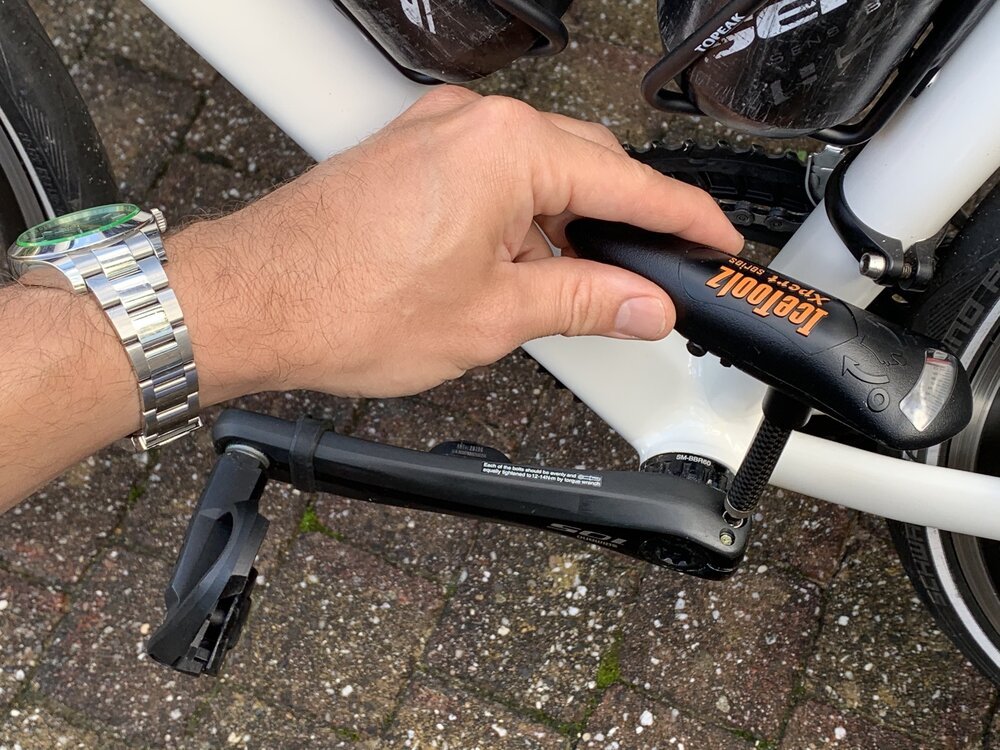
When installing the power meter crank, you should pay attention to the instruction indicating the right amount of torque. Tighten the bolts evenly and equally using a torque wrench.
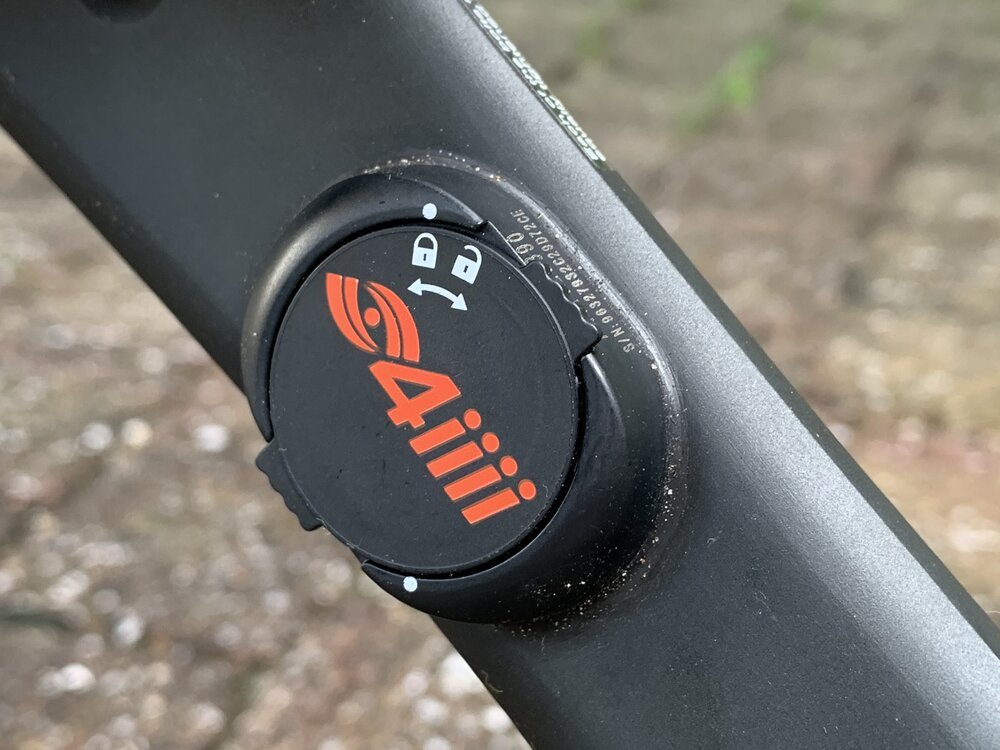
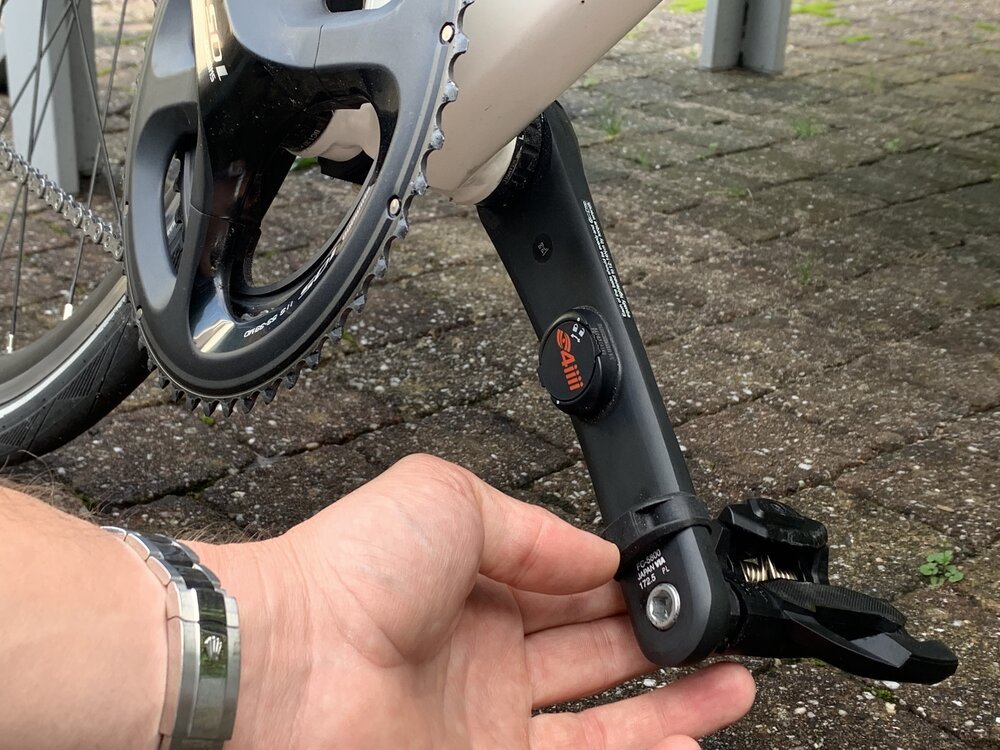
To use the power meter you should pair it with a compatible bike computer or your smartphone. I use an app as bike computer and therefore pair the power meter to my phone. Download the 4iiii app and follow the instructions to start a Bluetooth scan.
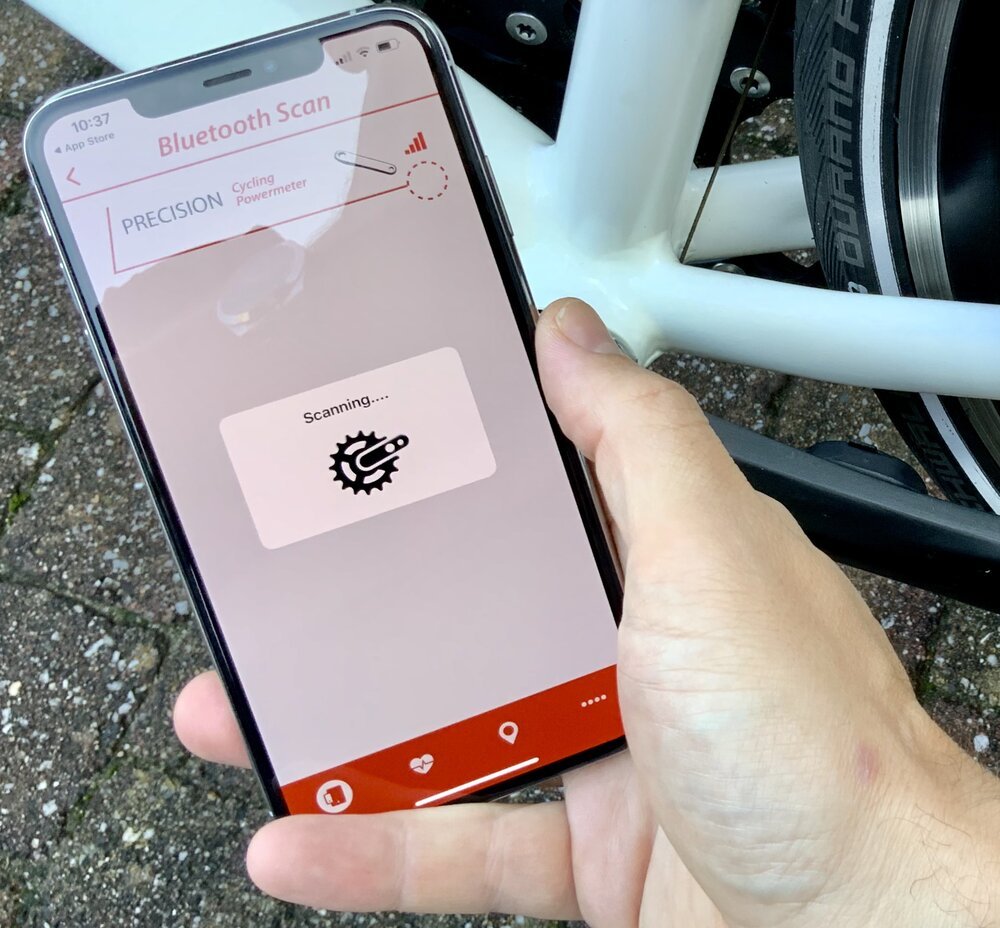
Once you have paired with the power meter, you should check for firmware updates. I had to install a few that improve the power meter's battery life, reliablility and accuracy. This can take a few minutes to complete.
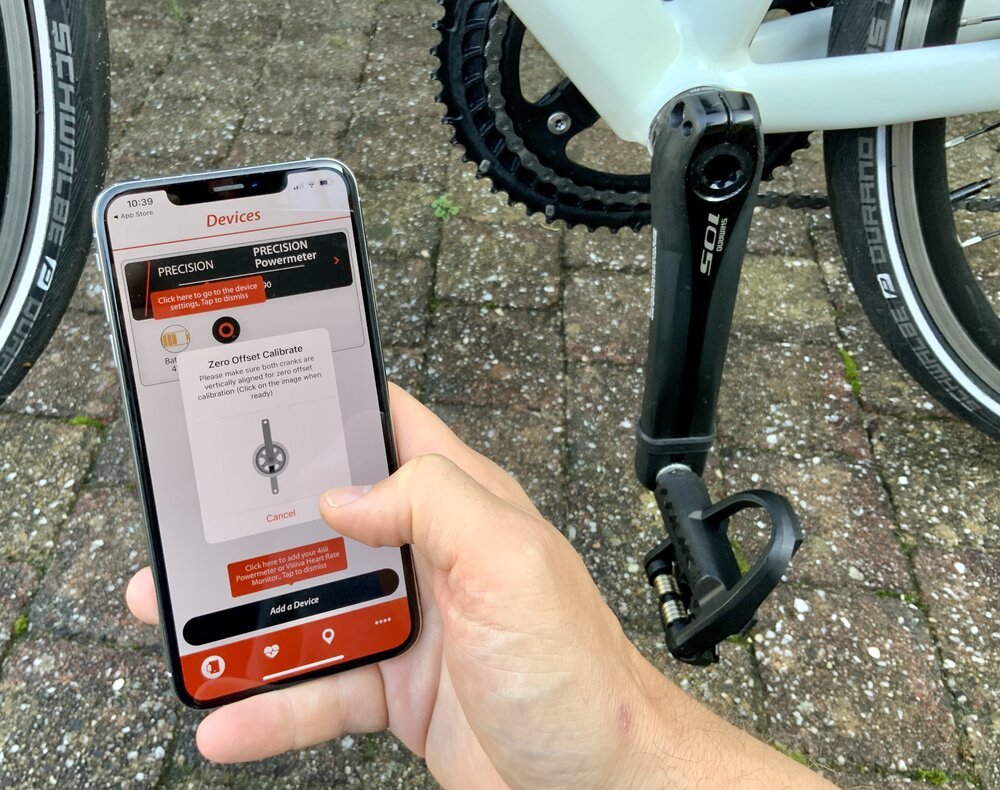
Once you have connected and updated the power meter, you should calibrate it. This will allow it to detect its 'zero value' by performing a measurement in vertical position. The app will guide you through this, calibration will take a few moments. Once calibrated you can use the power meter in any of your favourite apps, including Strava and Cyclemeter.
Riding with a power meter
Using a power meter you can see how much energy your legs are applying to the pedal(s). It's a direct quantification of your efforts on the bike. It will take some time for you to get a feeling with the Watts measured by the power meter.
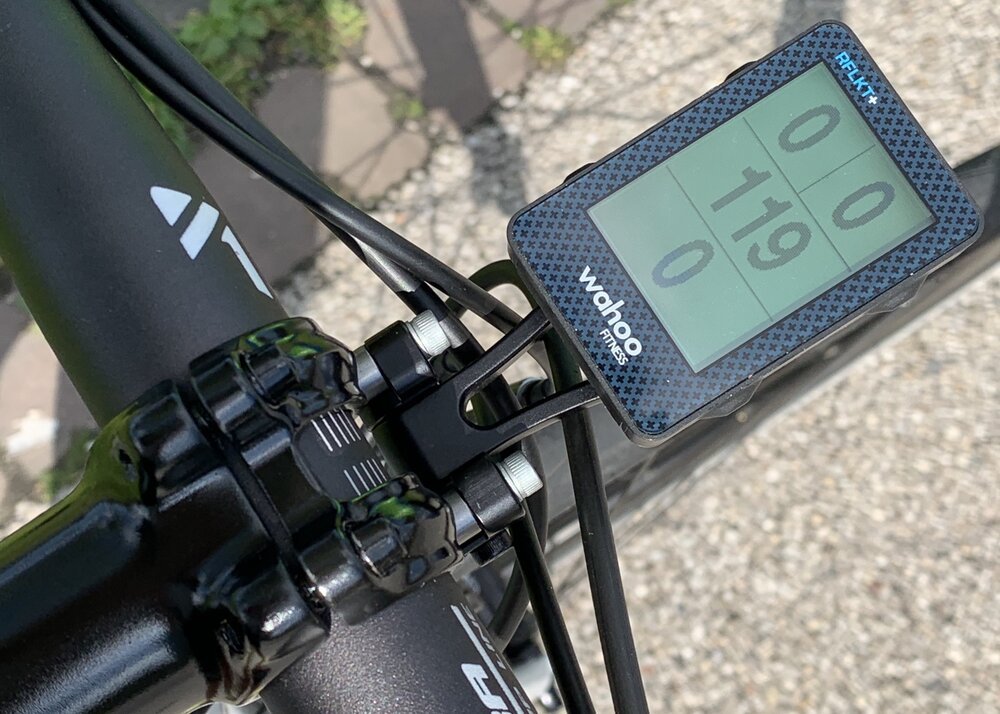
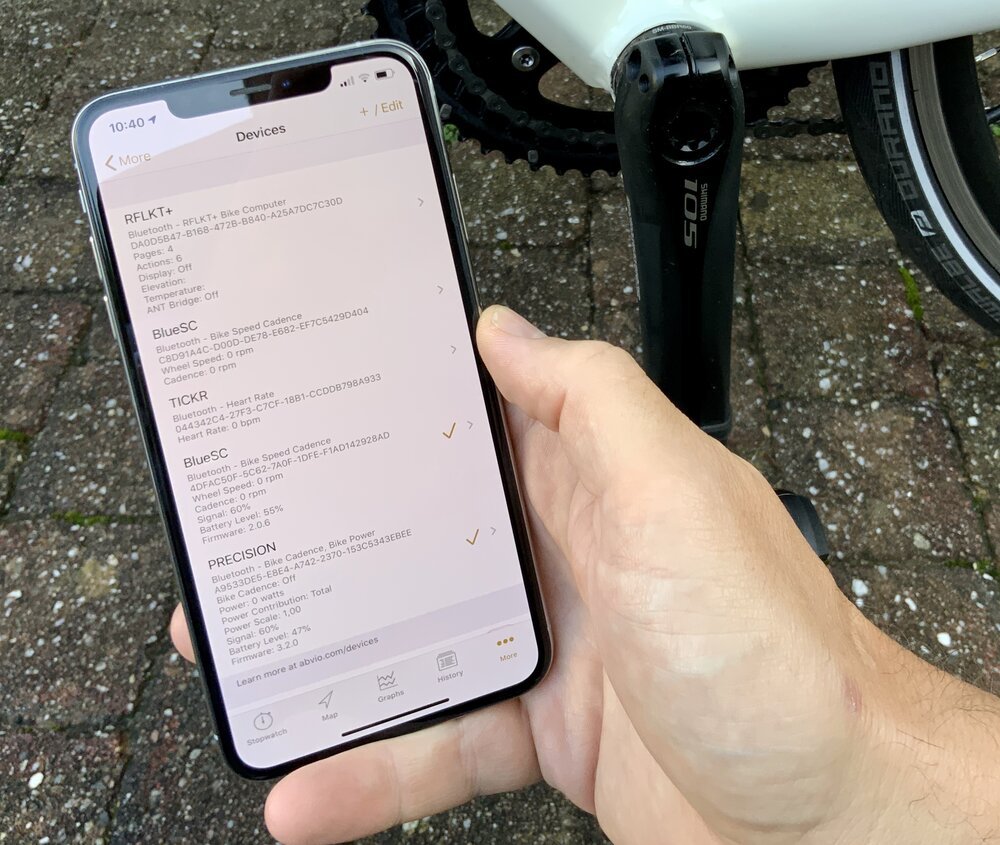
I use a Wahoo RFLKT+ in combination with the Cyclemeter app. It shows me the realtime power output, measured from my crank arm. This realtime feedback is interesting while riding your bike as you'll be able to see the (huge) differences in Watts measured.
Situations like going through a corner with the angle of the wind changing, can clearly have significant effects on the measured power output (when you maintain a certain speed / cadence). Or, when you change your position on the bike, like holding the handle bar from the top or bottom. Or, how much harder it actually is when you go faster (hint: that's not a linear relation!)
Compare the power meter to the heart rate sensor and you'll note that it's much more direct. It goes up and down instantly as you change the intensity of your pedalling. The combination of power meter and heart rate data is interesting. It allows you to find out what your maximum sustainable power is. Everybody can go (very) fast, but speed depends on external factors like wind. By looking at power data you'll be able to more accurately compare different rides, track your training progress and compare your efforts to other cyclists.
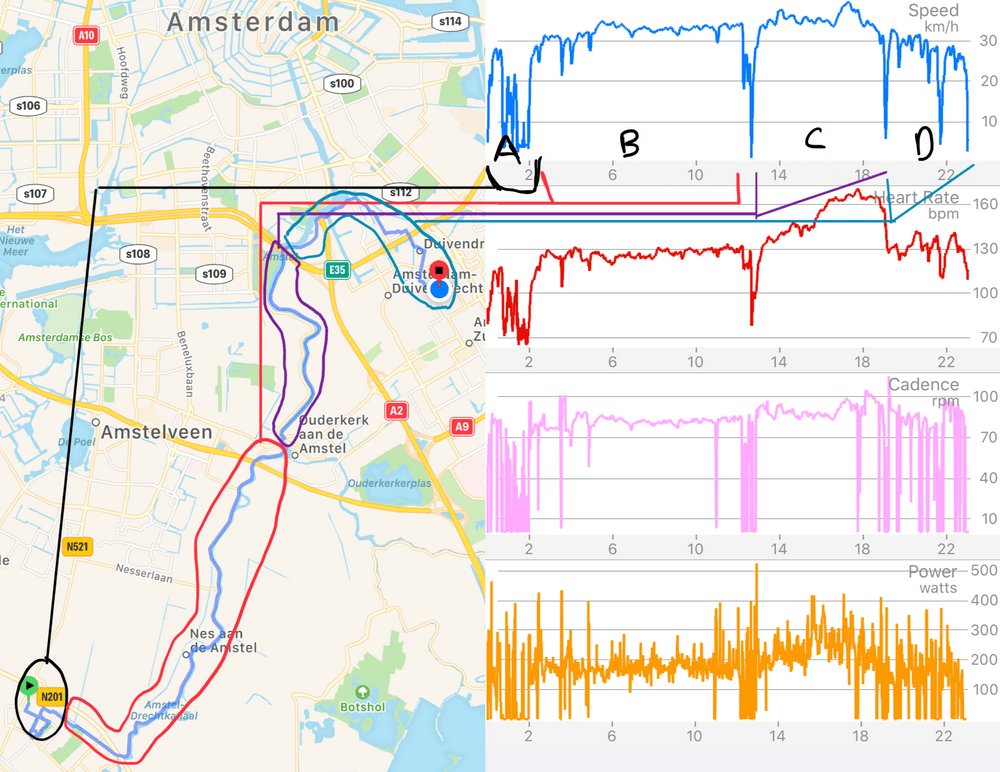
Look at the data above, it's from one of my rides with the power meter. Here you can see my heart rate, cadence, speed and power meter data in combined graphs. I cycled 23 KM's that can be divided in four segments:
- A and D: Both the beginning and end of my ride were in urban areas where I encounter other traffic. You'll note a lot of spikes in the graphs: this is because of the frequent braking and accelerating. Cycling through town is actually very energy consuming (just like your milage in a car is usually worse in town compared to highways). Low speed, high power - not very efficient.
- B: this segment of my route is follows the Amstel river, with few intersections and interruptions. Here it's possible to cycle a steady pace, visible in the graphs. You'll note a variance in the power data, this is due to the wind that affects the ride, differing when I pass houses, bushes and various corners.
- between B and C: around 13KM, just between the B and C segment is where you clearly see a drop in all graphs. This is the town of Ouderkerk aan de Amstel where construction work is done to the Amstel bridge. It clearly affects my ride, with peaks in power as I charge to pass the bridge (a slight elevation that I like to take standing on my pedals).
- C: riding on the other side of the Amstel river I experienced more wind, you'll see my power (and heart rate) rising. Round 17-18KM you'll note a spike in speed. This is where I encountered another cyclist... for a little implicit racing. You can clearly see that pushing myself over 250 Watts caused my heart rate to rise significantly, while around 200 watts it remains perfectly steady around 130BPM.
Conclusion
Fitting a power meter on your bike is not difficult using the right tools. Connecting and calibrating the sensor is easy using your smartphone and the right app. Once connected and calibrated you can use the power meter with various apps.
Riding with a power meter offers you extra insights in your performance. You'll be able to quantify the intensity of your ride by looking at actual delivered energy. Training with power data is well worthy of another blog post that I might write in the future.
Do you need a power meter? Unless you're a pro athlete, I think you don't really need one. But if you're interested in performance data beyond metrics such as heart rate, speed and cadence - you might find a power meter useful. Just remember to enjoy your ride, whether with or without a power meter!
Download
If you enjoy reading offline, this article is available for download:
Translations
This article is available in the following languages:
RSS / Atom
Grab one of the feeds to stay up to date, the feeds contain the full posts:
