July 30, 2020
Upgrading a 27-inch iMac 5K to 14 terabytes
Replacing the Fusion Drive with both a SSD and an harddisk
This month I did an attempt to upgrade my 27-inch iMac 5K. I wanted to replace the fusion drive with a SSD and a large hardisk. In addition I decided this was a good time to upgrade the RAM memory as well, maxing it out at 64GB. I was on a mission to create the ultimate iMac, but things didn't go to plan!
iMac
The original iMac was introduced in 1998, it's announcement was not without controversy or anticipation. At that time Apple had suffered a series of setbacks and it was in bad shape. Steve Jobs returned to Apple and Jonathan Ive designed the iMac. The iMac needed to be a grand success in order to save Apple. It did!
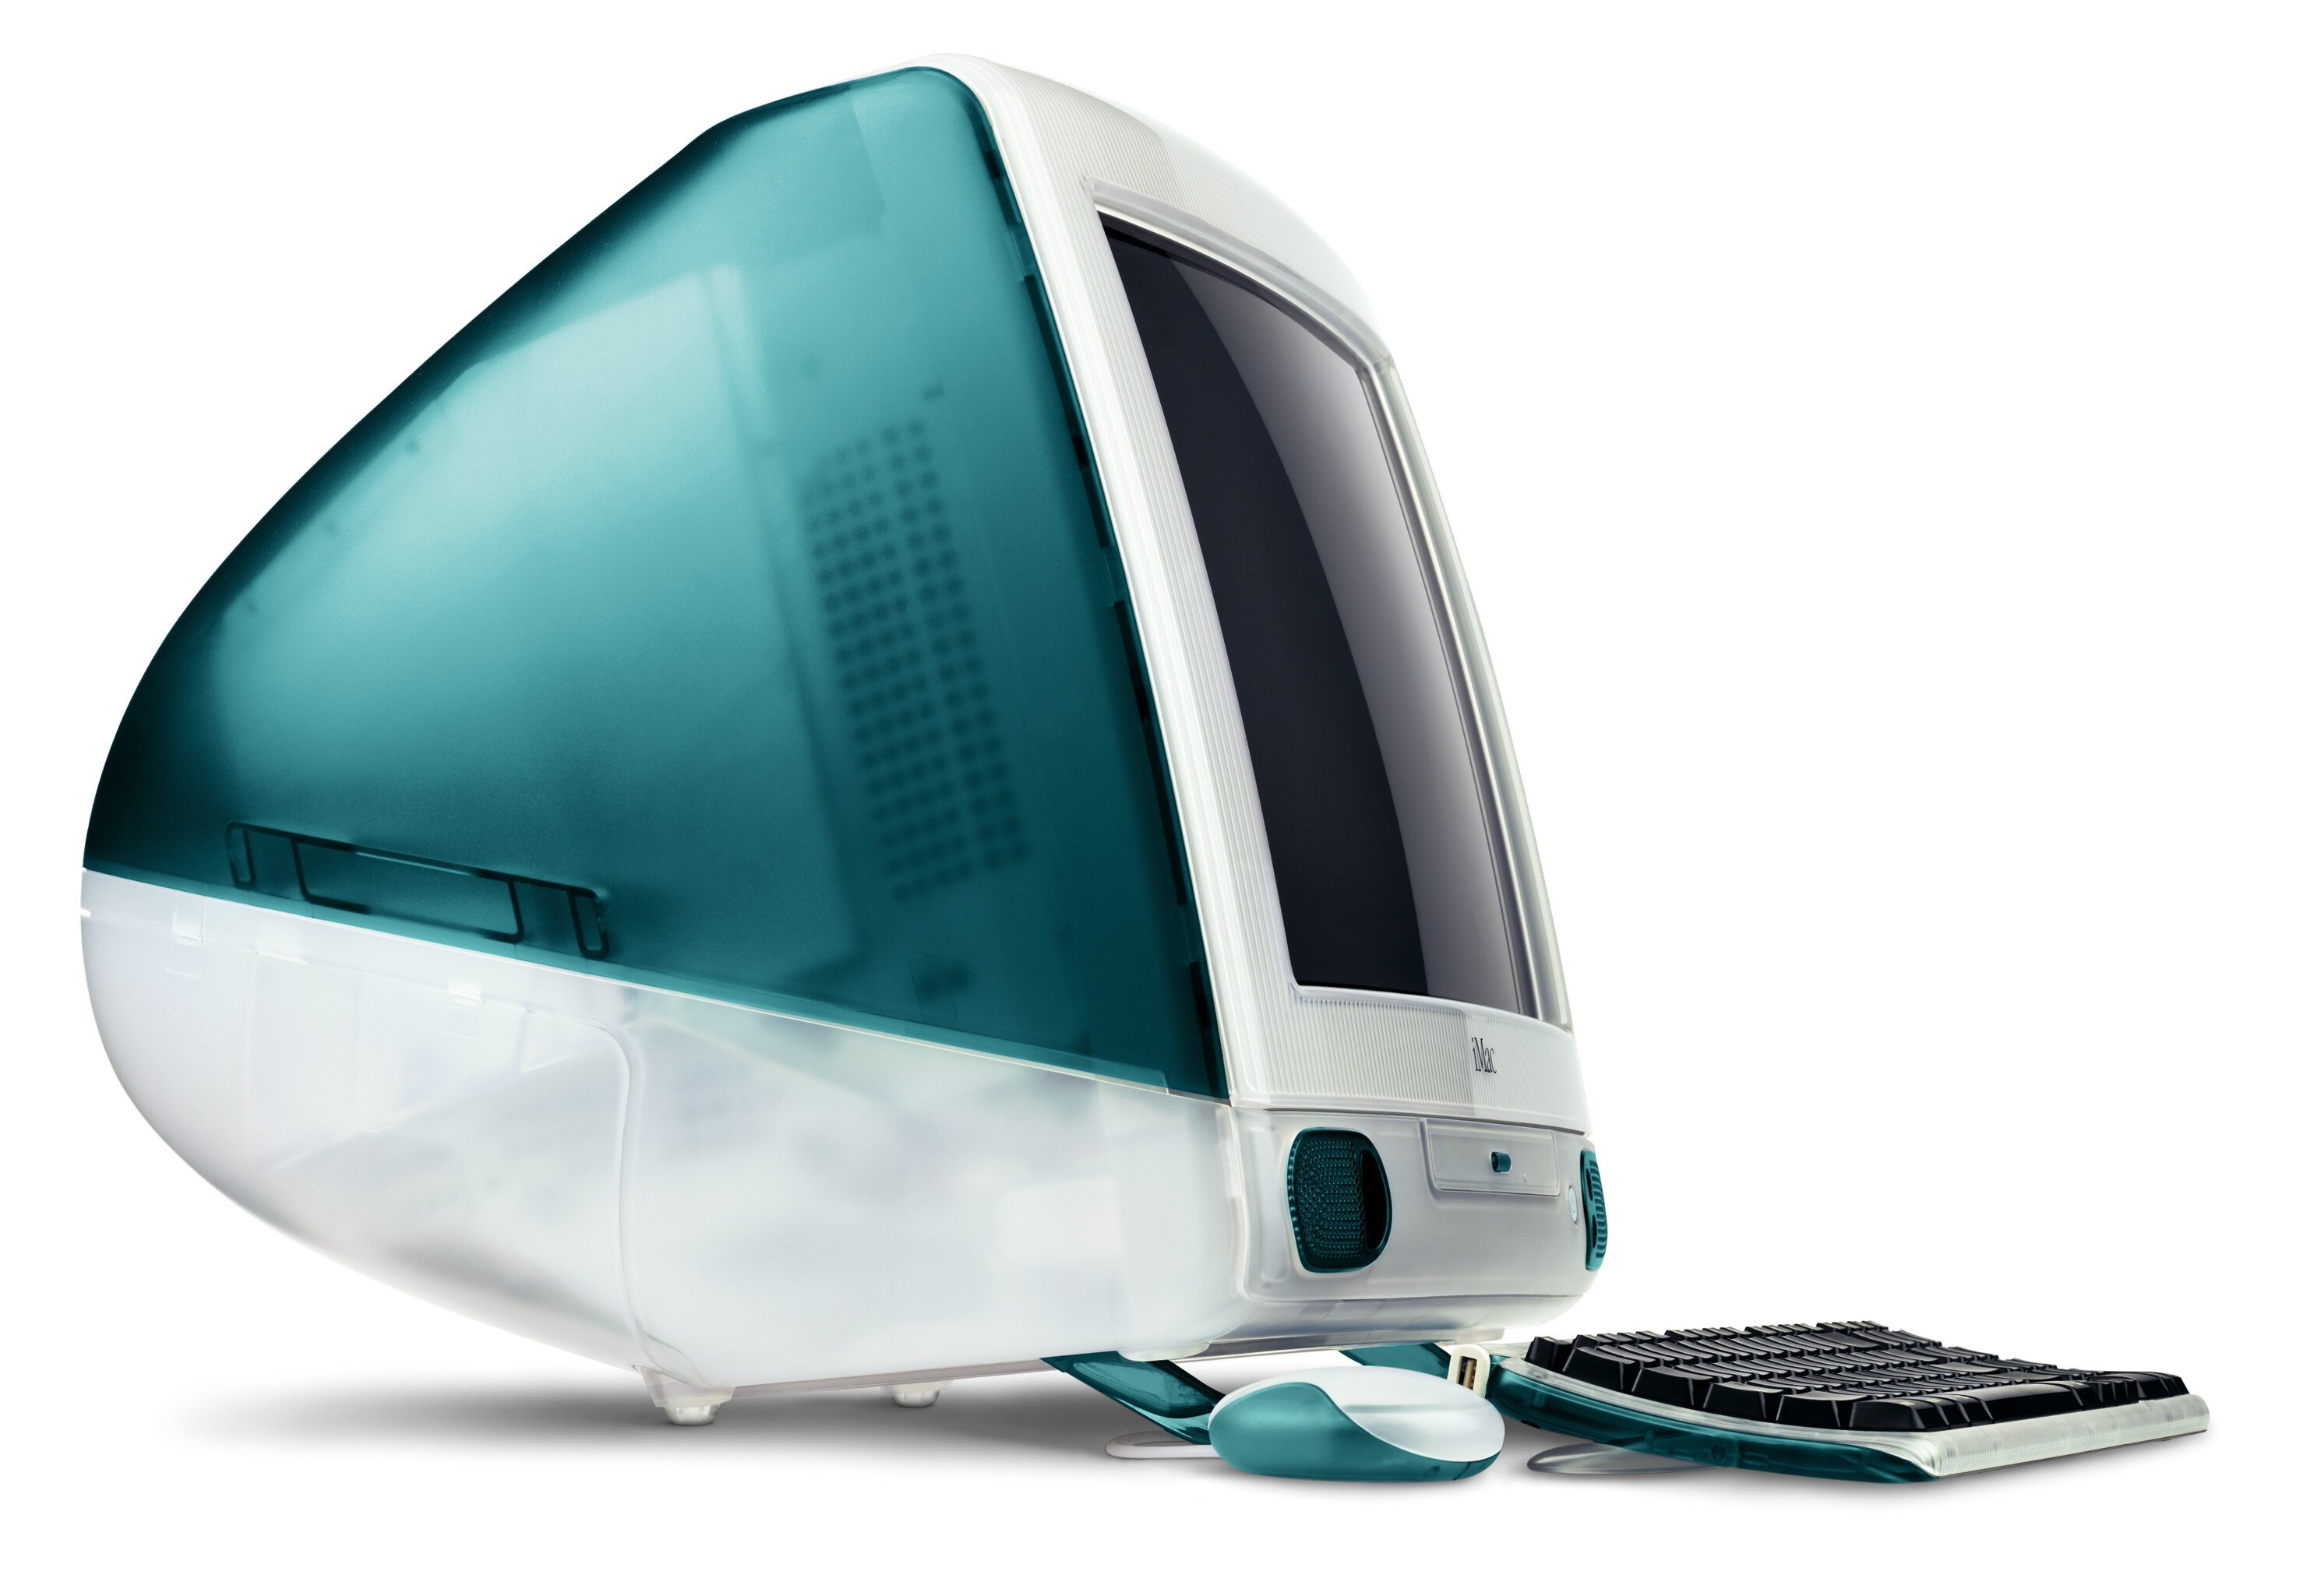

Unlike most other computer vendors of those days, the iMac was designed to be fun and friendly. No complexity, no hassle, no need to be a geek. It put Apple back on track to become the most valuable consumer electronics company it is today.
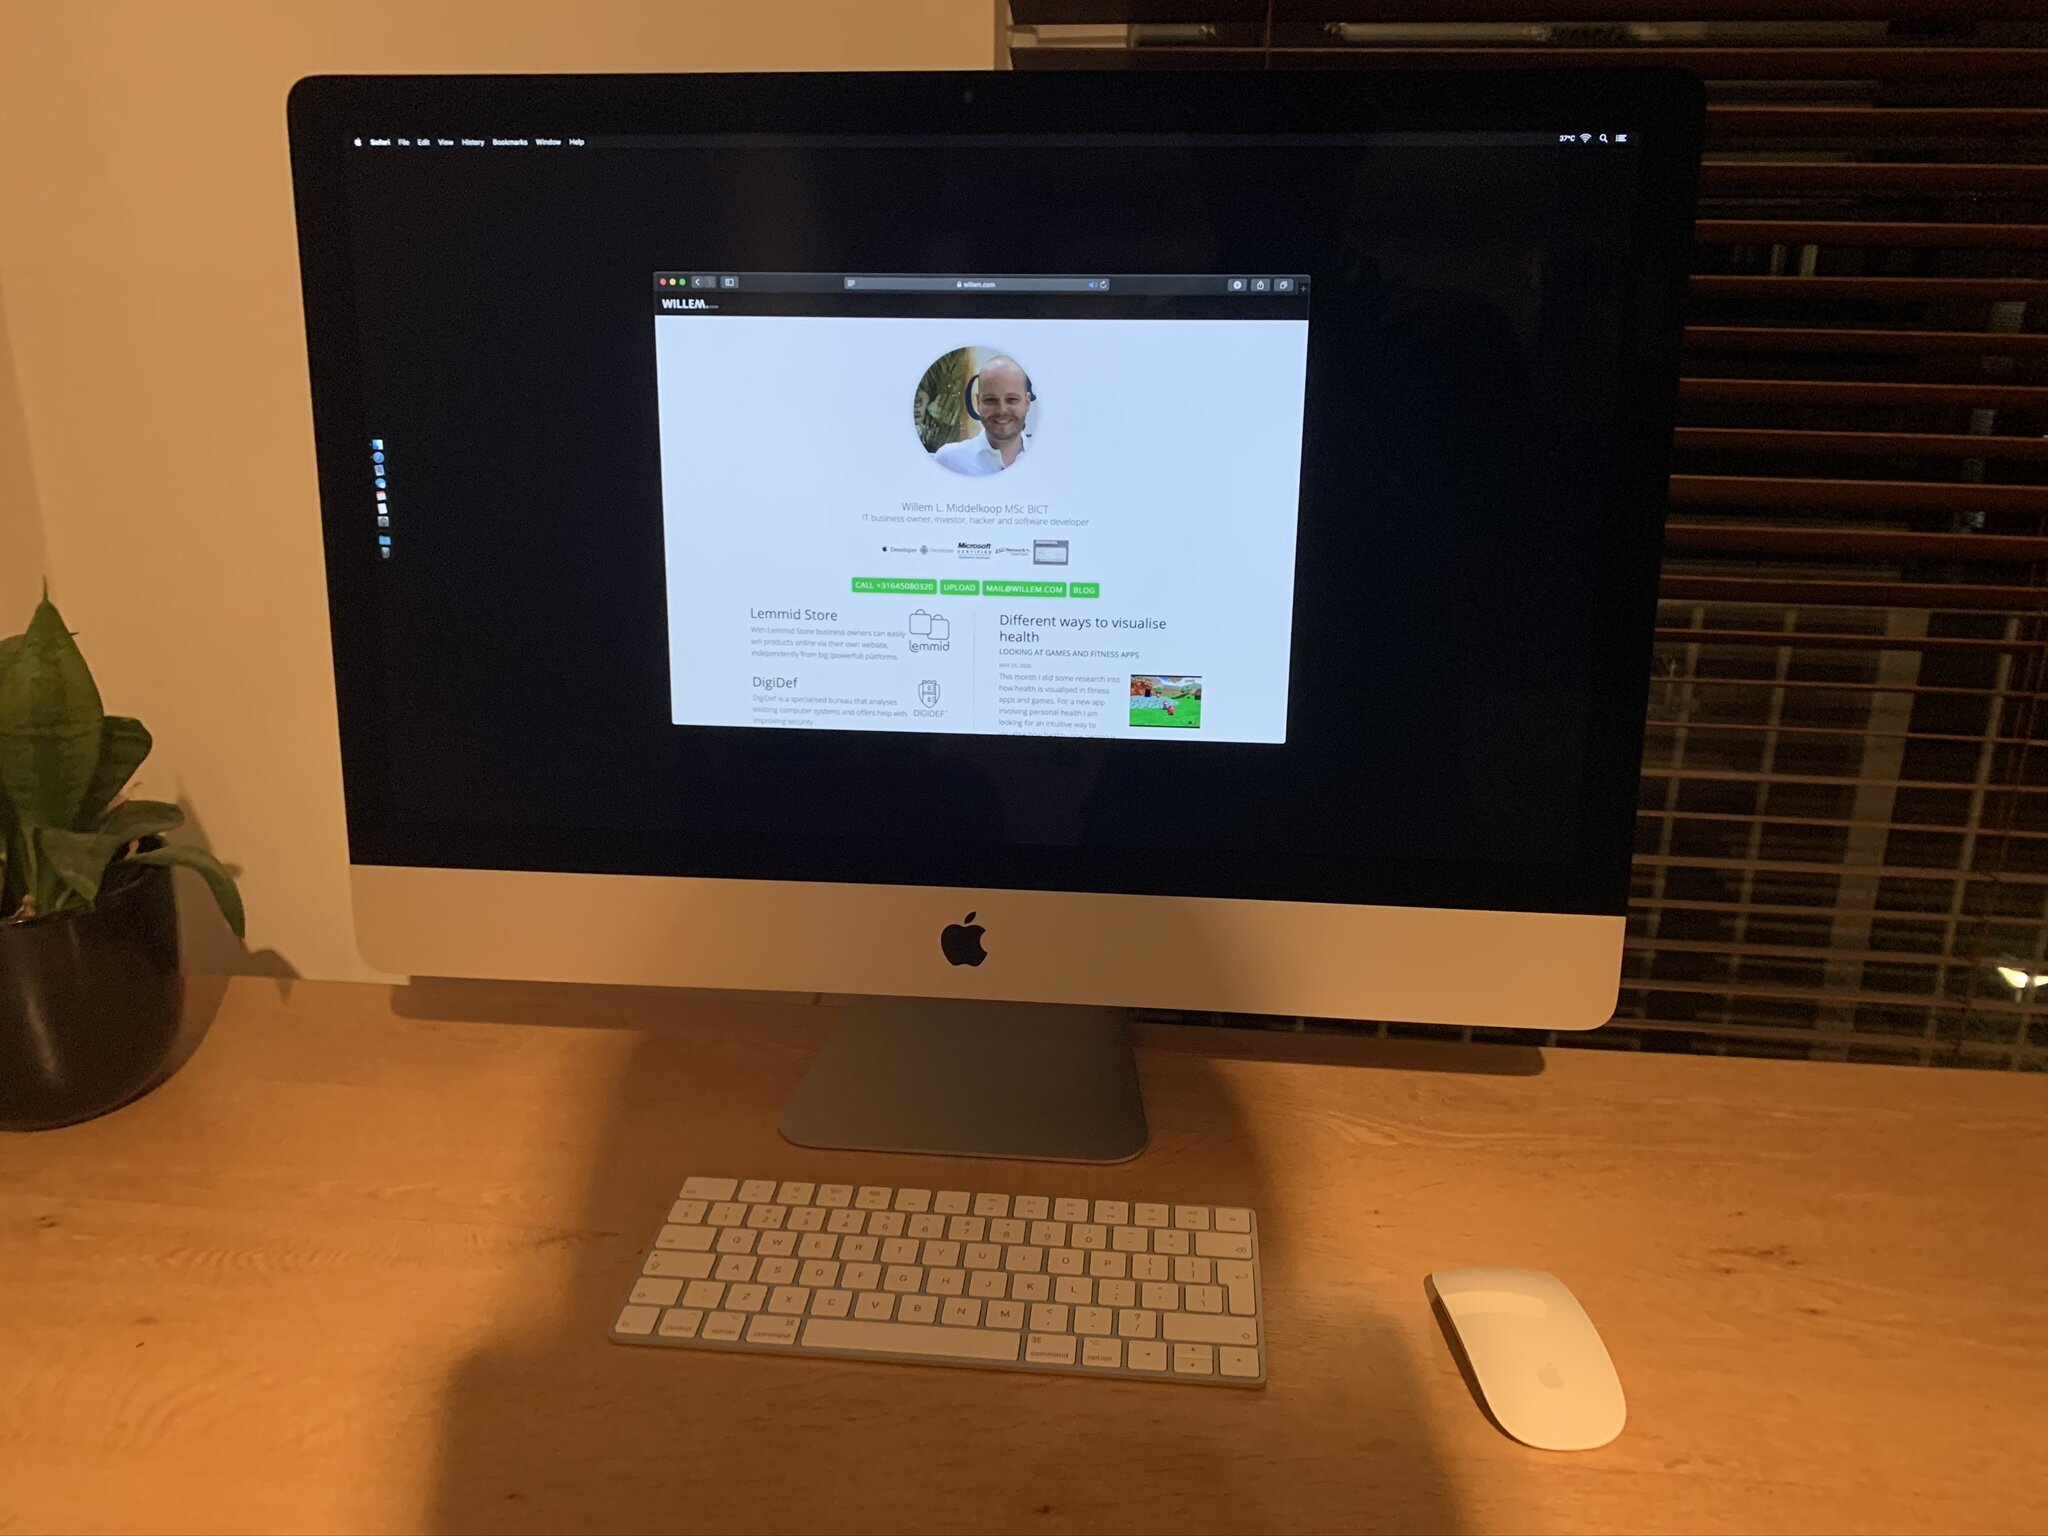
27-inch iMac with 5K retina display
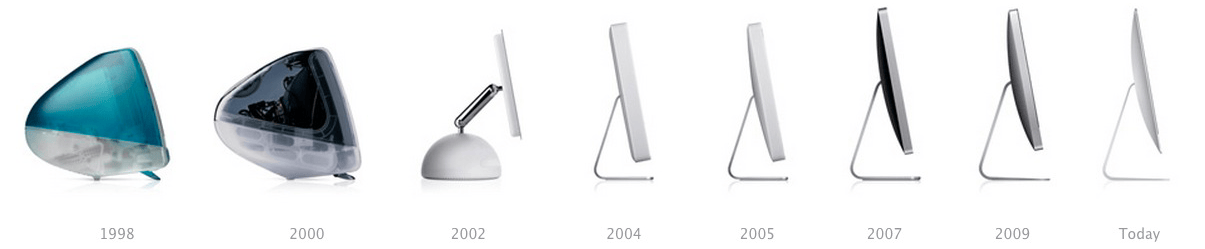
Today's iMac is still very much based on the same concept: a fun and friendly computer. There is only one cable to connect (the power cable) and you don't need a PhD in computer science to set it up. All the computer components are fitted immediately behind the display, creating a slim unified design that tilts up and down on a simple metal base.
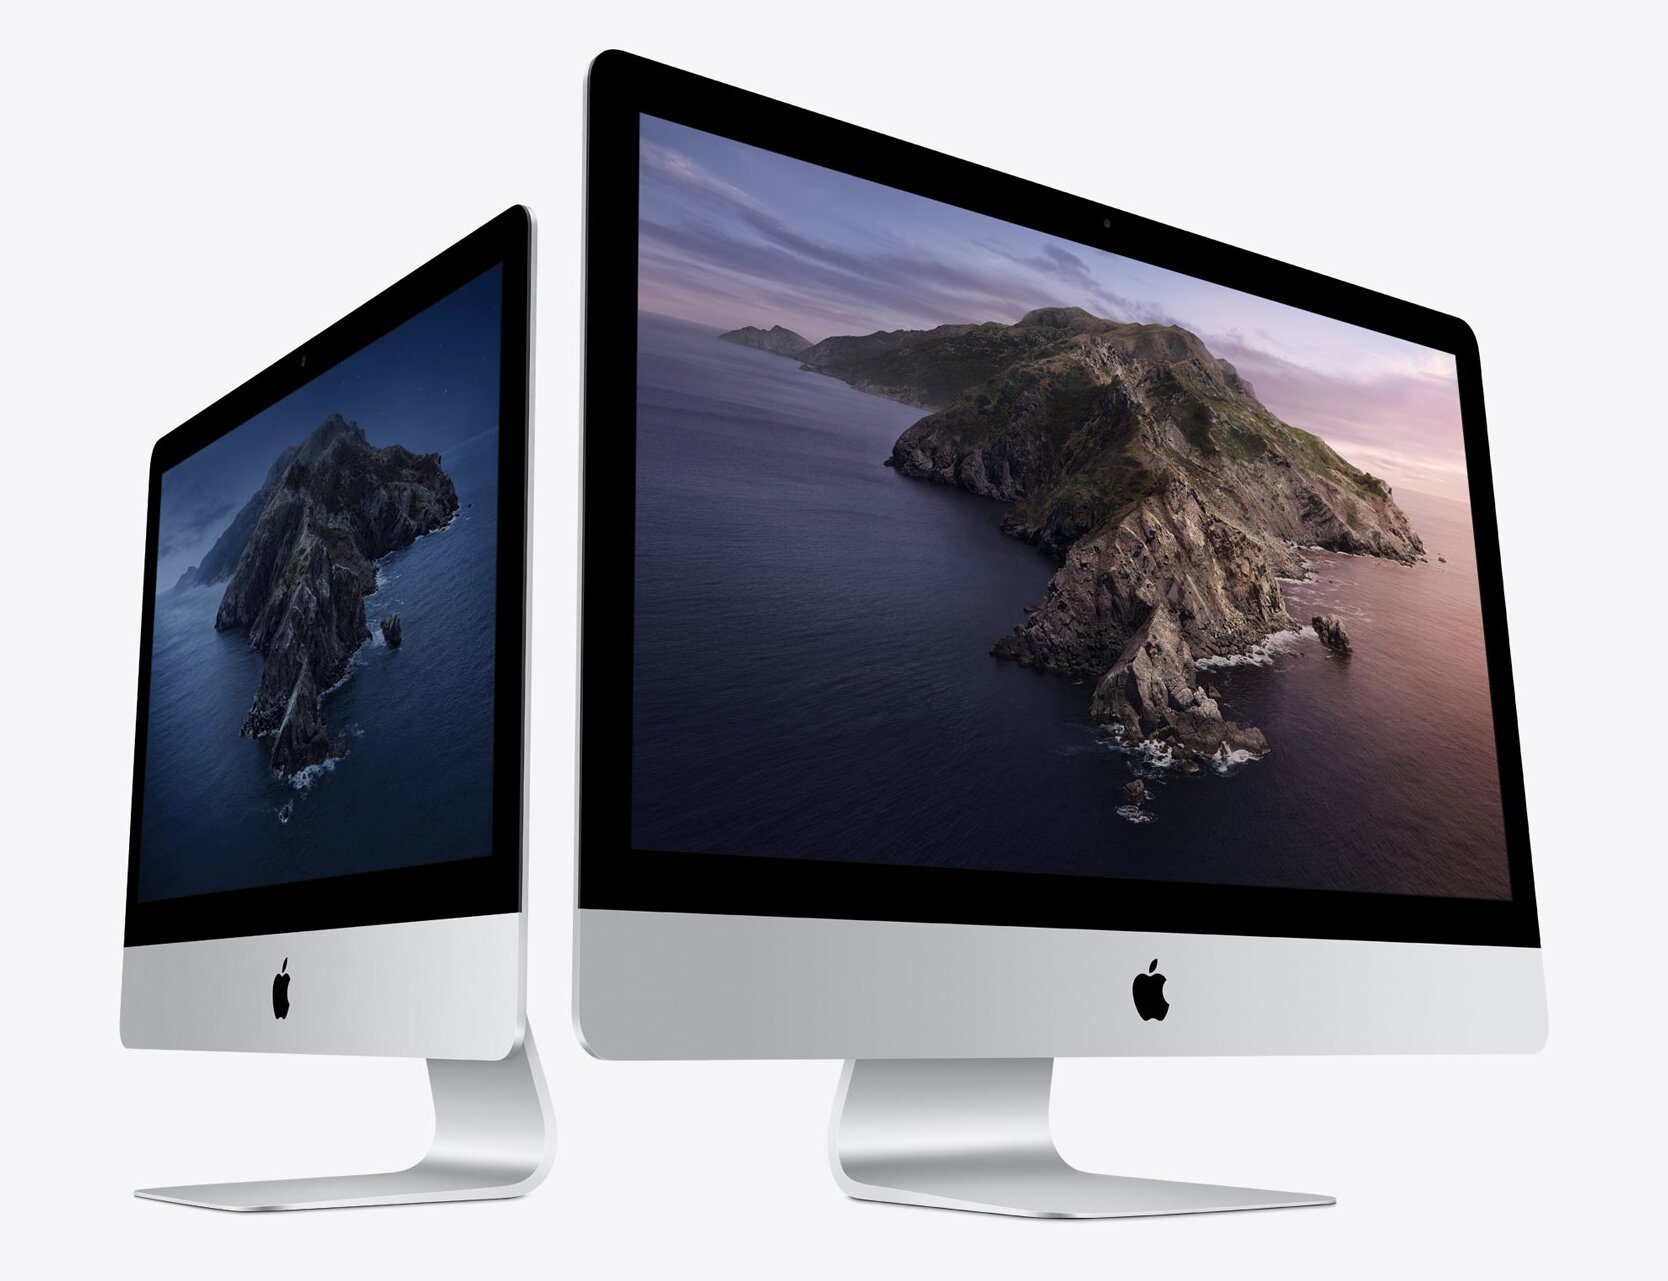
The iMac of today is an impressive computer, mainly because of its gorgeous high resolution display. The 5K retina display is super sharp and it produces accurate colours. Combined with the many options for storage and processors, it makes a very solid case for the ultimate all-in-one computer. Hence, this is why the iMac is Apple's "hero" on the desktop.
Upgrading
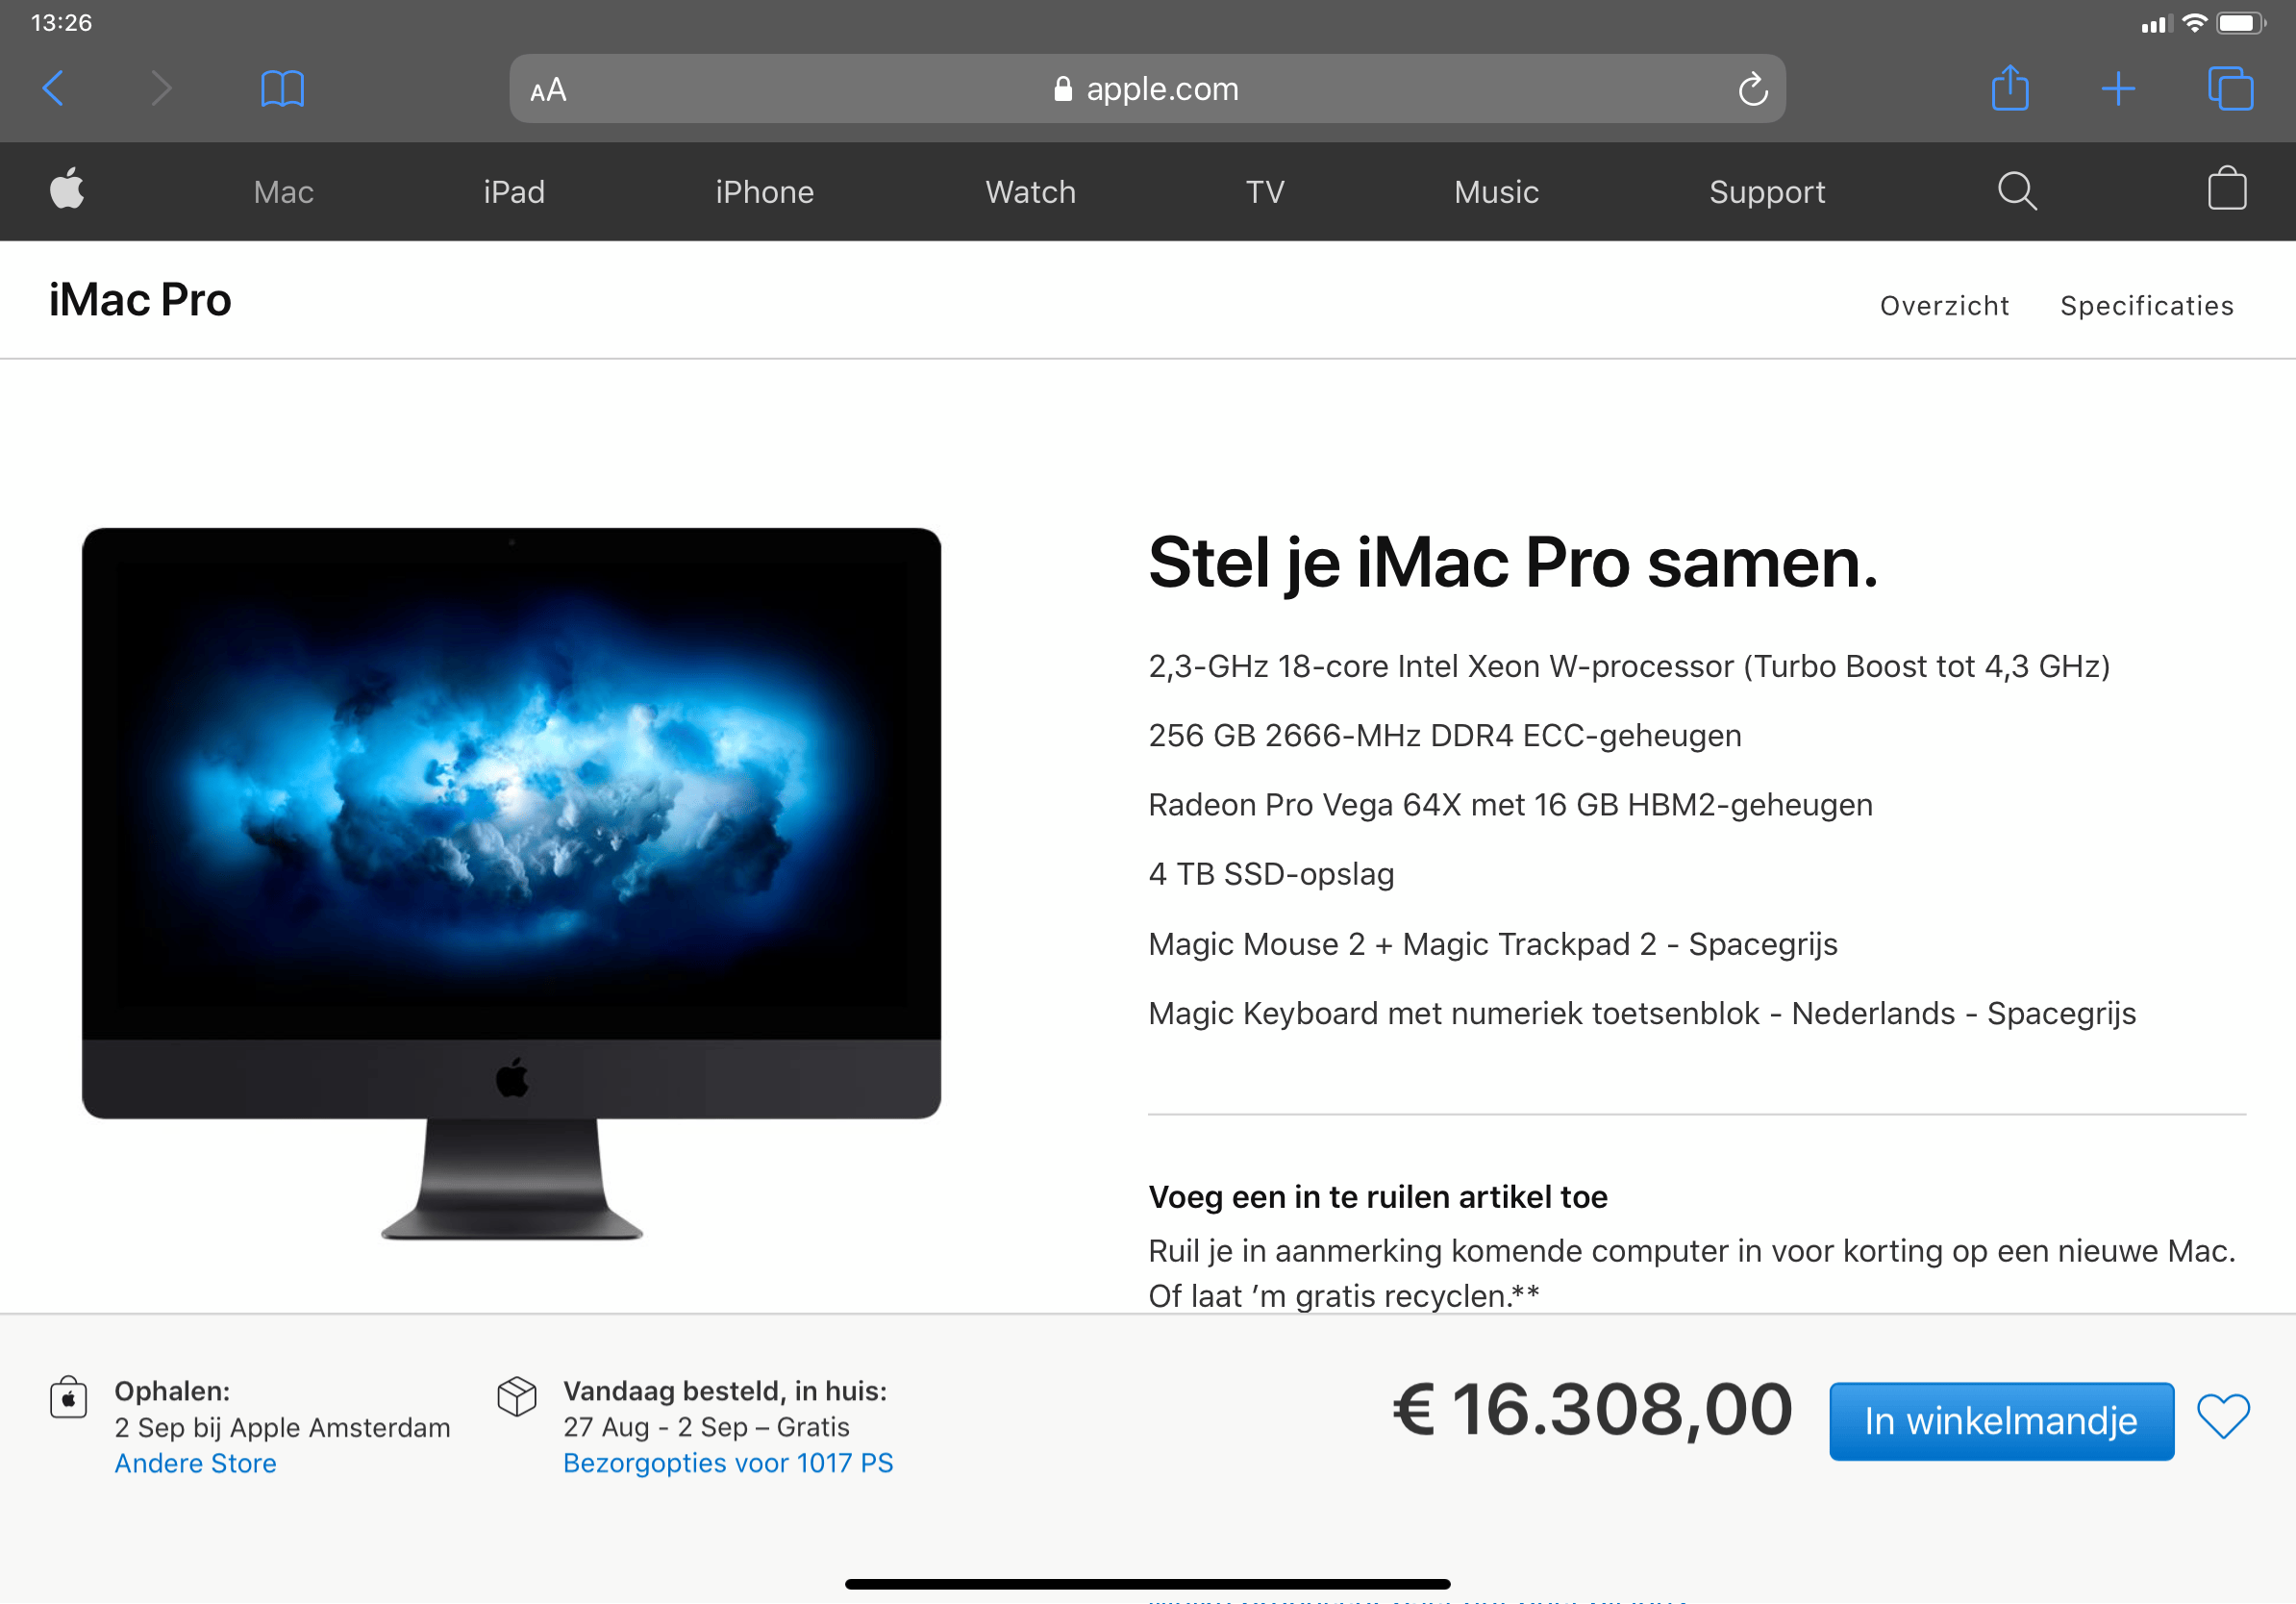
But the upper echelon models don't come cheap: if you fully spec the iMac Pro model, you'll need € 16.308! Then you have an incredible machine that will easily last for years. For many professionals this is a 'no brainer'. But for me, it's a lot of money. So, how about a little do-it-myself, I thought? Would it be possible to take my base model iMac and upgrade it into higher stratospheres? How hard can it possibly be...?
Friendly notice: DON'T DO IT!
Upgrading an iMac is not easy. My simple advice would be: don't do it yourself. See an expert, buy a ready-to-go upper spec model. It's easier, safer, and you'll save plenty of time that you can use to earn the extra cash needed to pay for it. Naturally I ignored any such friendly advice... and went into the deep with my crazy plan.
Preparation
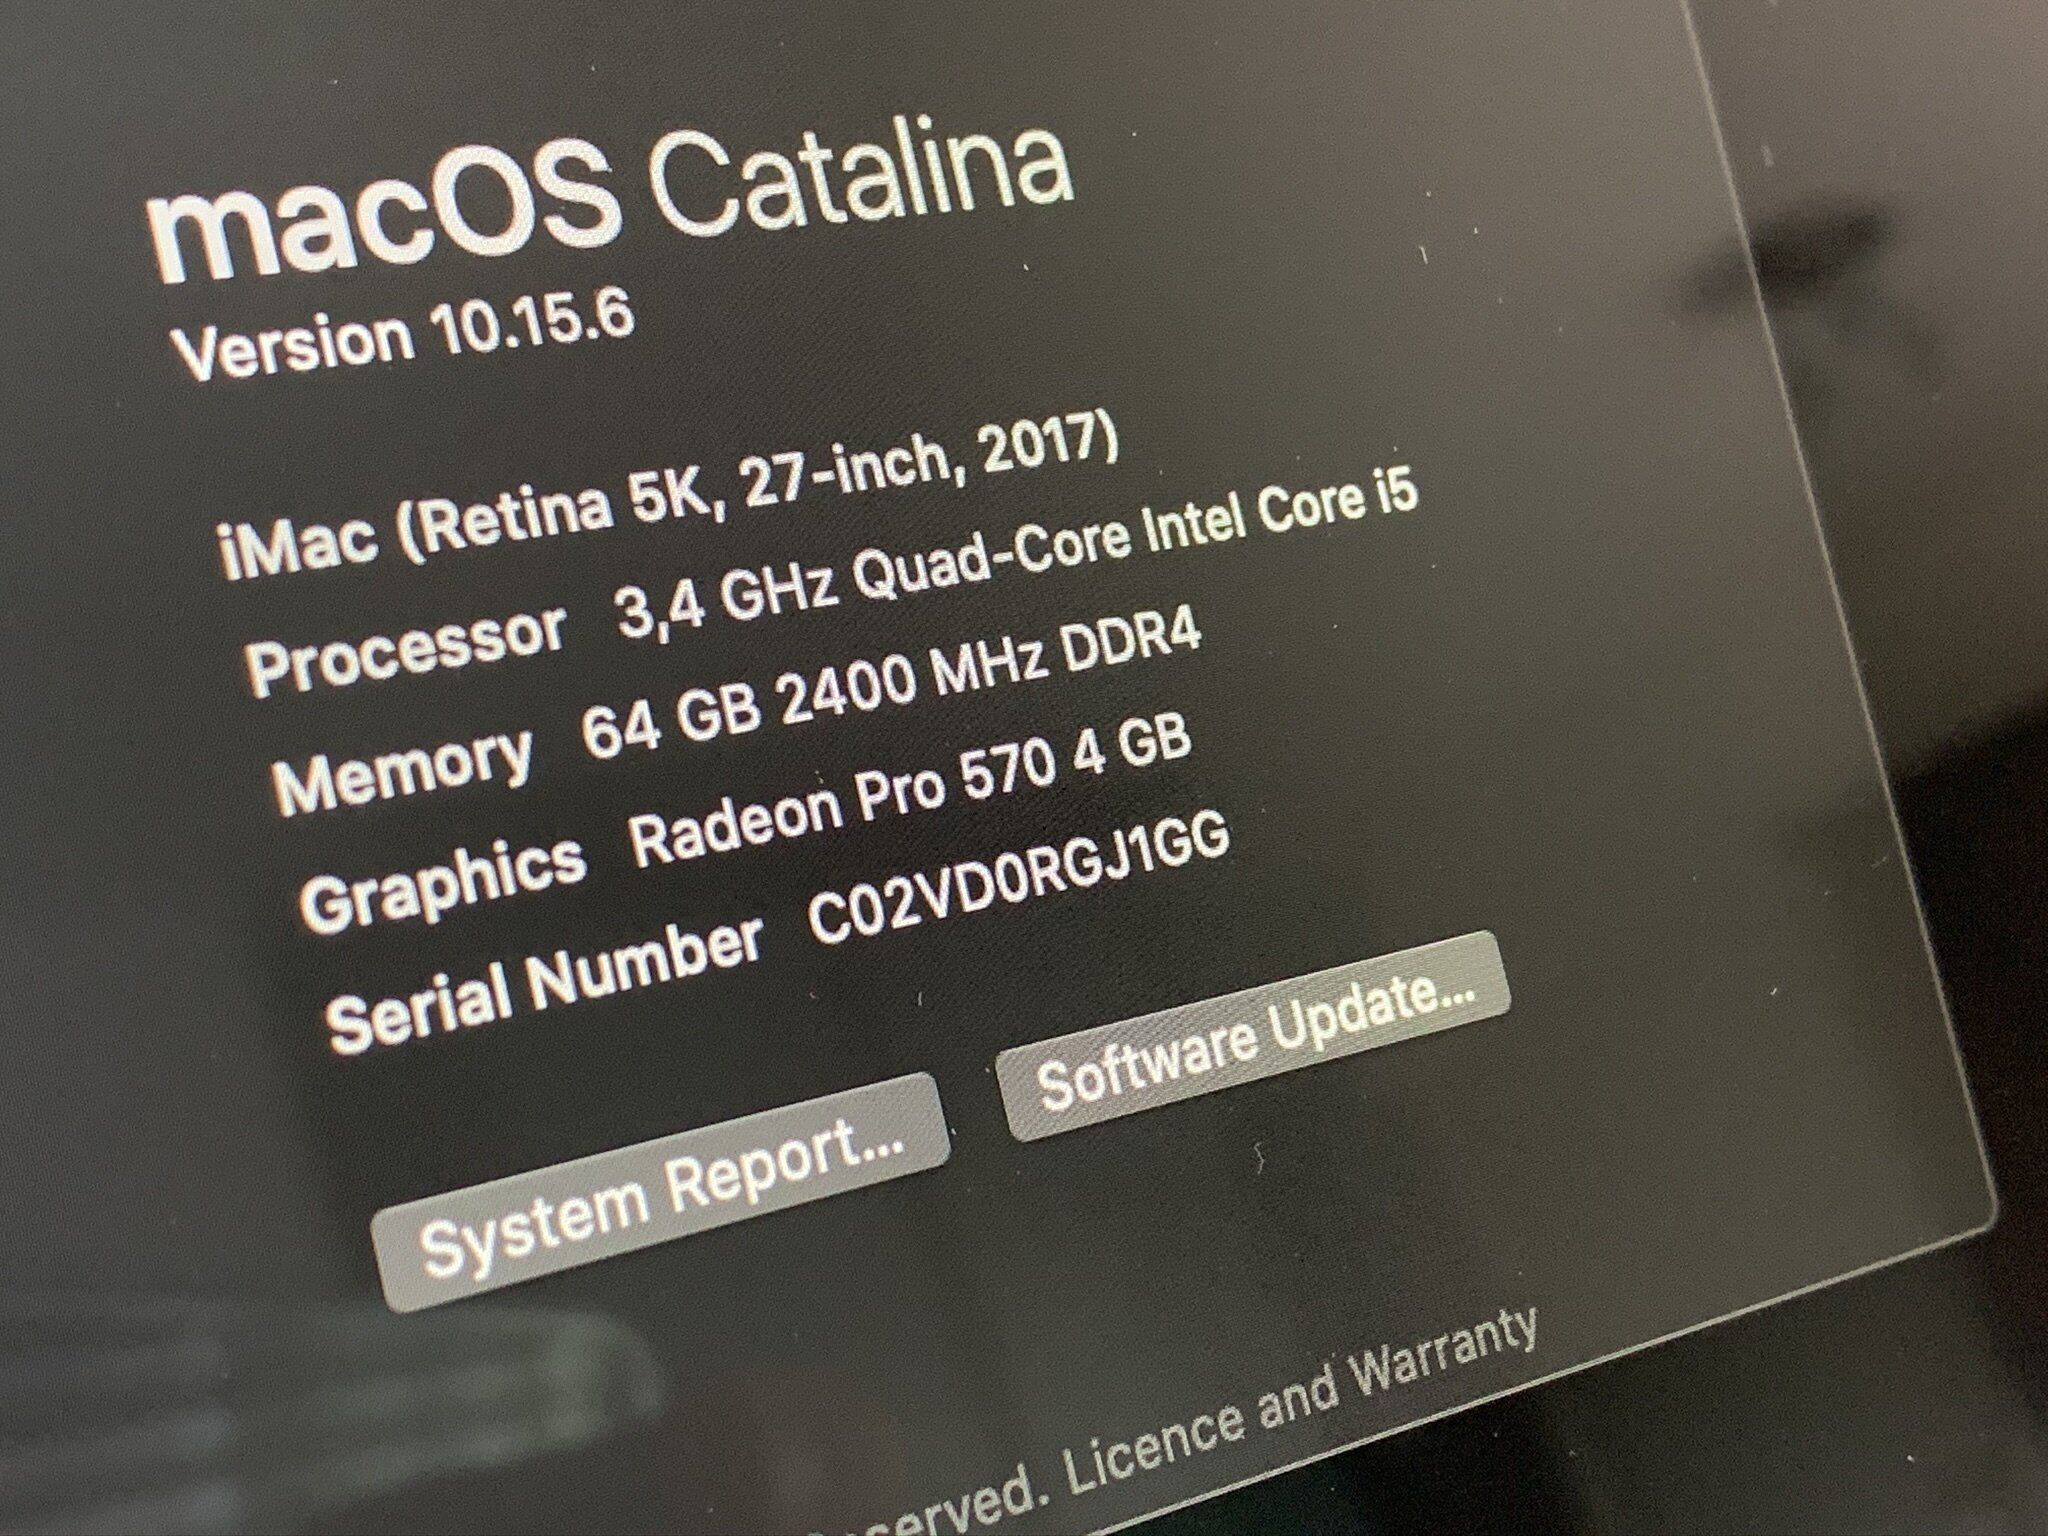
The first step is to make sure that you have updated all the software on your iMac. Make sure it runs well. Then you should make a complete backup of everything. Consider "everything lost" when you're going to do any adventurous tinkering. Then you should determine the exact model you have. You can find this using "About this Mac" in macOS, look for the model number. My iMac 27-inch (2017) had the model number "18,3".
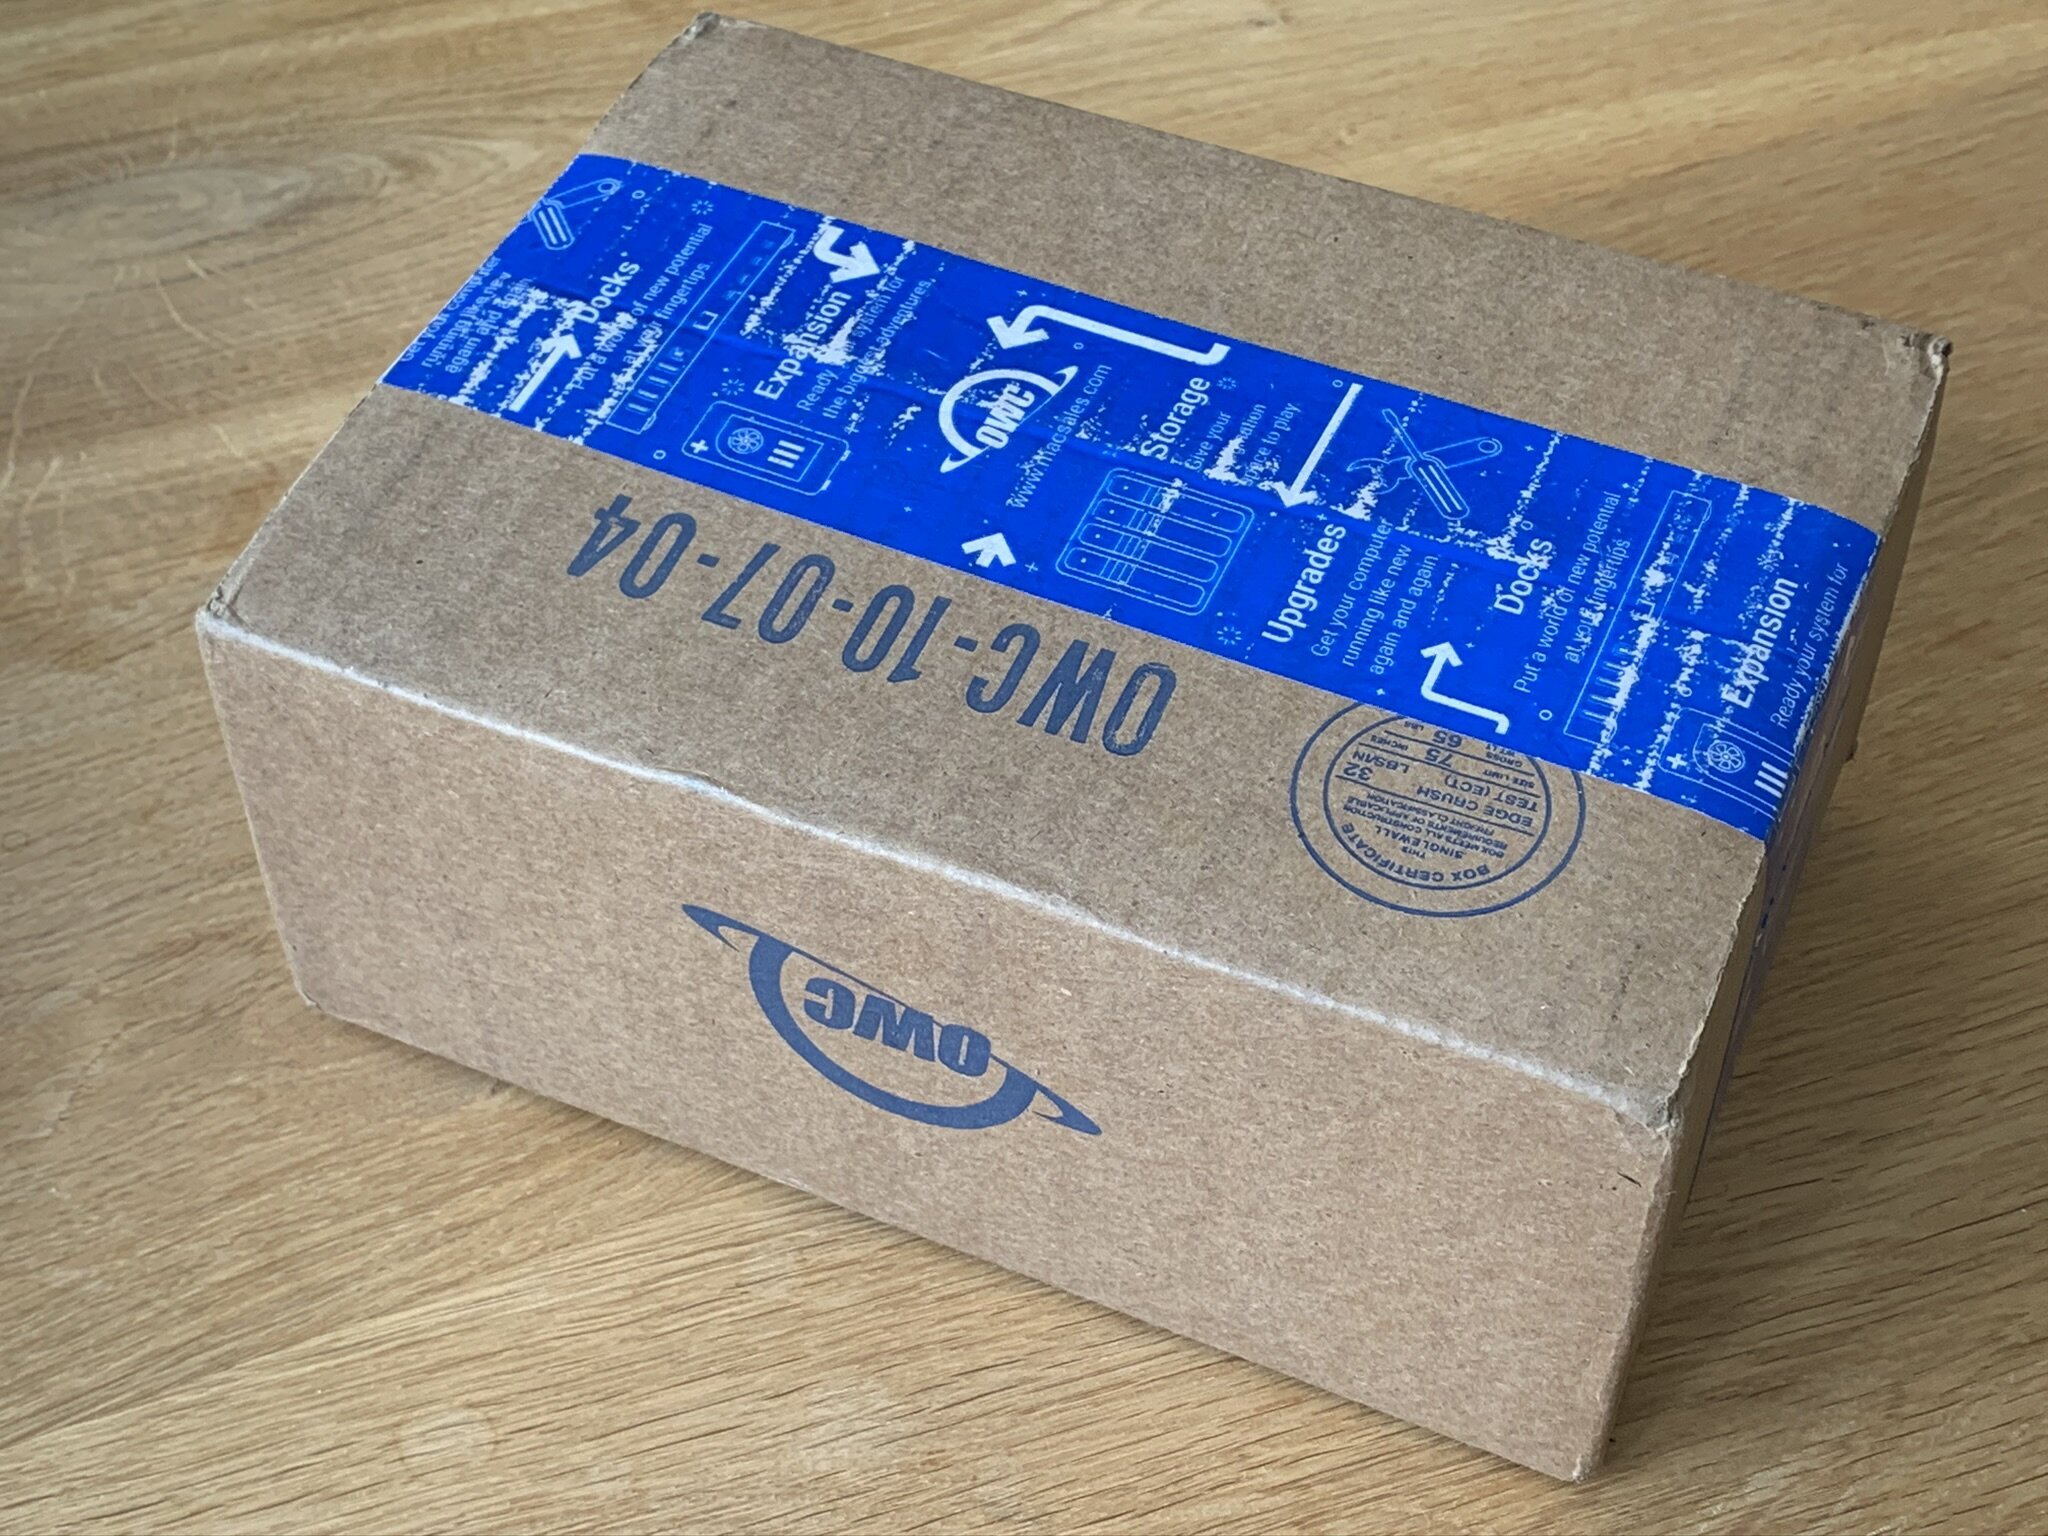
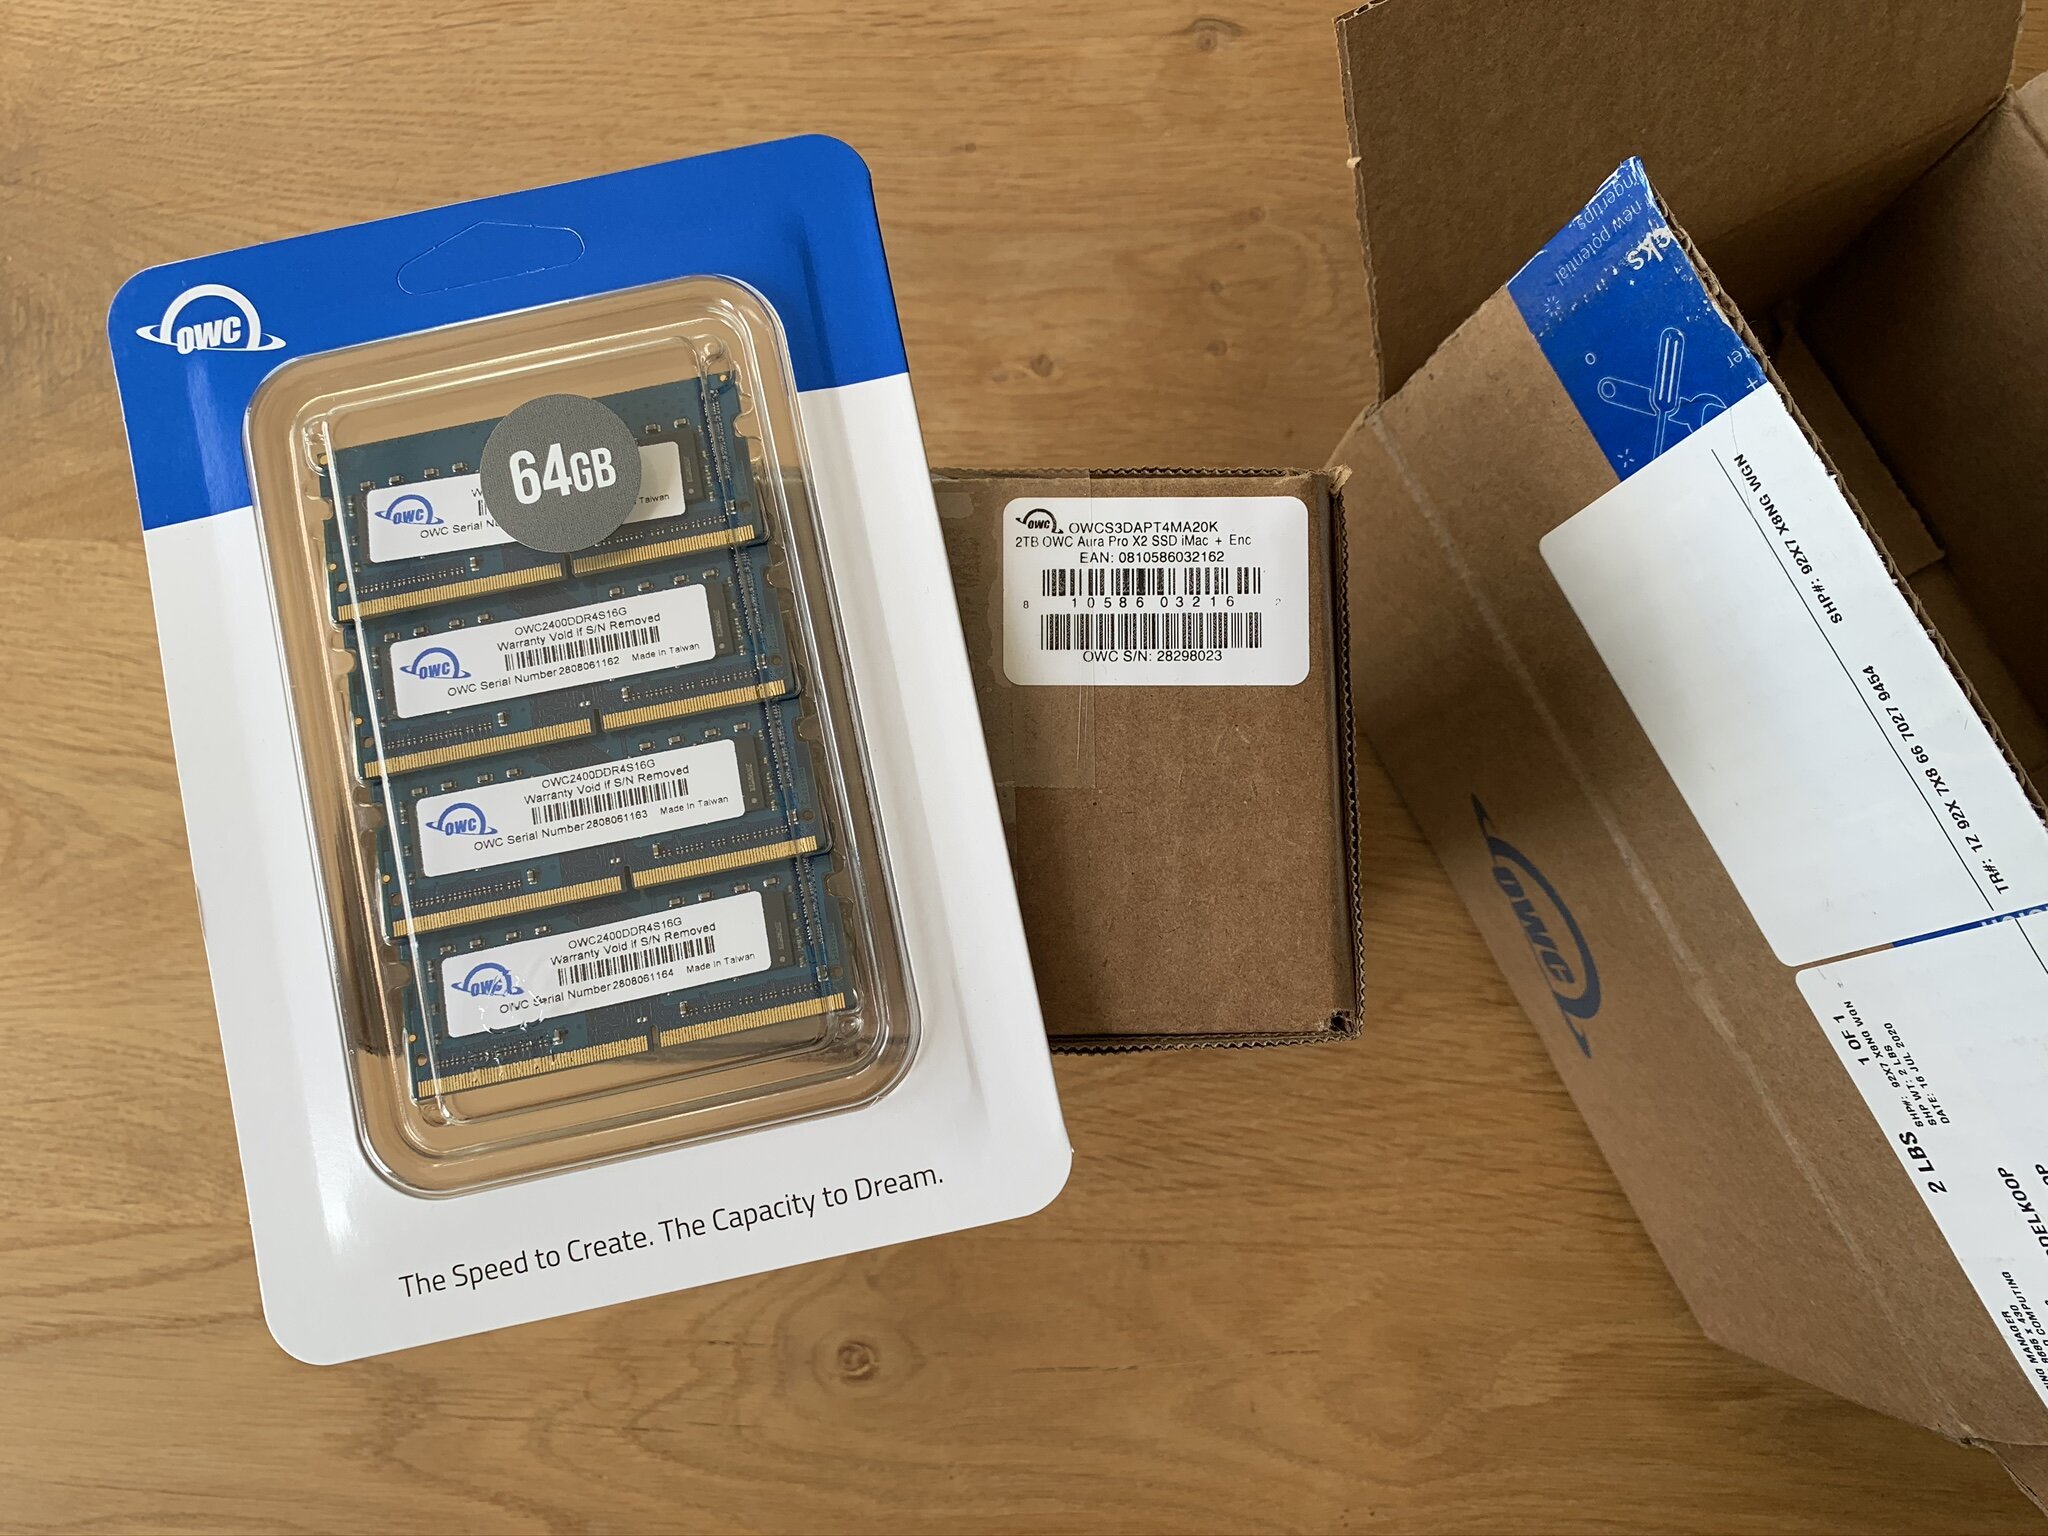
Find parts
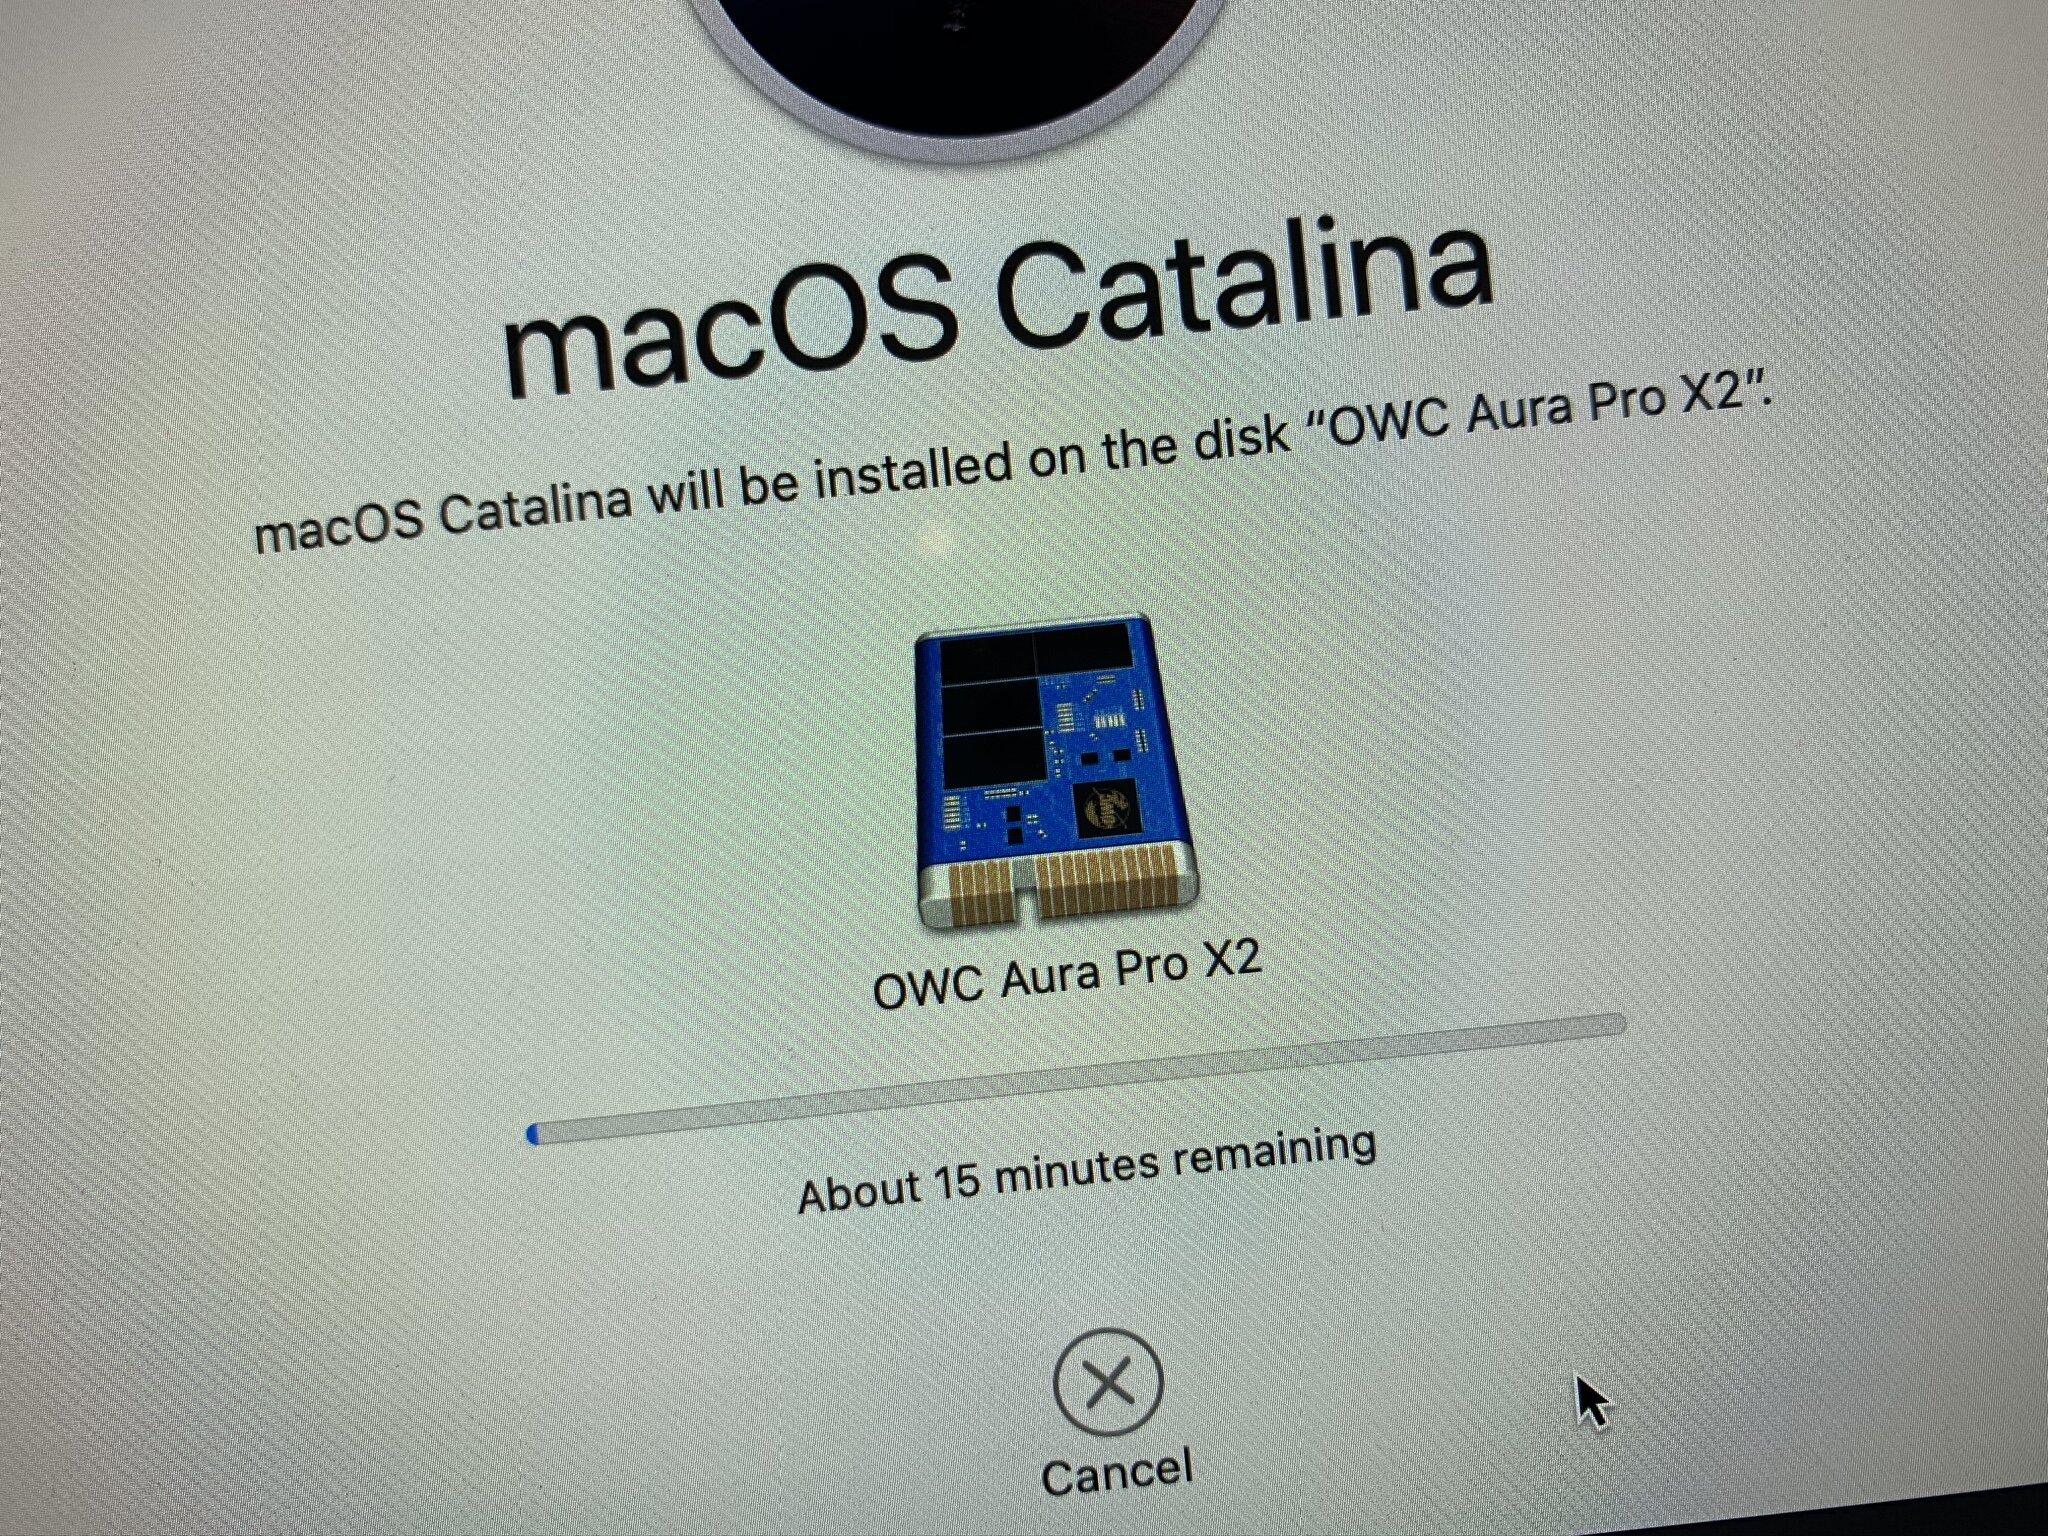
With the exact model number you can start your quest for upgrade parts. There are various shops and online stores offering upgrades. Many of them come with a set of tools, instruction videos and an healthy dosis of "good luck, you're on your own"-conditions. I opted for the fastest, biggest PCIe SSD, and a set of maximum RAM from the friendly folks of other world computing.
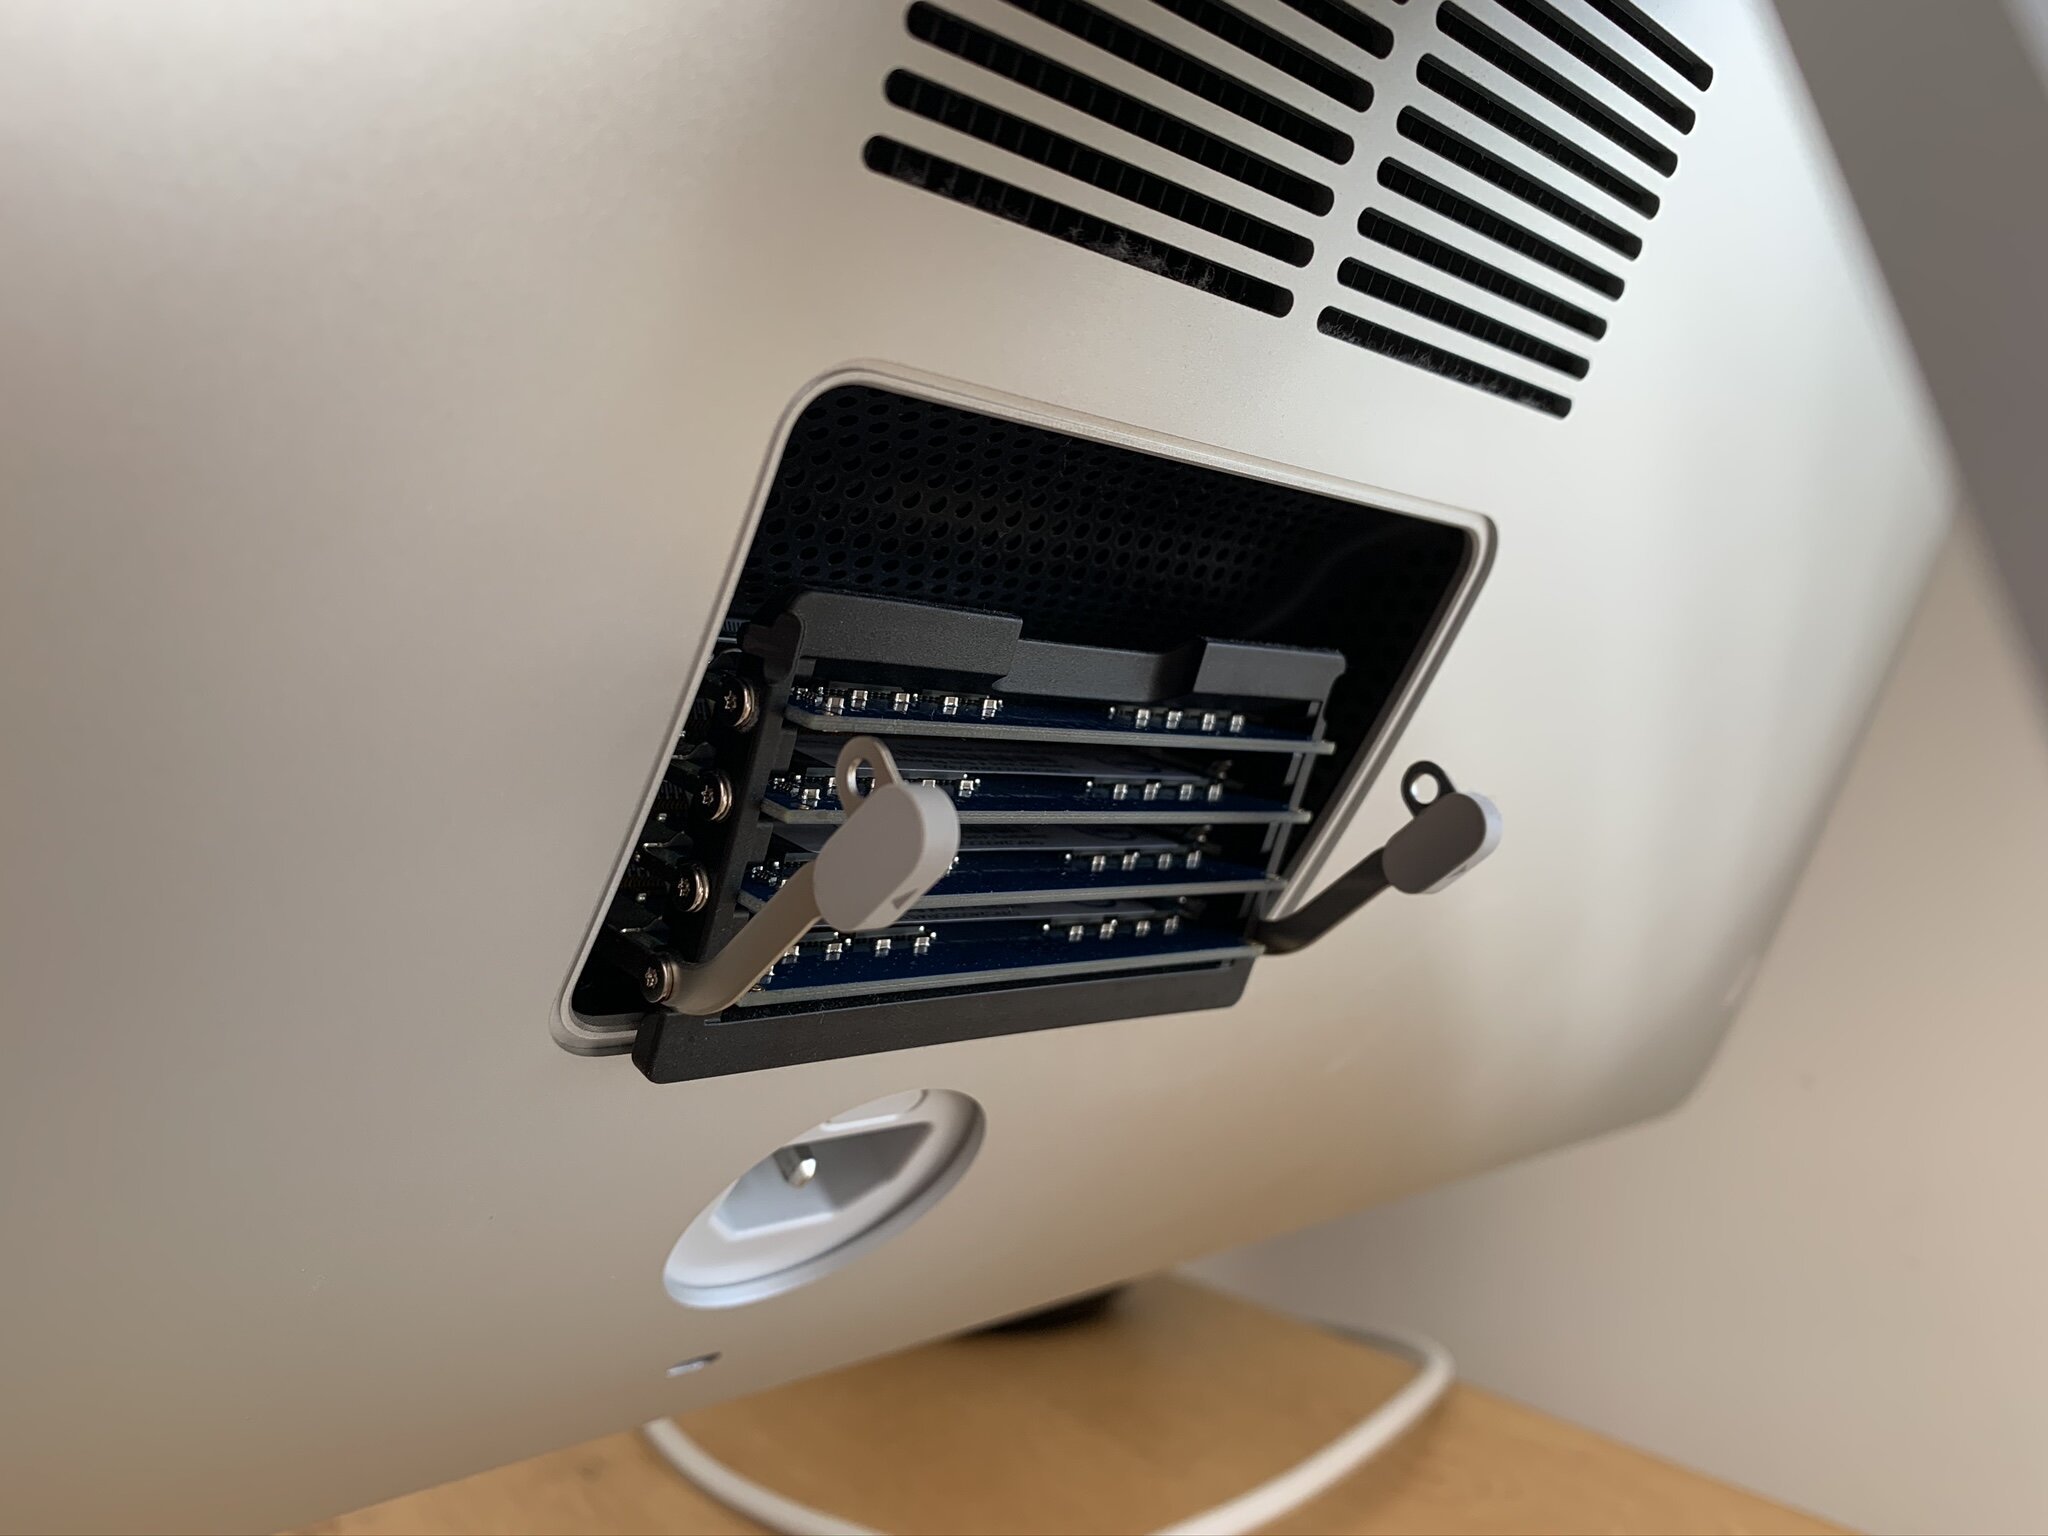
Upgrading the RAM
Upgrading the RAM memory is fairly easy as the iMac has a special hatch near its power connector that provides access to the RAM modules. I upgraded the RAM first to be able to check if the new modules were allright. This is important to know as the next steps are significantly more risky. Knowing that the RAM works makes it easier to identify possible other problems.
Fusion drive magic
If your iMac has a Fusion drive you should know that this is not a single device. In fact, a fusion drive are two distinct parts acting 'as one' by a software trick. If you intend to replace either one of them you should "decouple the fusion" before taking the iMac apart. You can do this using some terminal commands.
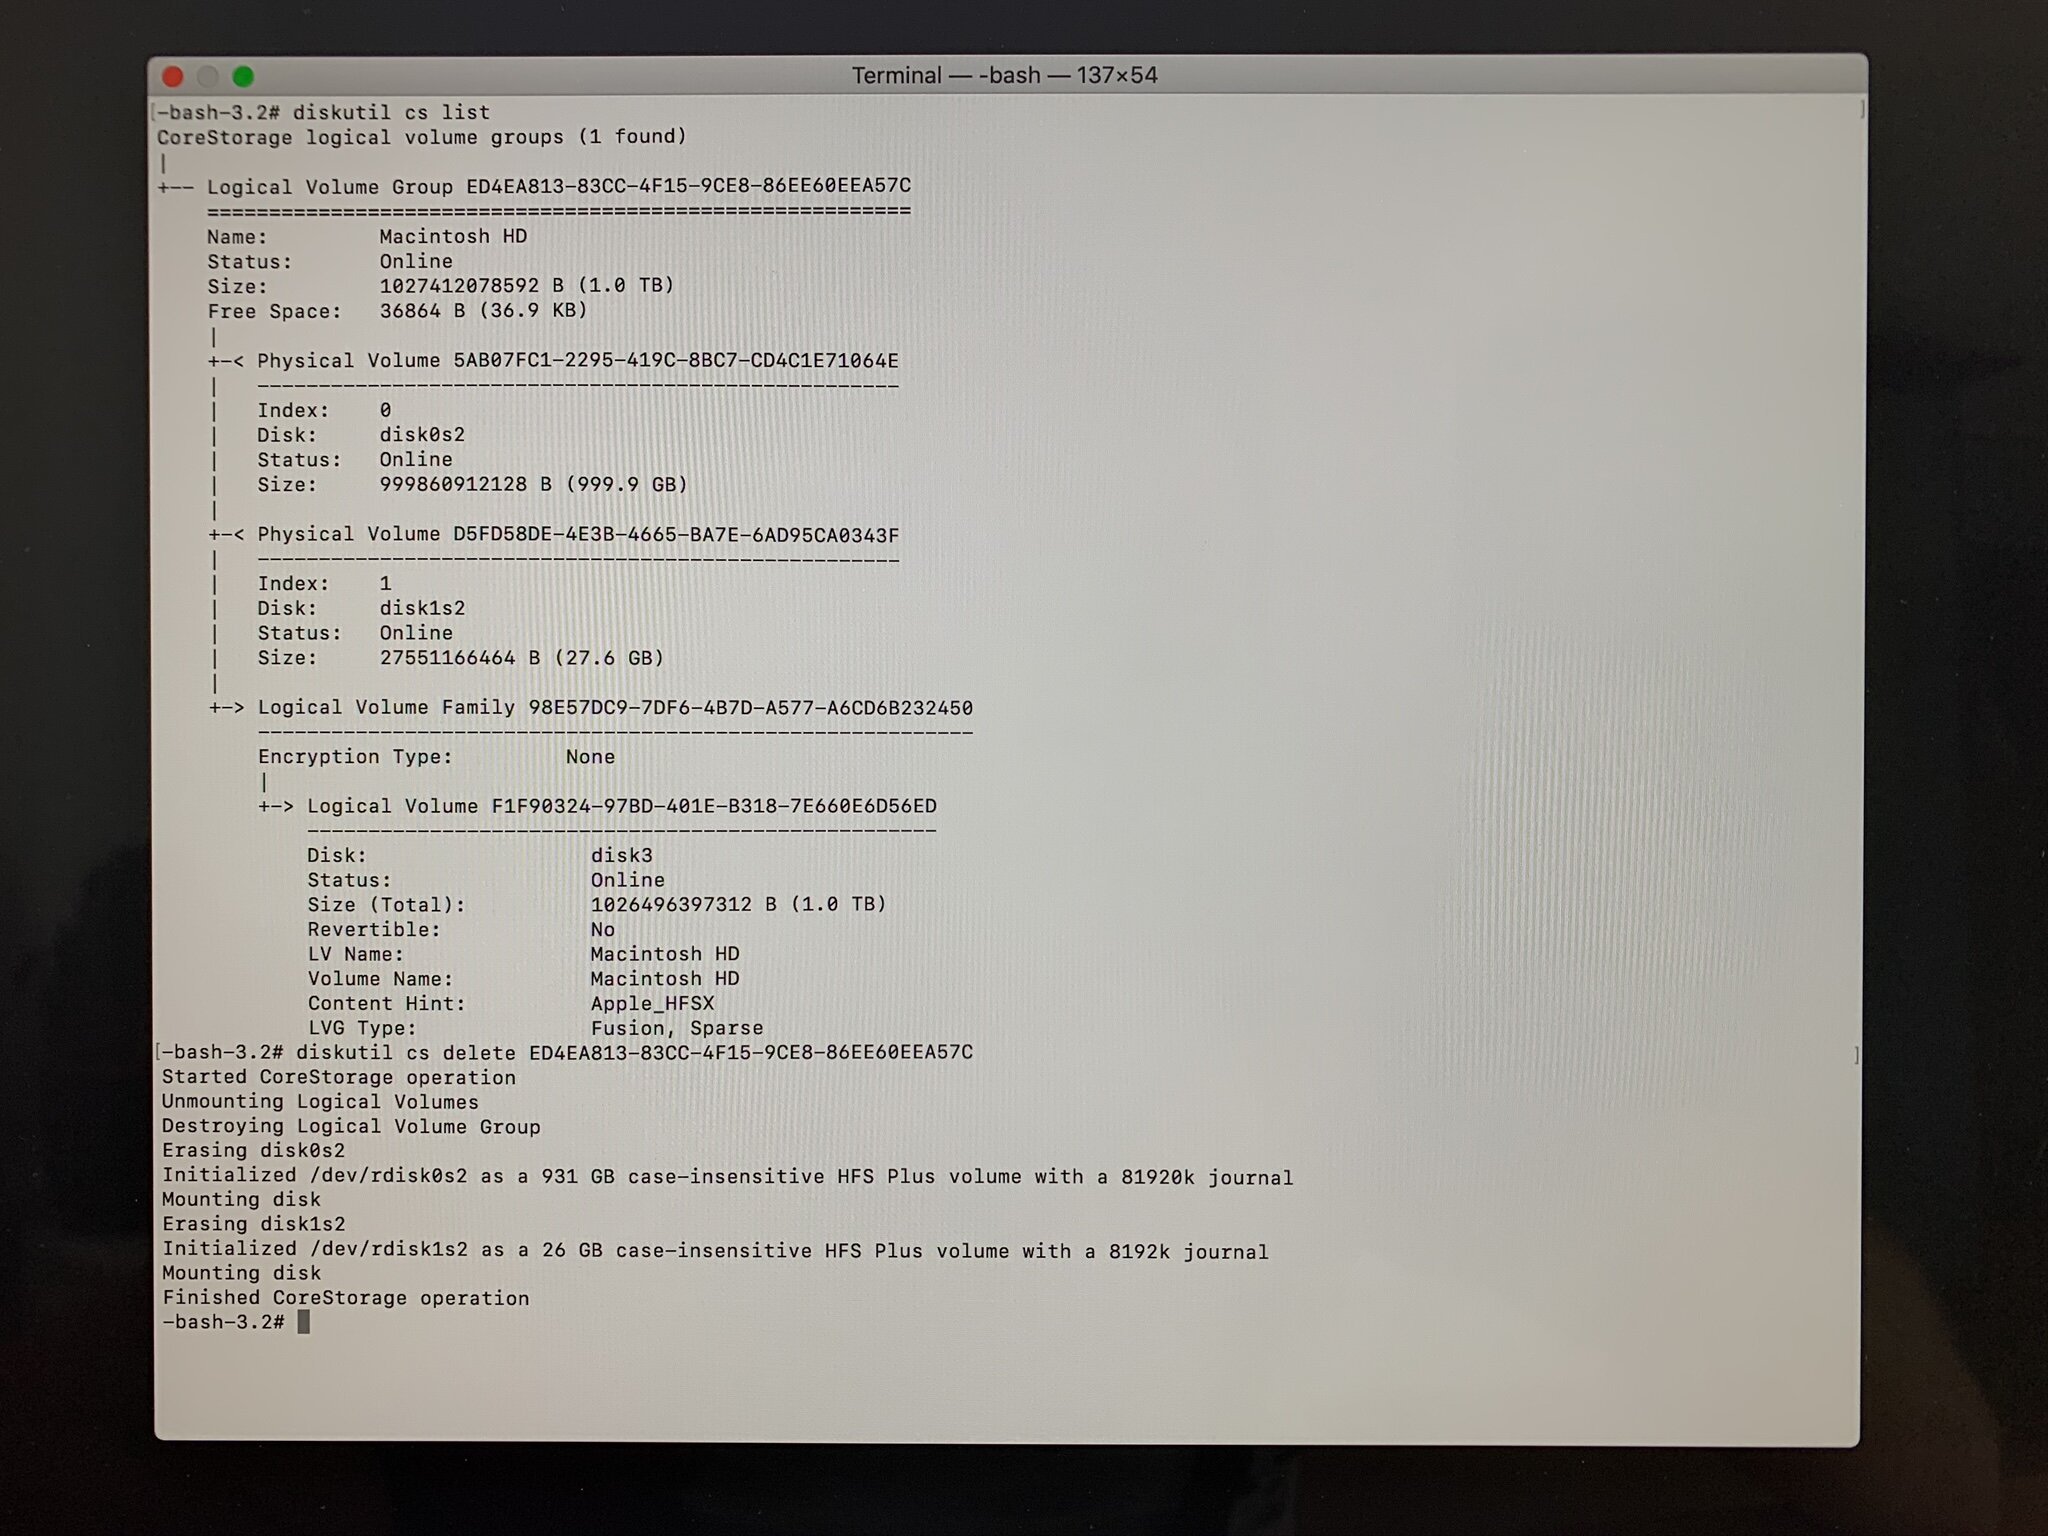
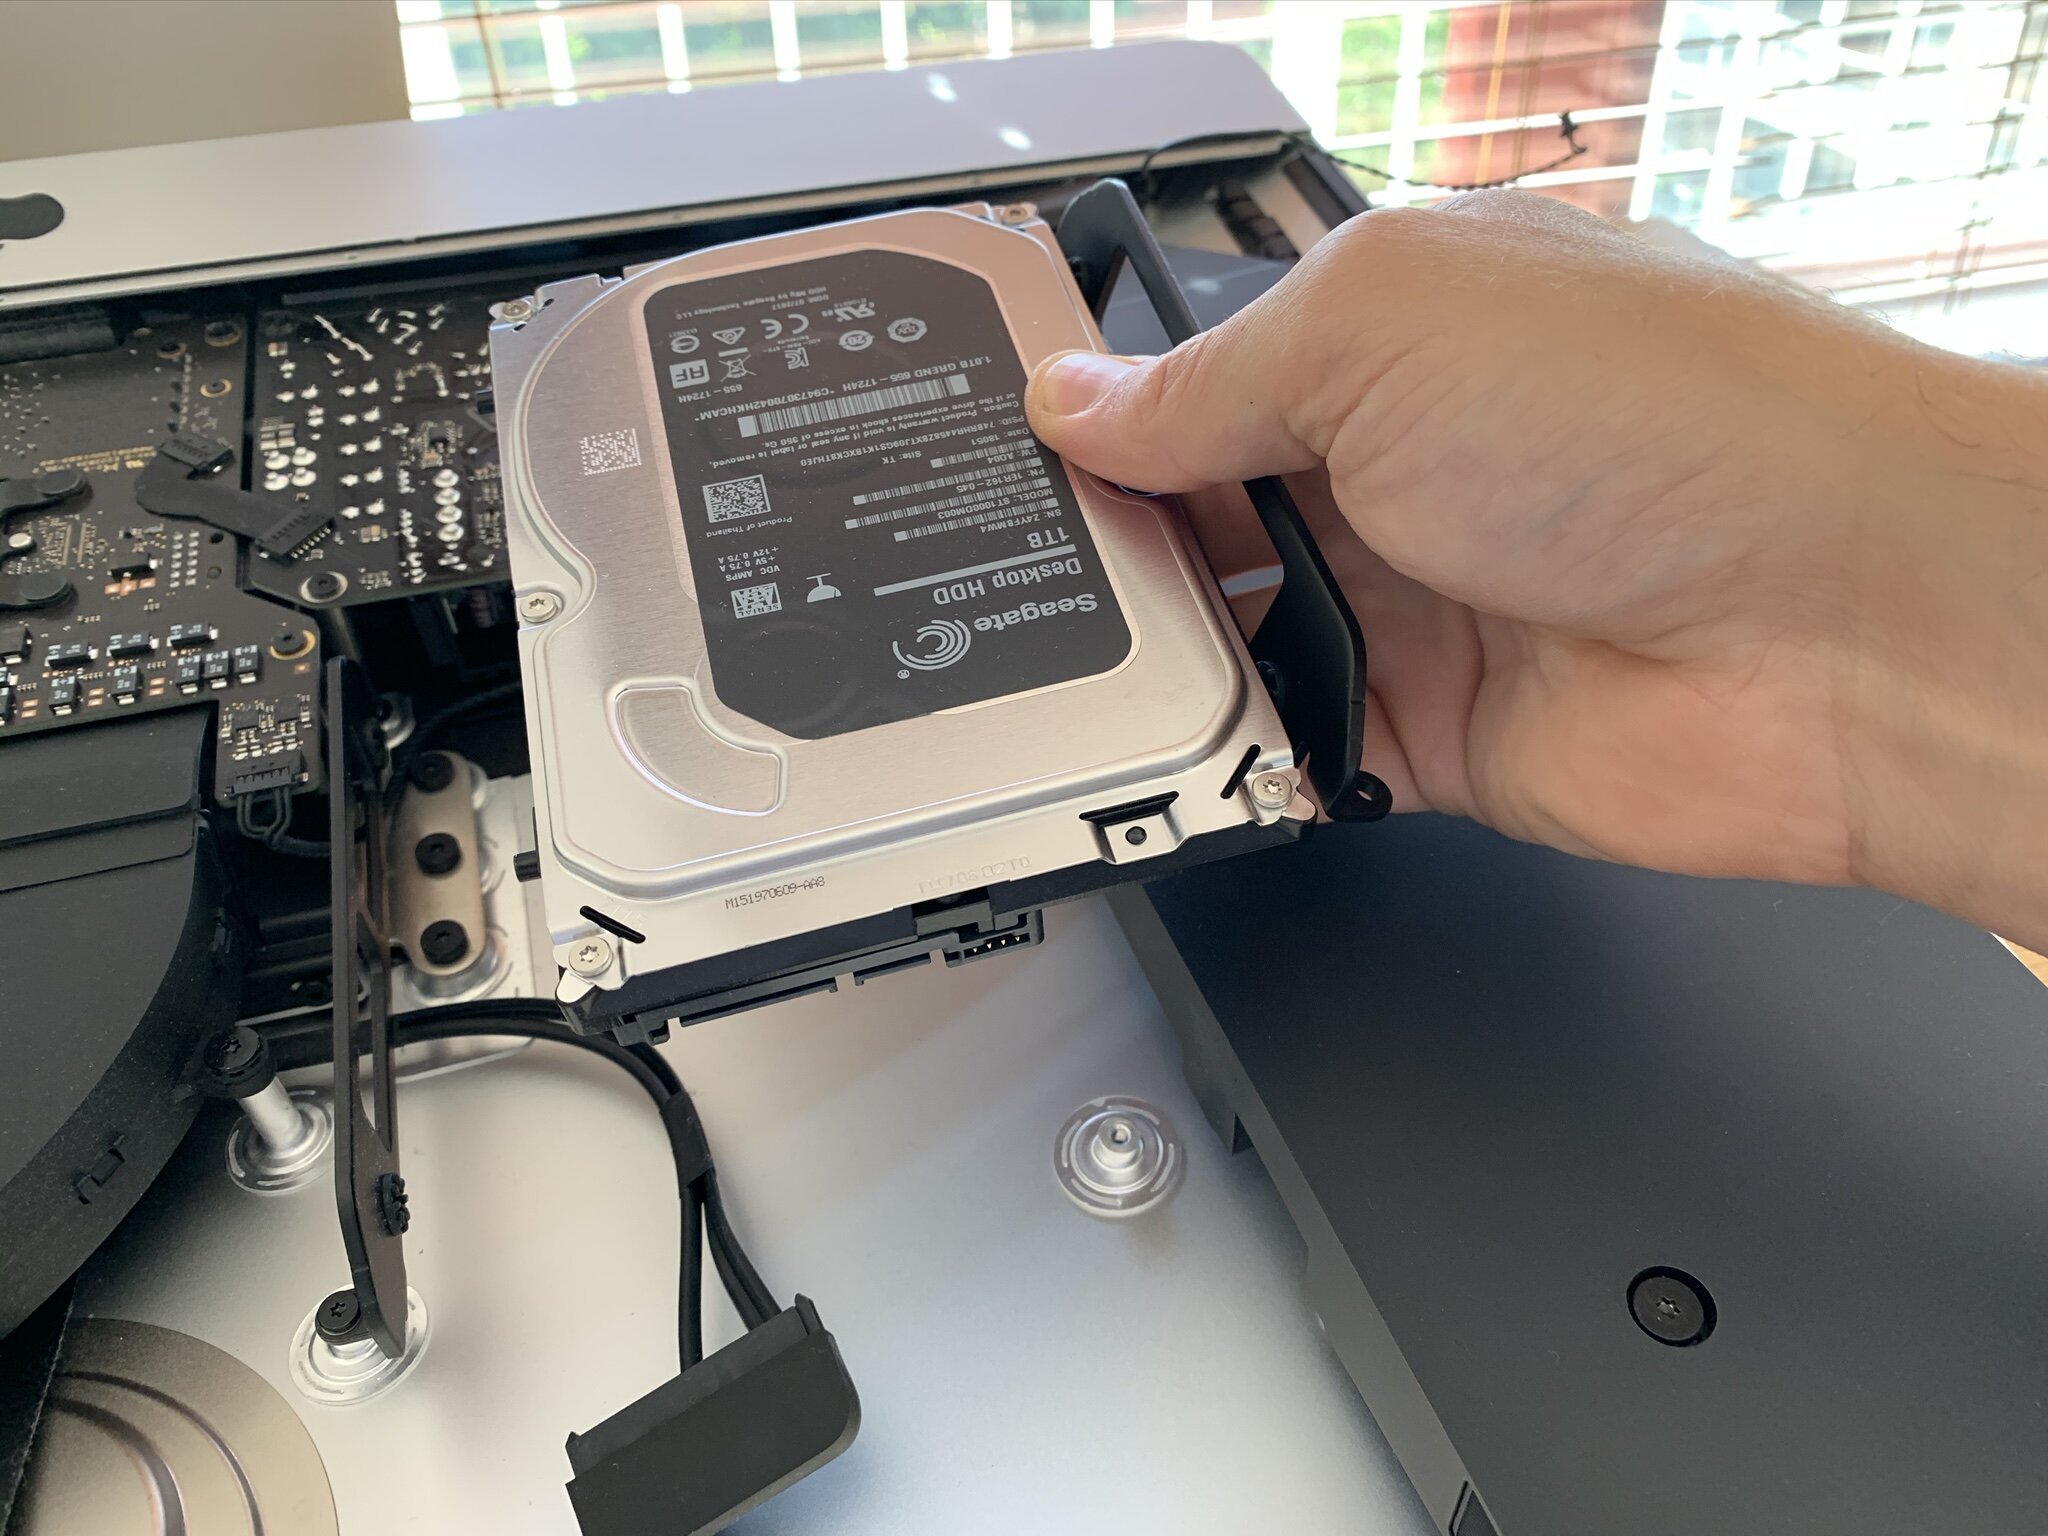
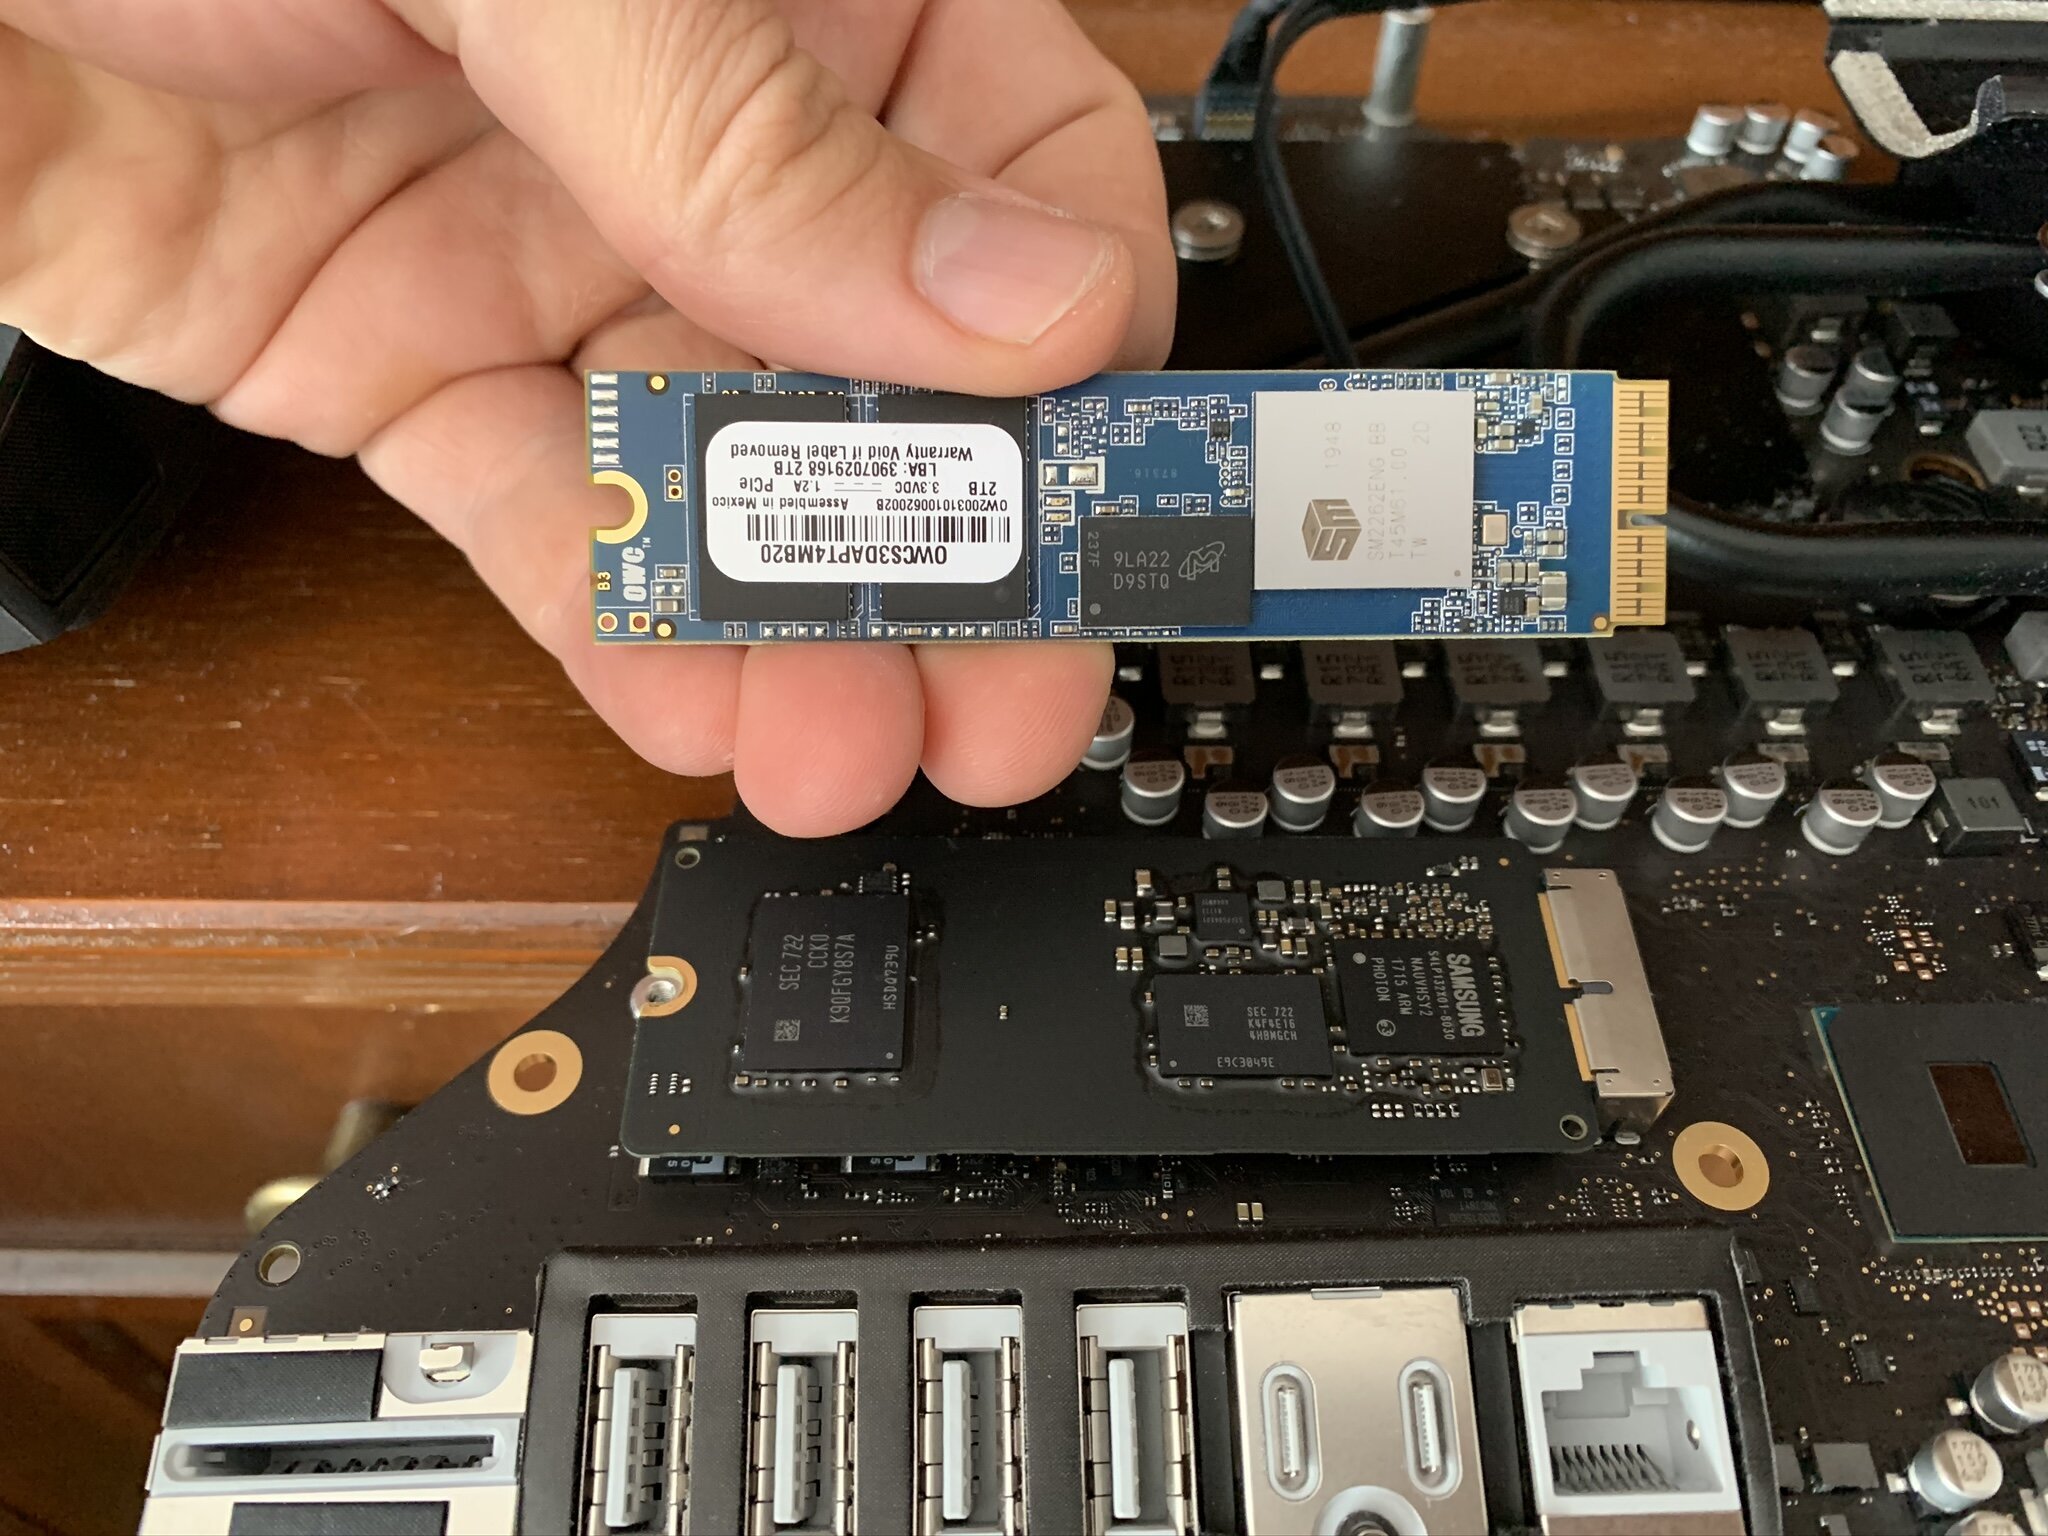
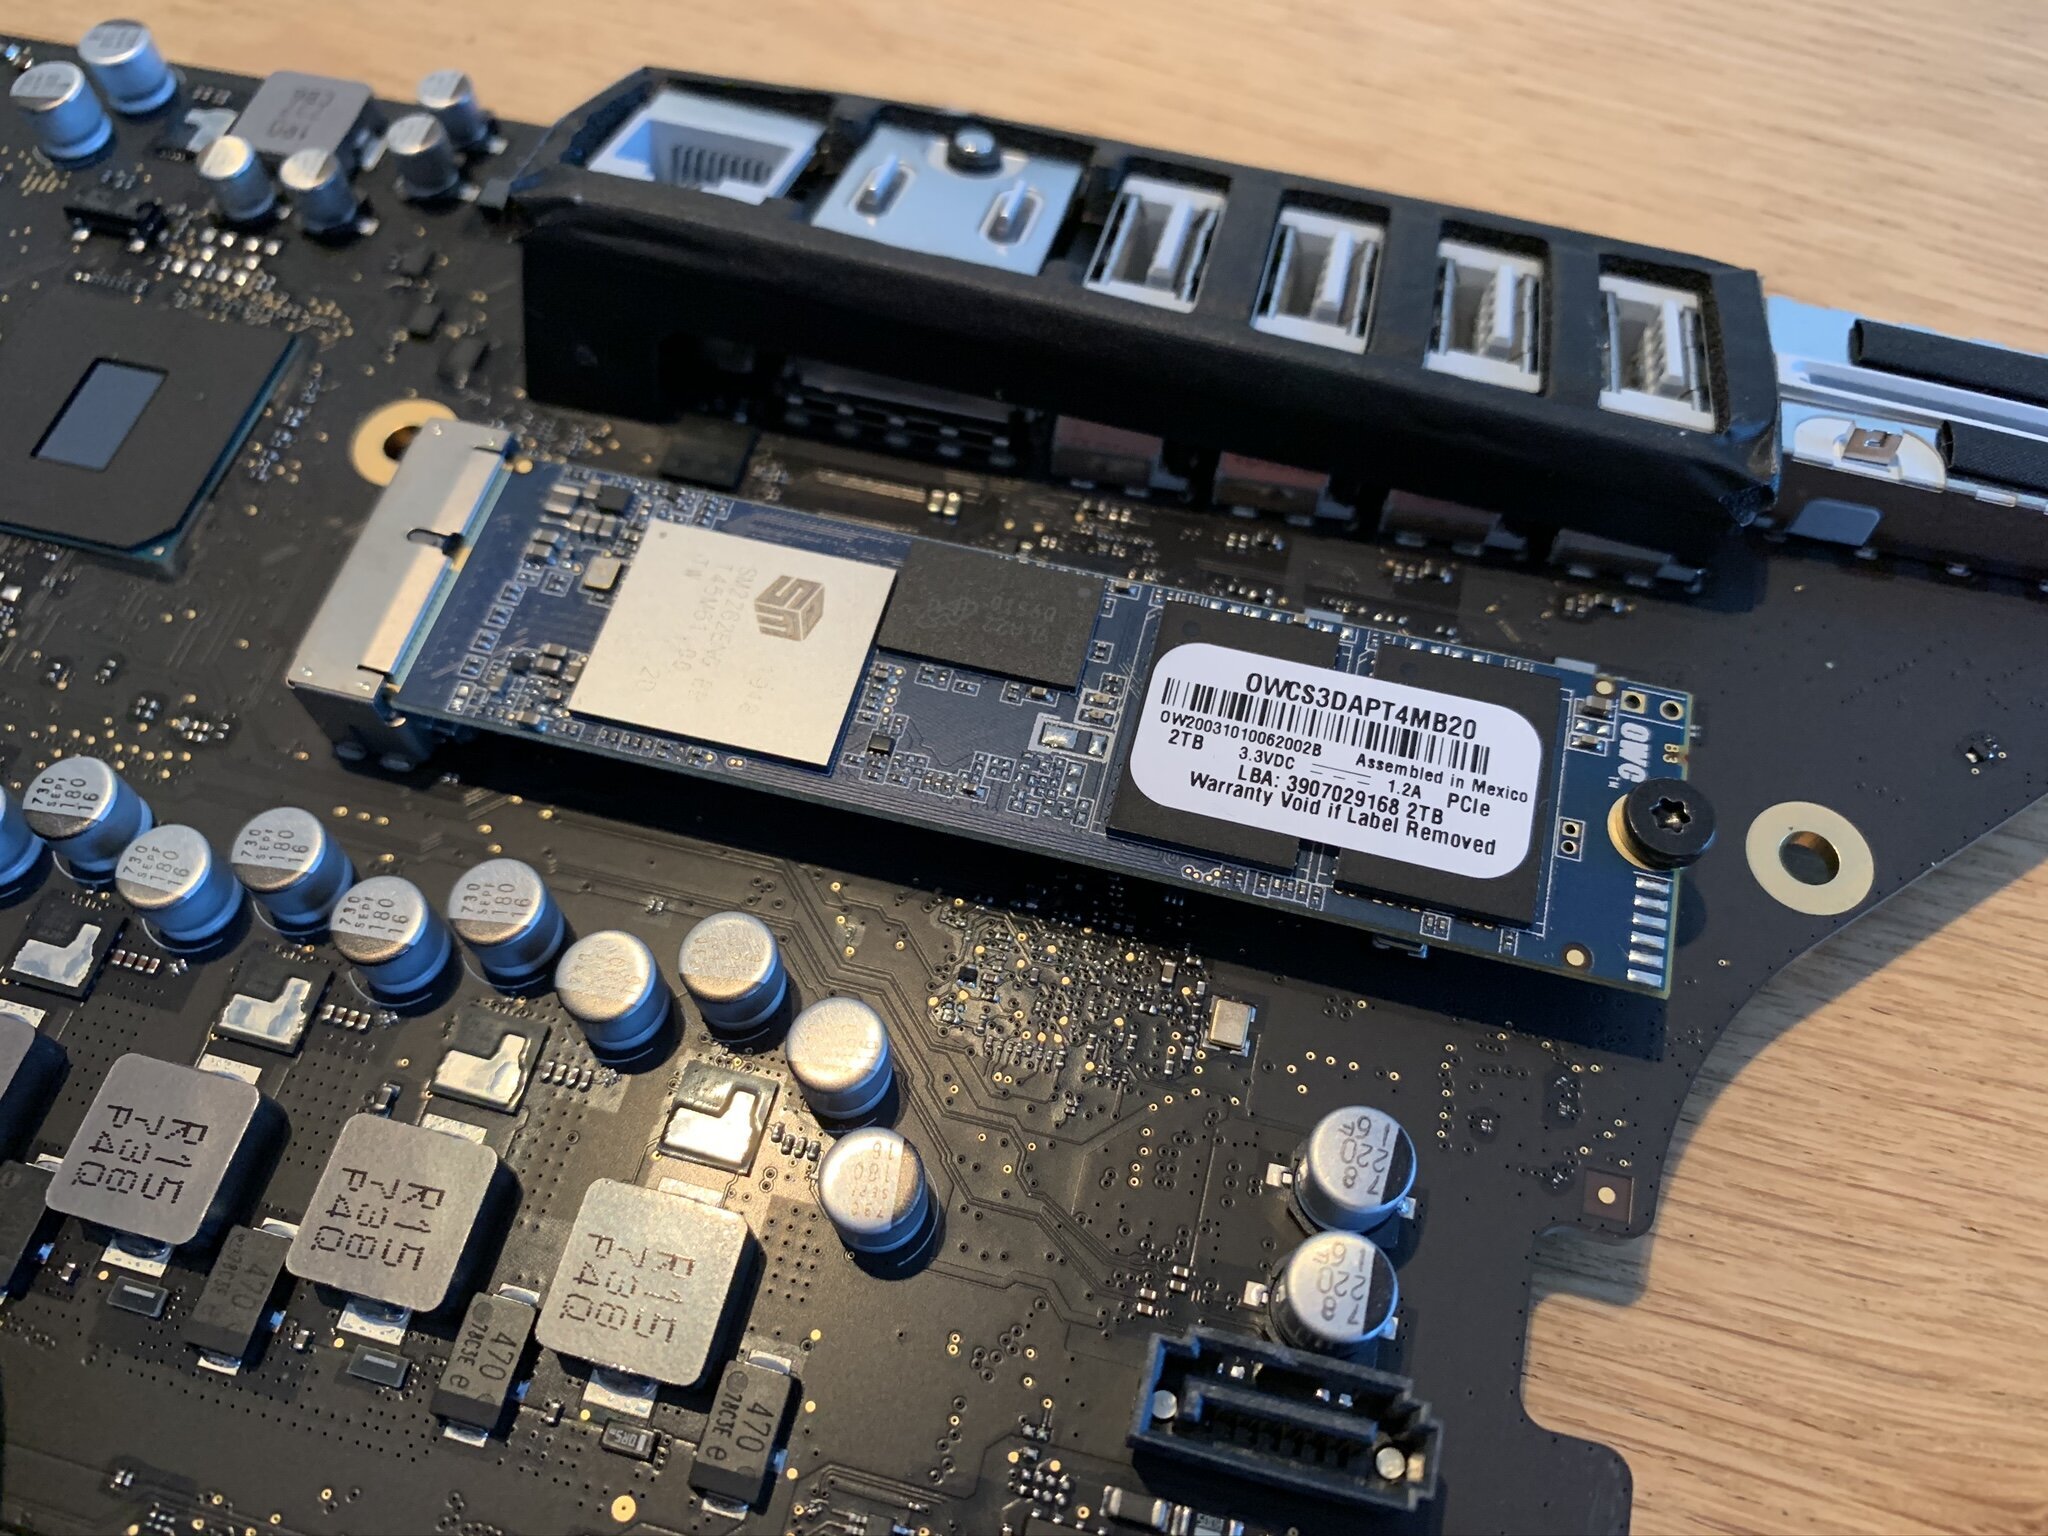
For my upgrade I intended to replace the Fusion drive's 32GB SSD with a very fast 2TB PCIe SSD. This would provide enough, yet very fast "work" storage. In addition to the ultra fast work drive I opted for a very large 12TB "archive" disk. This would house files I do not access on a hourly basis. By upgrading both parts of the original Fusion drive I would achieve the best of both worlds.
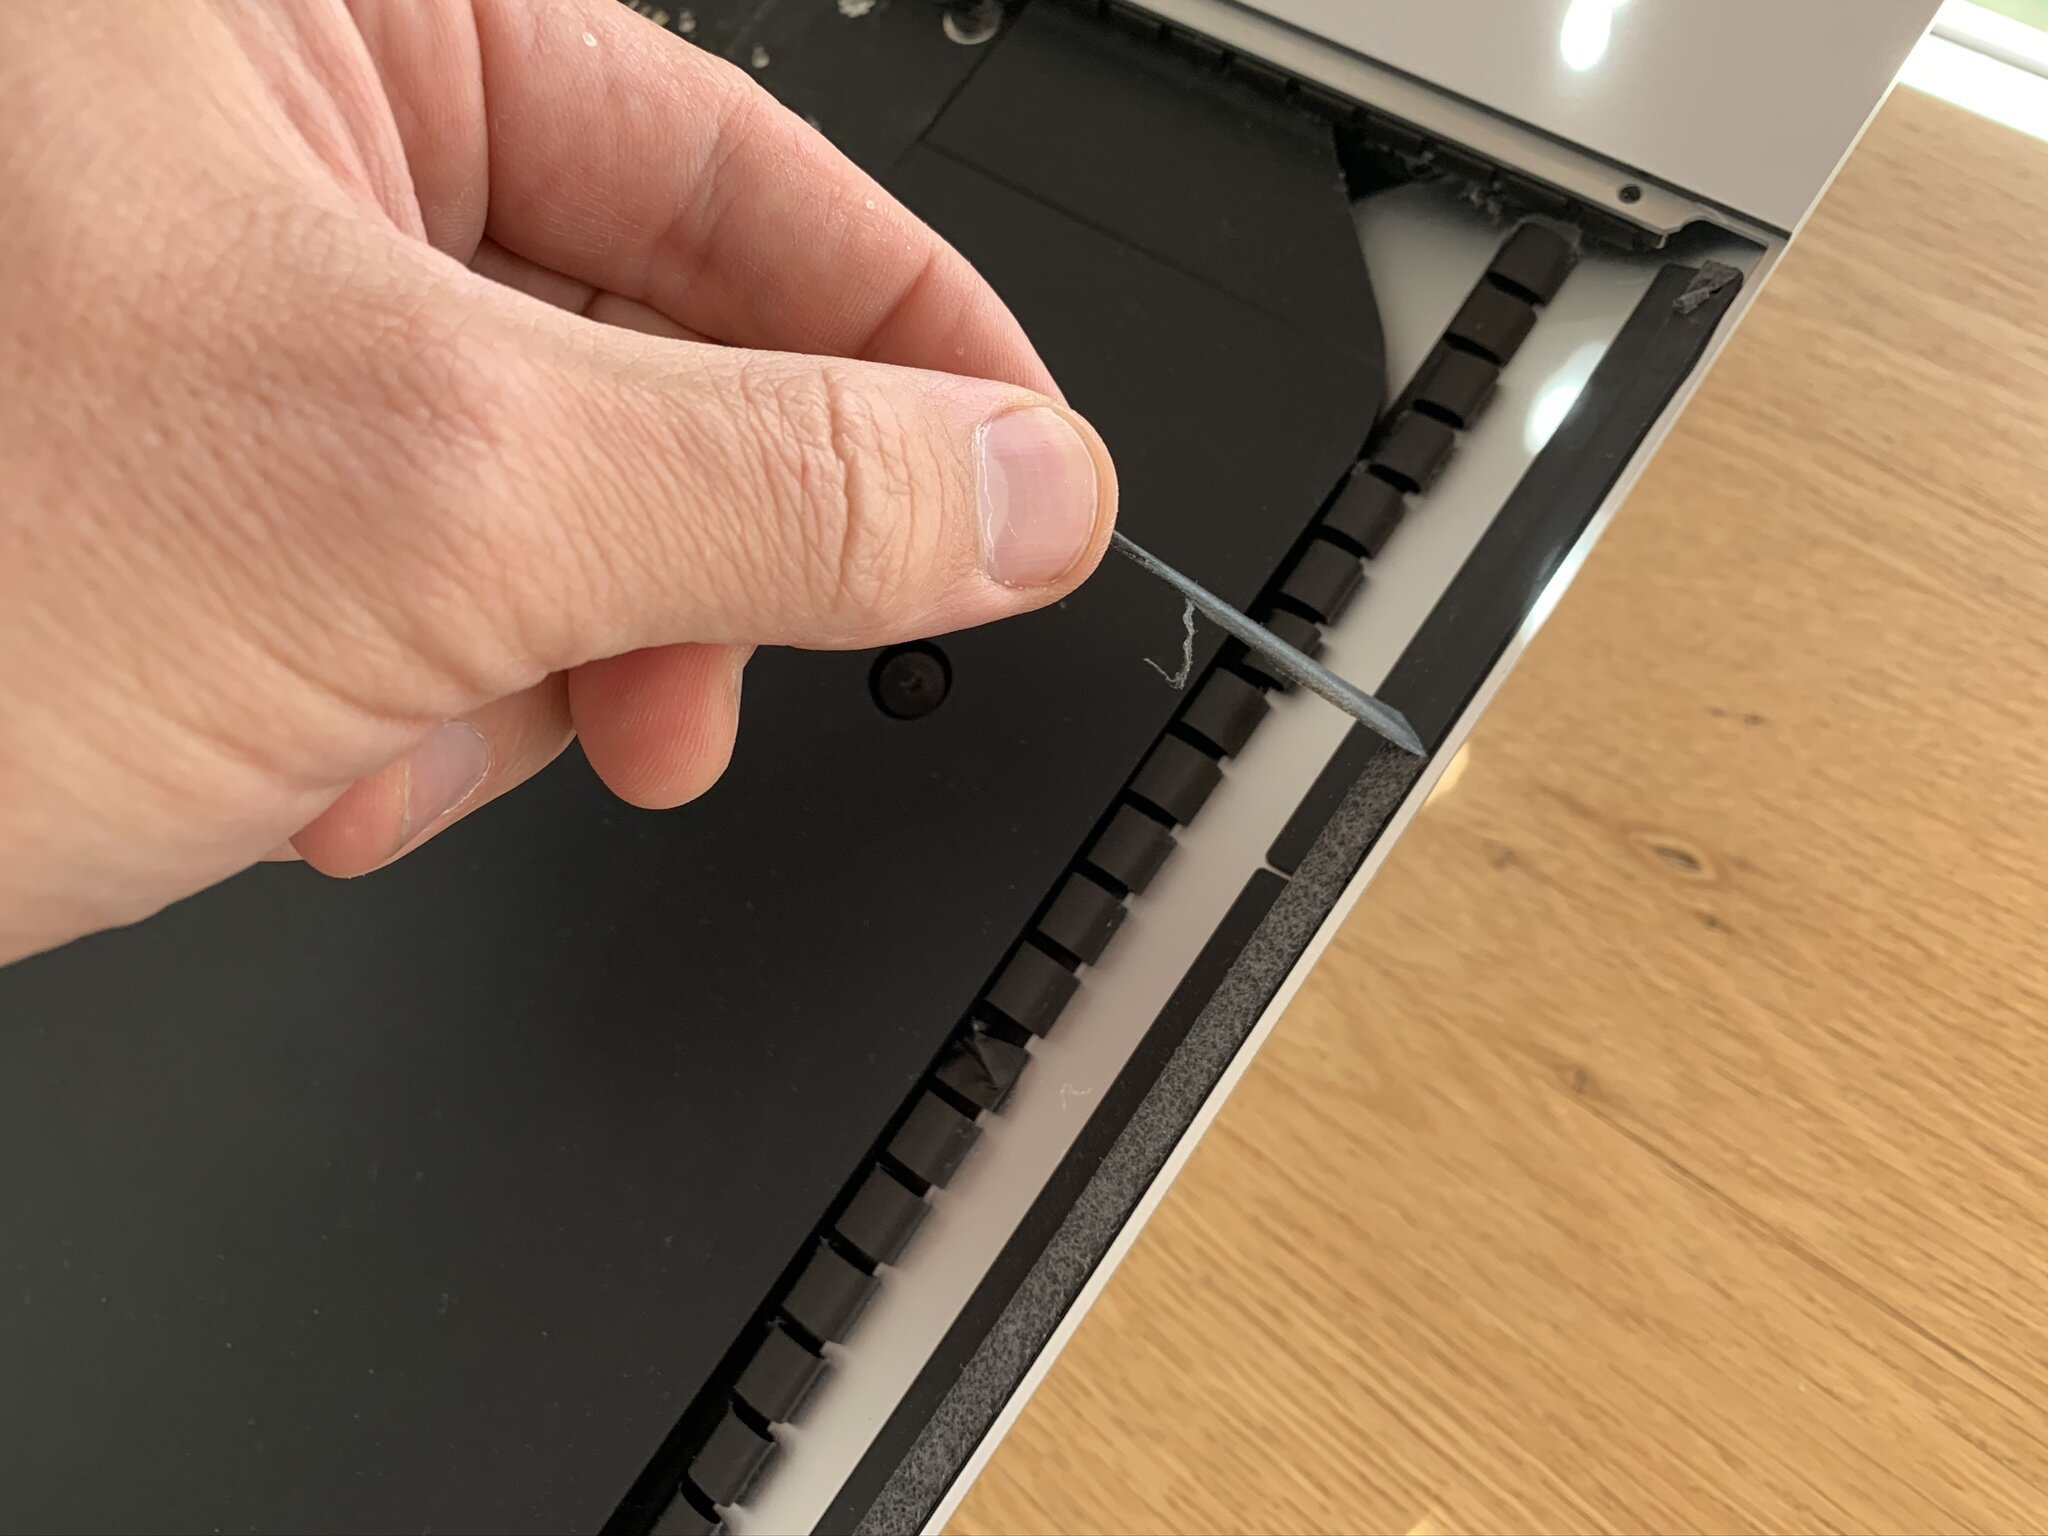
Opening the iMac
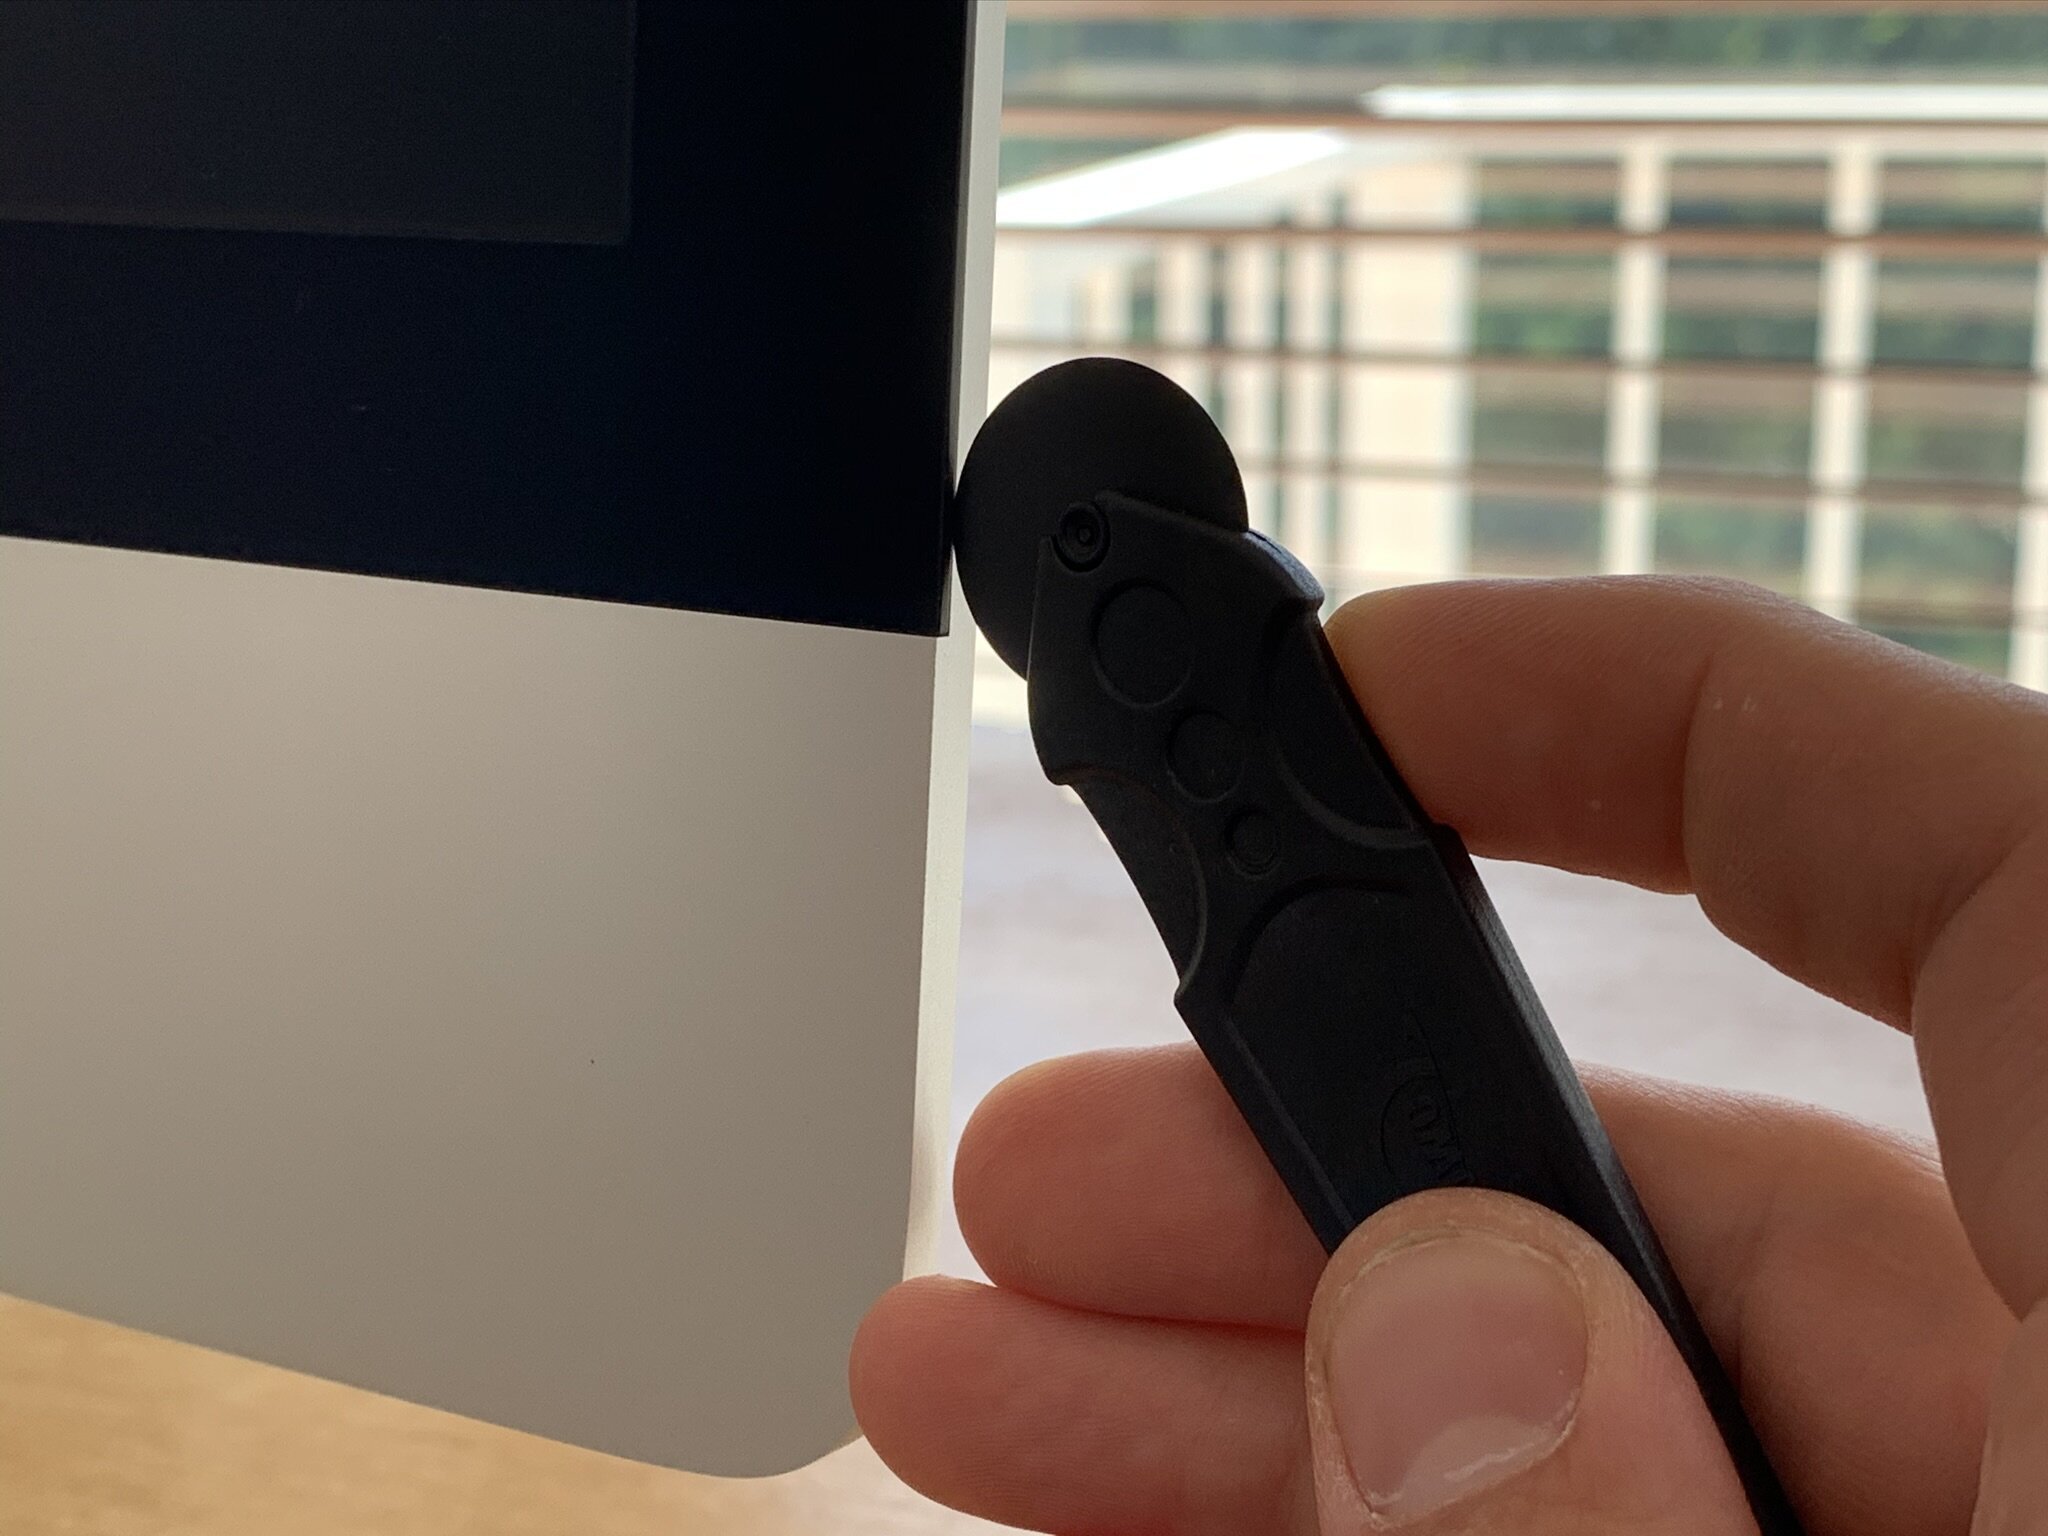
This is where the real adventure starts: the iMac can only be opened using a special roller blade that cuts through the adhesive strips that keeps the display connected to the aluminium enclosure. You should really watch some YouTube instruction videos before you do any attempt.
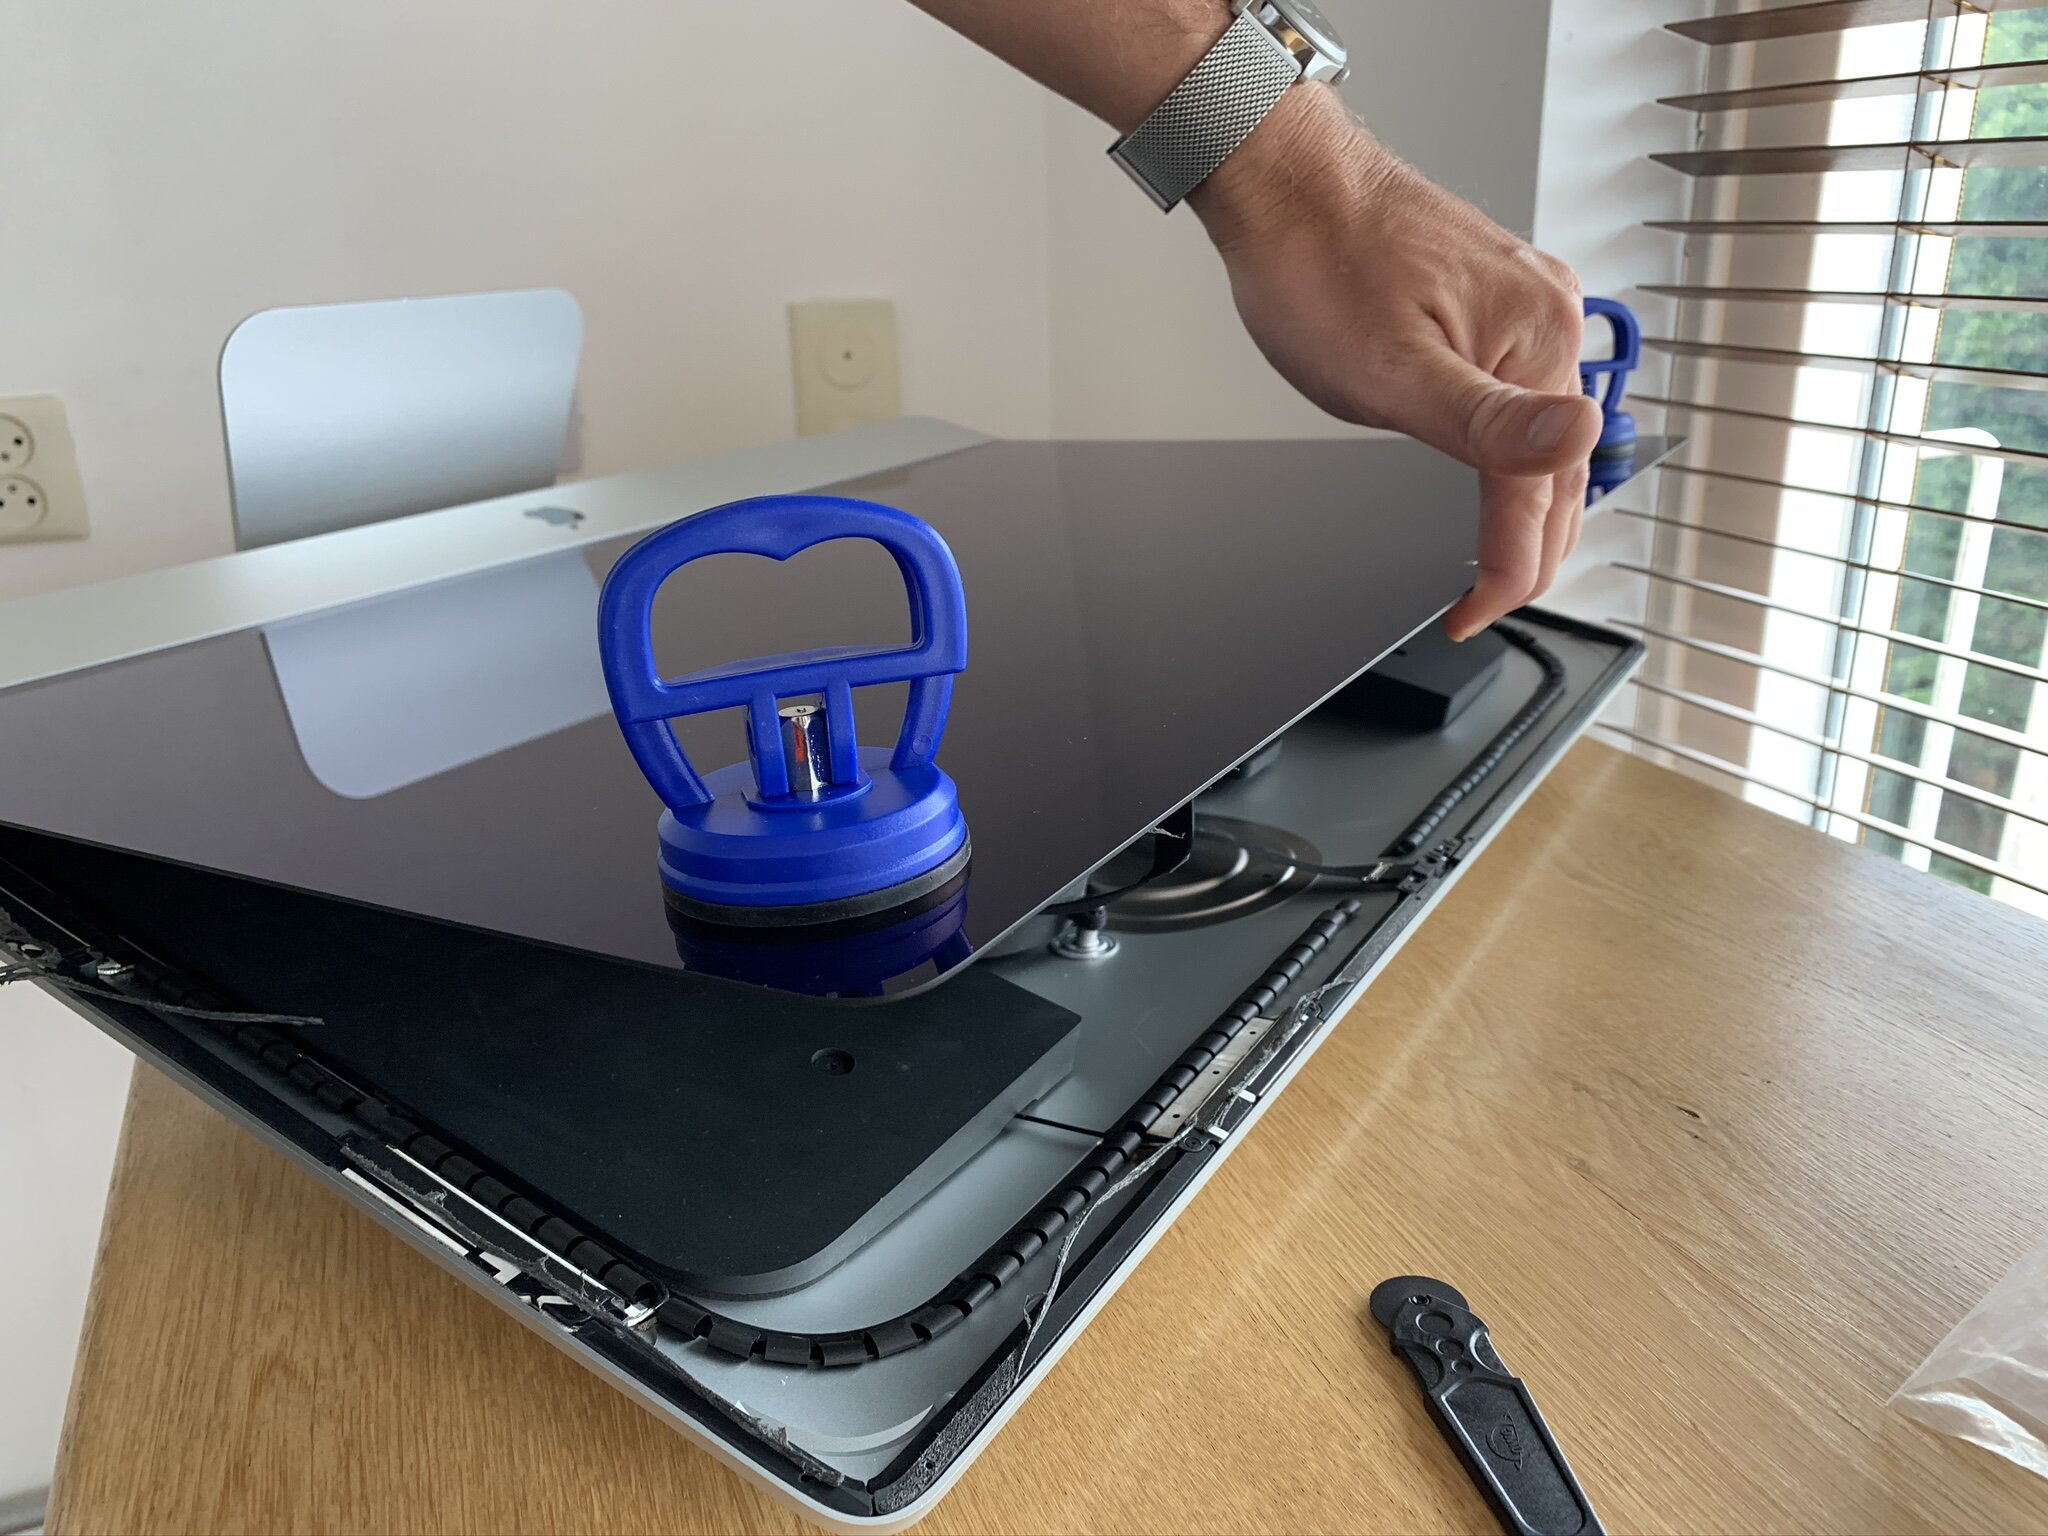
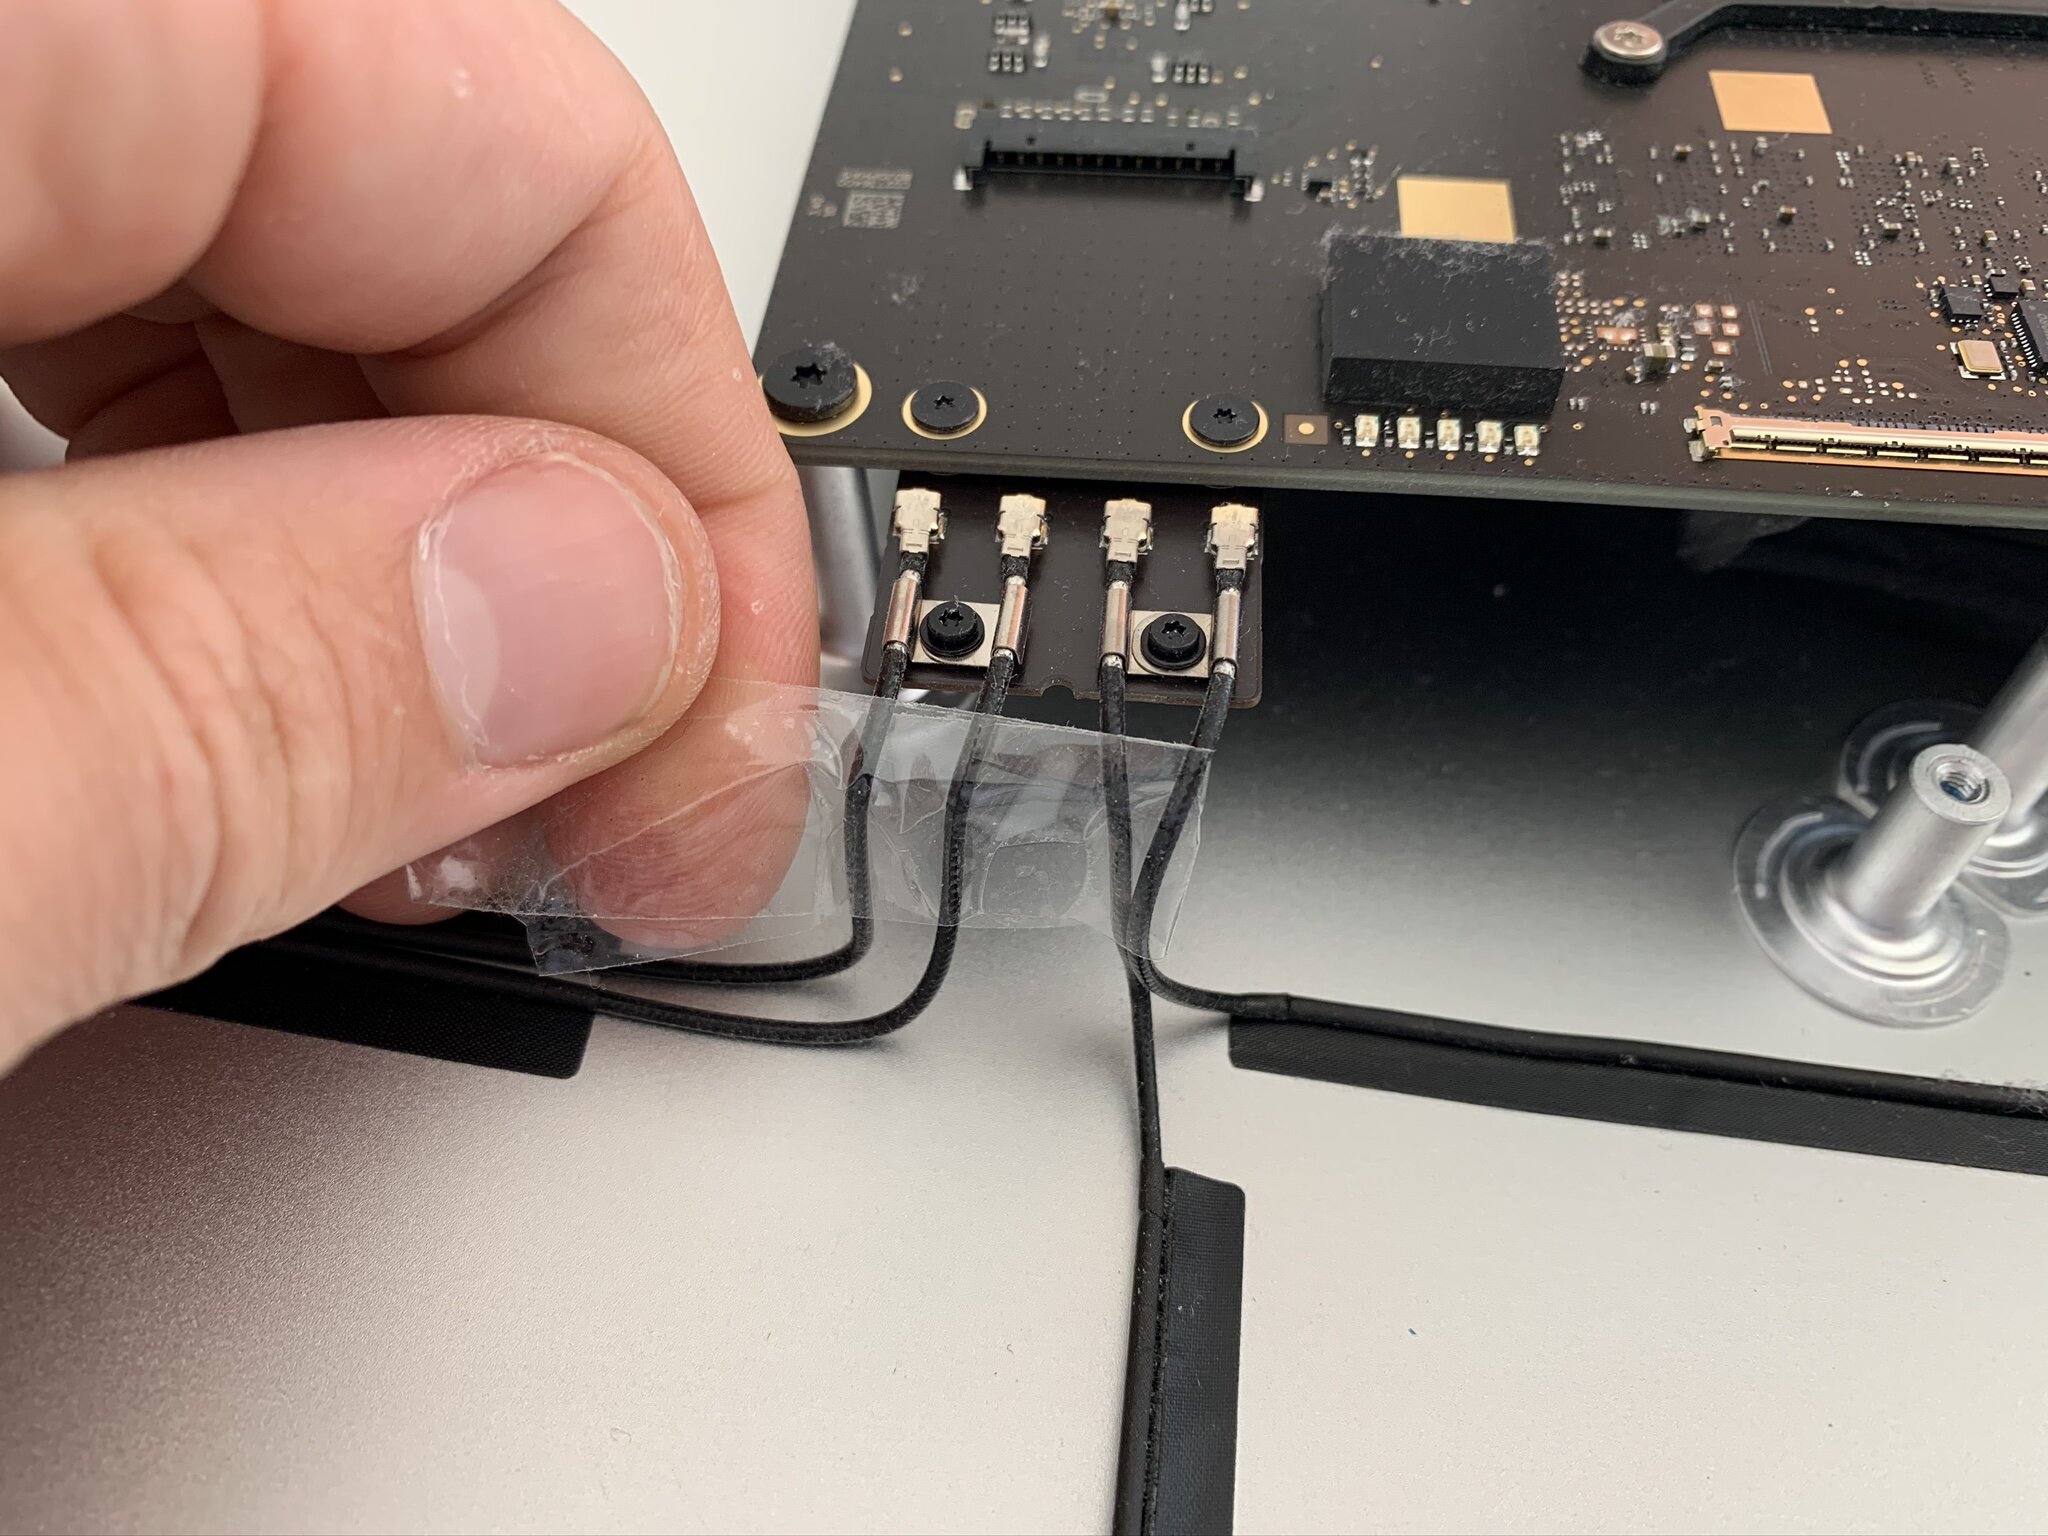
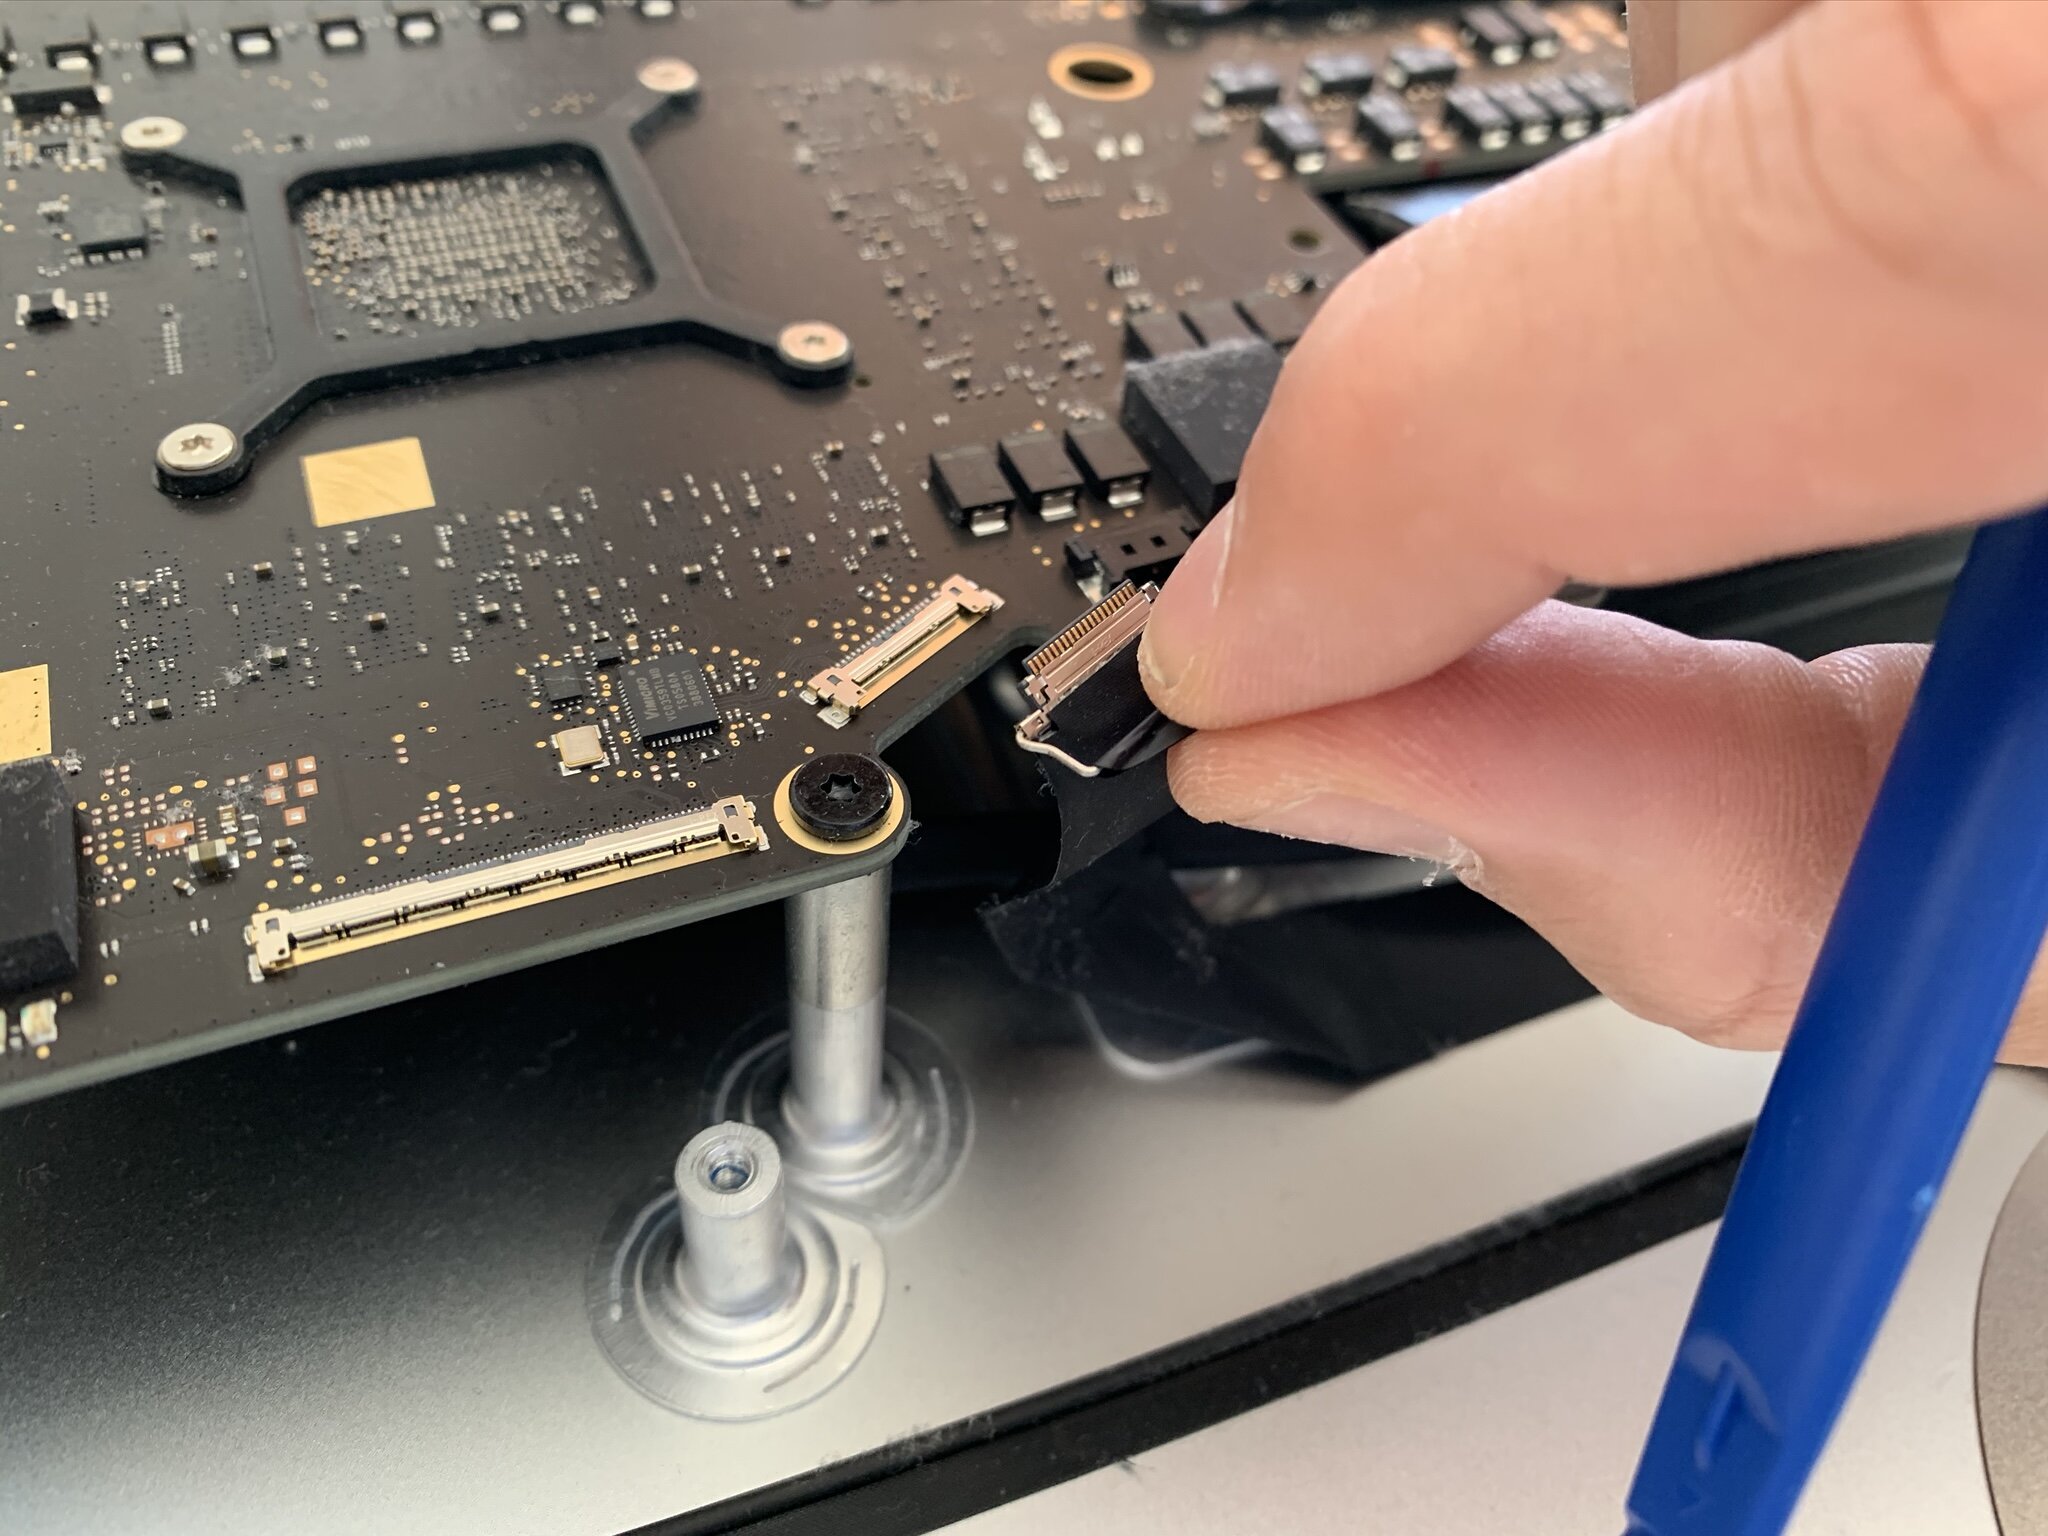
The gorgeous 5K retina display is very fragile. You should take special care when you attempt to remove the large glass panel from the enclosure. If you order a complete upgrade kit, chances are that you receive some suction caps to help you lift the display. Make sure you don't pull the display too far as there are two cables connecting it to the main logic board. You need to carefully detach them before you can remove the panel.
After you have removed the glass panel you should take the time to remove any remaining adhesive strips. This is a fairly simple process - a welcome chance to breathe again after the nerve breaking step of removing the glass.
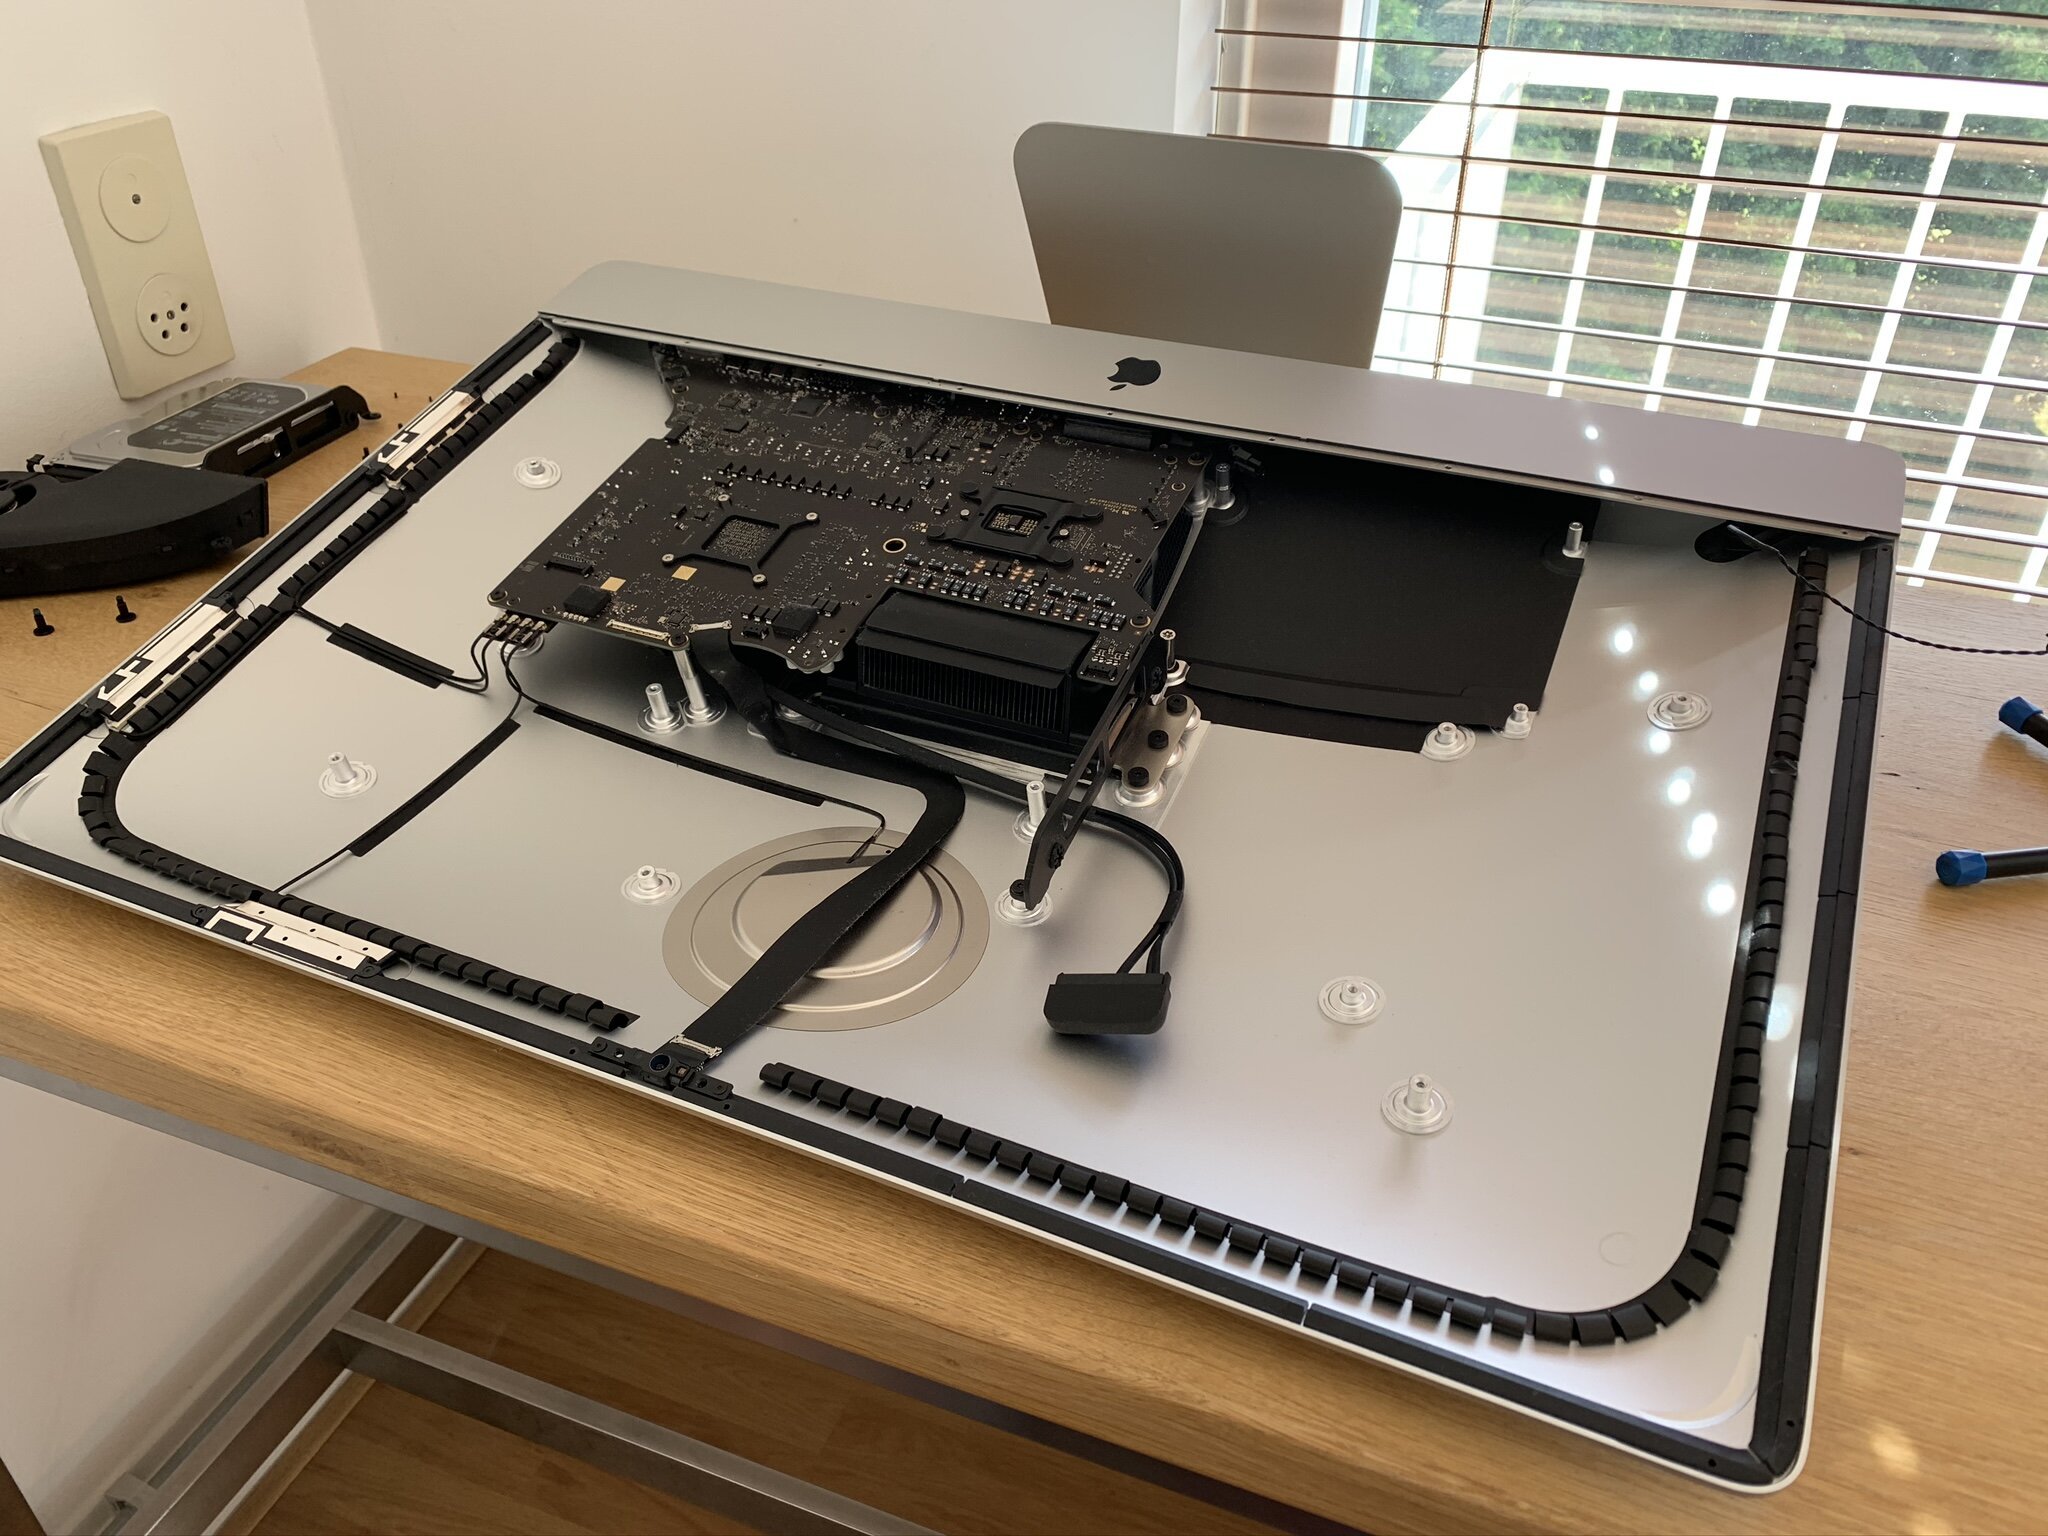
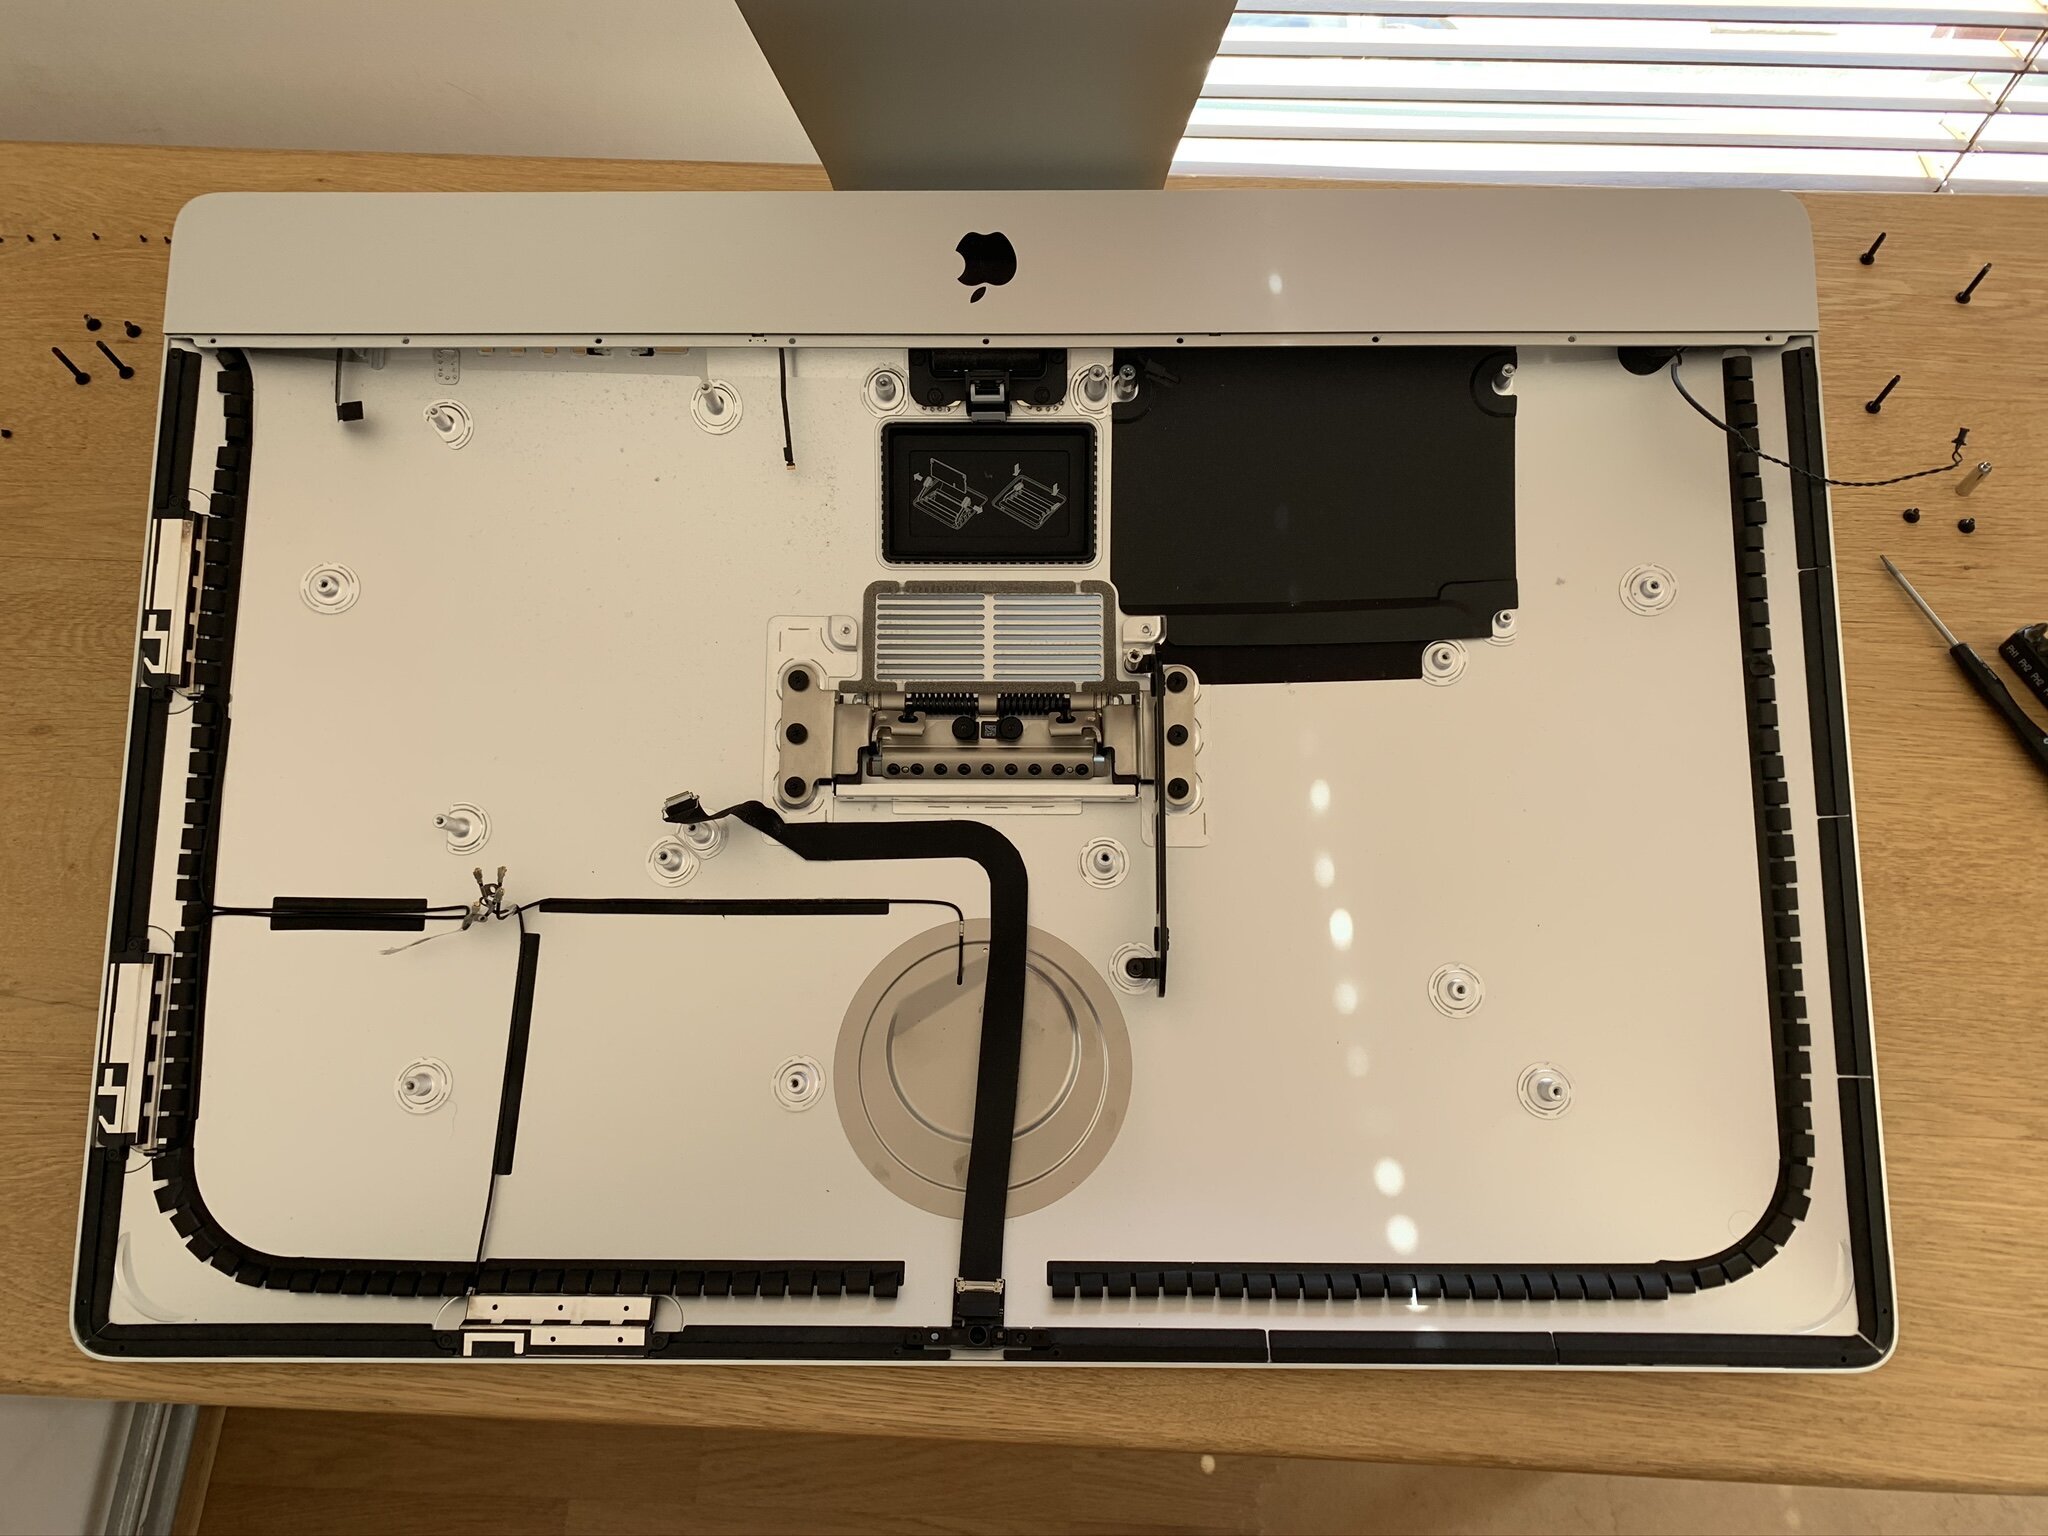
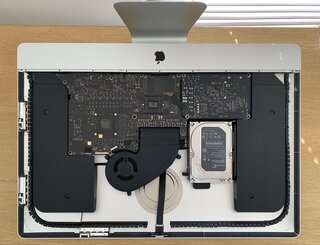
Once you have removed the panel you can see the innards of the iMac in full glory. If you have read Steve Jobs' biography (by Walter Isaacson) you know why the inside of the iMac looks beautiful, too. His father was a carpenter that paid equal attention to the parts that one could not see, like the rear panels of a piece of furniture. The mere thought that hidden parts would be ugly, cheap or messy was unacceptable for him. If you buy an Apple computer you should know that all parts (visible and invisible) got the same level of attention.
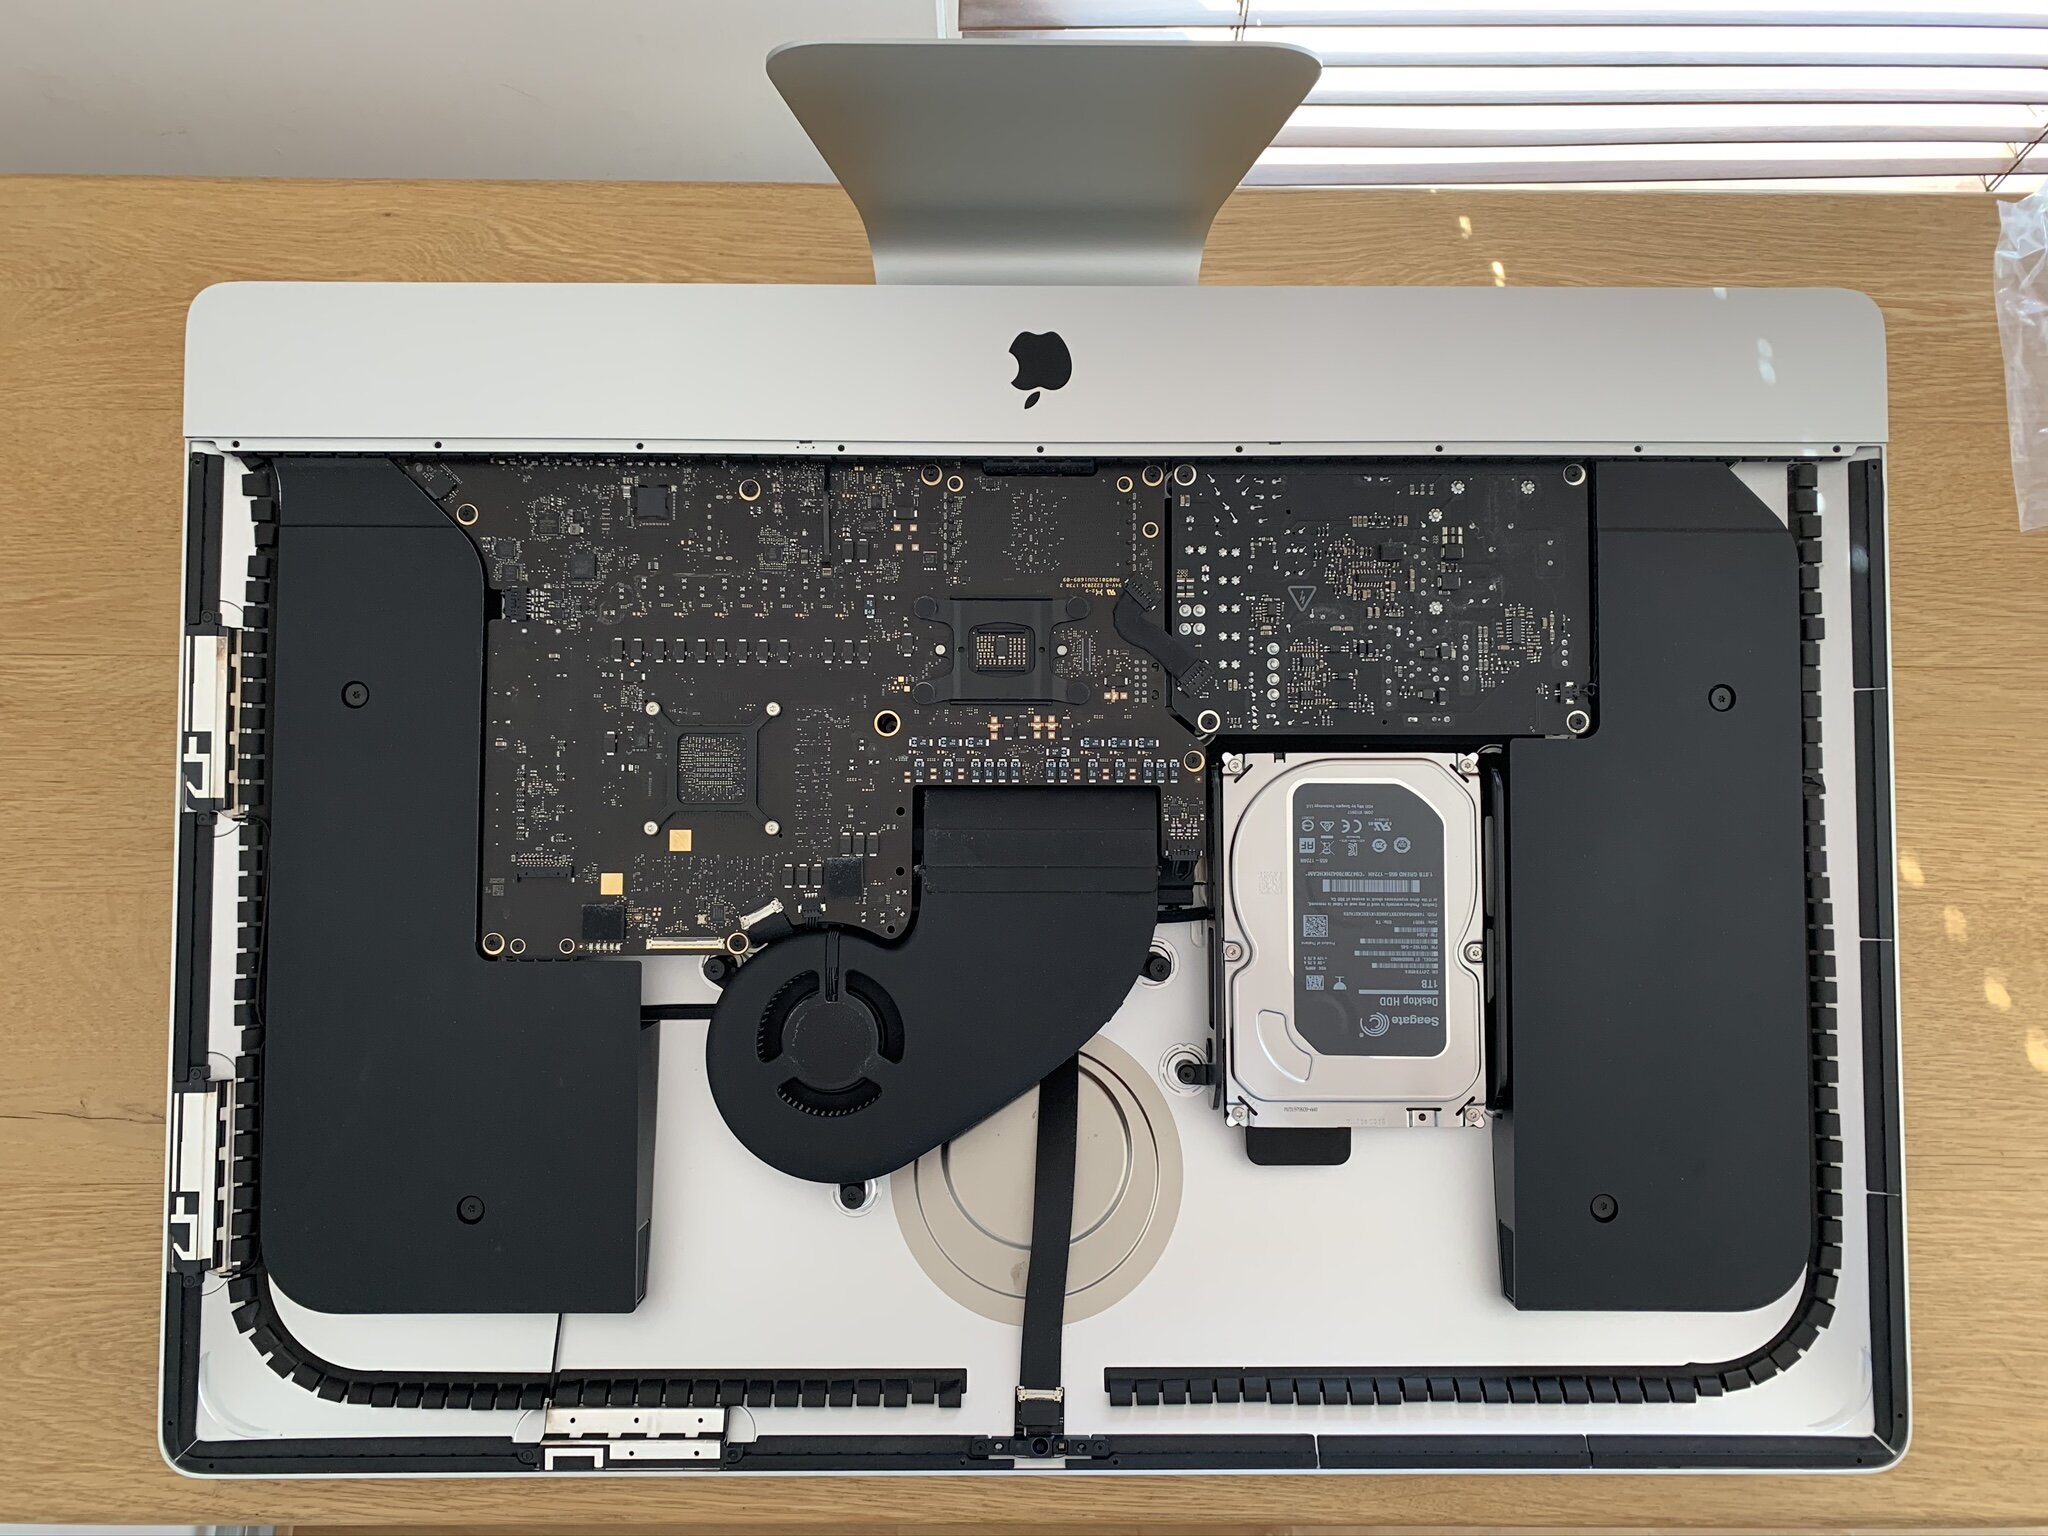
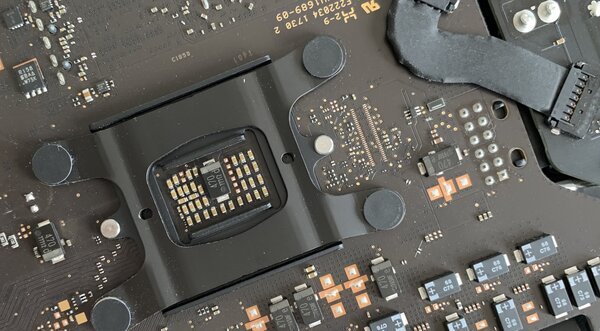
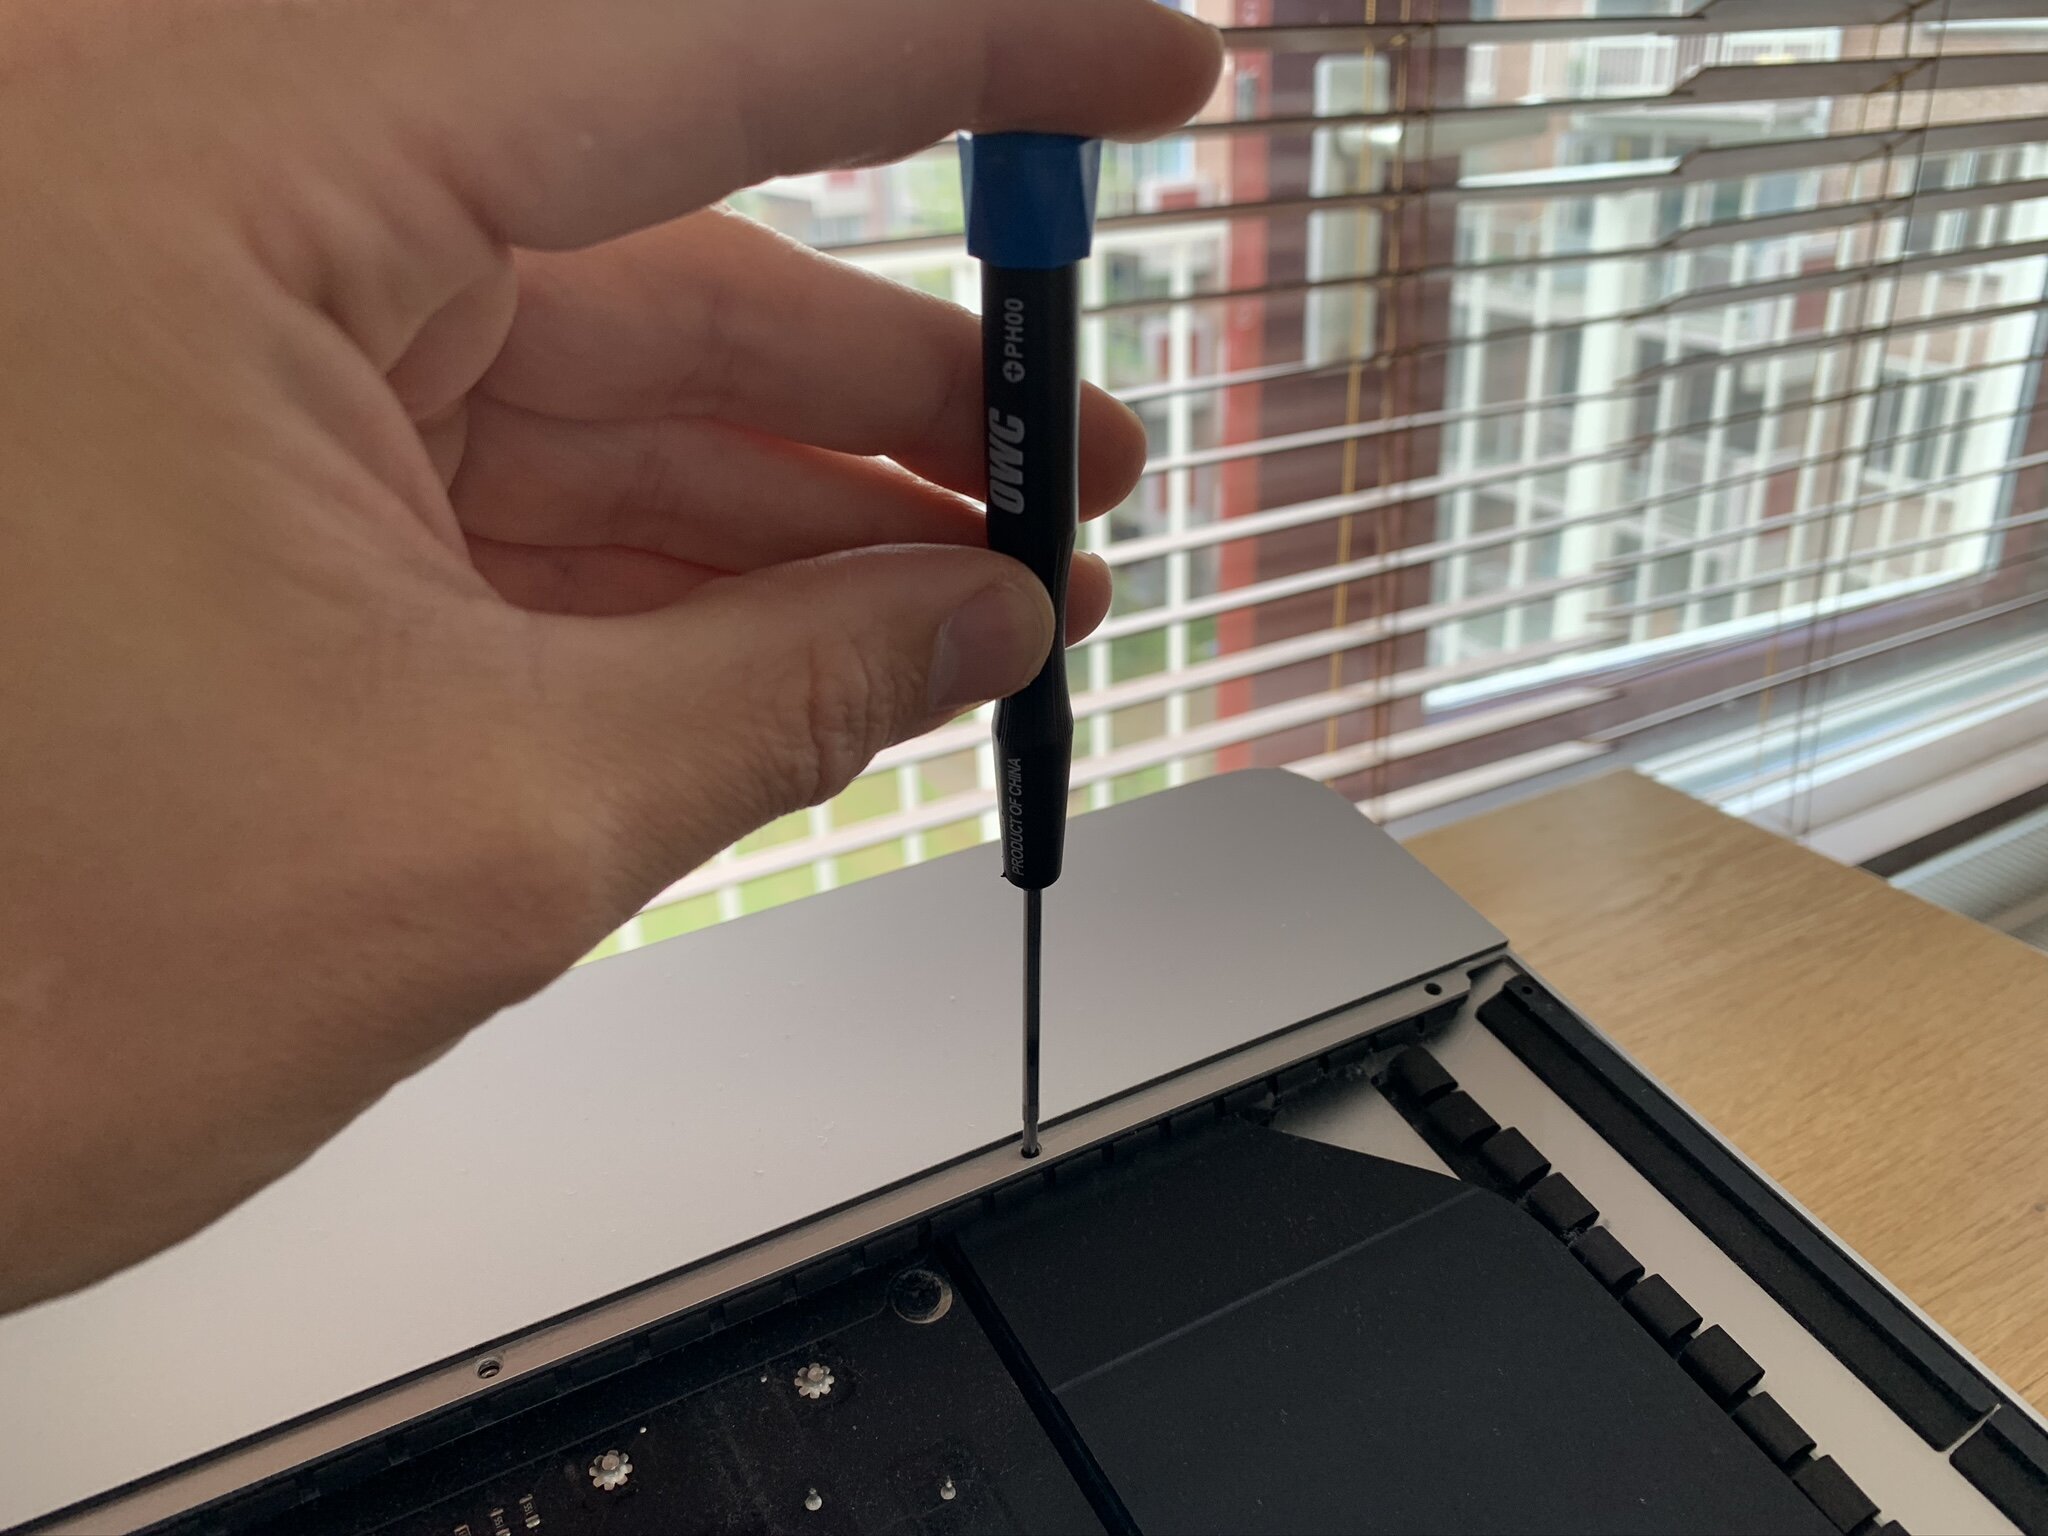
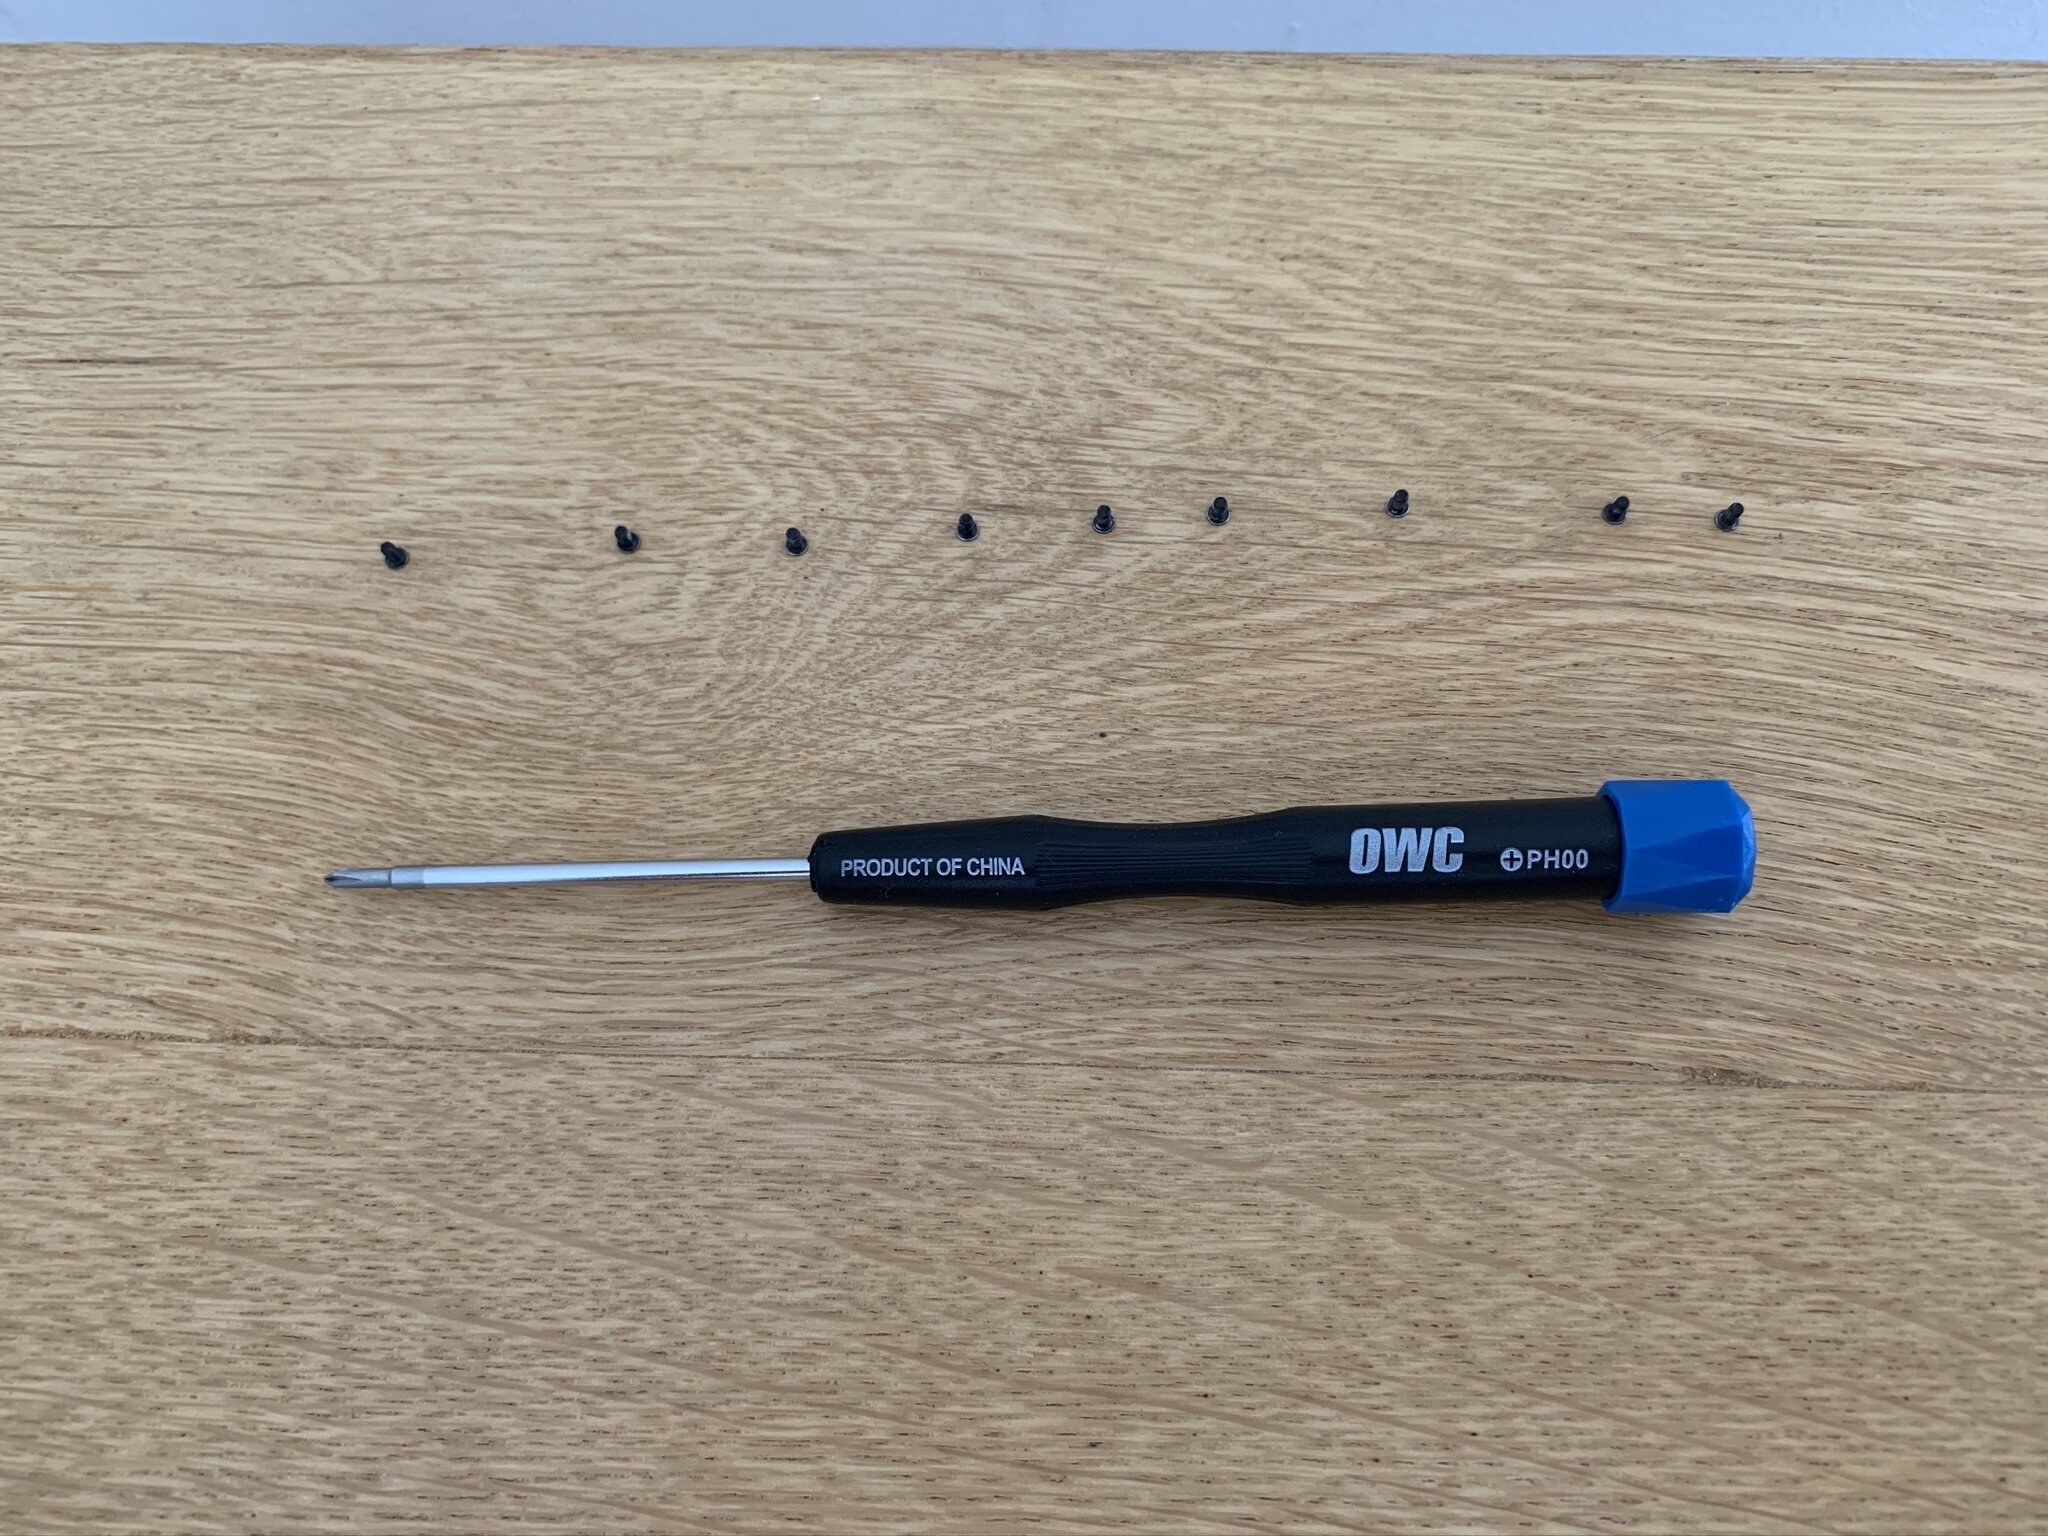
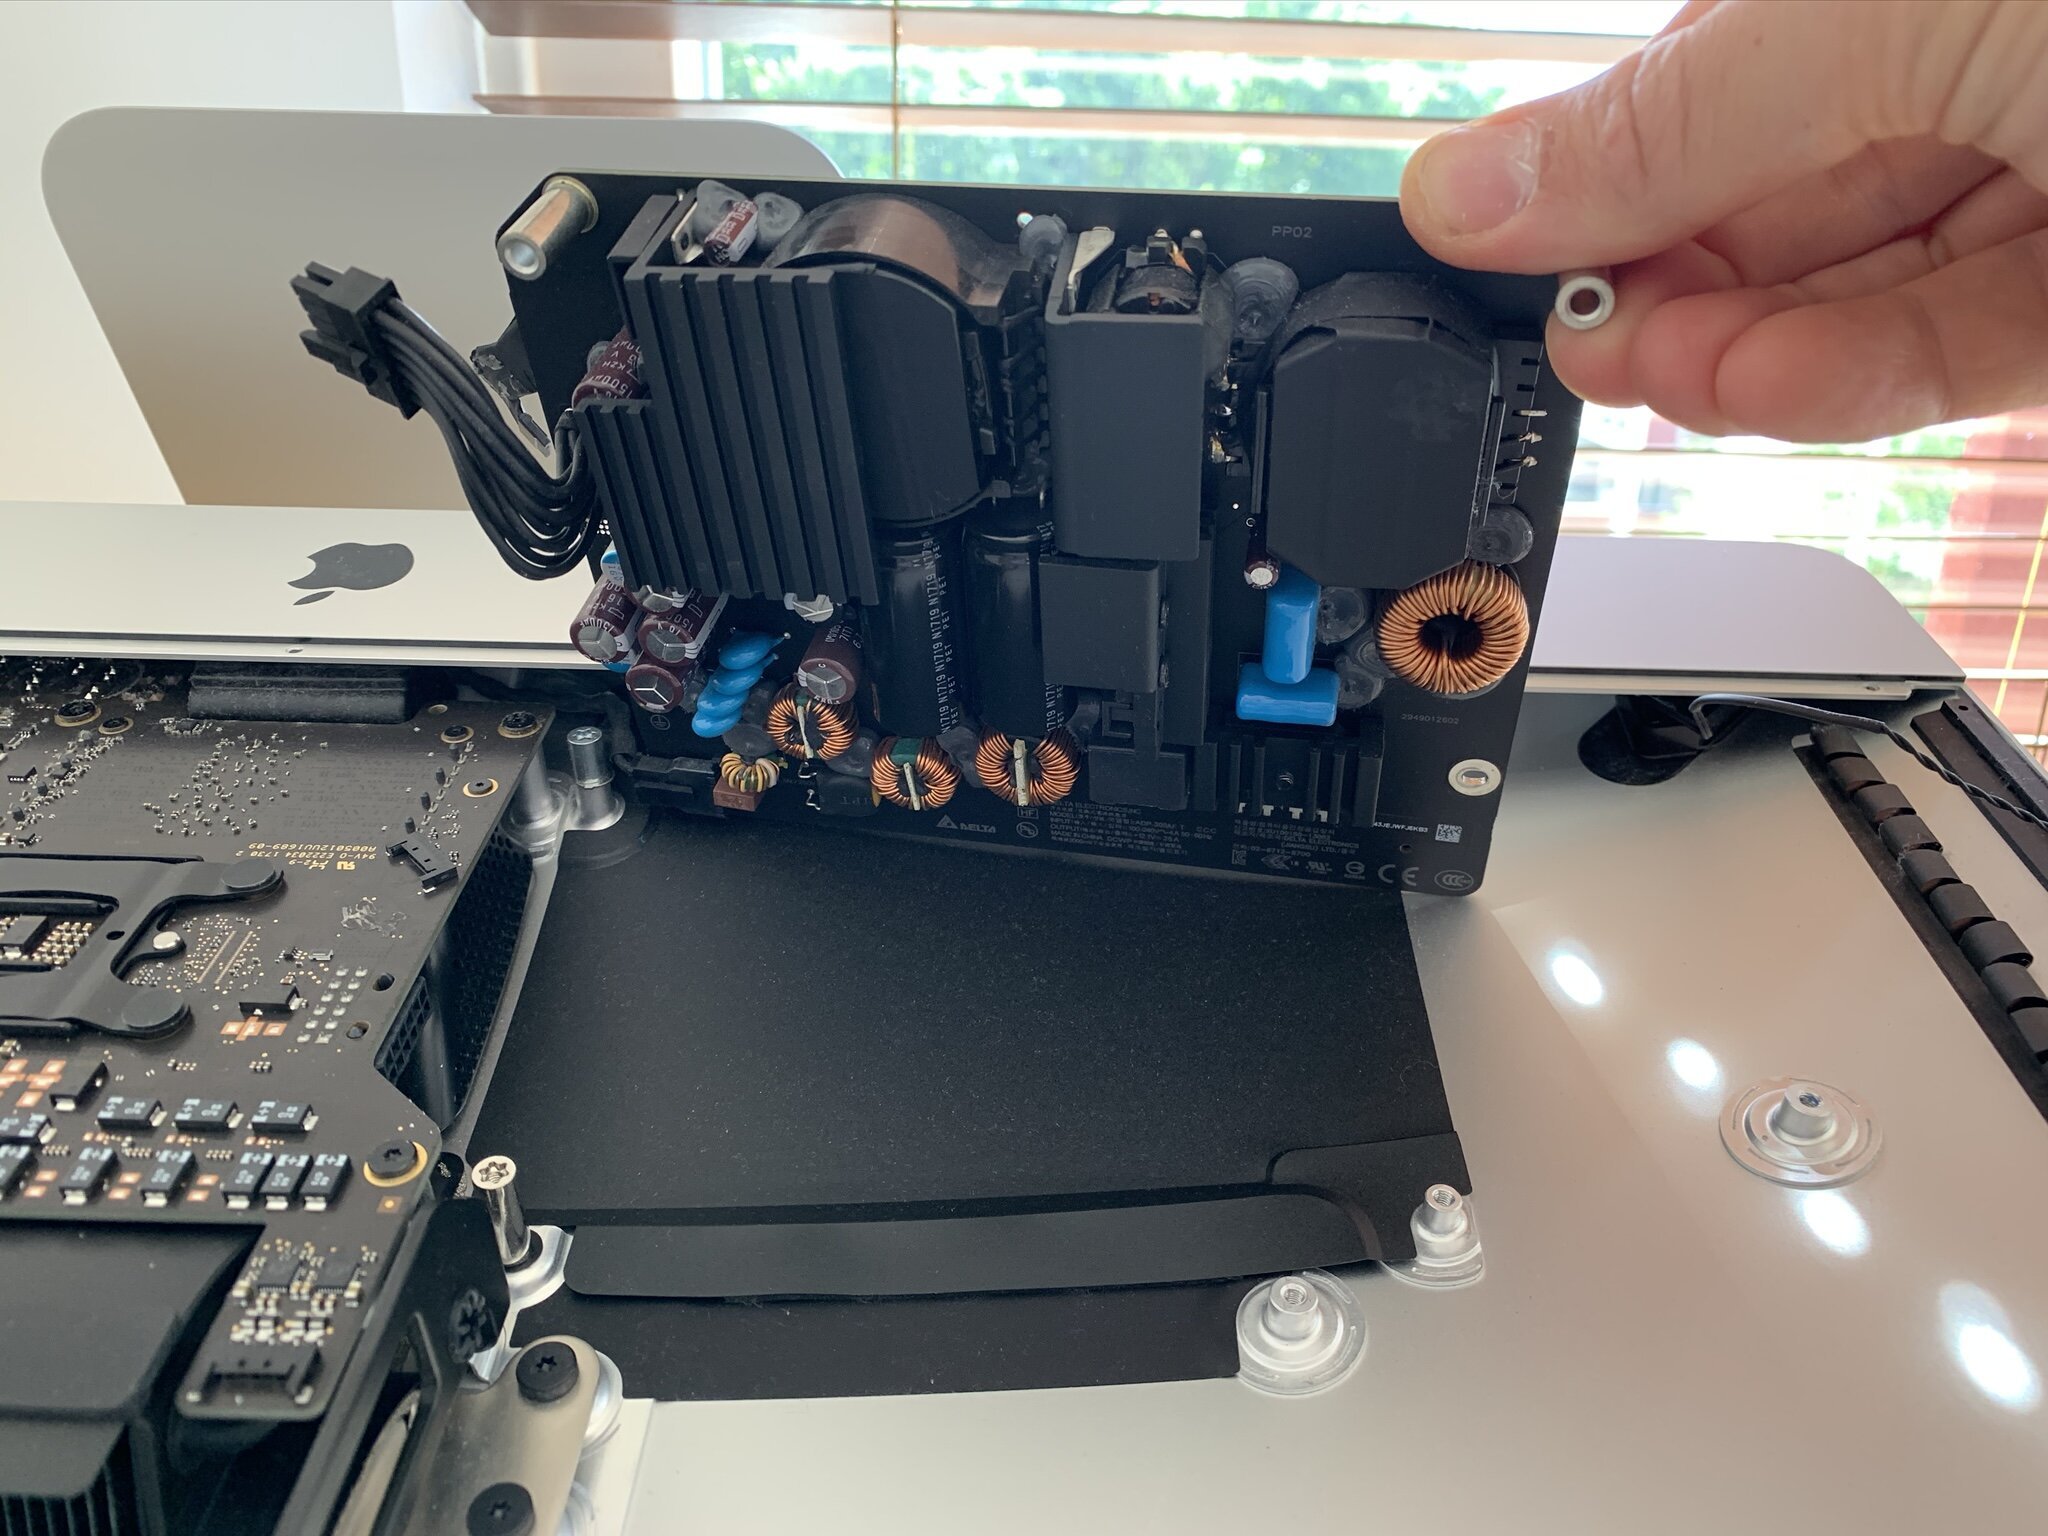
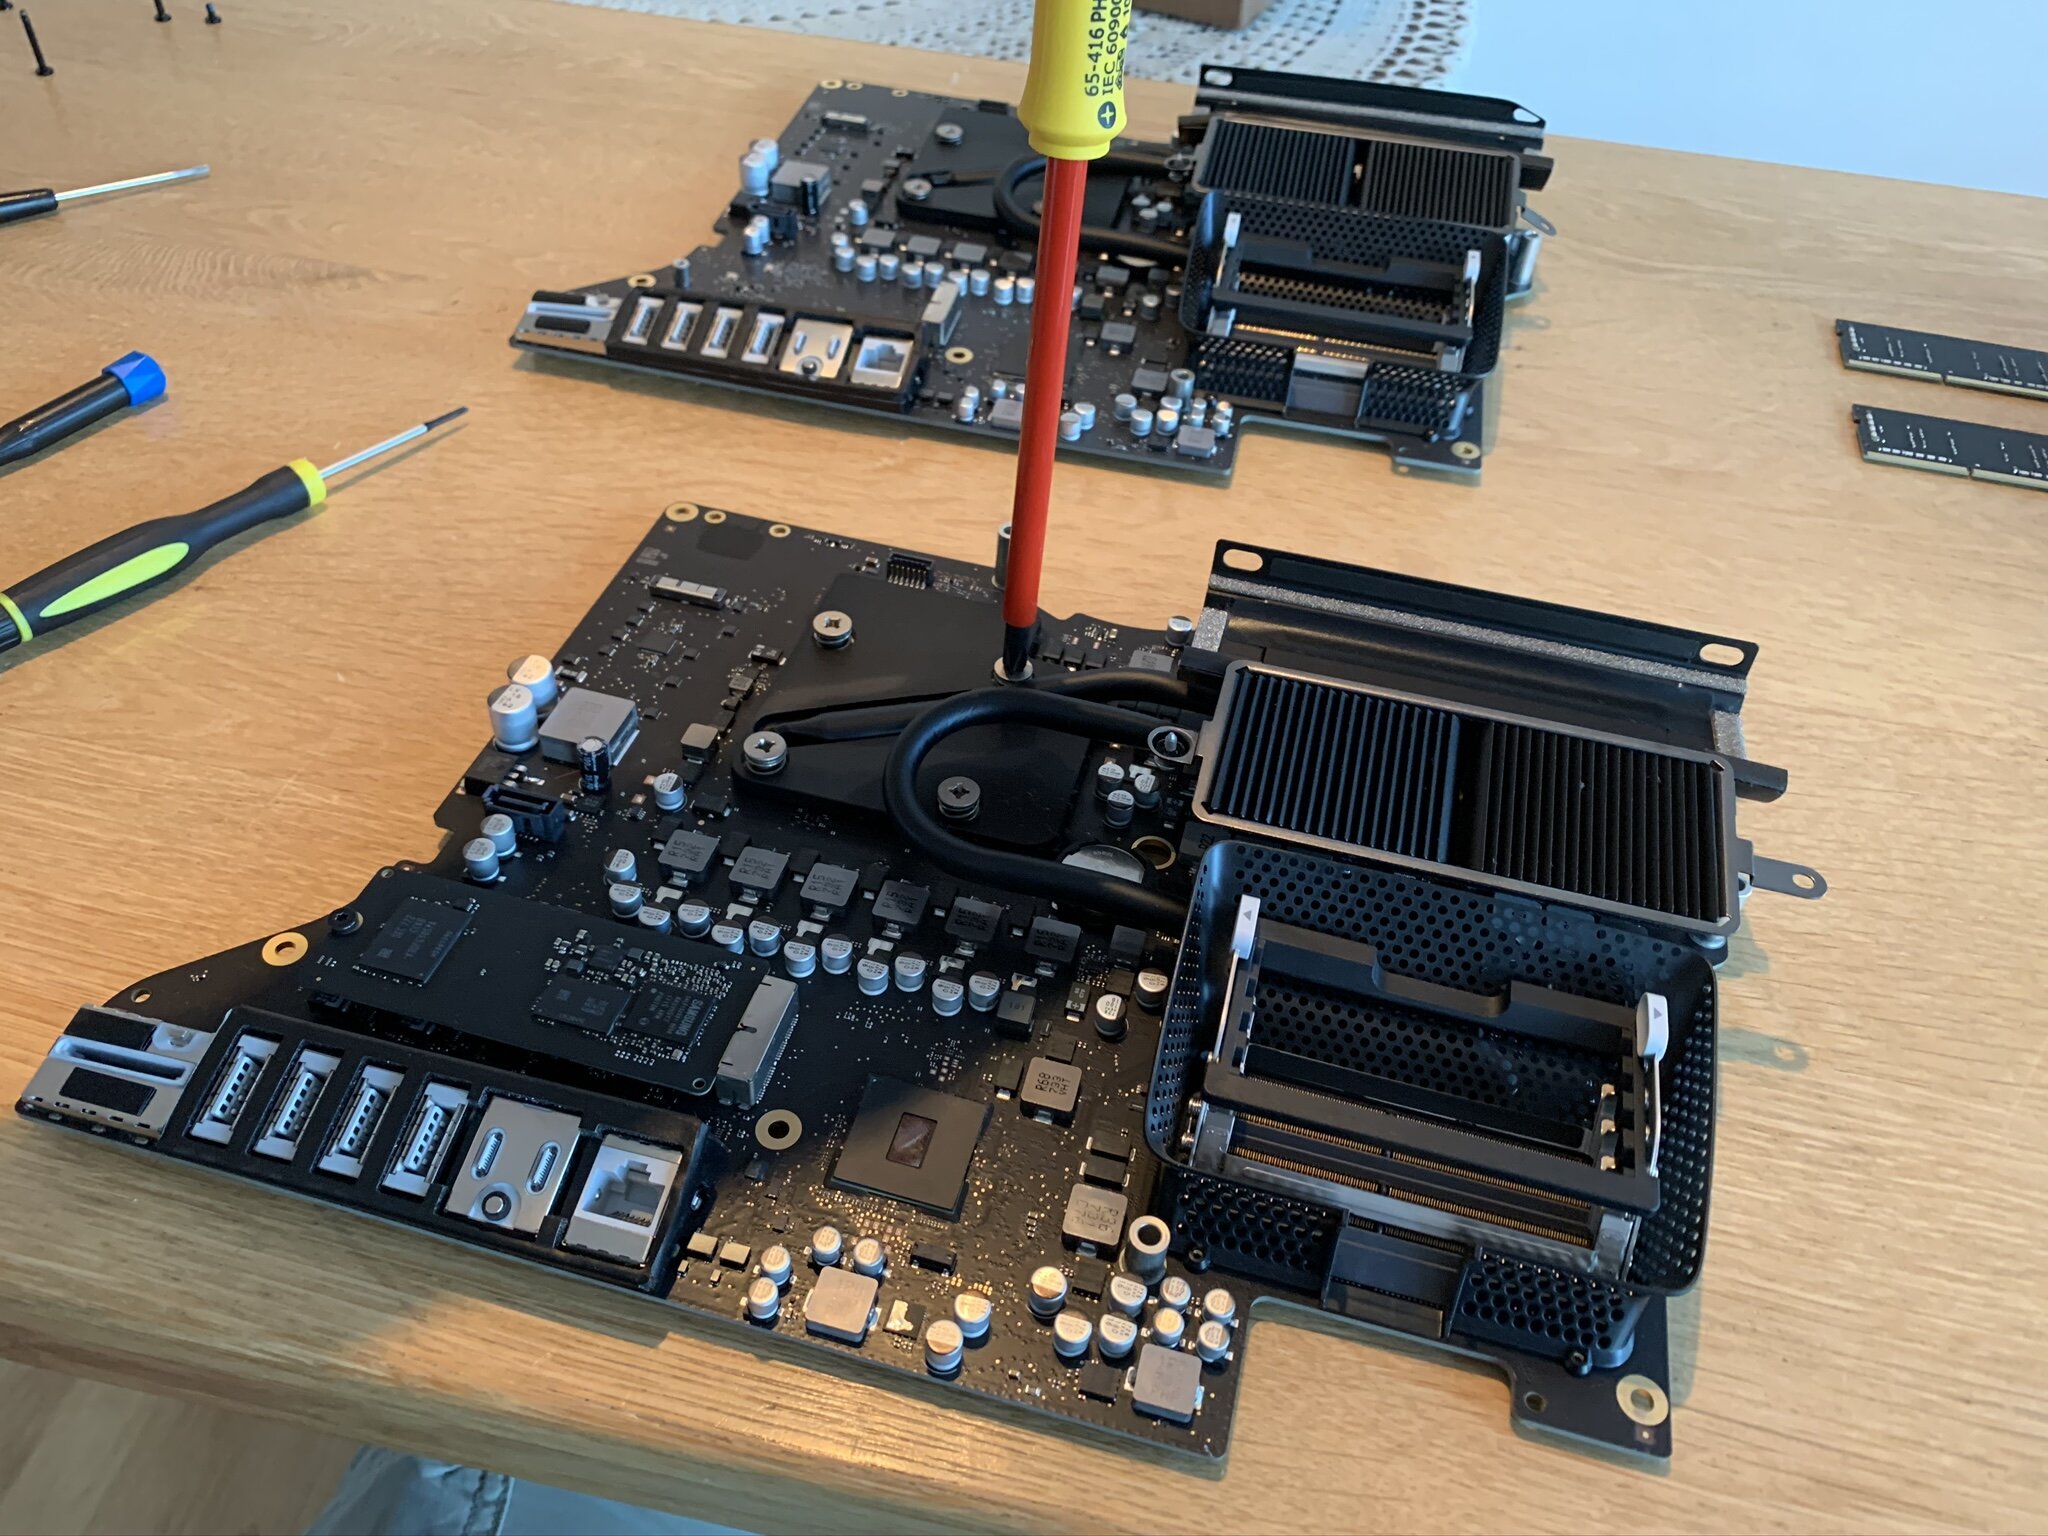
The hardest part to reach inside the iMac is the PCIe slot where the SSD should be installed. Before you can access it you have to remove nearly all components from the iMac. This is a really cumbersome operation, involving many different (super tiny) screws. Take your time, follow a guide, don't rush yourself.
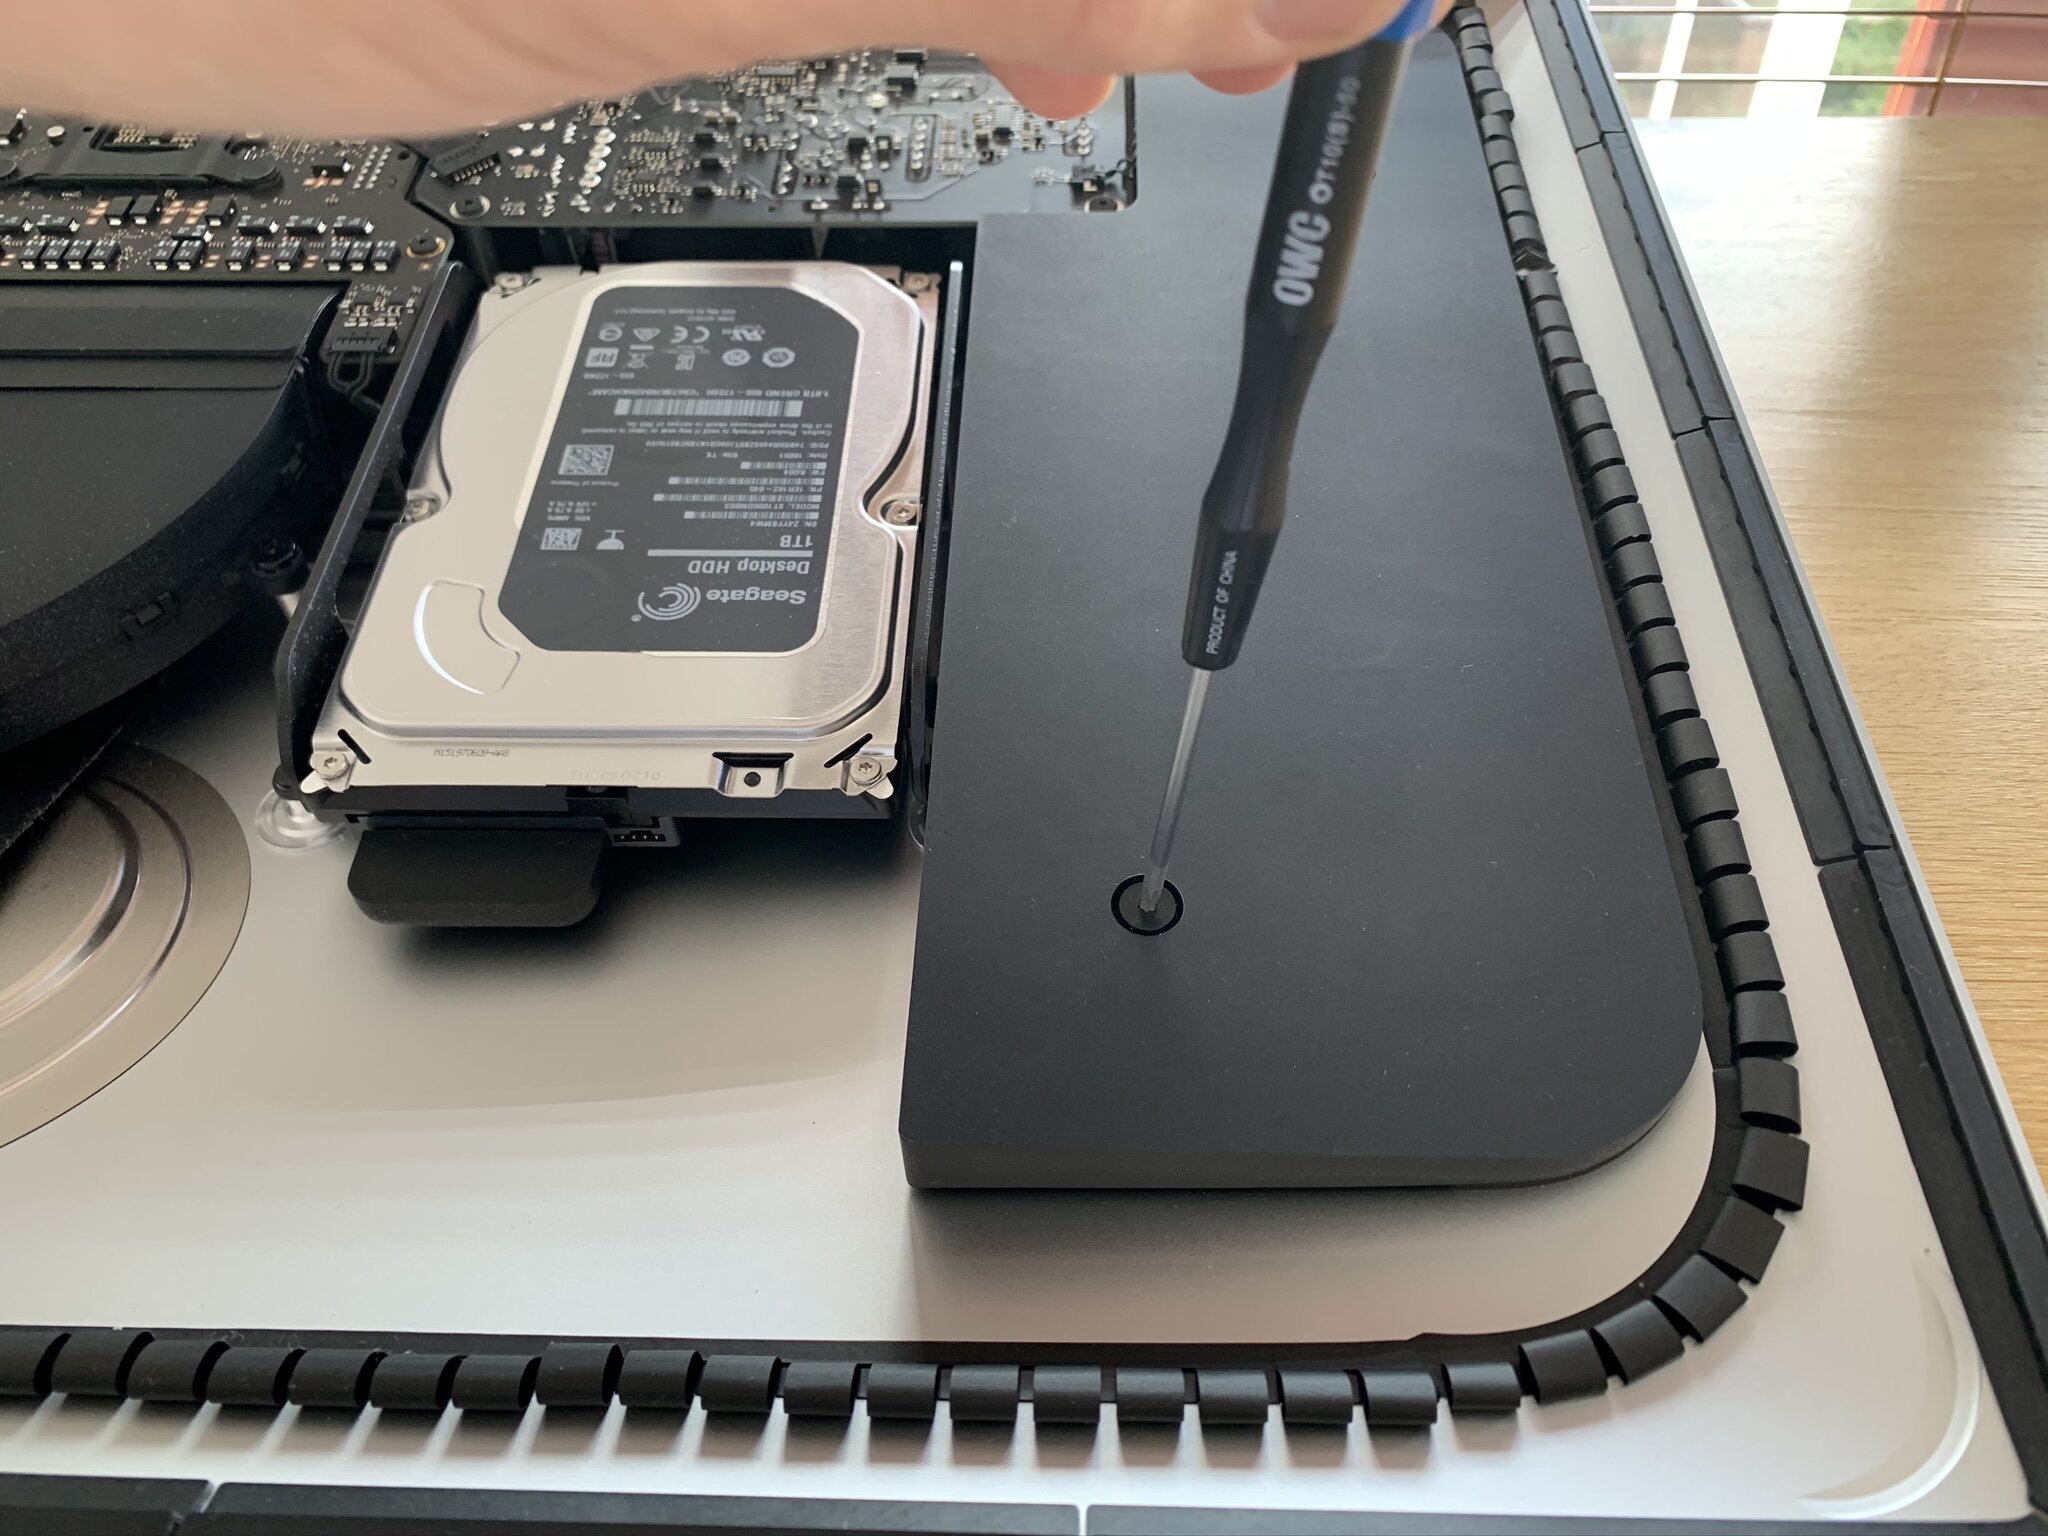
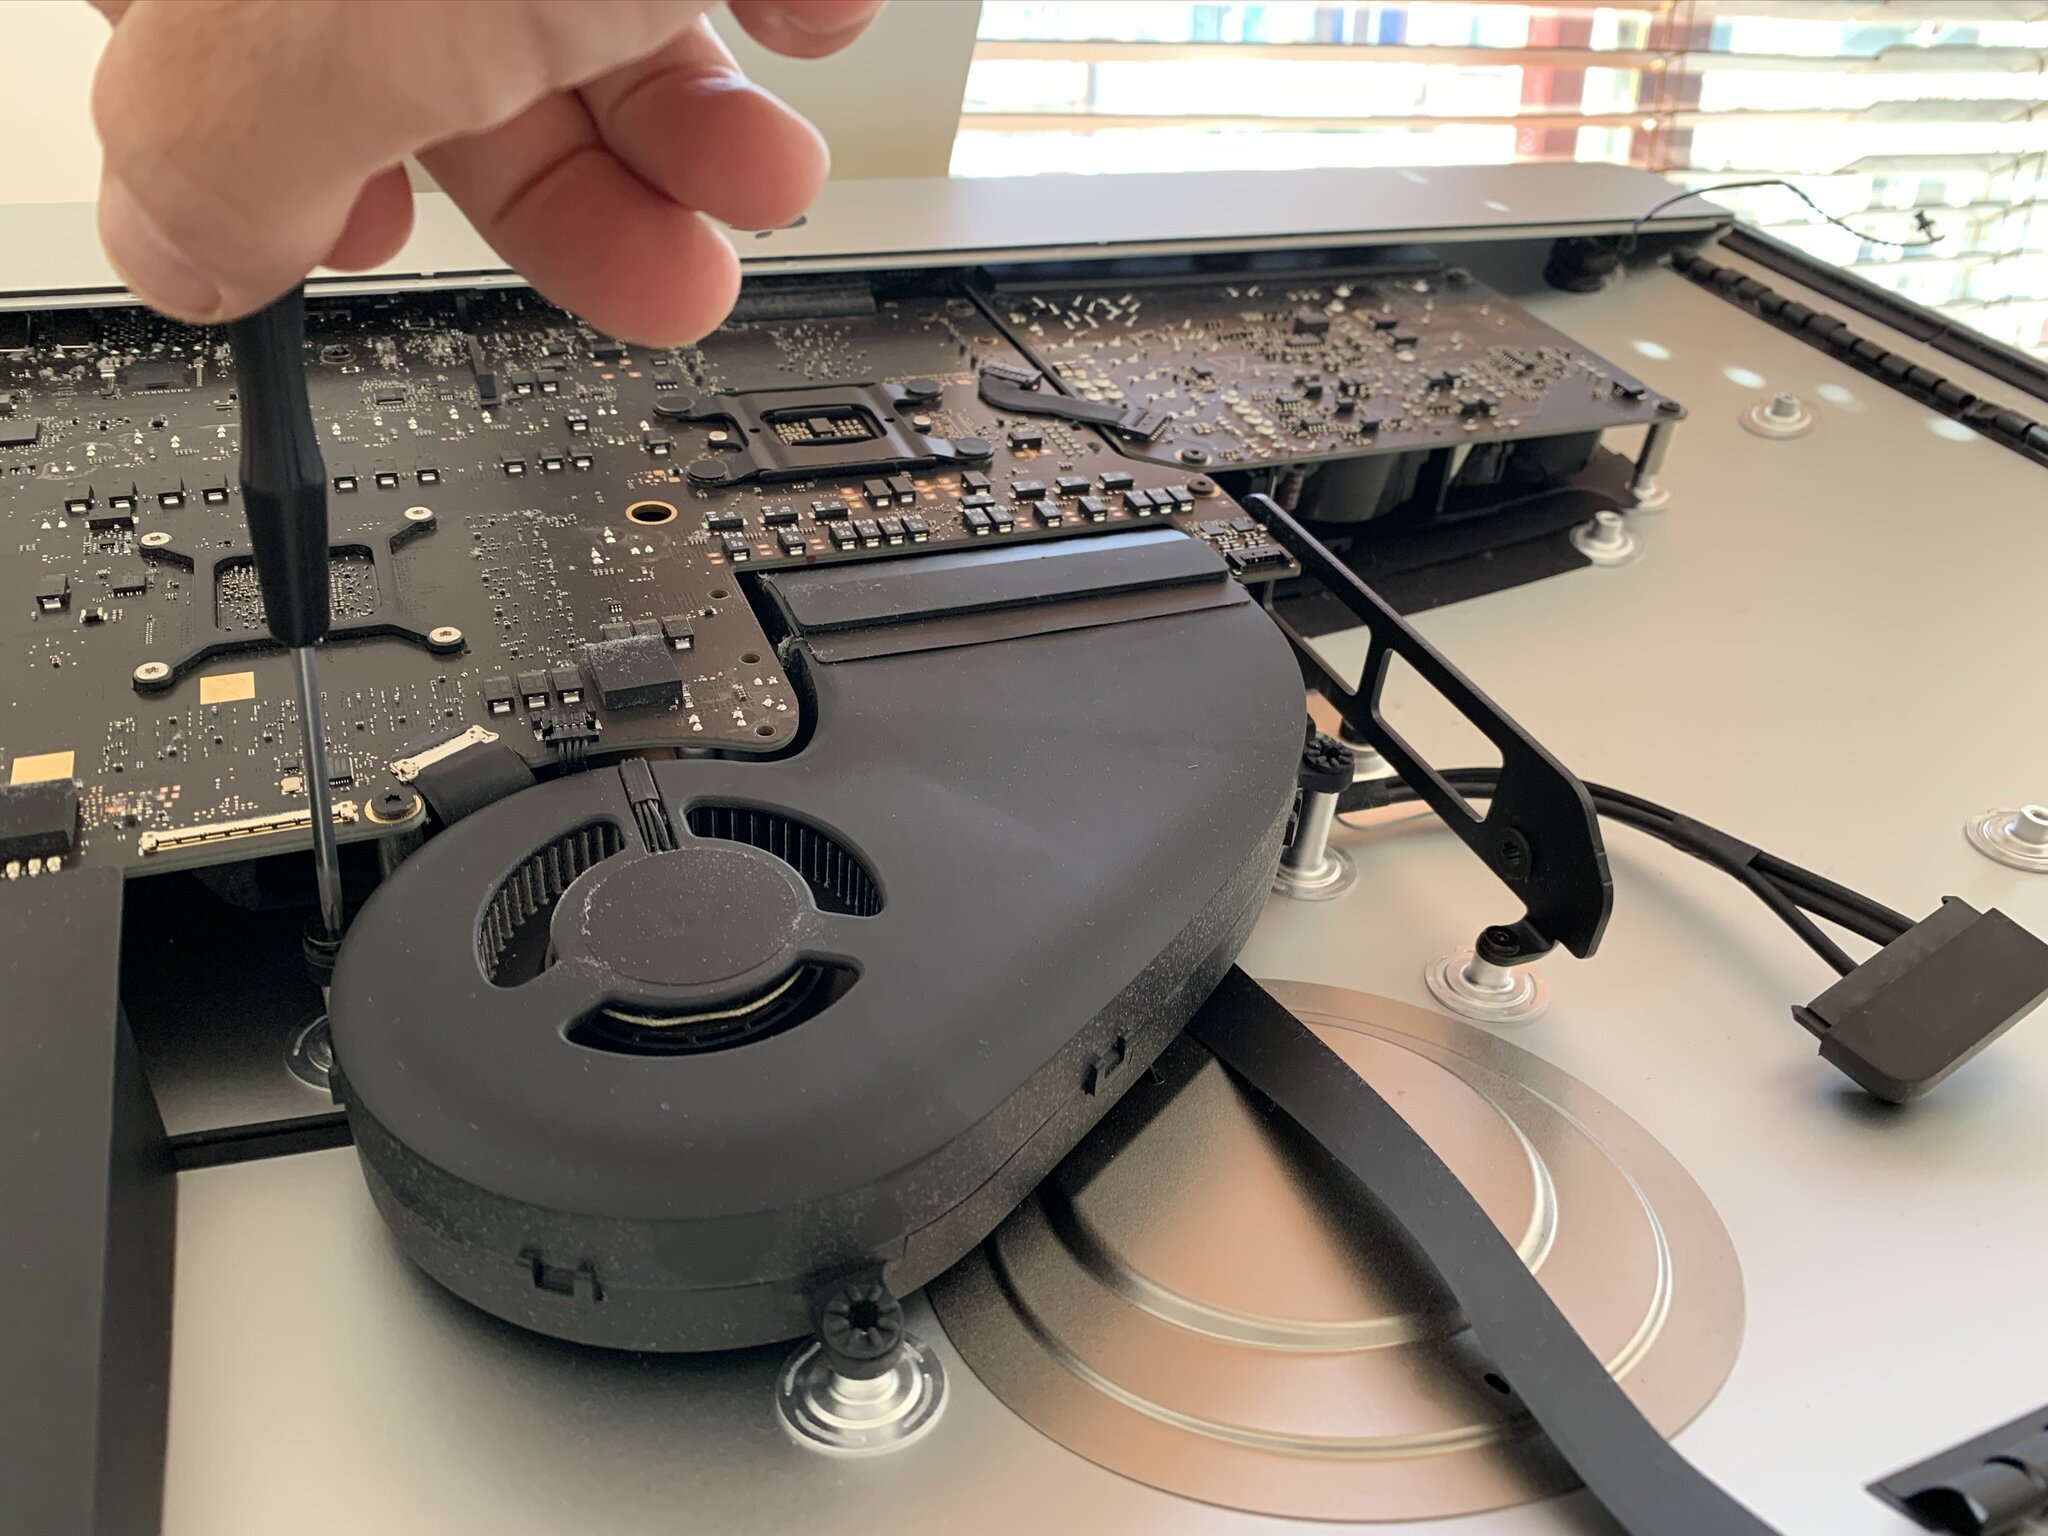
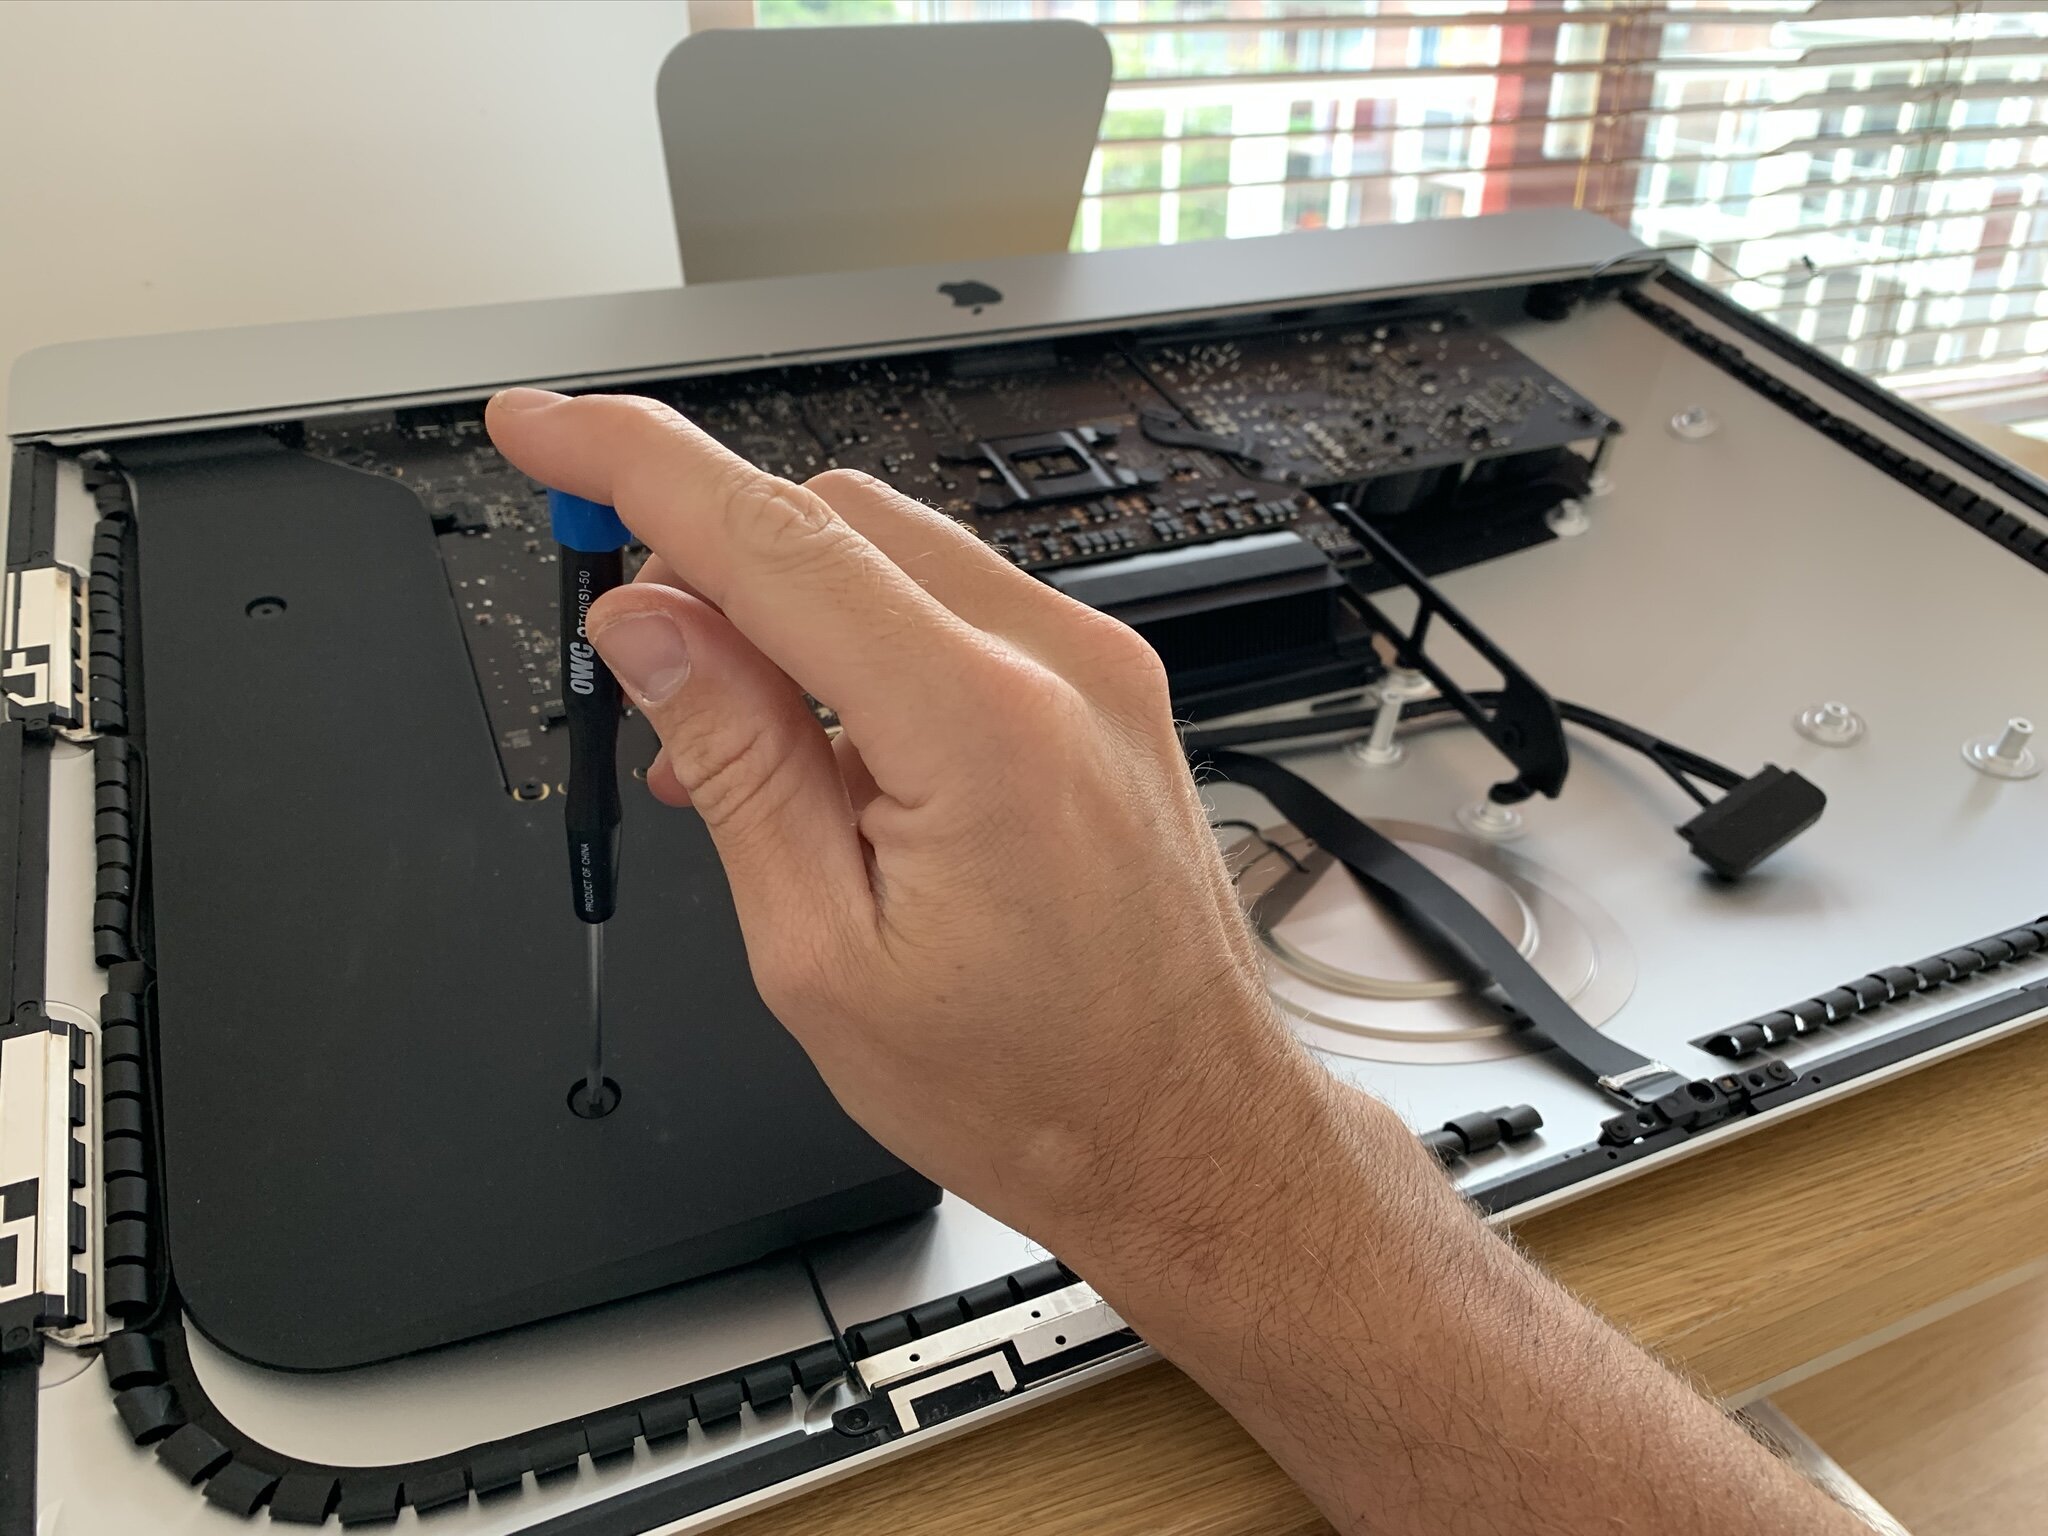
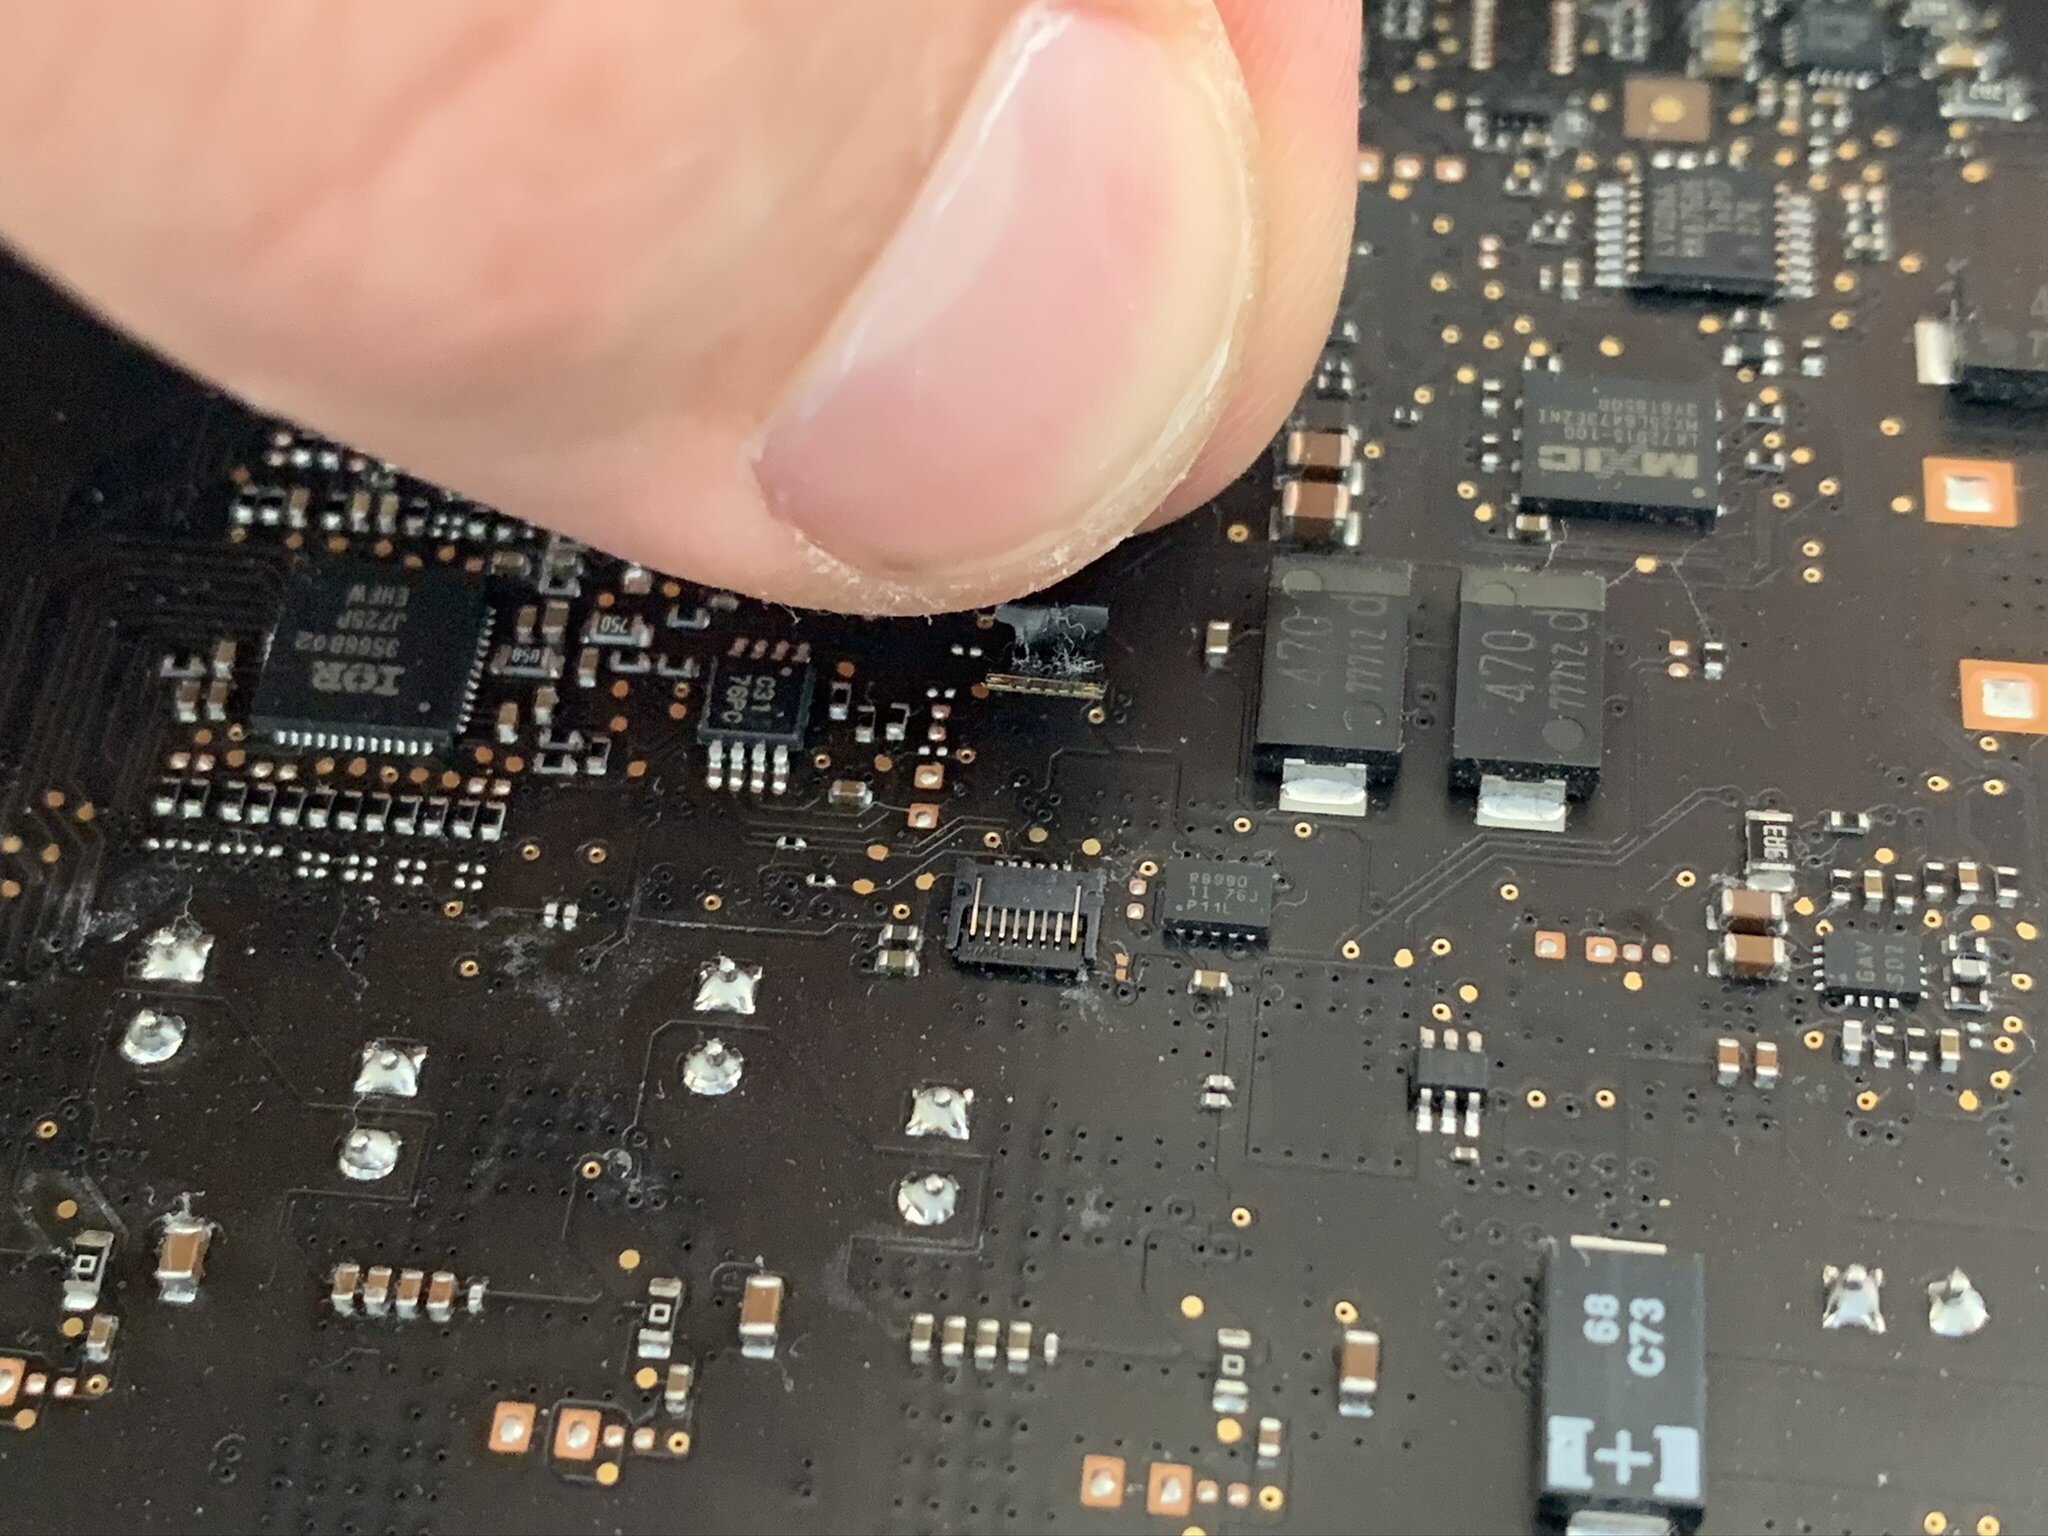
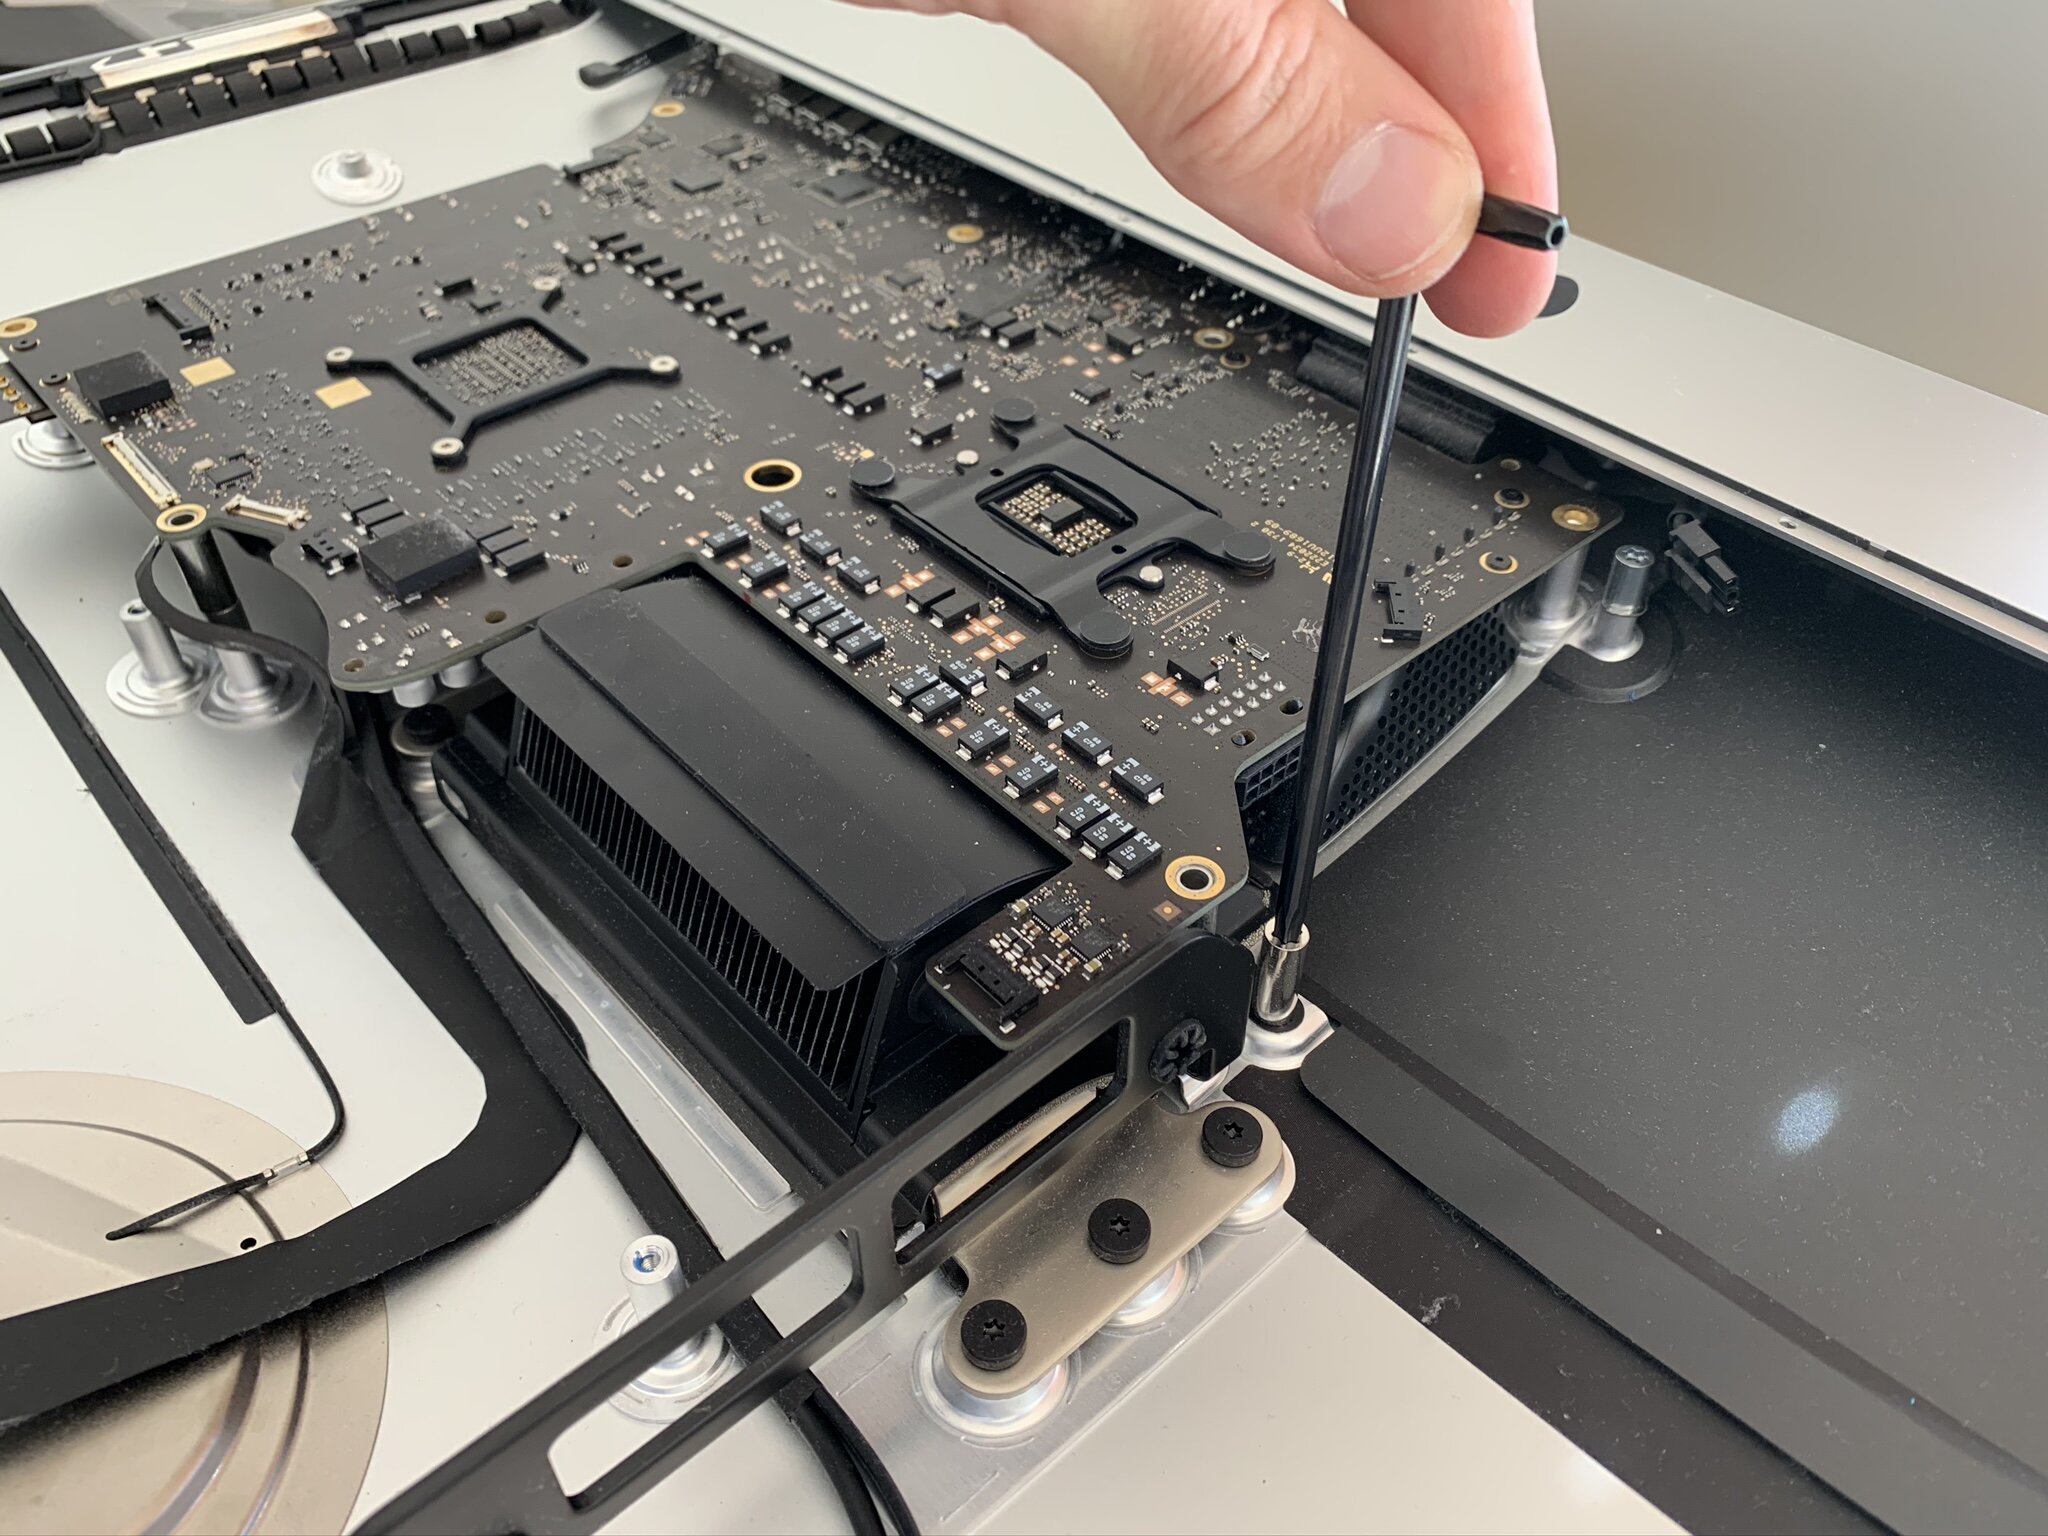
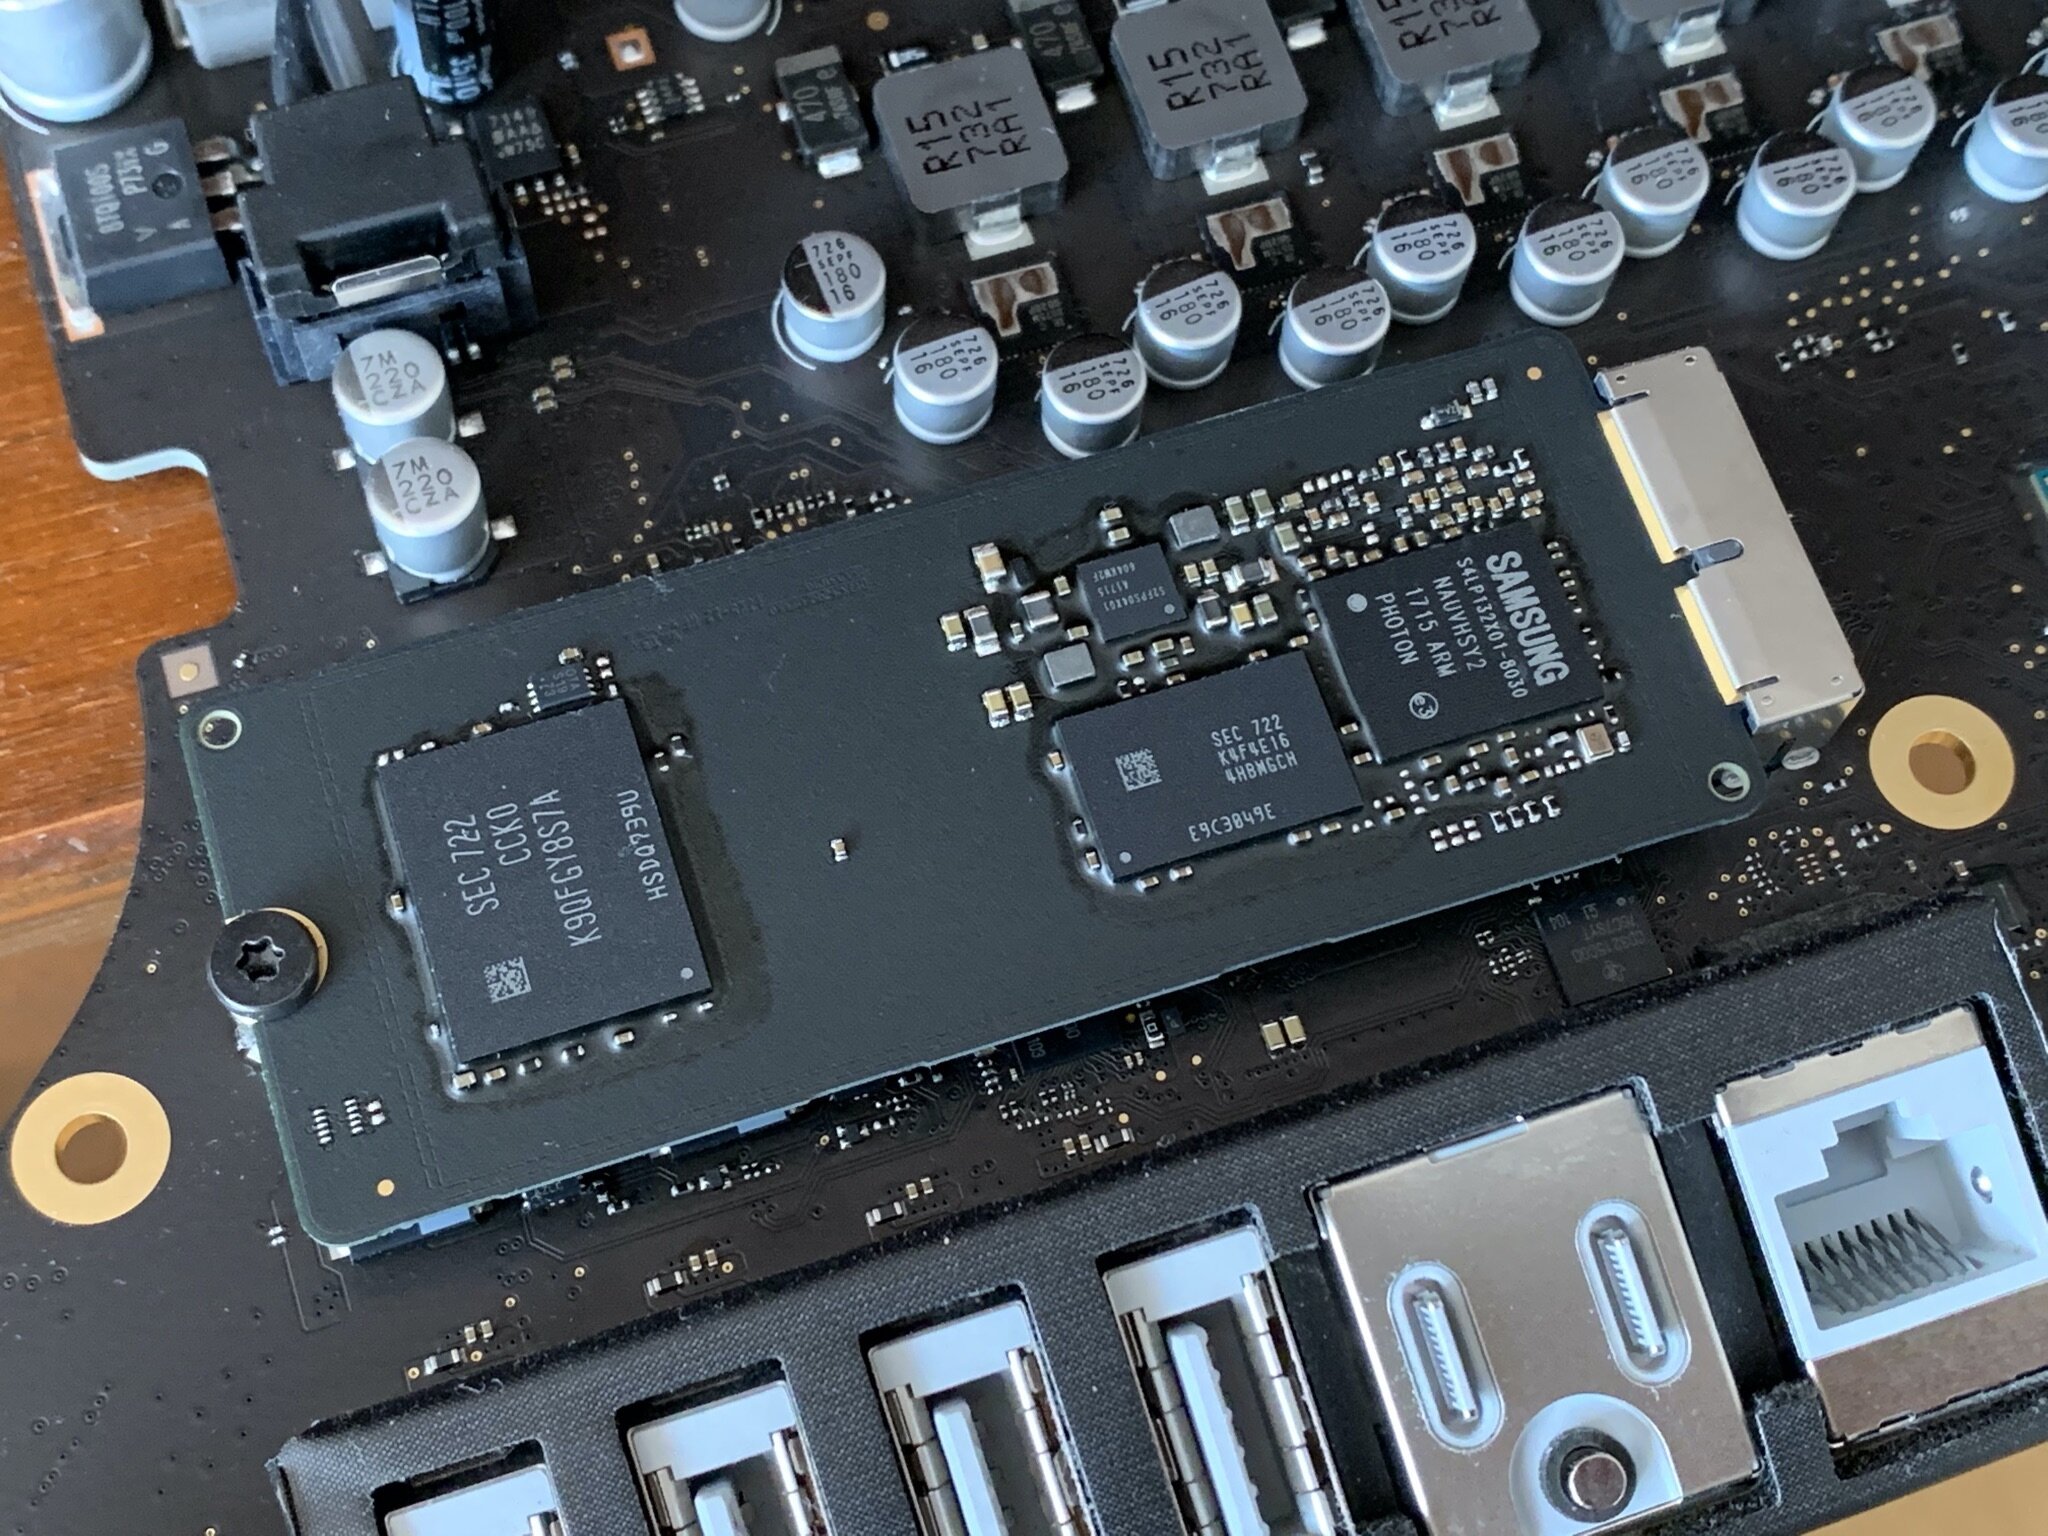
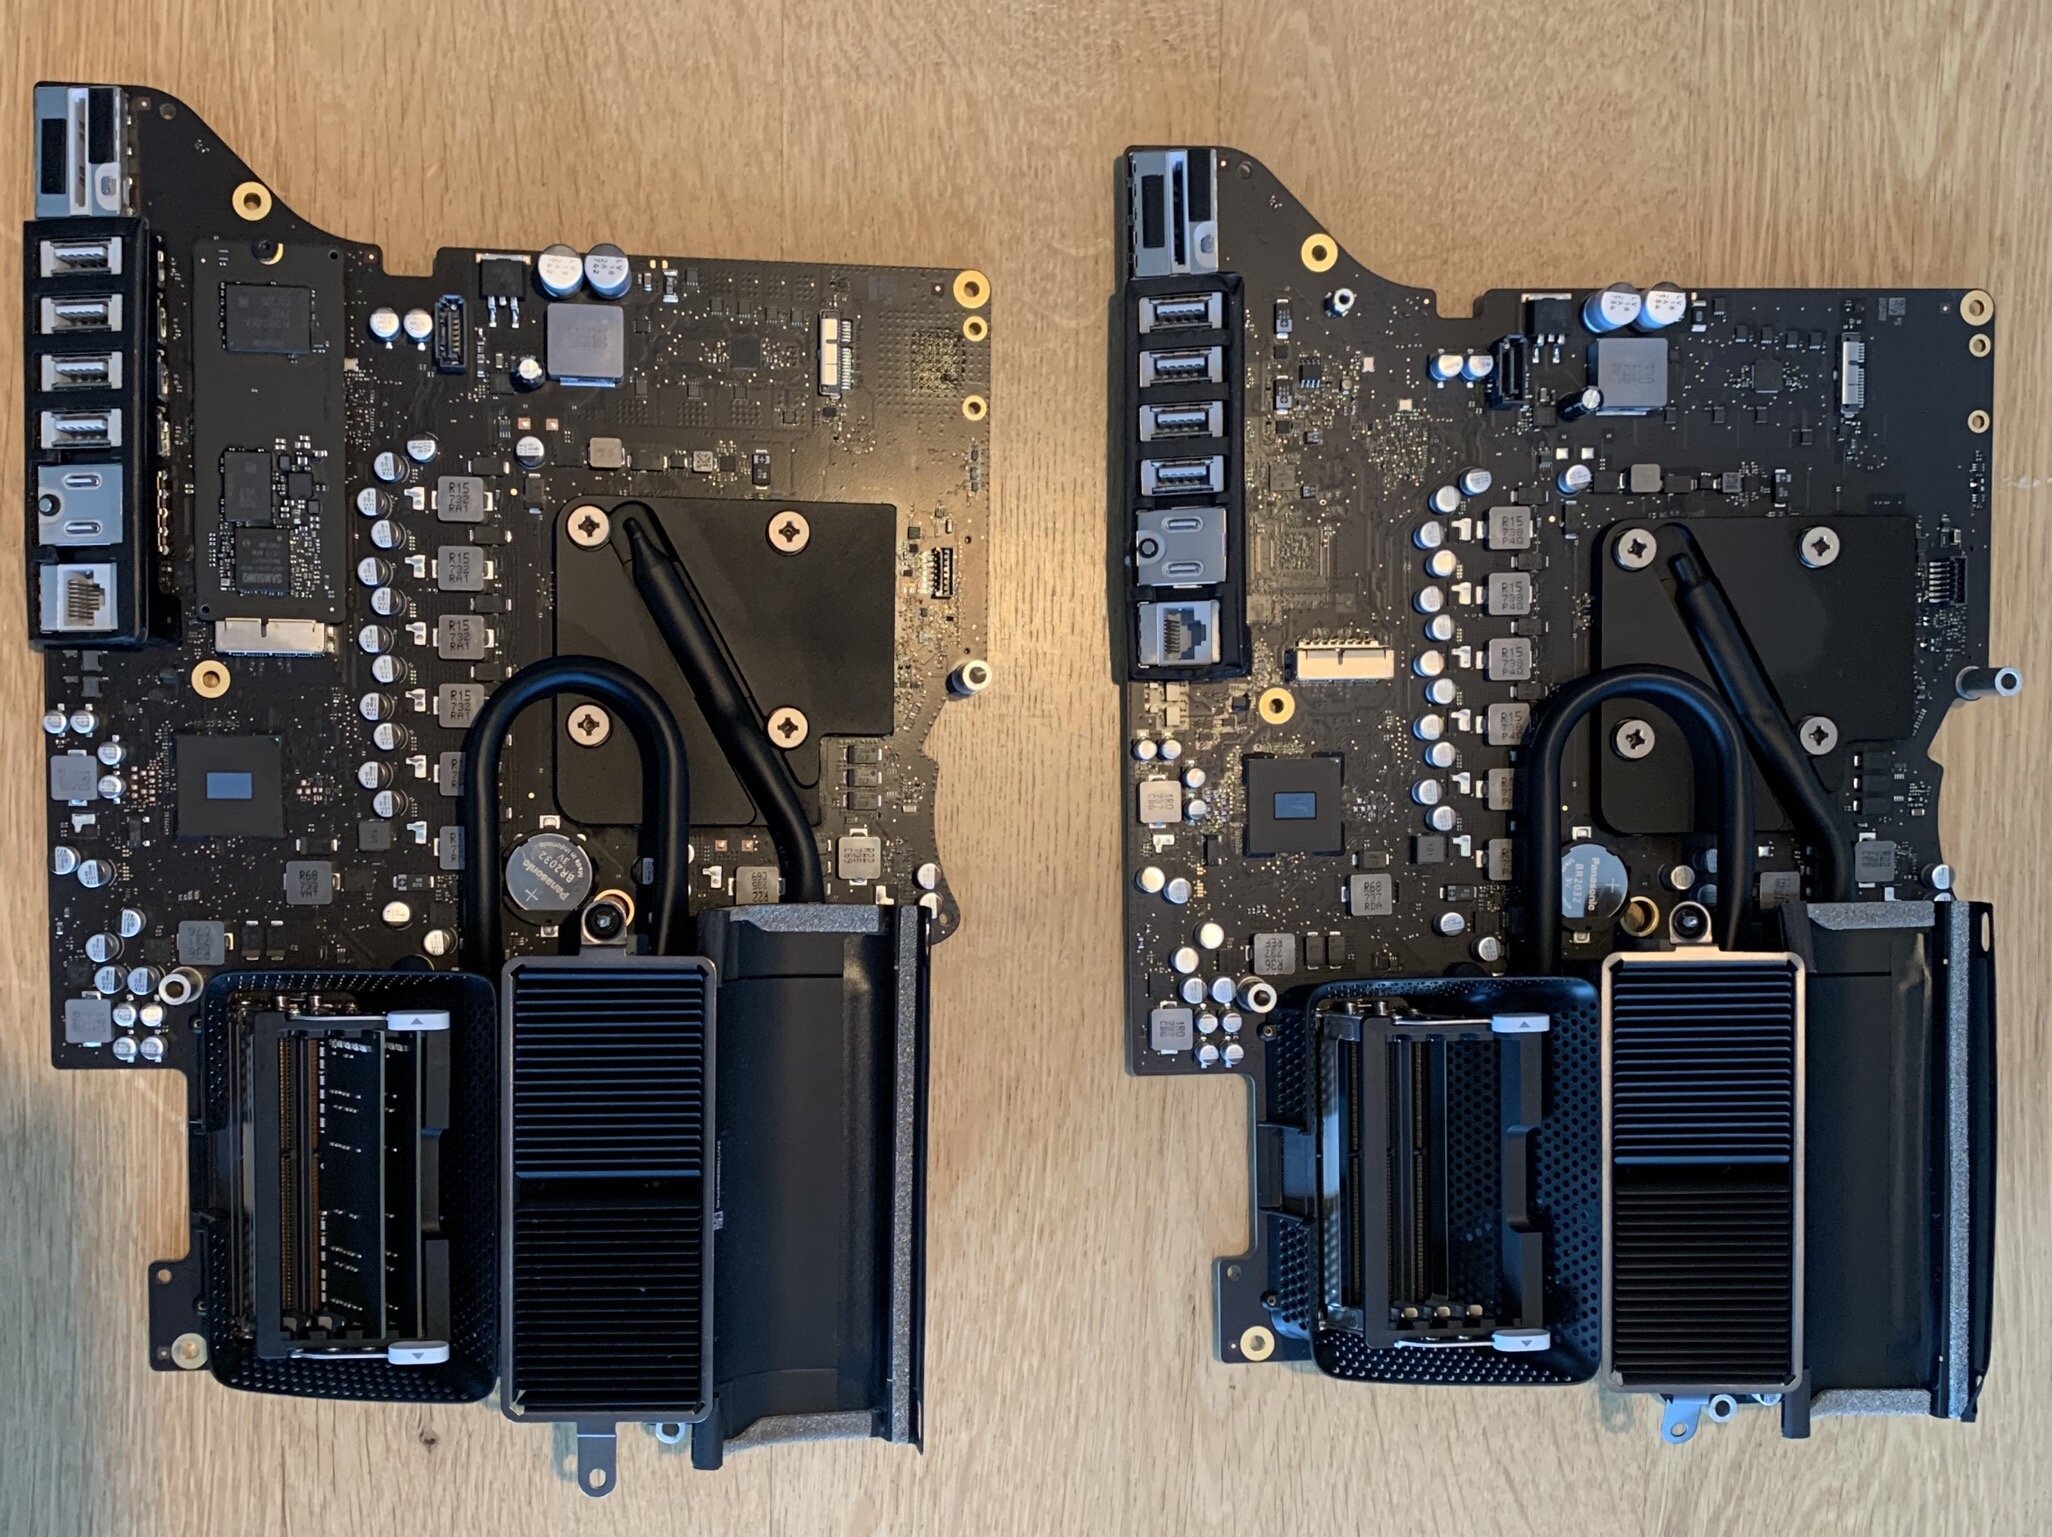
After all the parts are removed from the enclosure, you can simply flip the logic board over to gain access to the PCIe slot. Here there is one last screw that keeps the factory installed SSD in place.
After installing the new drive you have to reverse the entire process to see if your handy work was any good. You have to put back all parts before you can power on the iMac to see if the new parts get recognised correctly. This means you really have to be patient, take your time to put back all the (tiny) parts and connectors.
Oops!
After putting back all the parts, cables, screws and connectors I powered on the iMac. This is the moment of truth... will it work? Well..., in my case: NO!!
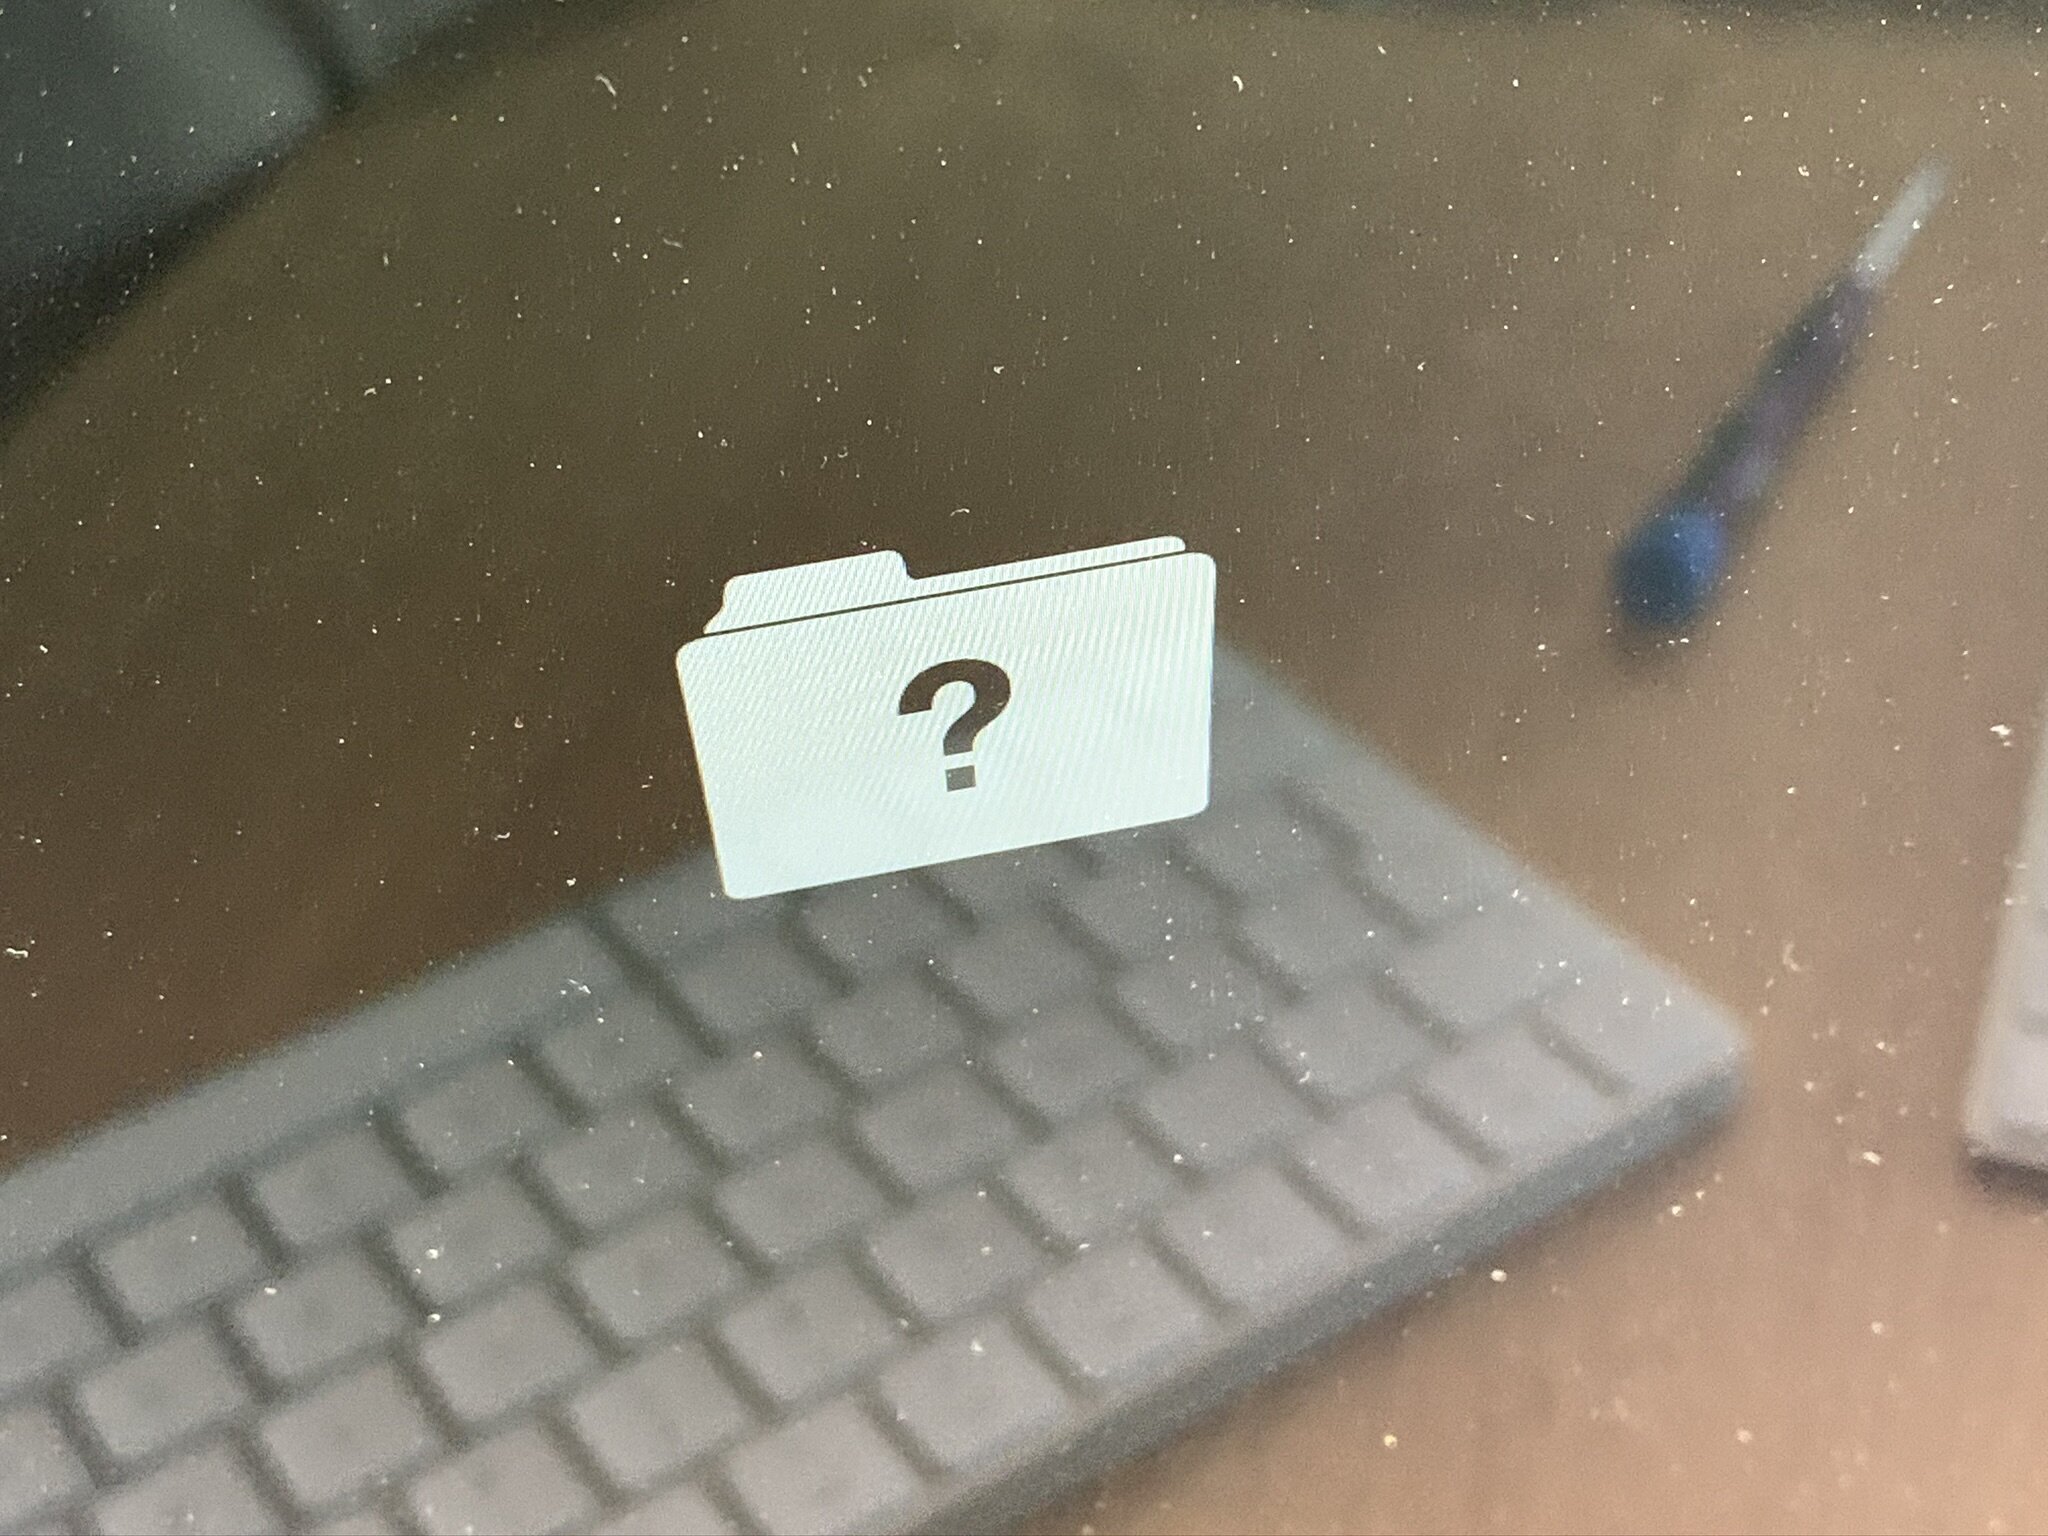
When you see the folder with a question mark you should be able to start the recovery process by CMD+R or CMD+OPTION+R. But my iMac did not respond to keyboard input. I connected a wired USB keyboard to exclude any Bluetooth connection problems. It did not work... o oooh!
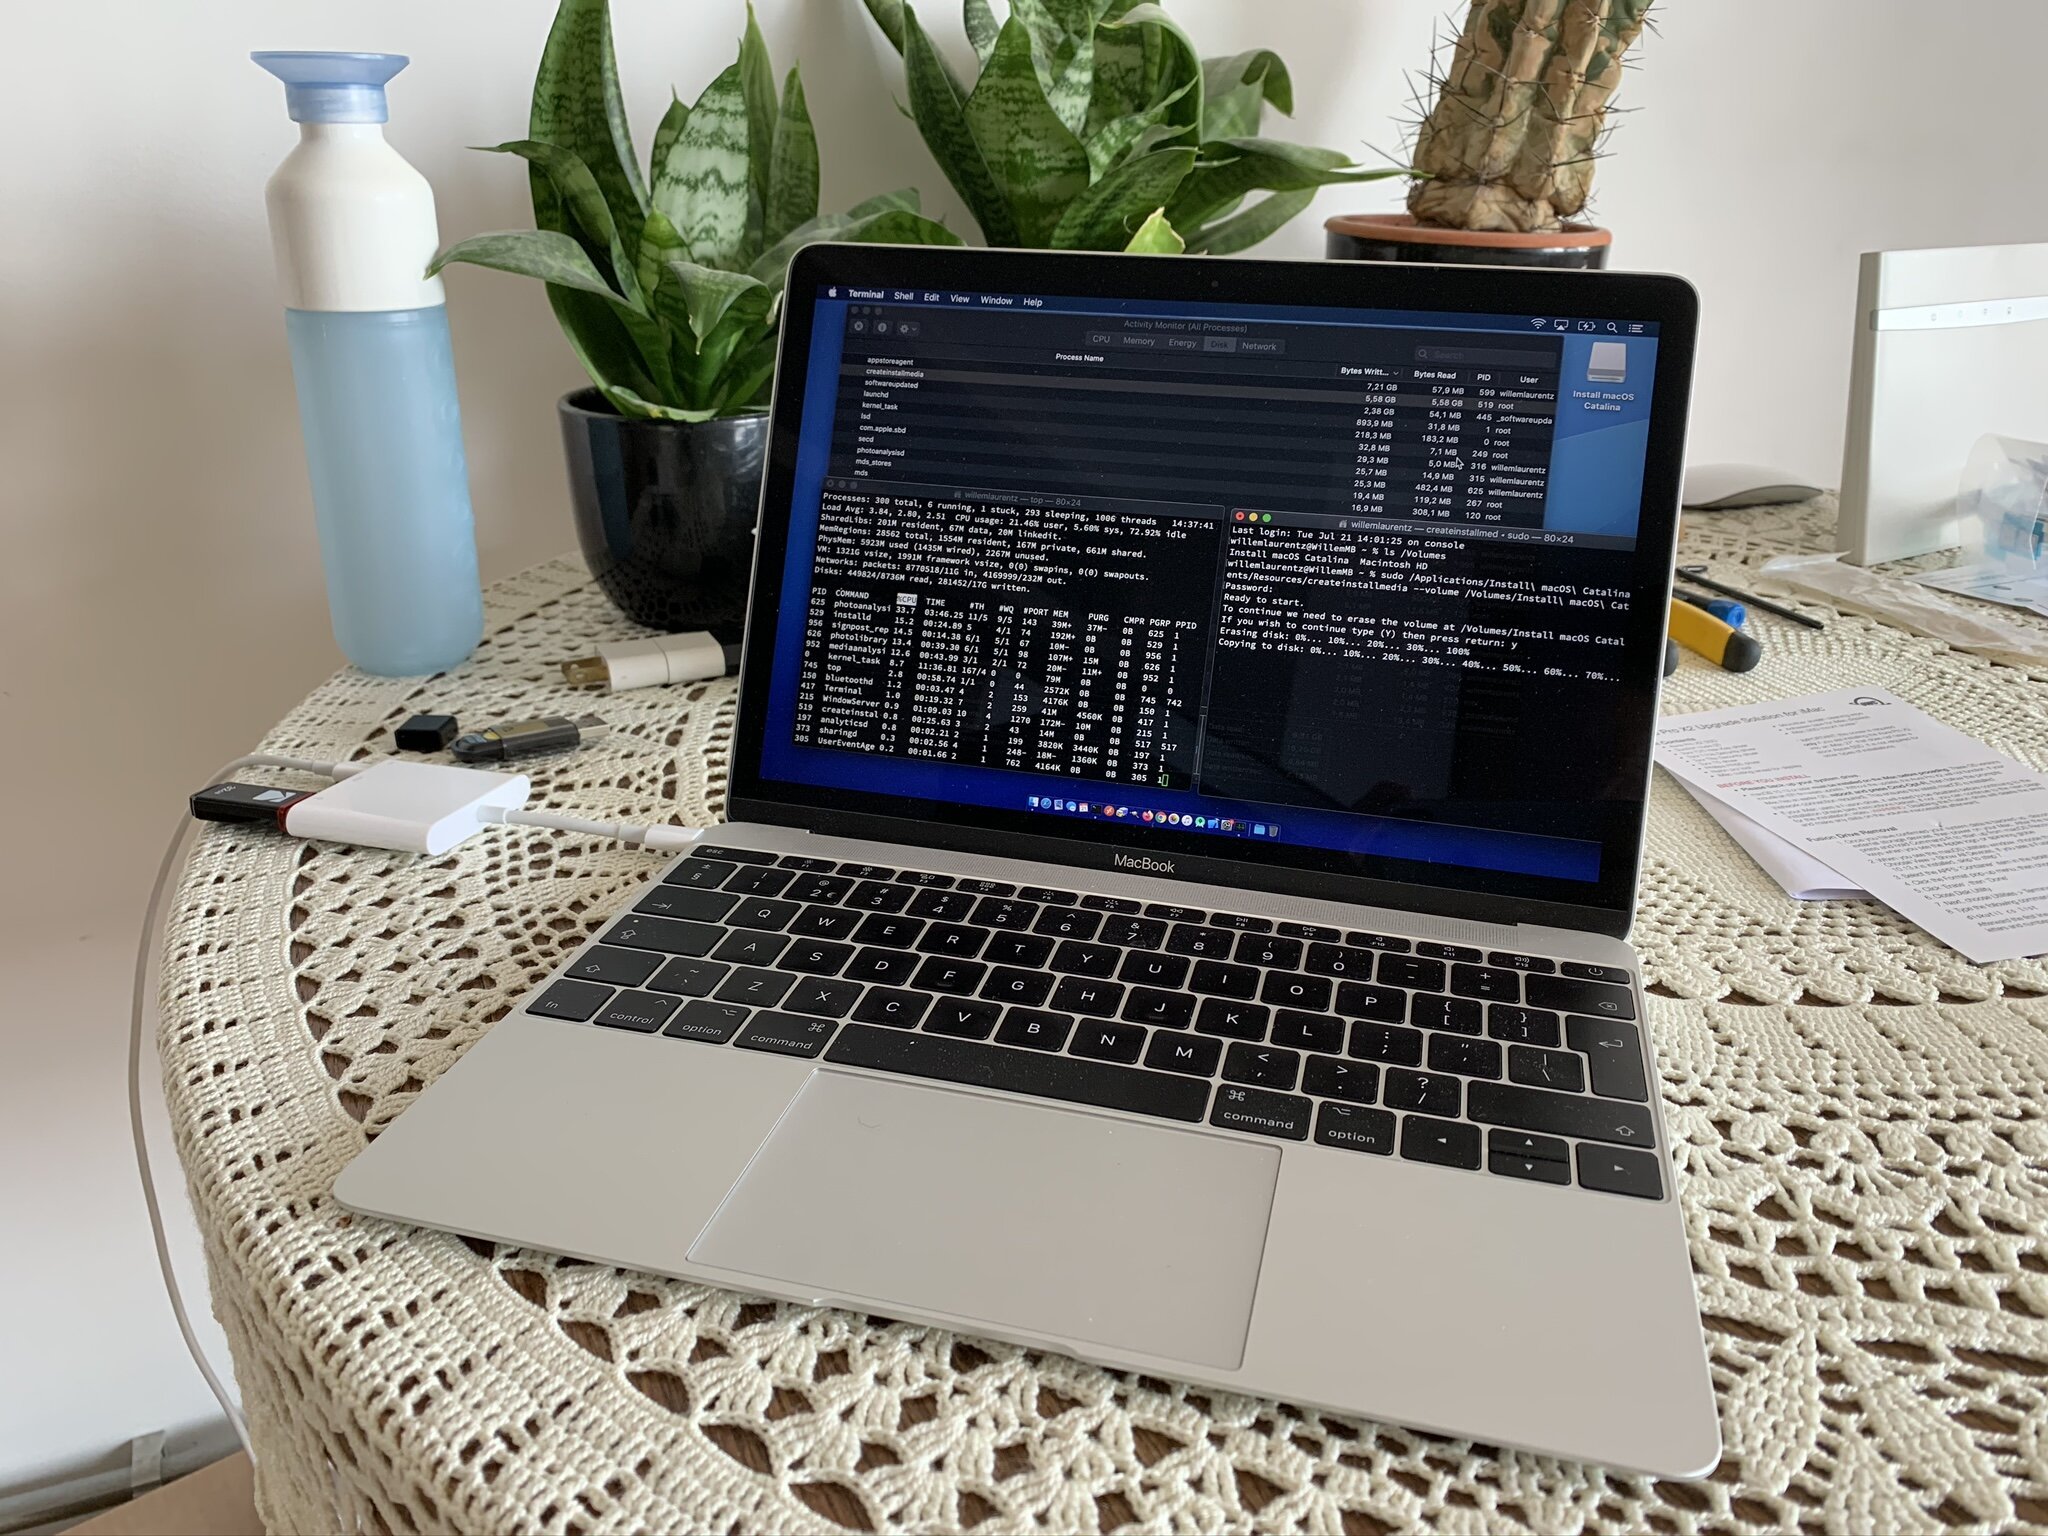
Then I tried to create a bootable USB recovery drive using another MacBook. Perhaps that getting in the installation process would enable me to get the keyboard working again. But the recovery drive was not recognised either!
In a last attempt I connected a bootable Debian GNU/Linux installation drive that I used to create my own tablet OS earlier. I was stupefied when the iMac did recognise that drive. WHAT?
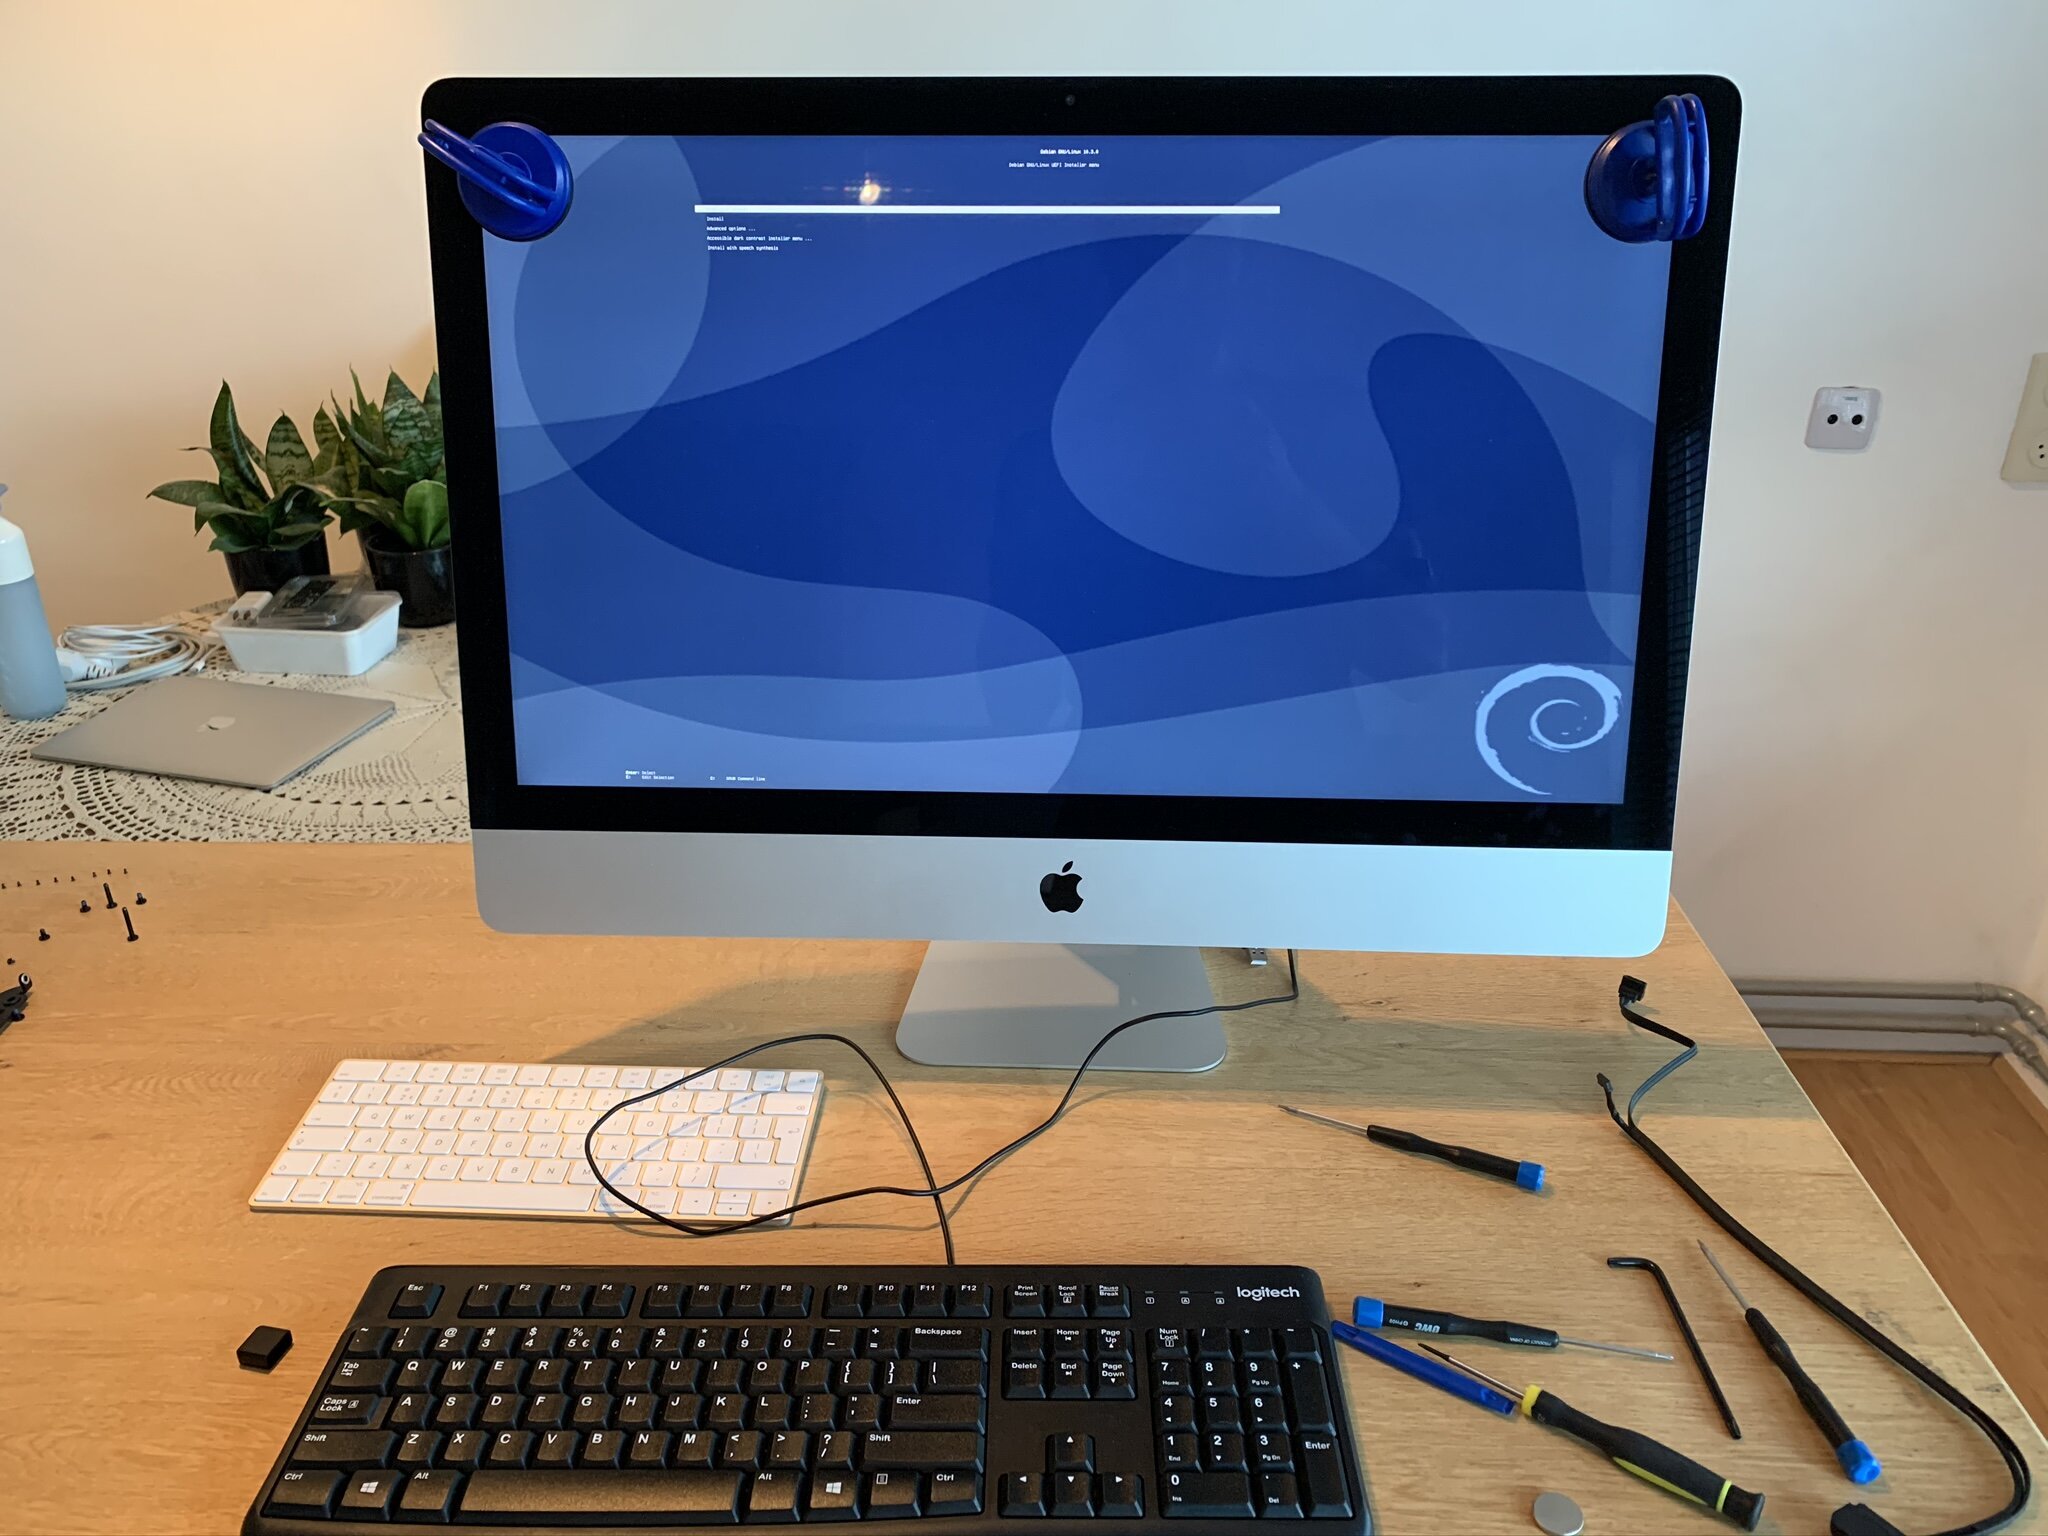
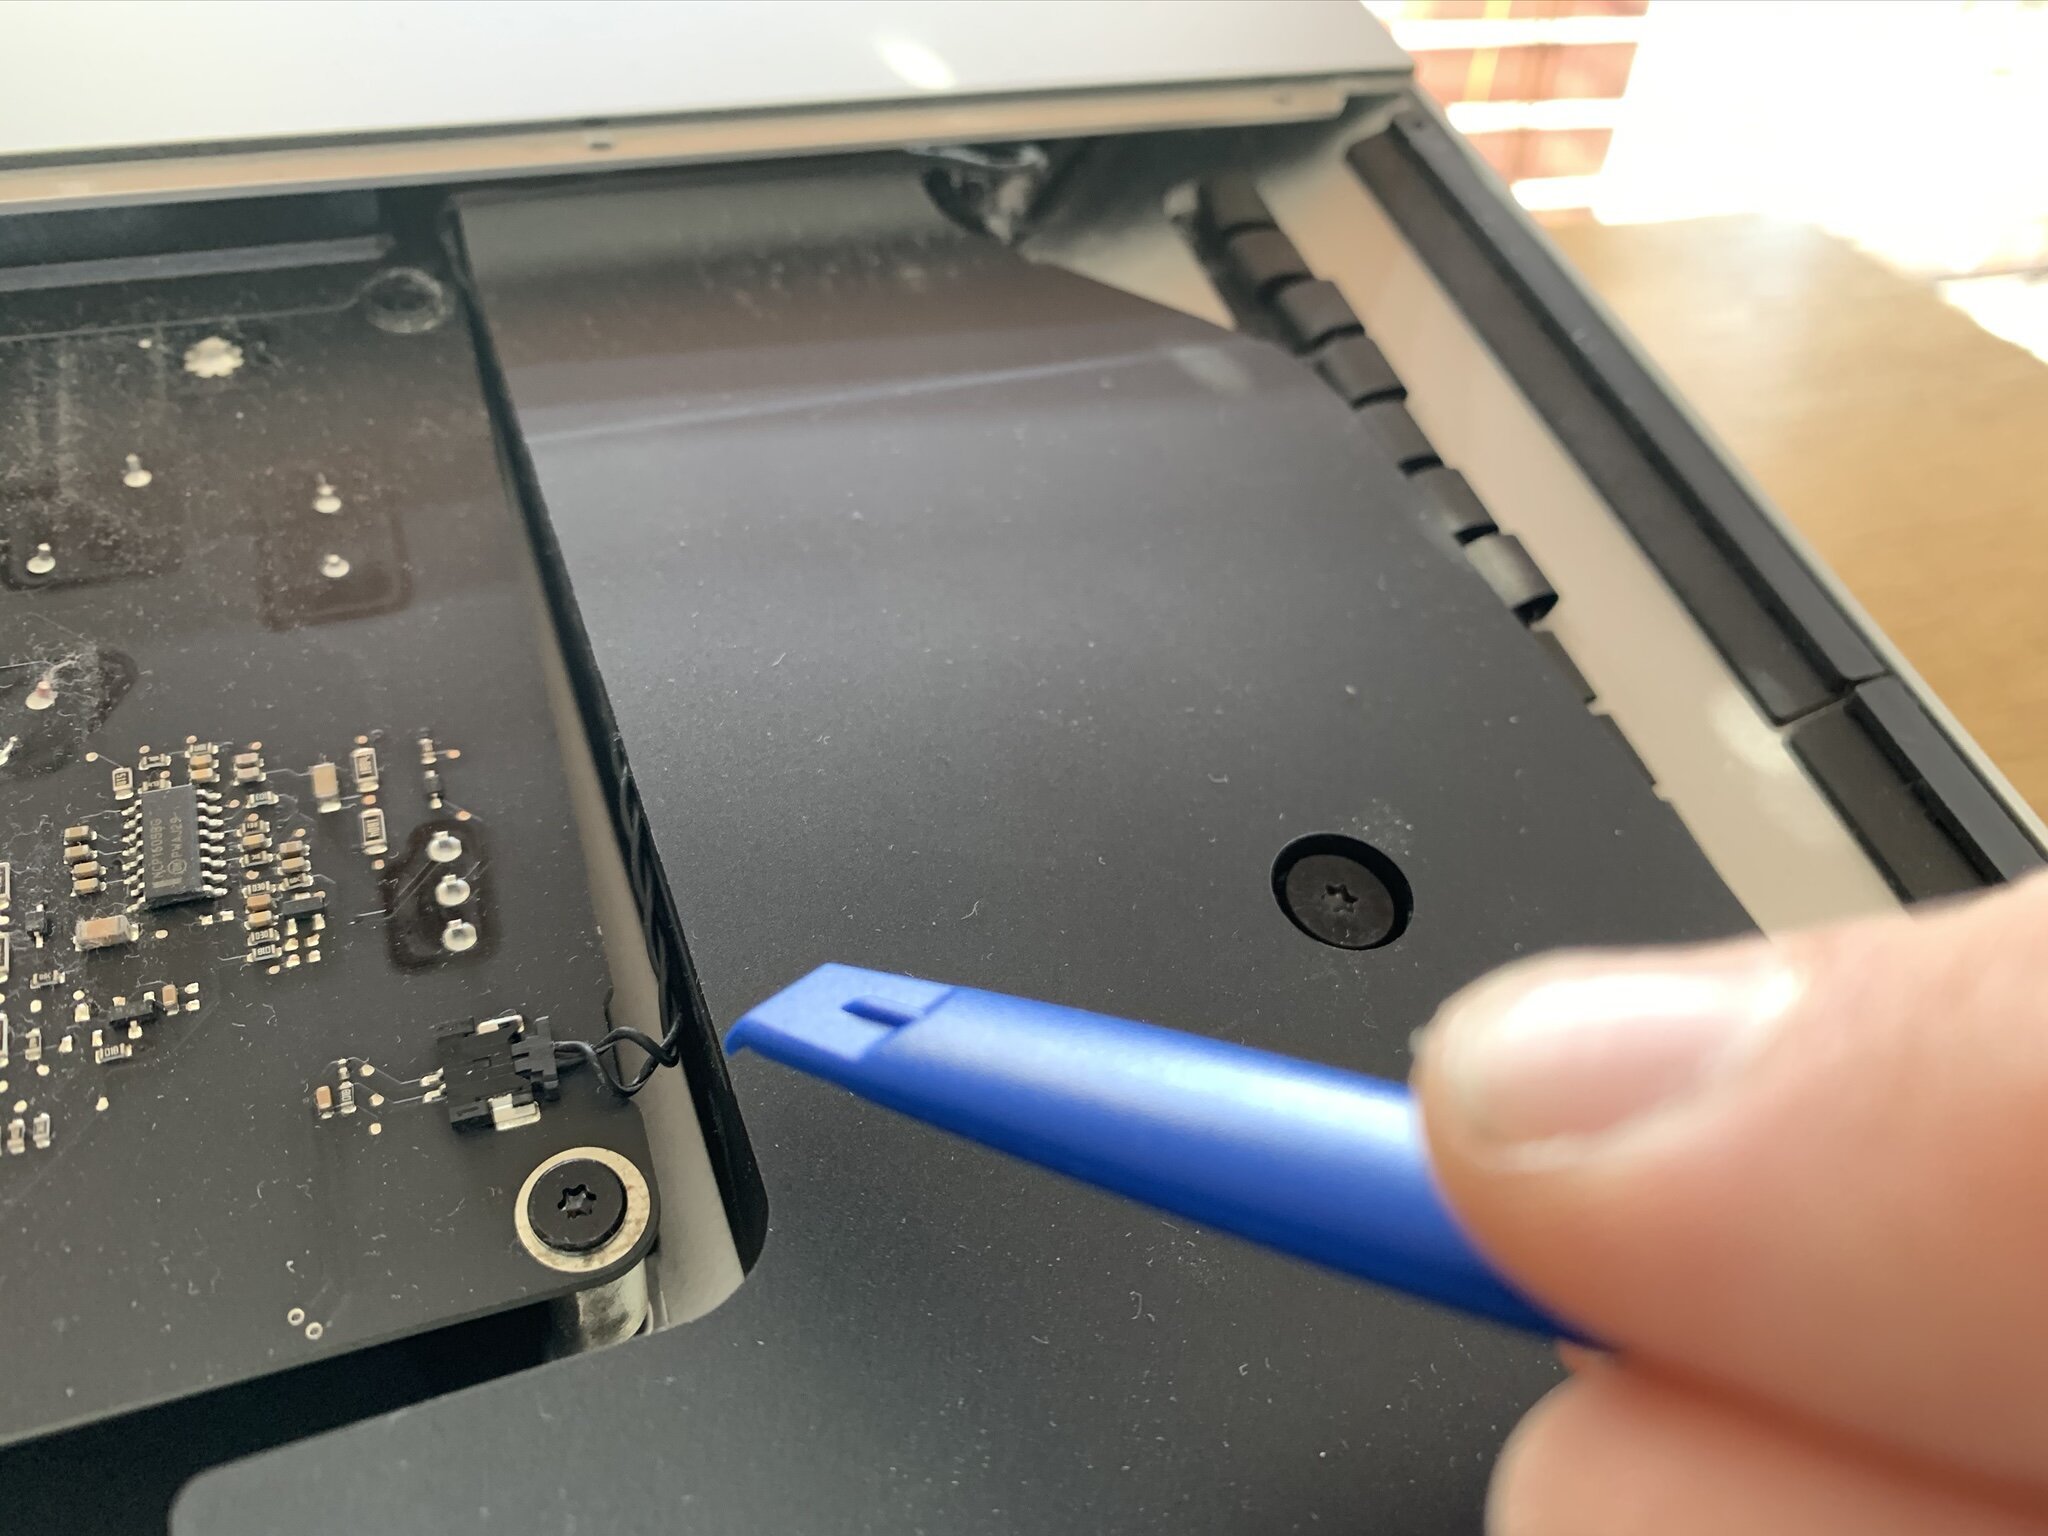
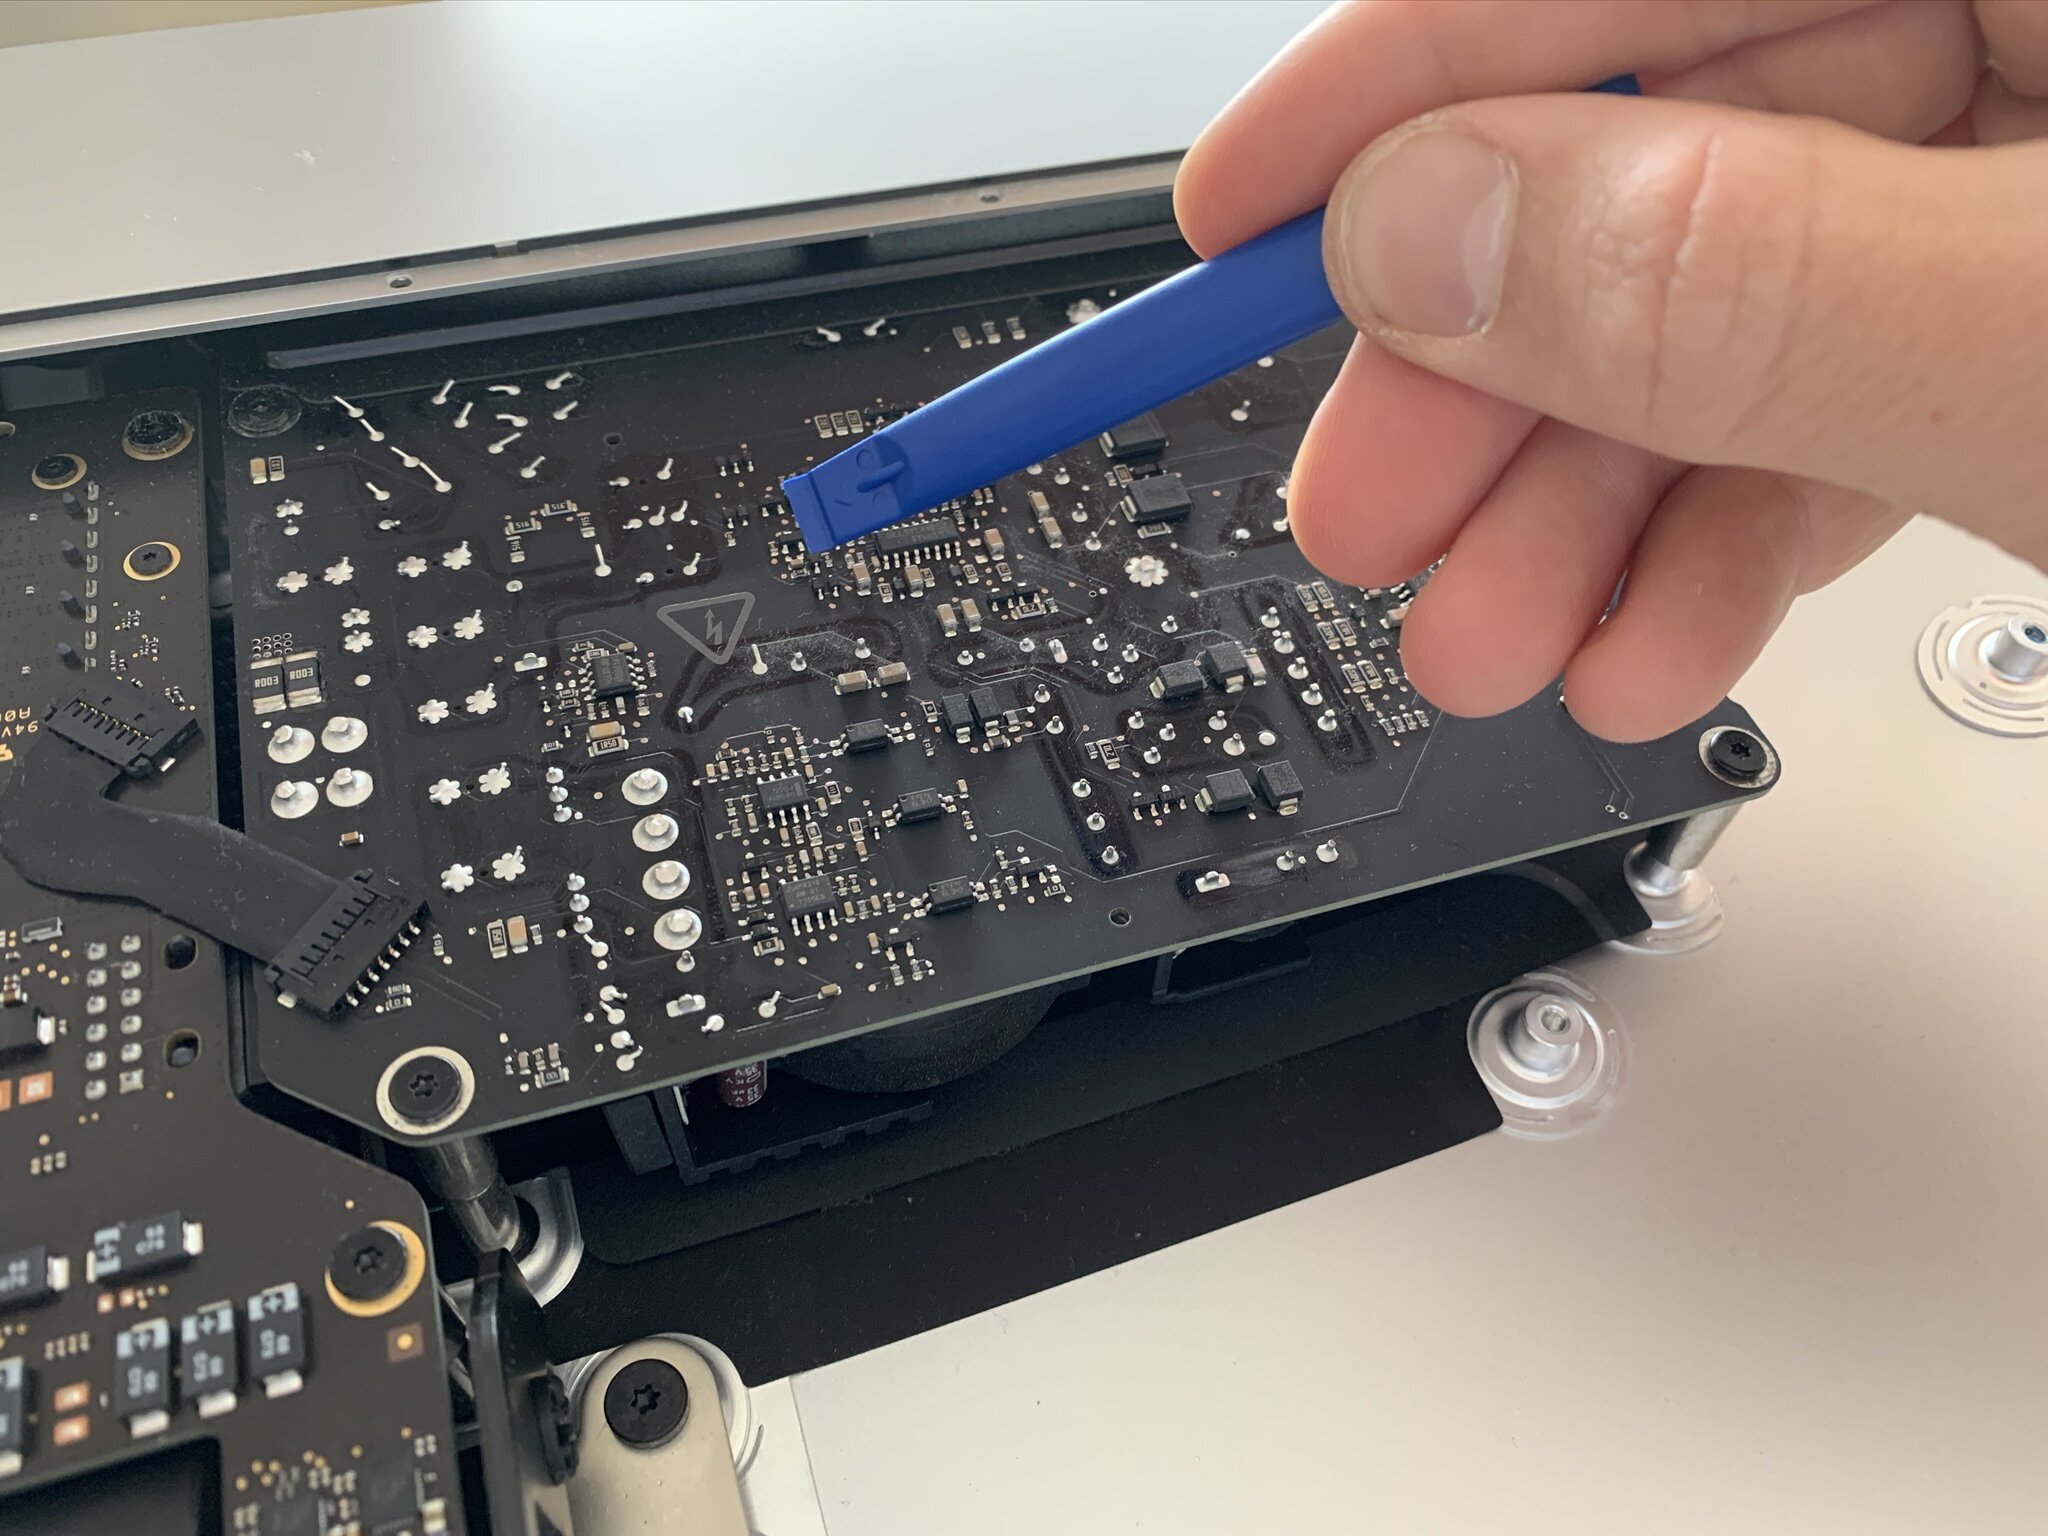
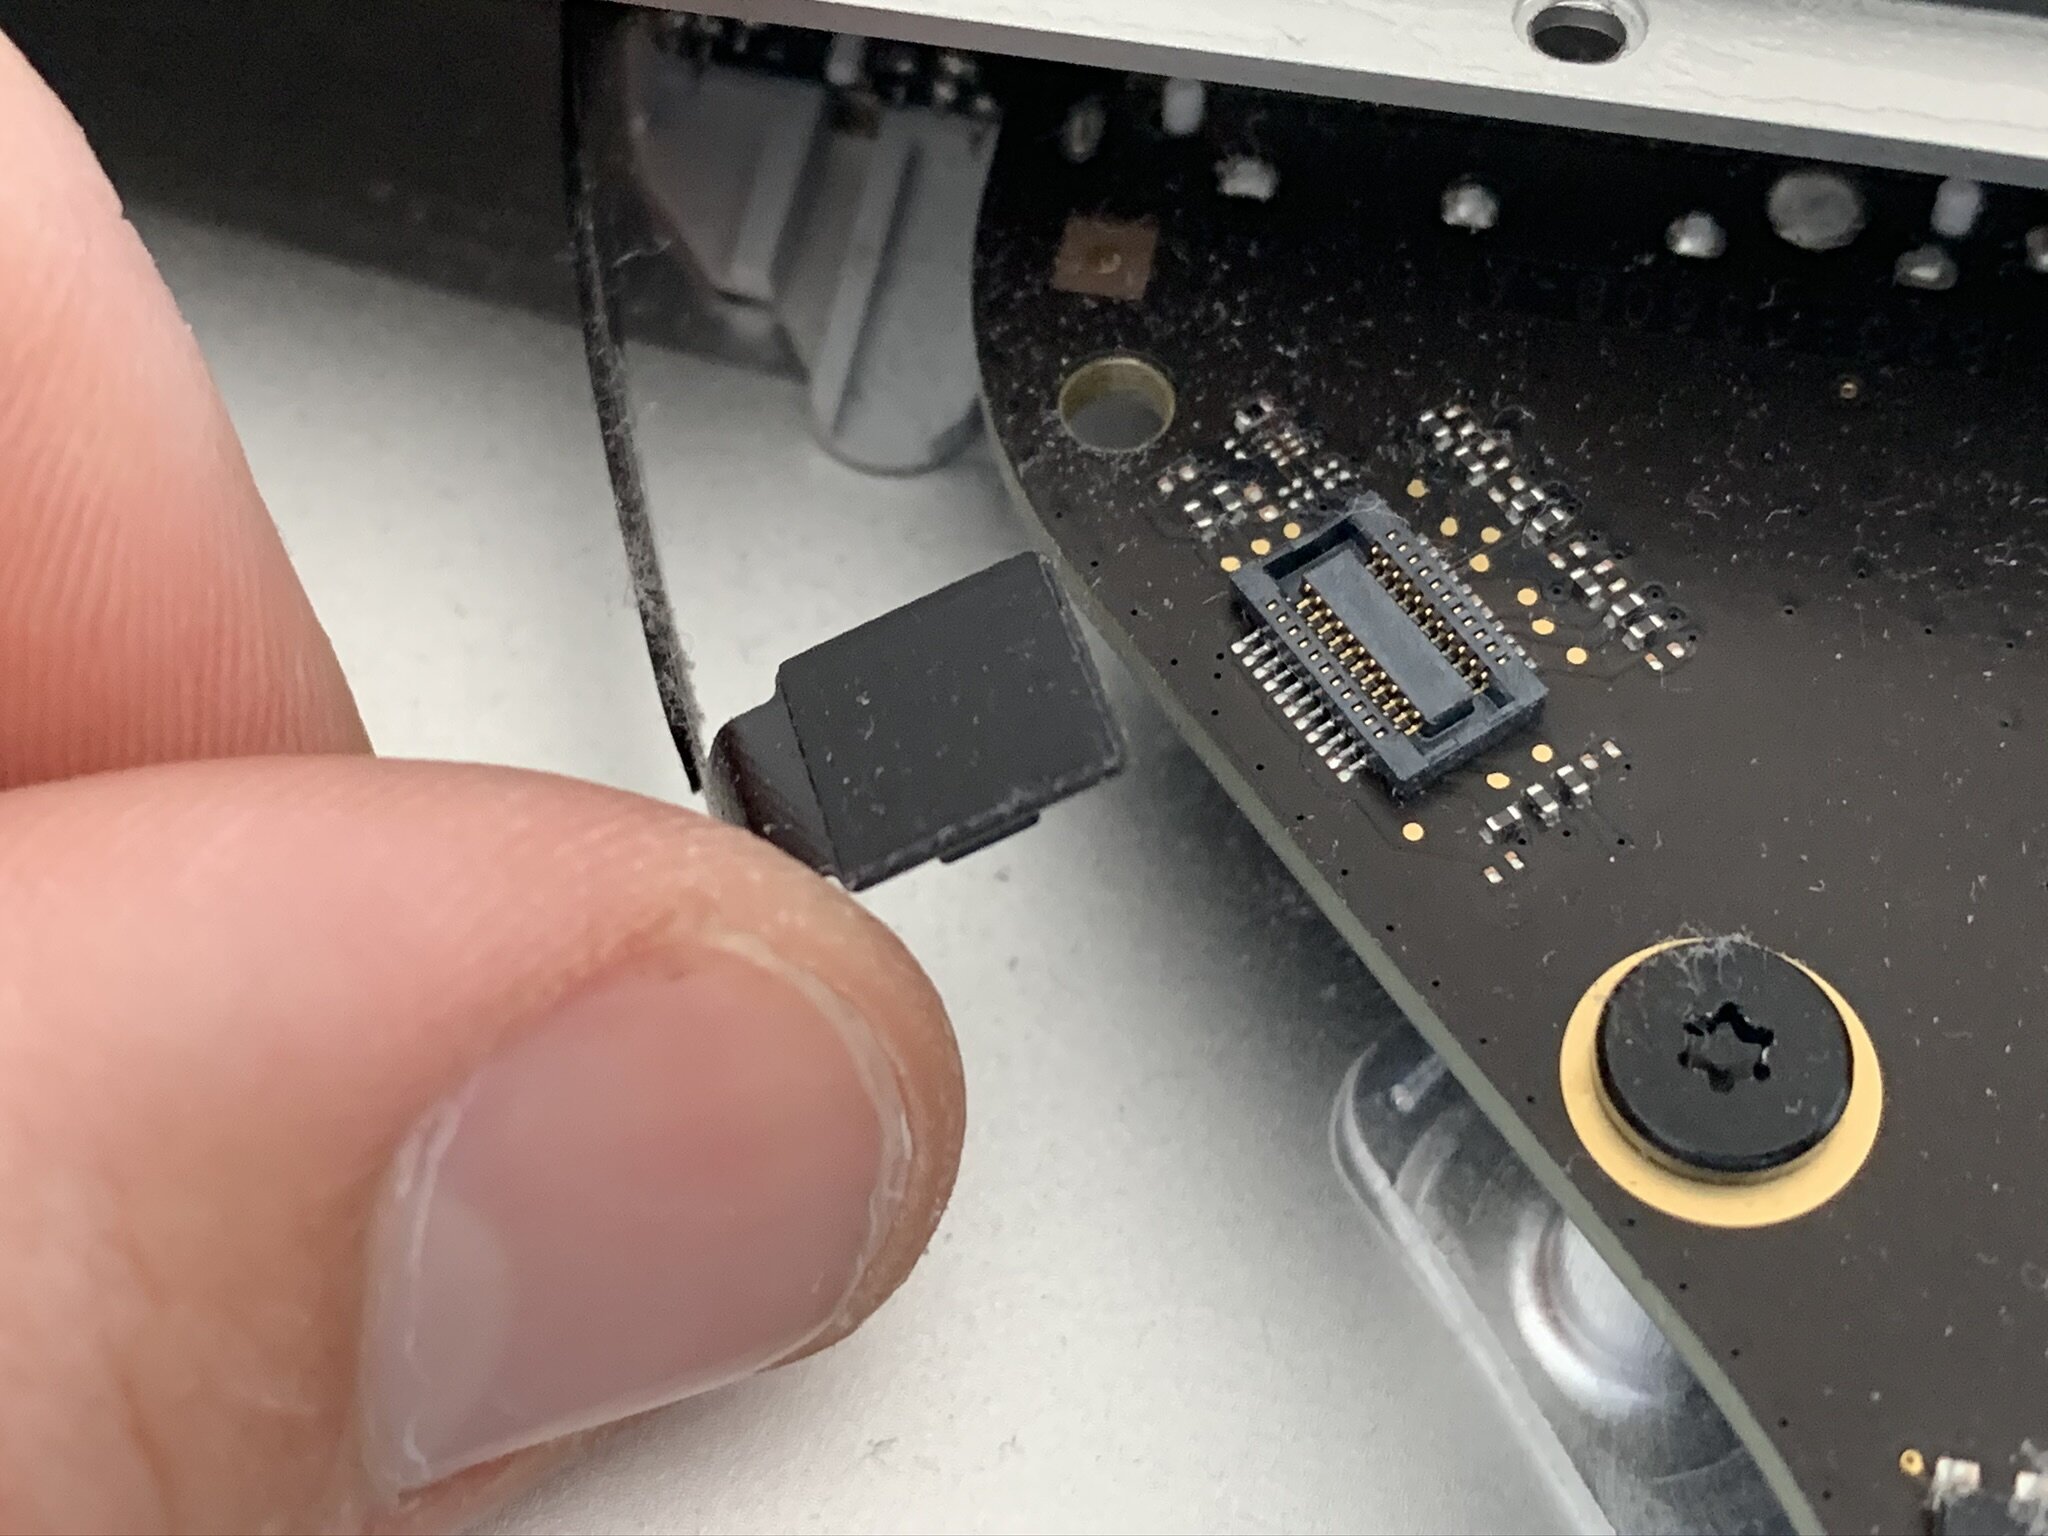
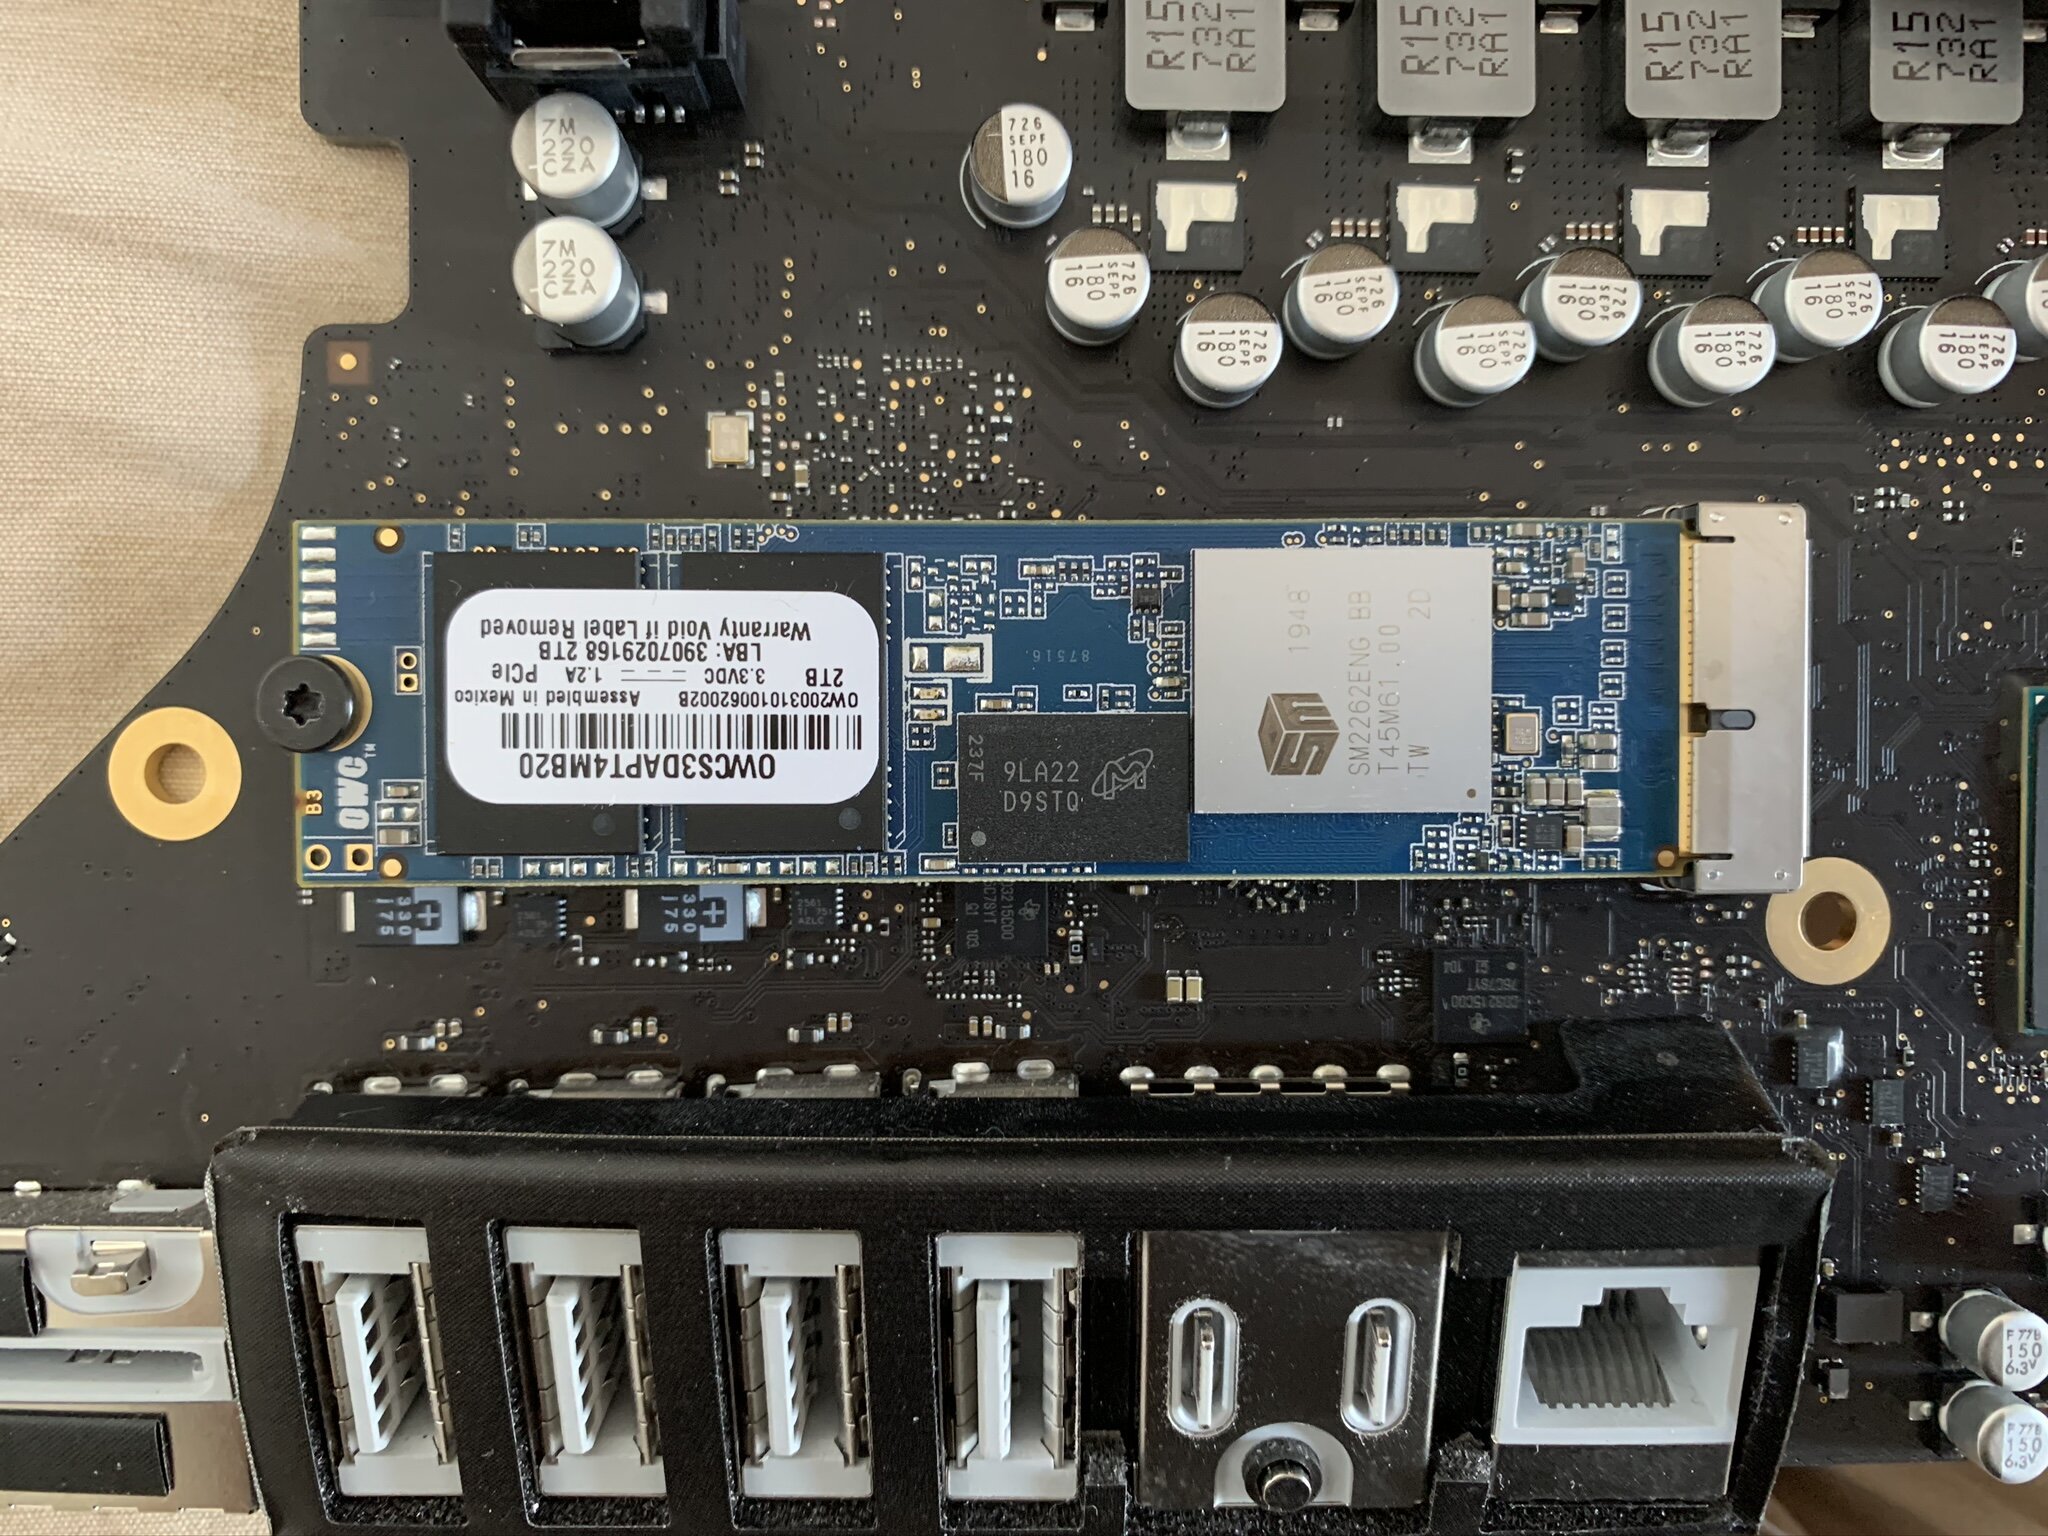
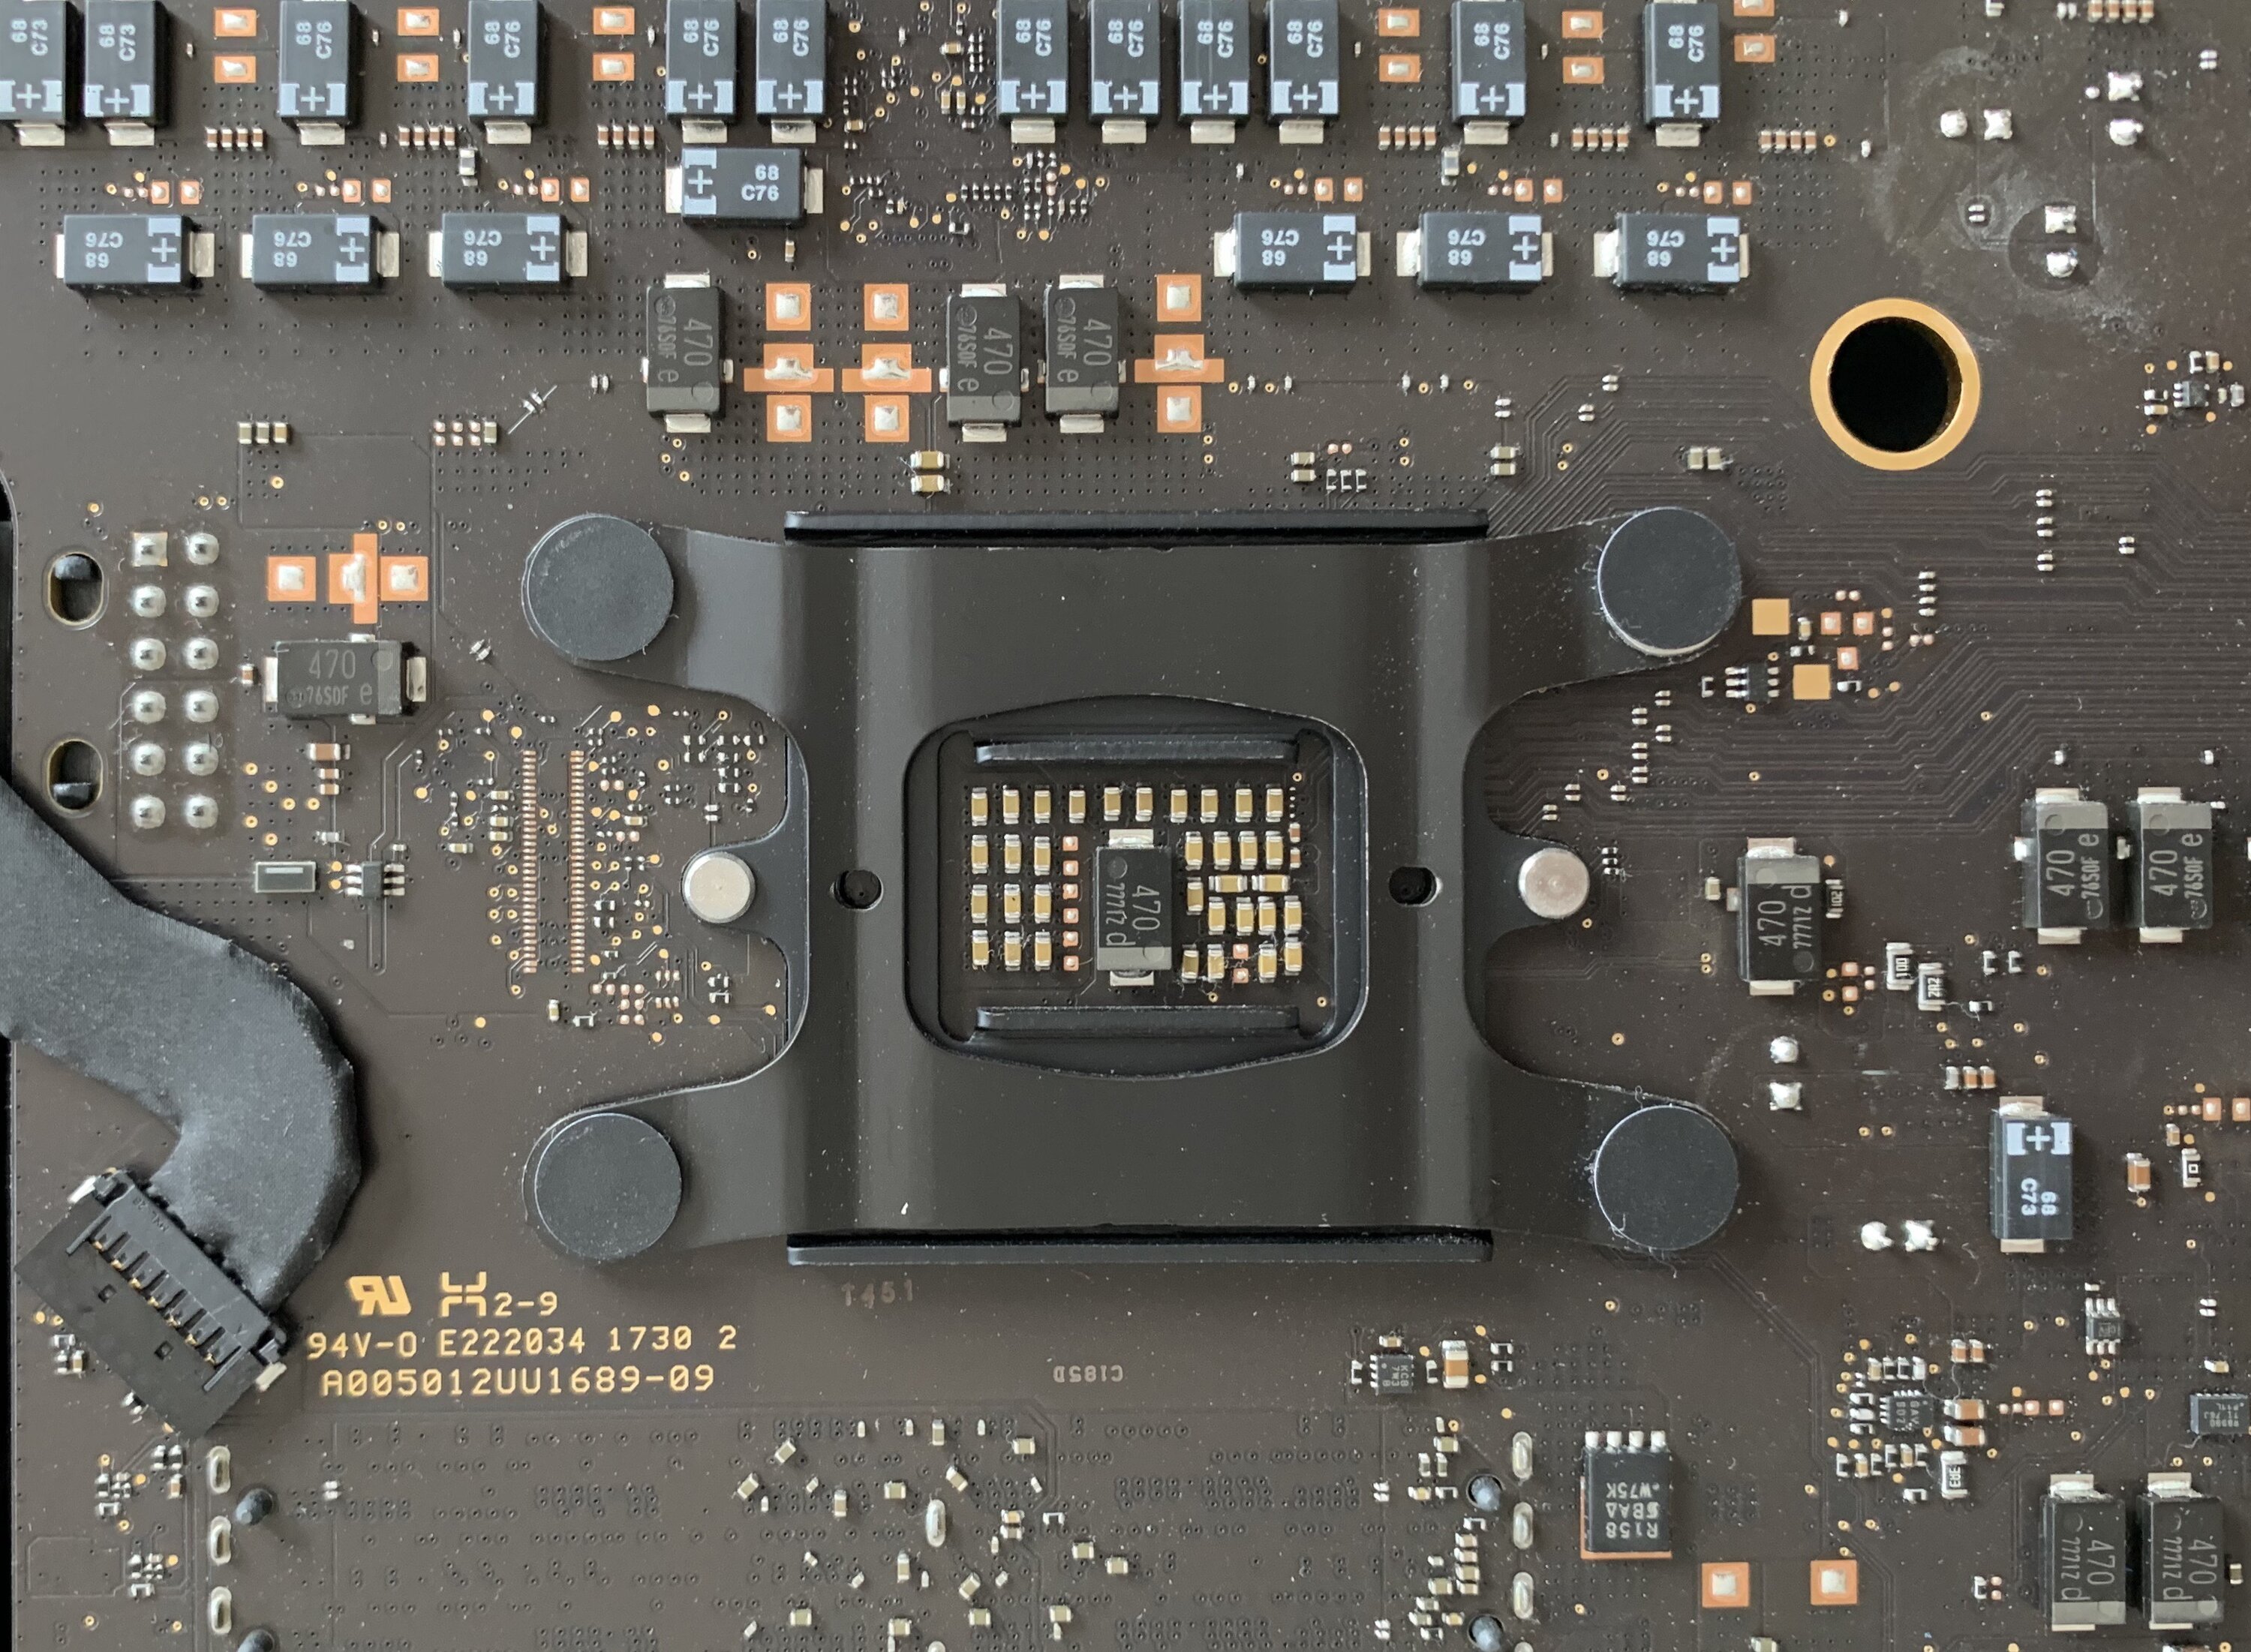
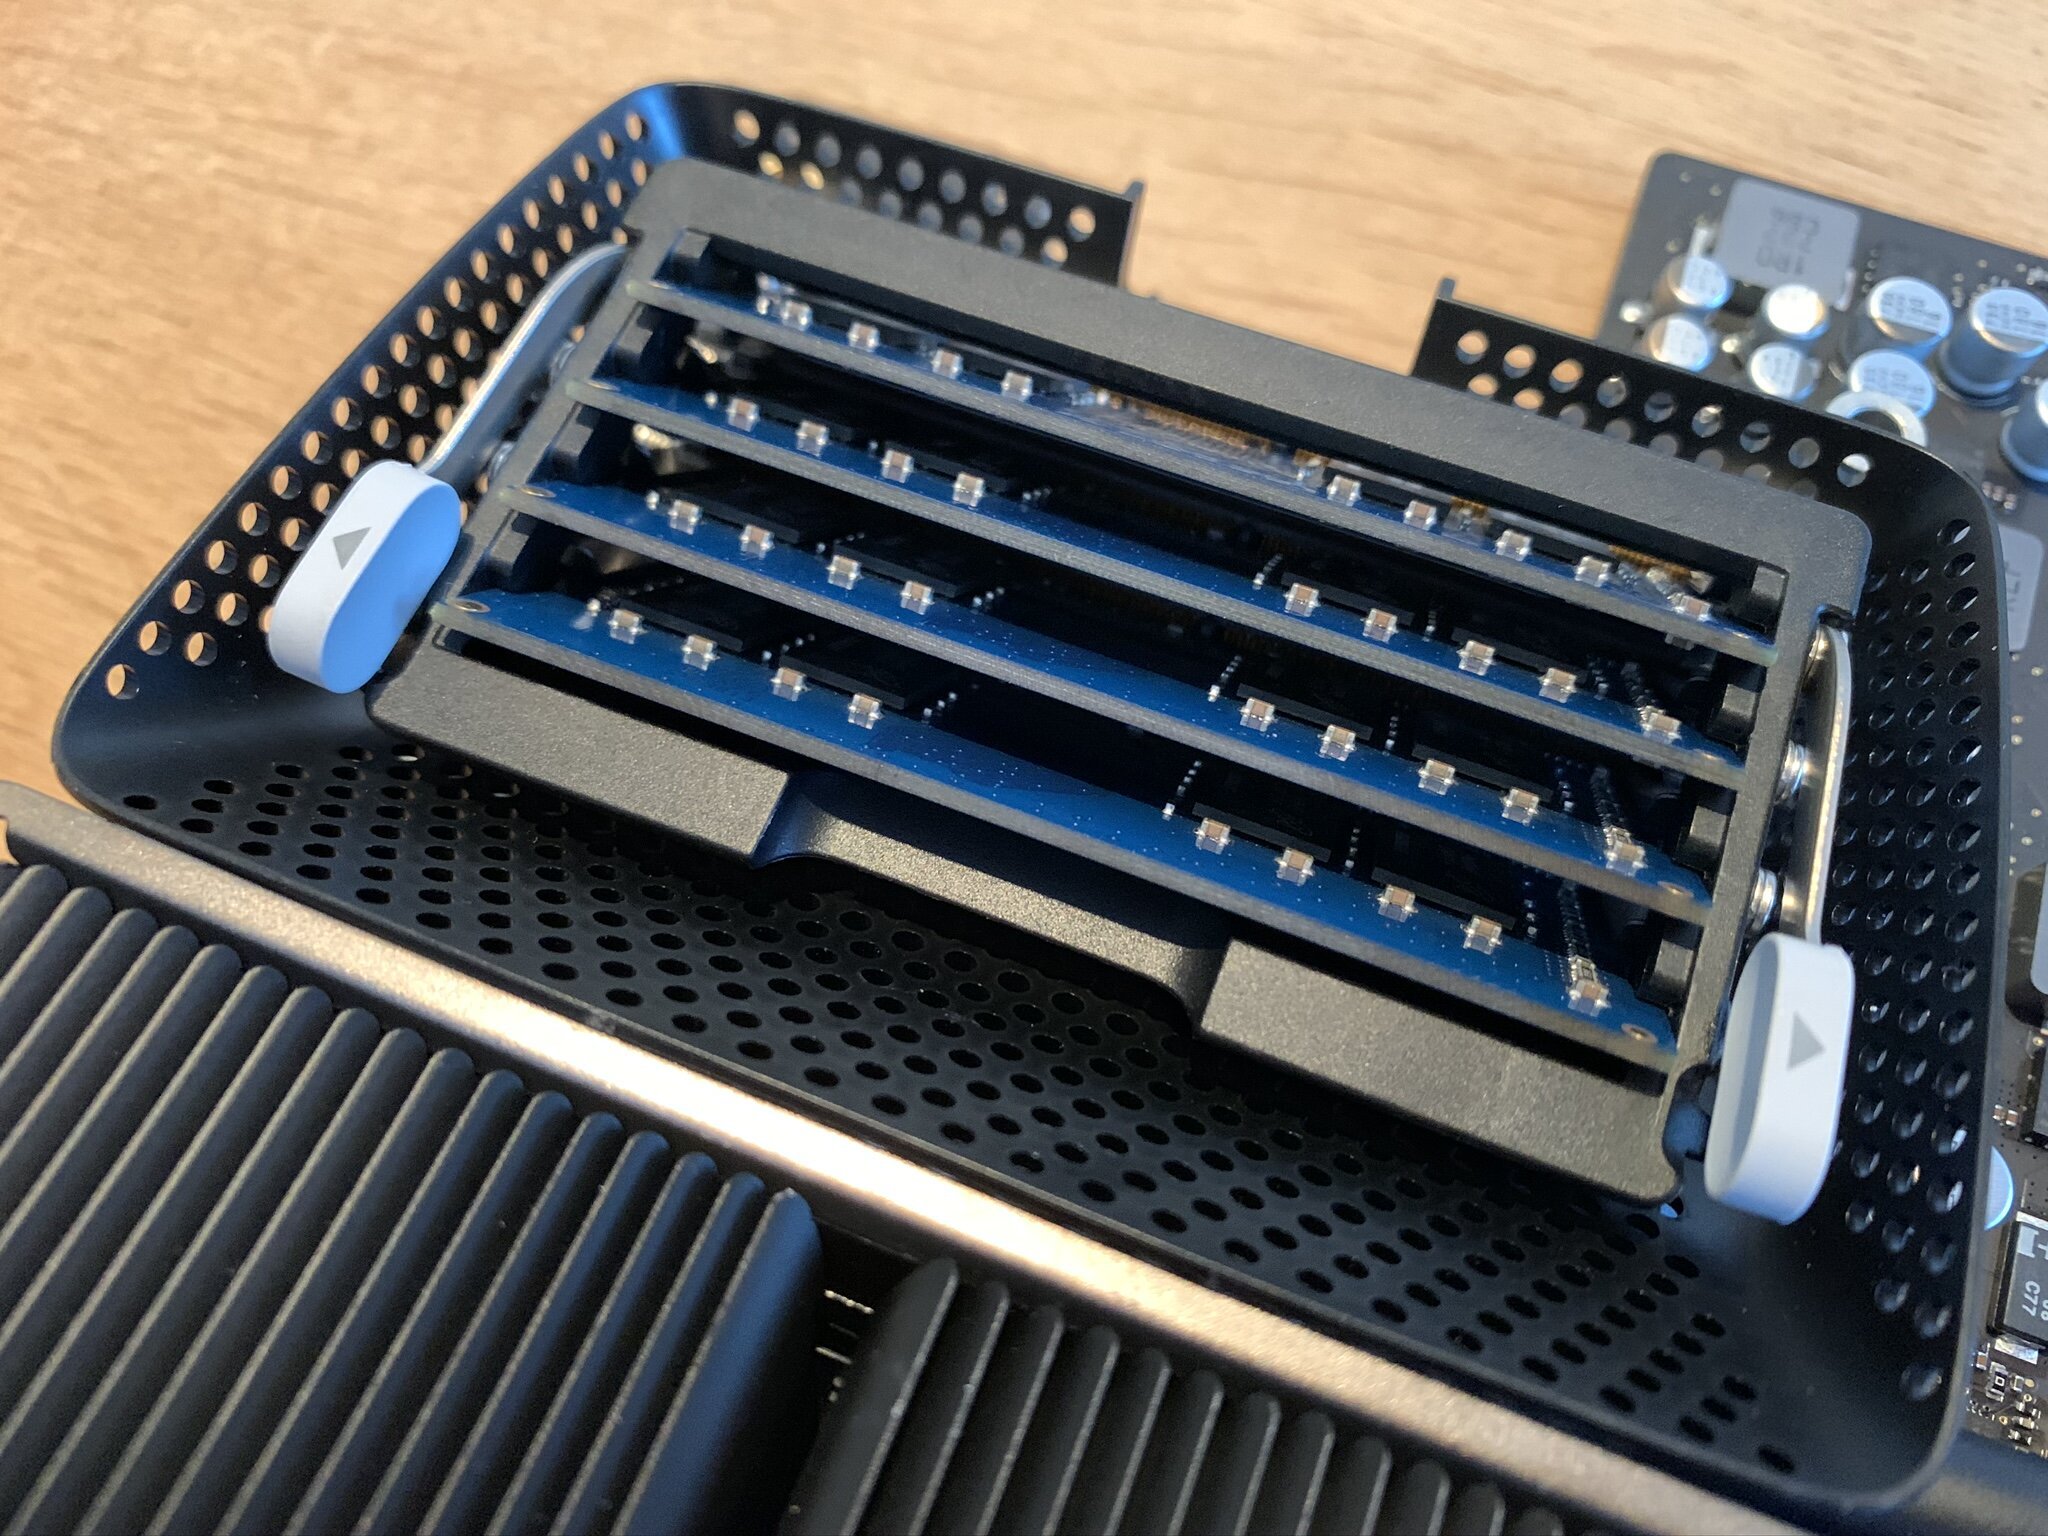
Unfortunately I could not get the keyboard to work, although the iMac would boot the Debian GNU/Linux installer I could not communicate with it. This was hugely frustrating. I decided to open the iMac again to see if I had made any mistakes during the hardware upgrade... repeating all the steps again! Once I got to the PCIe slot I noticed that the drive was not entirely snug into the slot: you can see that the copper connector is partly visible.

I reinstalled the new PCIe drive and made sure it was installed correctly. Again I had to reassemble the entire iMac to test if this would make any difference. I feared that my mistake could have caused an electrical surge, causing permanent damage to the iMac.
To my great disappointment it did not make any difference. Believe it or not, I repeated this process for at least 5 times with different configurations:
- no drives (at all)
- only a SATA disk
- only the new PCIe SSD
- only the old PCIe SSD
- the original Fusion Drive combination
And yes, that meant assembling and disassembling the iMac 5 more times... you gotta love tiny screws!
Visiting the doctor
At this stage I pretty much assumed that I had caused permanent damage to the main logic board. The misfitted PCIe SSD probably damaged some internal chip that is responsible for USB connectivity. I only know "so much" and before calling it a loss I wanted to double check if there was not one more thing I should have done. So I visited the doctor, the Apple Premium Service Provider.
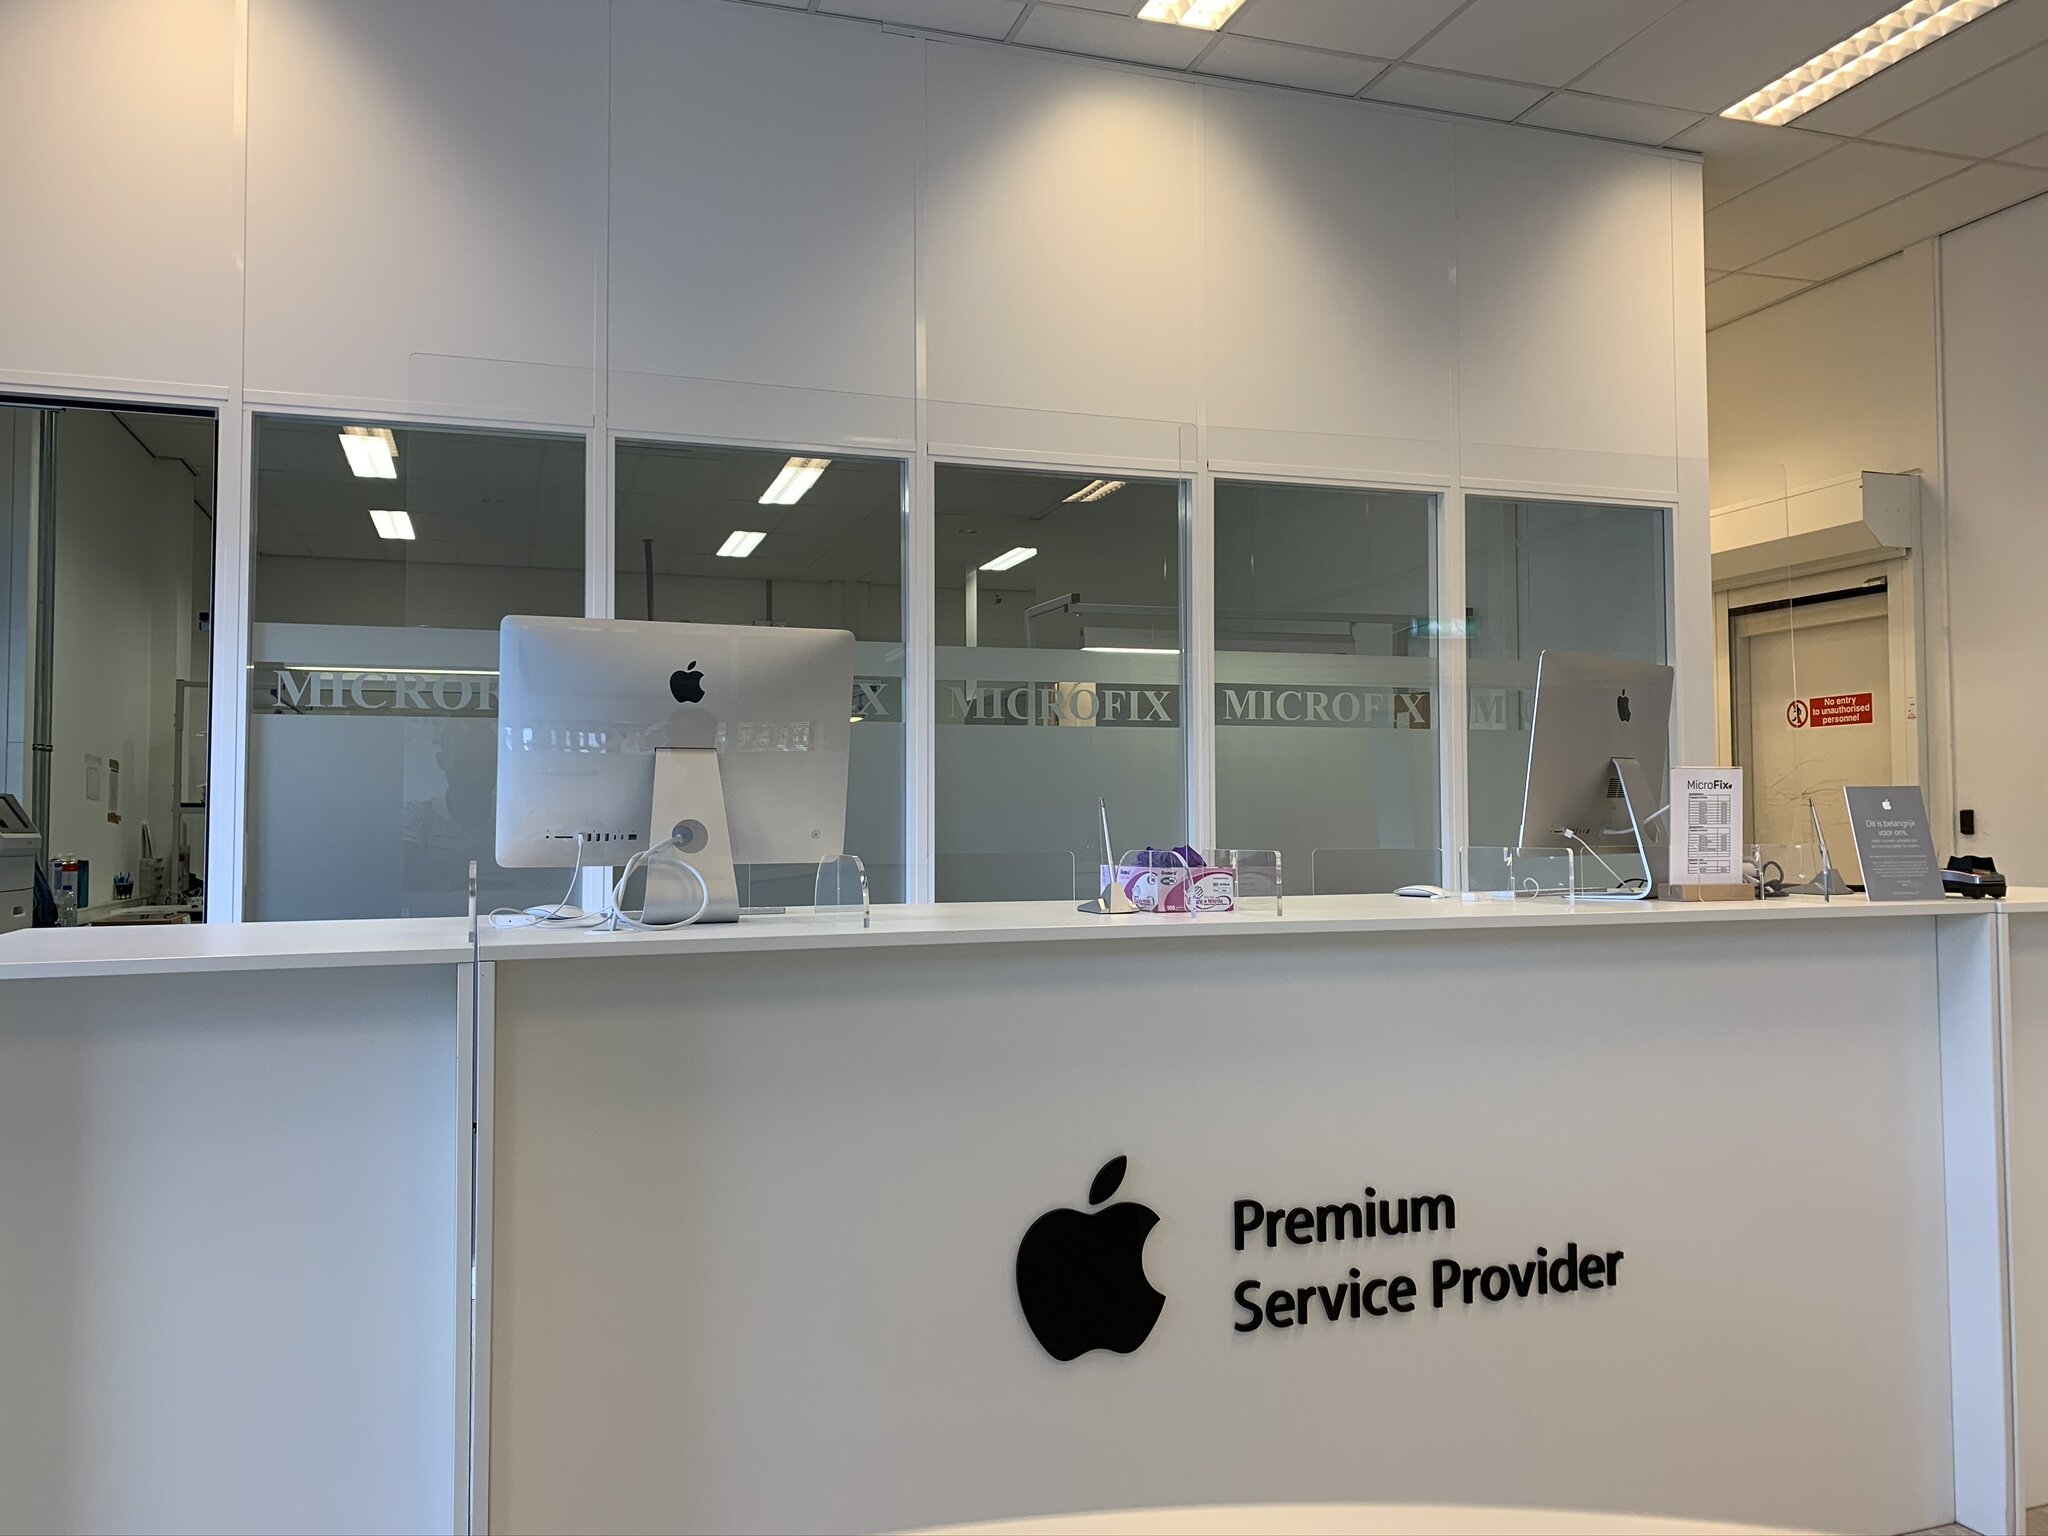
Naturally this feels like a walk of shame, taking your wounded iMac into the workshop and confessing the horror you did to it. Luckily, the local expert seemed to agree with me about my diagnosis: a damaged logic board. The bad news, a new logic board (excluding installation) will cost you € 750-ish... with no guarantee that would solve the issue. After I thanked Microfix for their time and expertise, I brought back my wounded aluminium friend, indecisive of what my next step would be.
Inspired by my recent success on eBay, I tried to find a replacement logic board for my iMac. There are sellers outside Apple's official network that offer parts for refurbishing computers. Perhaps that one of these shops would have an exactly matching logic board in stock.
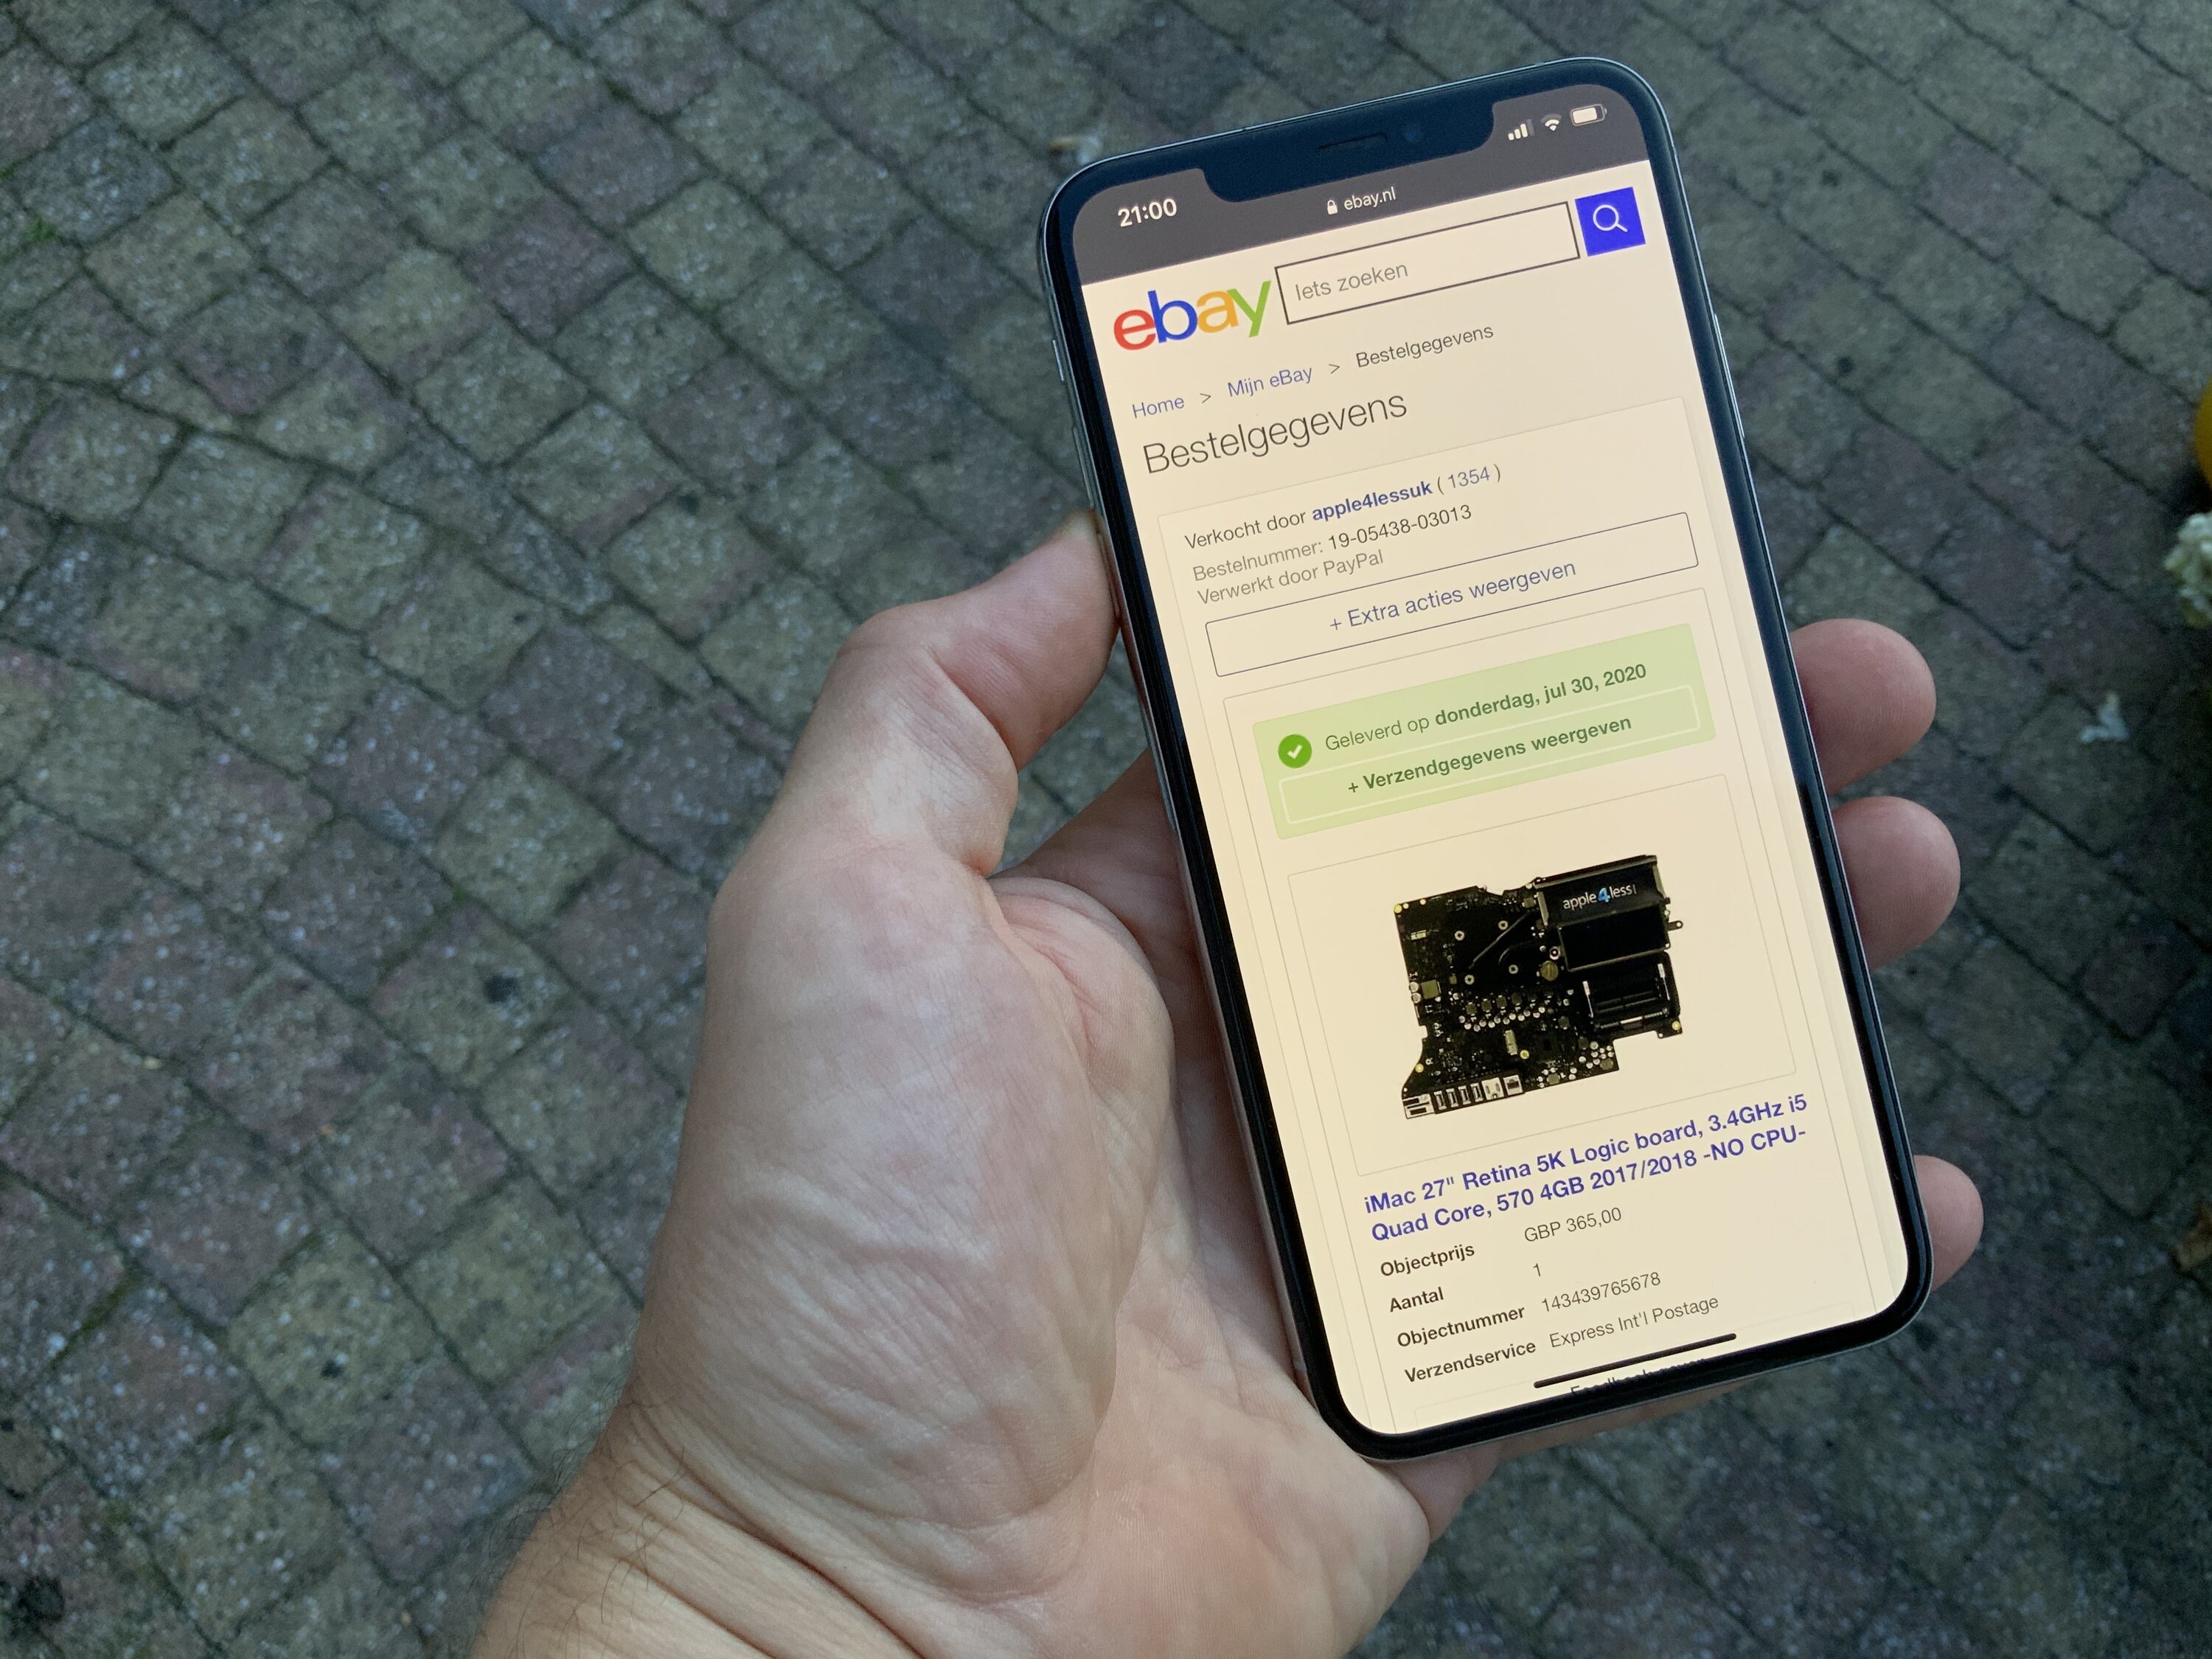
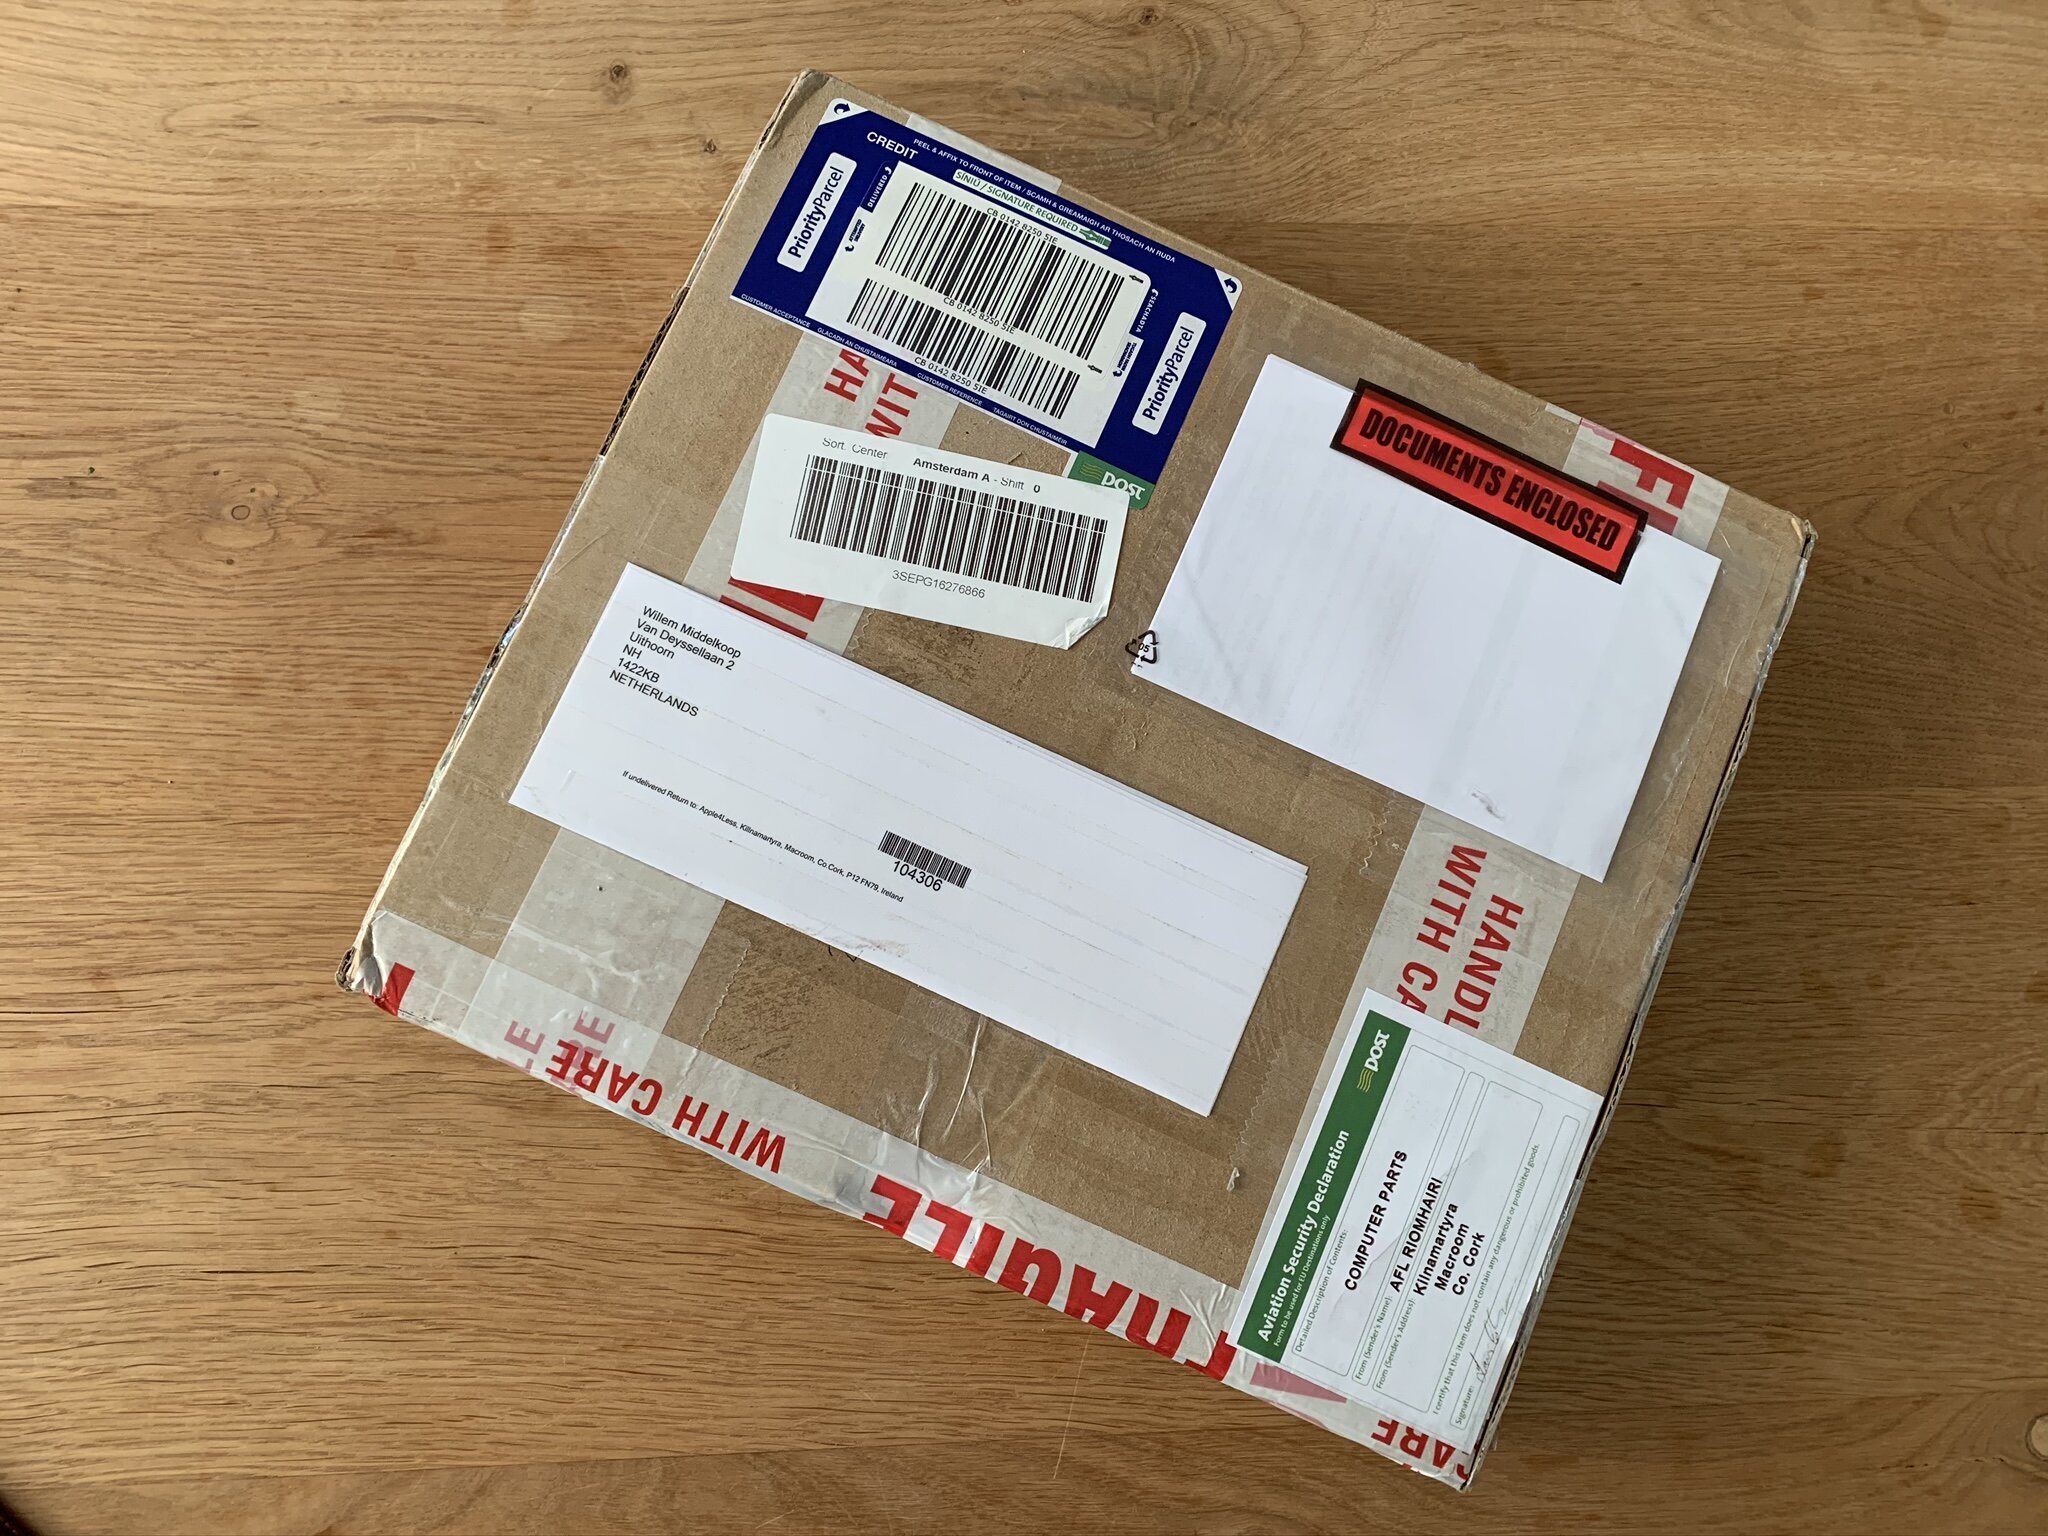
A seller in Ireland happened to have just the right part in stock. I contacted them upfront to verify if I was indeed right when thinking this was the right part for me. They confirmed and shipped the logic board. Few days later it arrived and - hooray hooray - I could start disassembling again!
Although the logic board was entirely new, it did not have a processor installed. That meant that I had to remove the processor from my faulty logic board. In a normal computer this is difficult enough, but on an iMac with integrated heatsinks it is a little extra challenging. Luckily my "screwing skills" where perfected by now.
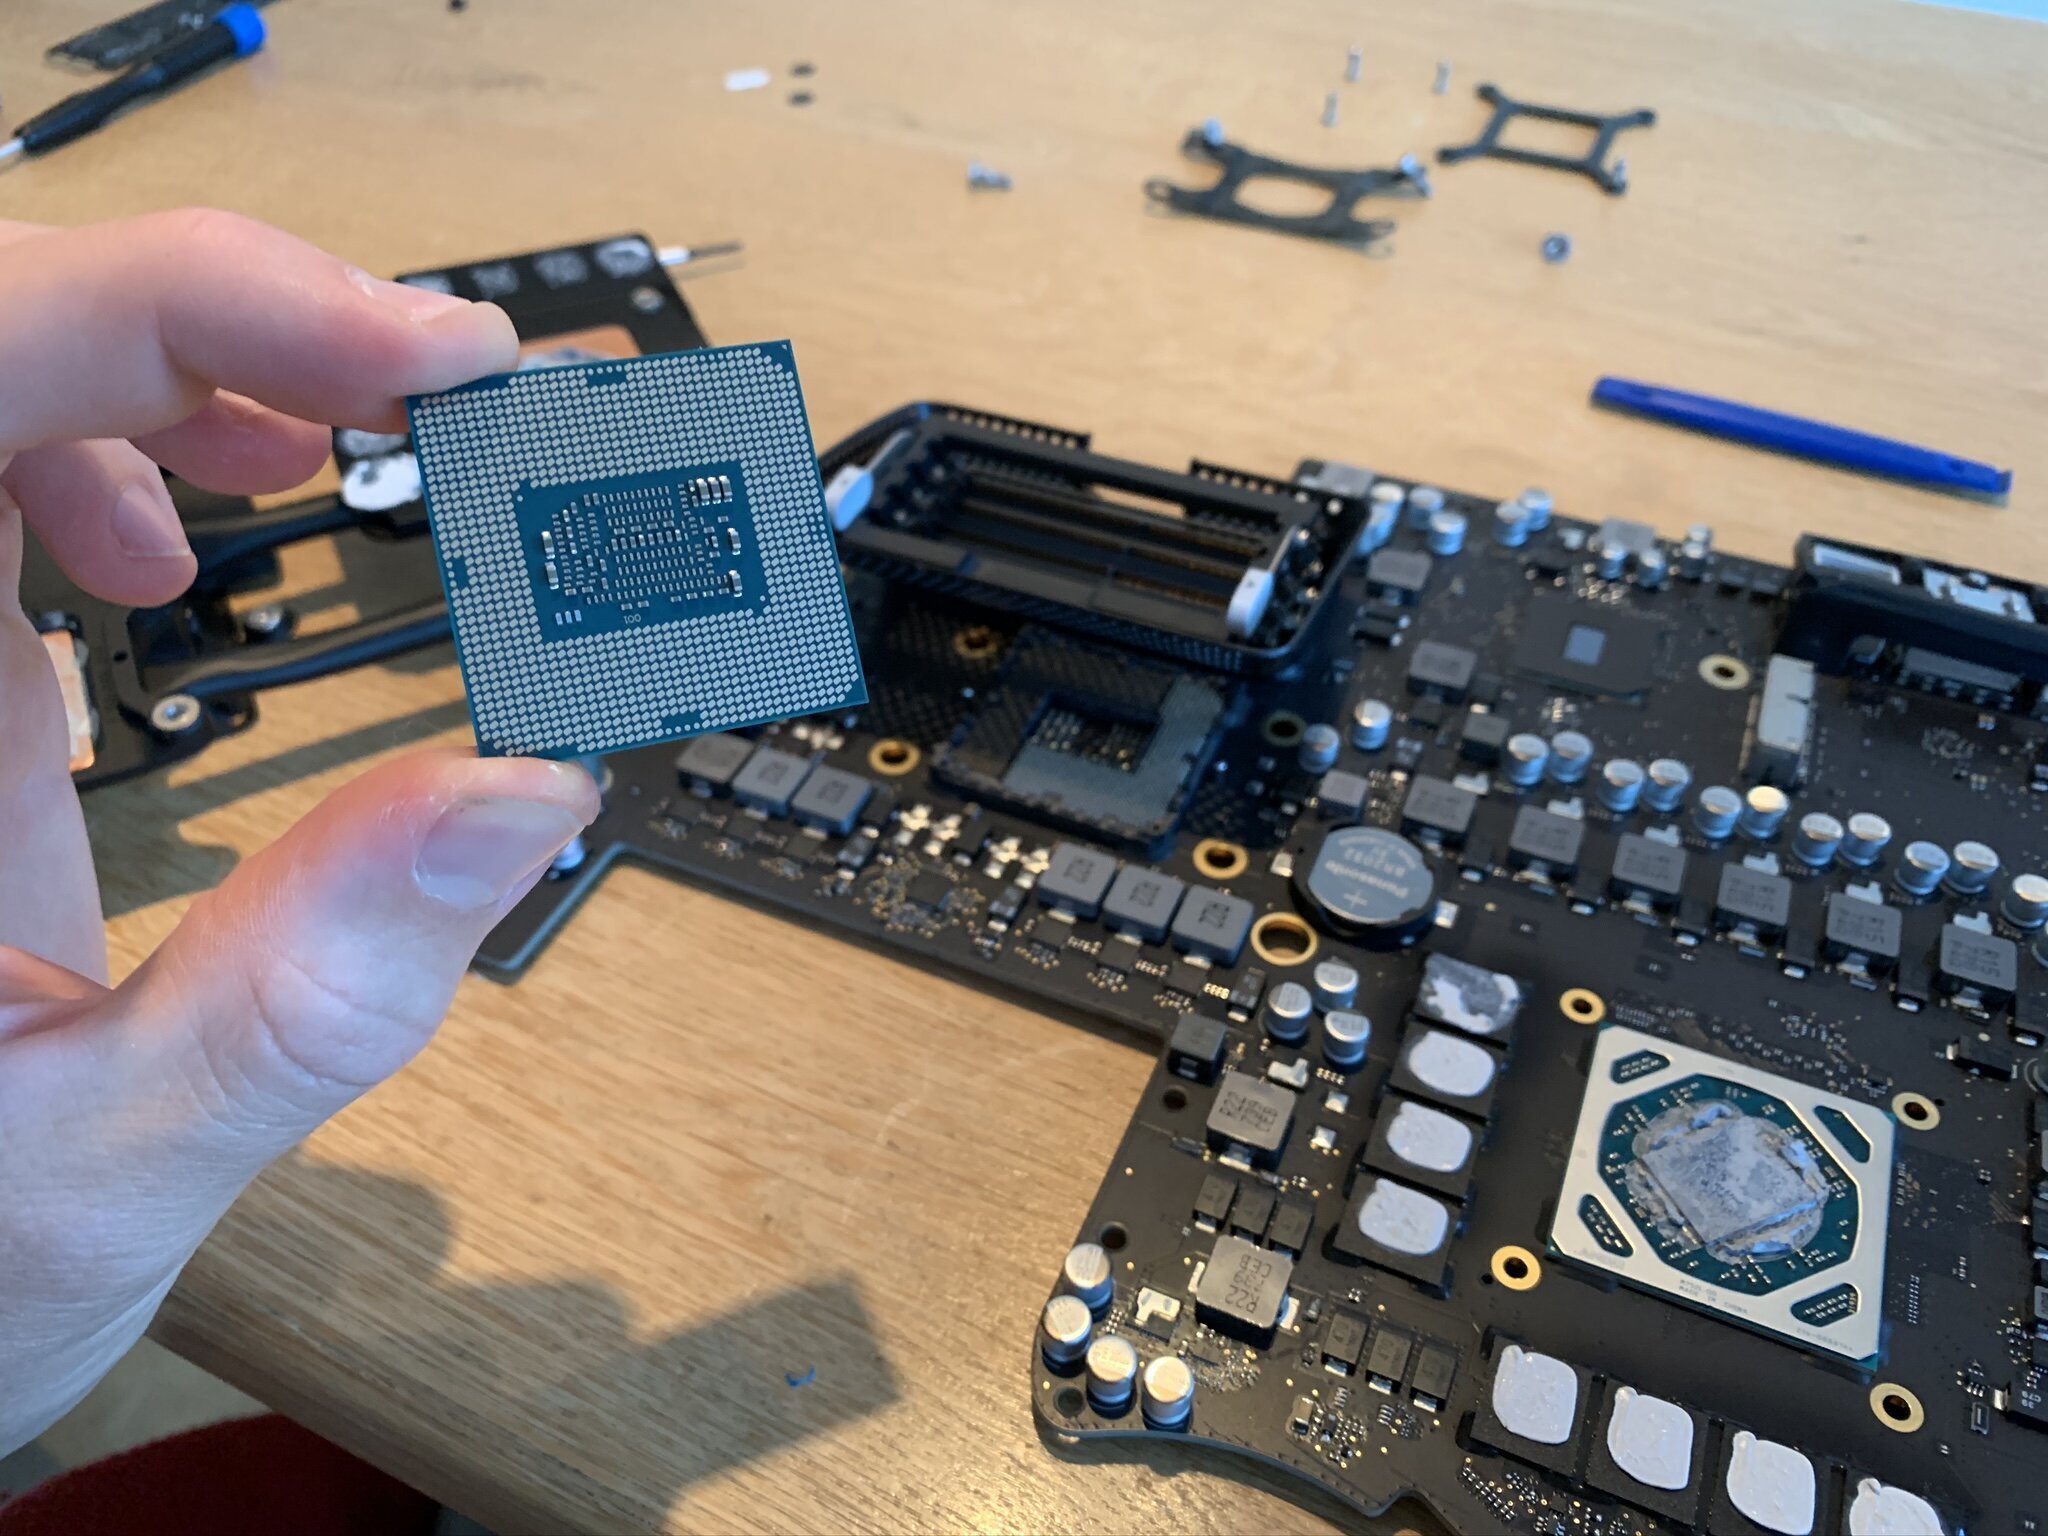
After I transplanted the processor onto the new logic board I reattached the heatsink. Then I installed the PCIe SSD, double, triple, quadruple checking it. As I had clear access to it, I moved the RAM memory to the new logic board, too. Finally I had to reassemble the entire iMac once more to see if I had any more luck this time.
Conclusion
It took quite some determination to save the iMac from my mistake. But I really wanted the computer to survive as I really like its design and display. I would have felt guilty if I had let it go to waste.
If there is one thing to take away from this post is that not all things I do are successful. I make mistakes and screw up (pun intended) every now and then. Giving up and calling it a day is sometimes the best thing to do. But I didn't and ultimately that is what made this computer work again. Happy me.

Download
If you enjoy reading offline, this article is available for download:
Translations
This article is available in the following languages:
RSS / Atom
Grab one of the feeds to stay up to date, the feeds contain the full posts: