June 25, 2019
Assembling a cargo bike
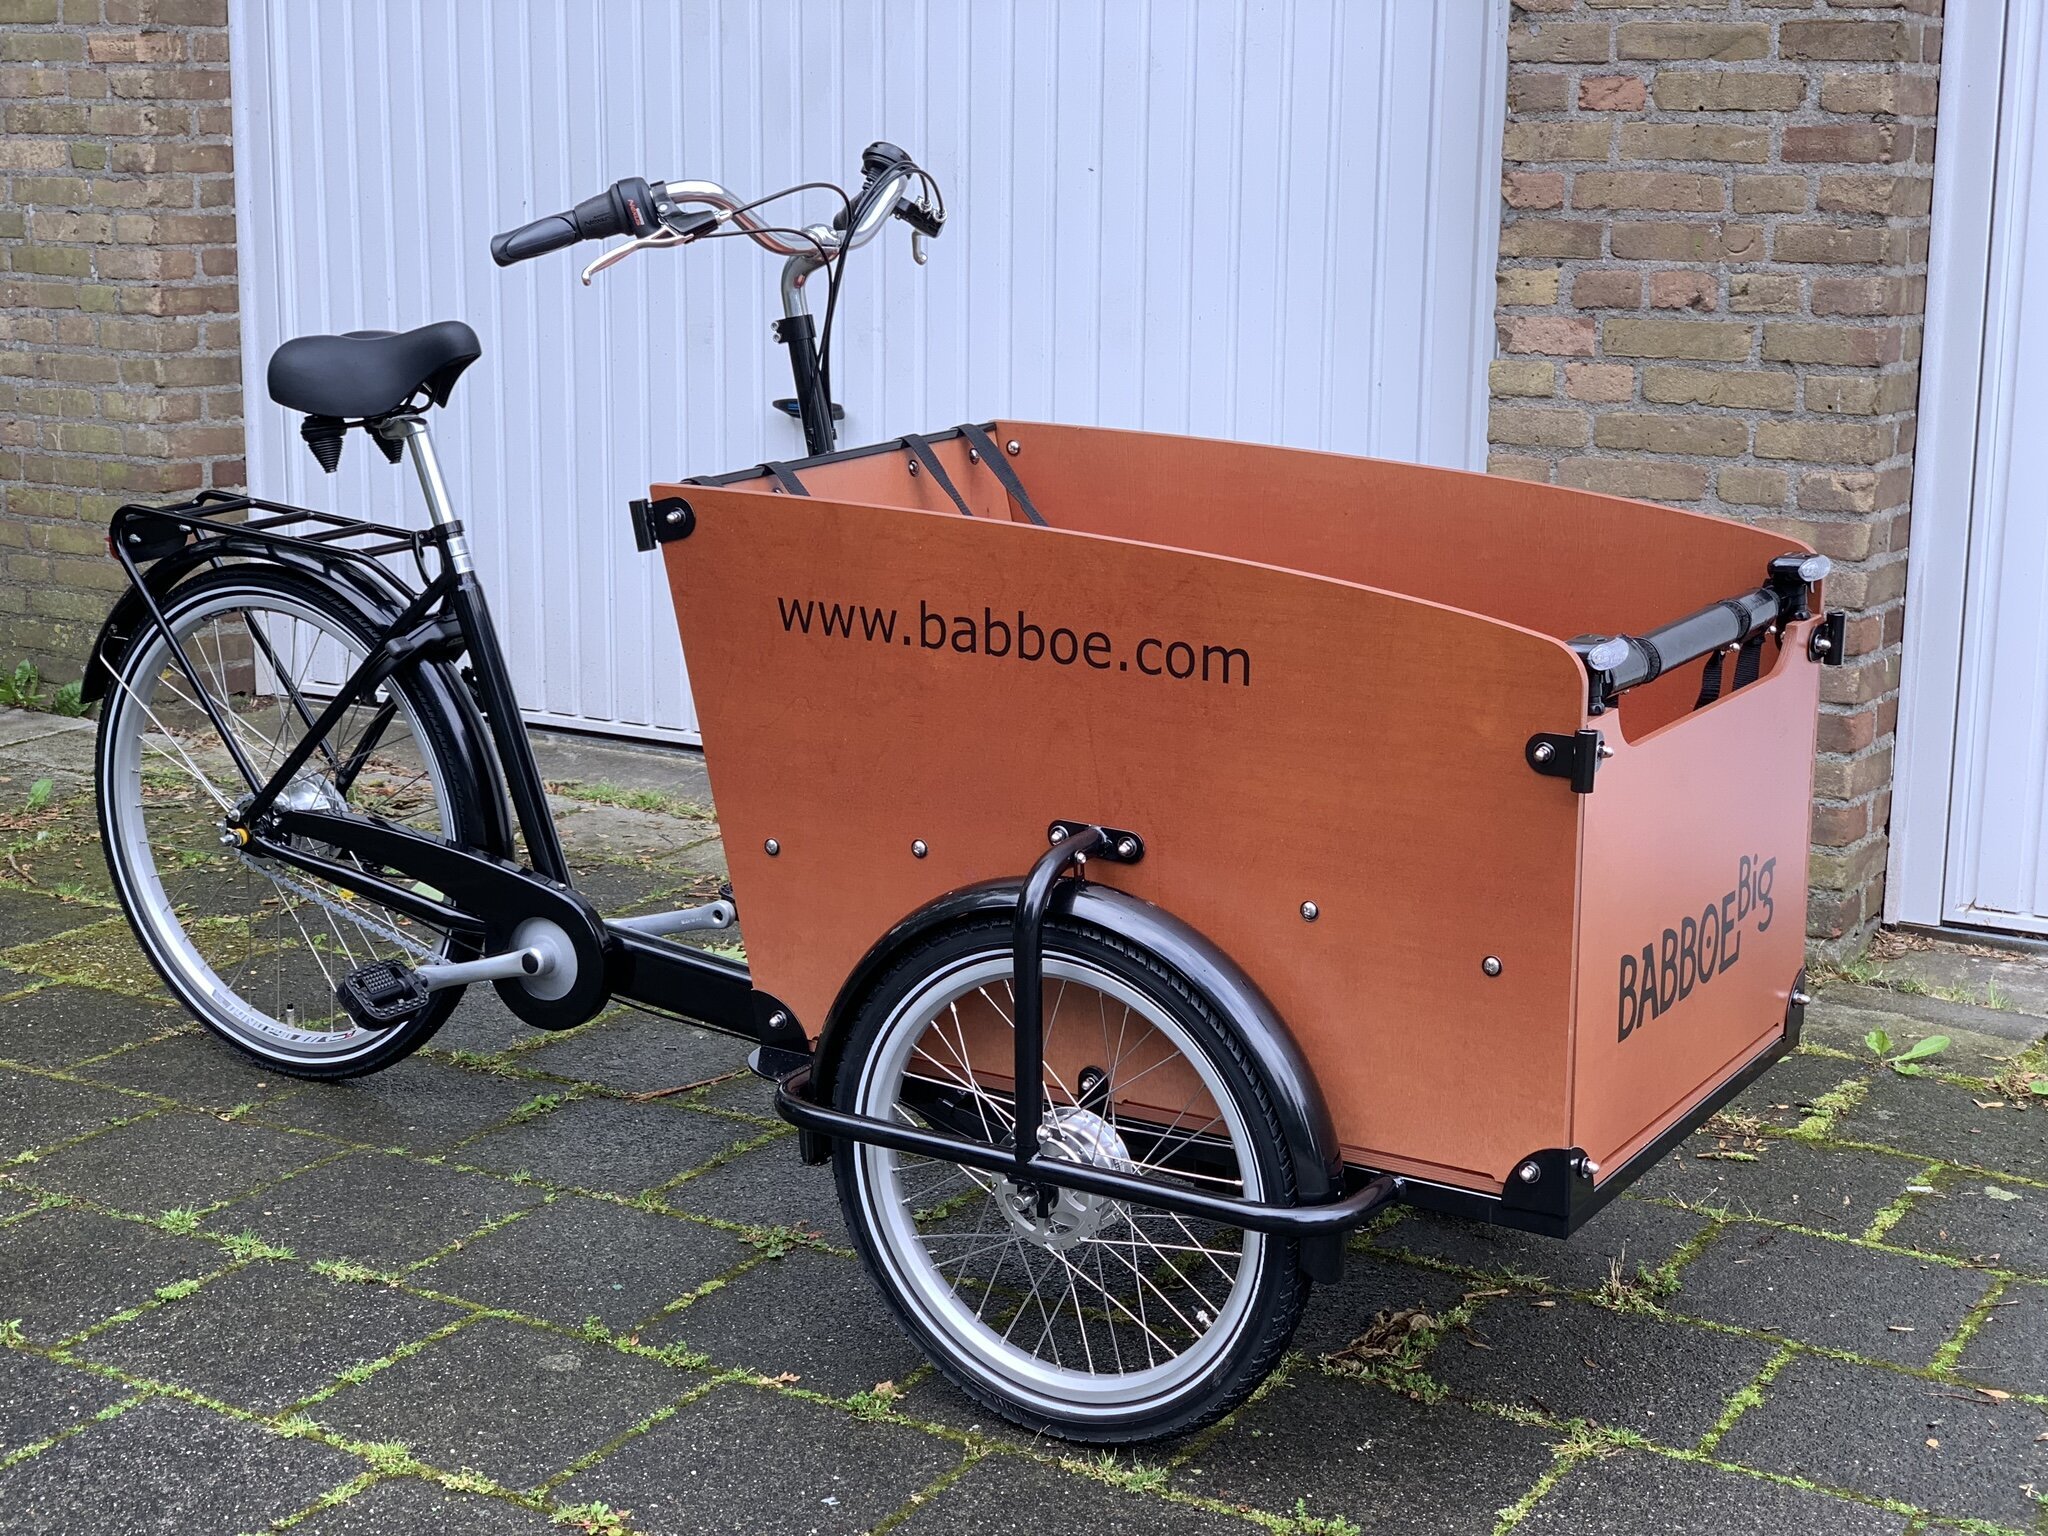
Setting up the Babboe Big cargo bike
This month our Babboe Big cargo bike arrived, in boxes. The engineer in me thought it was a good idea to assemble the bike by hand. This way I would know exactly about all its parts and fittings, handy knowledge for maintenance. Read along for my experience and some practical tips.
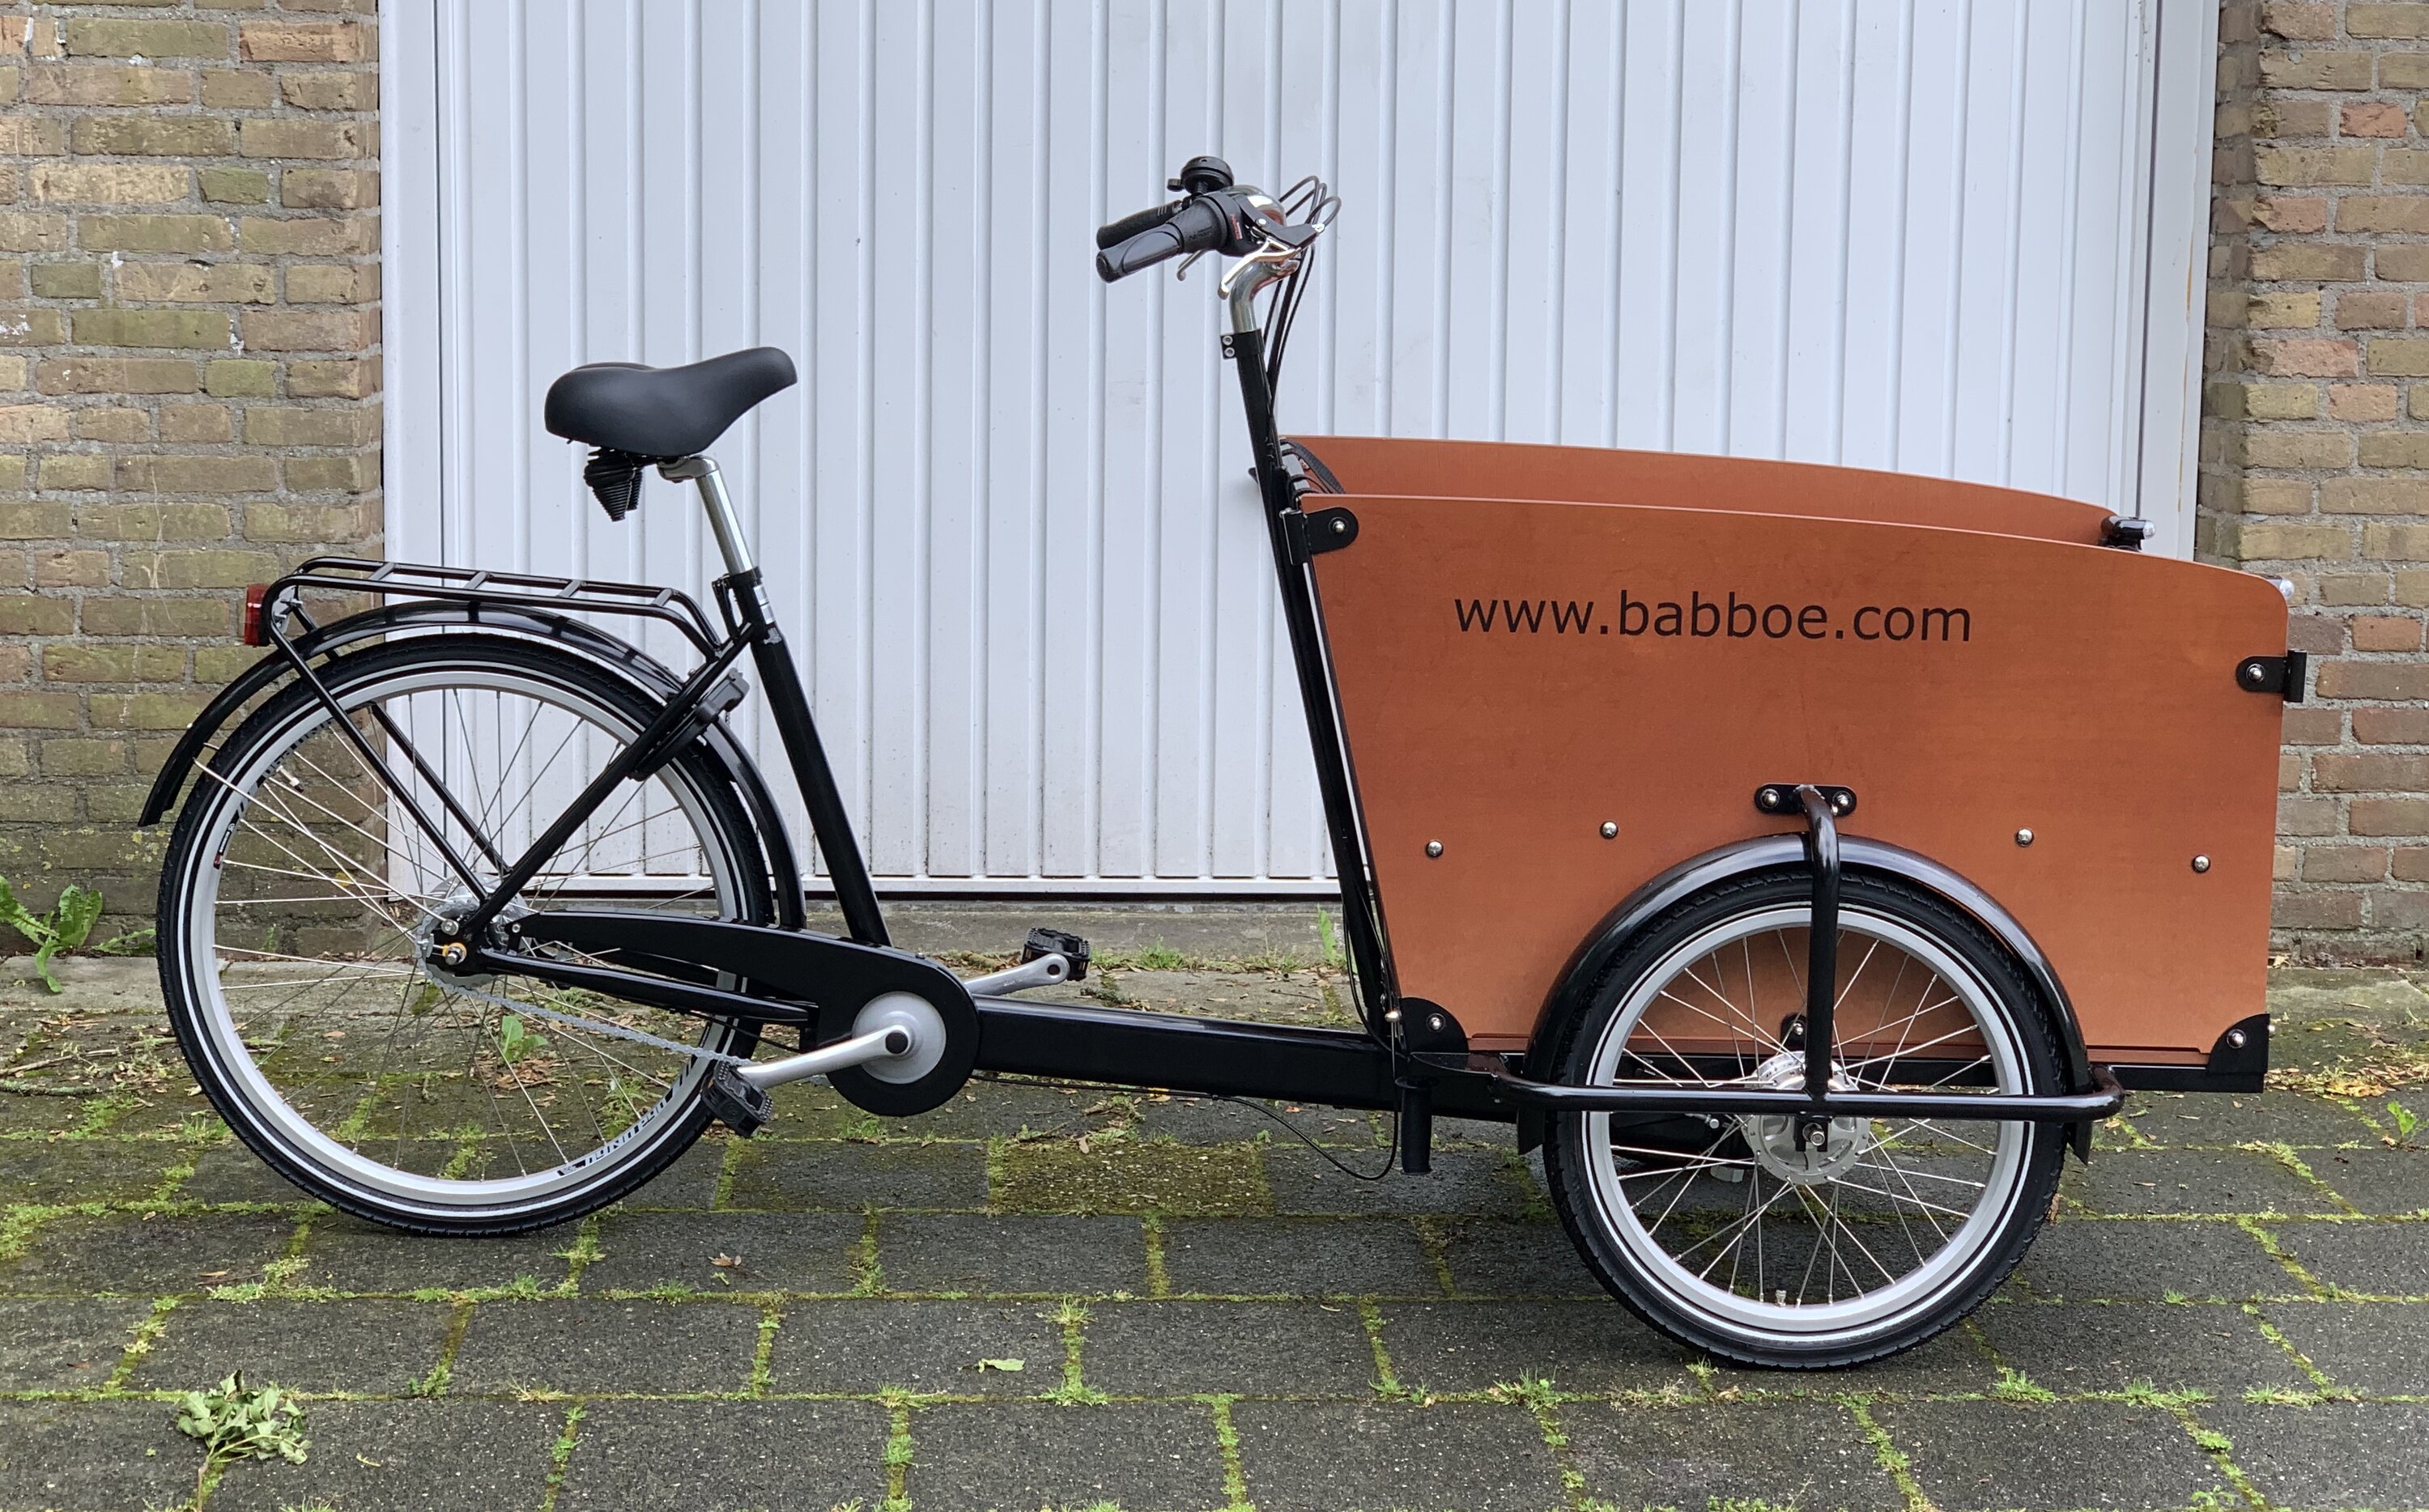
Babboe Big
The Babboe Big is the original cargo bike from when the Babboe company launched in 2006. This Dutch company set out to create an affordable, high quality cargo bike, suitable for transporting children. The Big is their own version of the traditional three-wheeled Dutch cargo bike, proving to themselves that they could manufacture quality at scale for affordable prices. It's incredibly popular in The Netherlands ever since.
Assembling the cargo bike
The frames are made and flat-packed in Asia. If you order your bike online, you're offered the to assemble the bike yourself. Compared to the 'ready-to-ride' delivery option, assembling the bike yourself is €300 cheaper. That seemed like an easy win for me... because how hard can it be to assemble a bike, right?
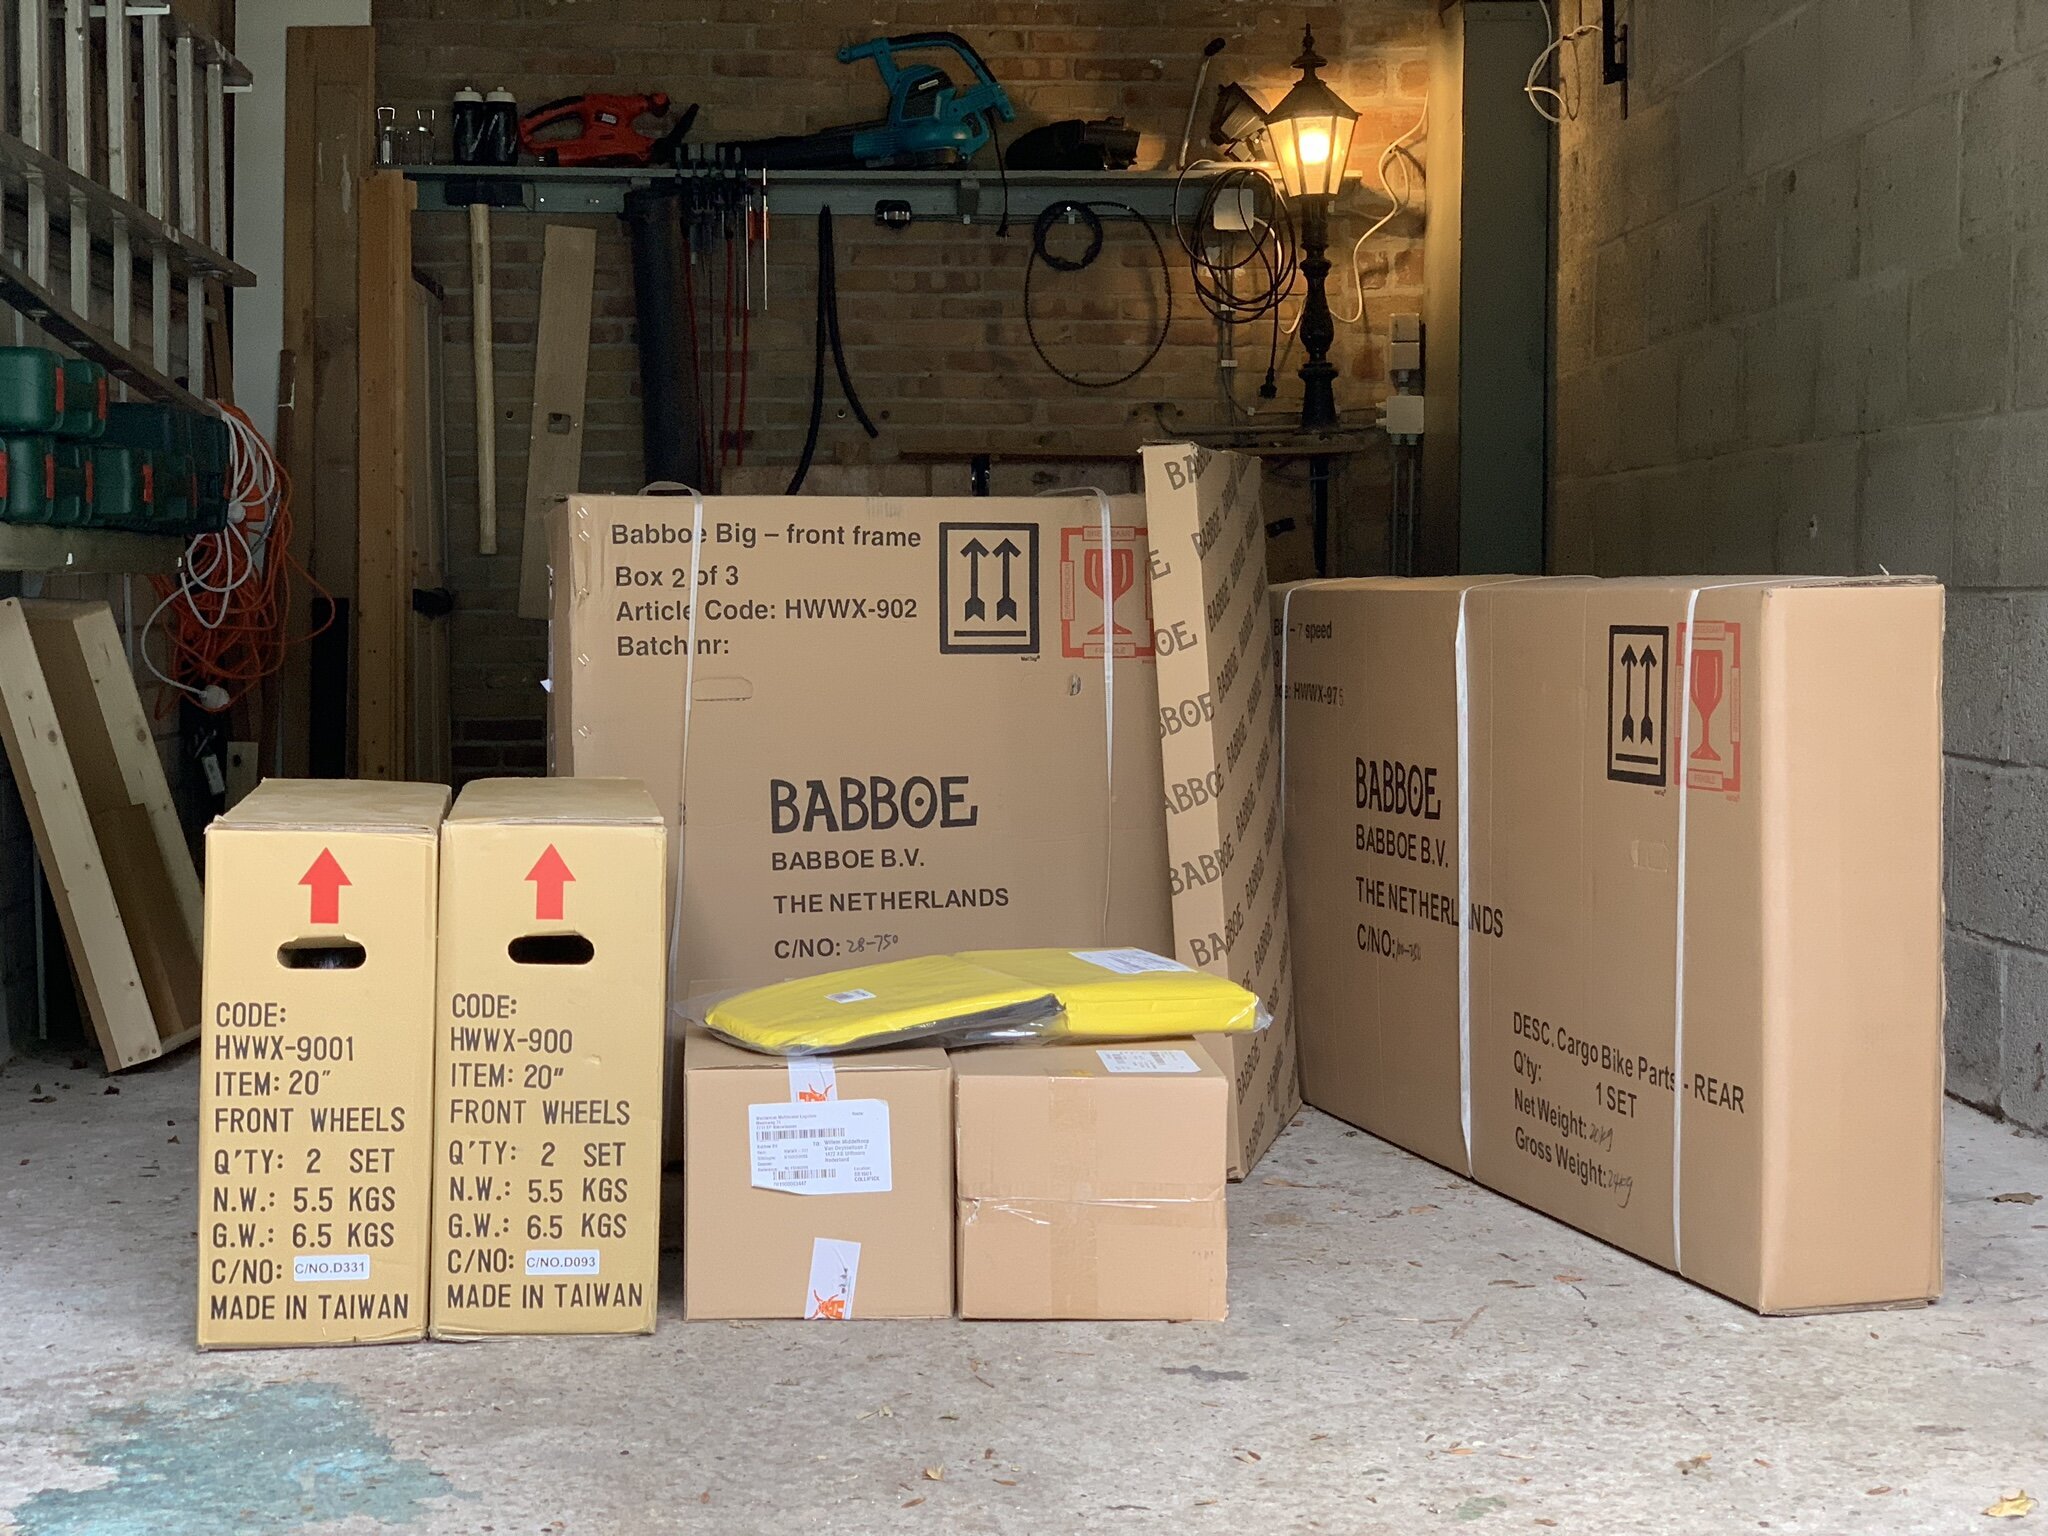
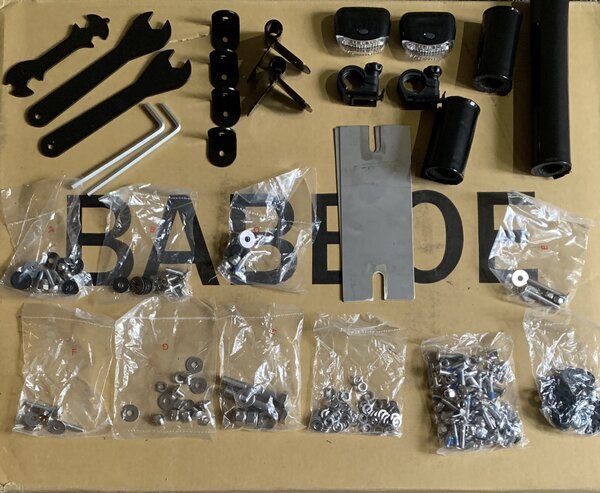
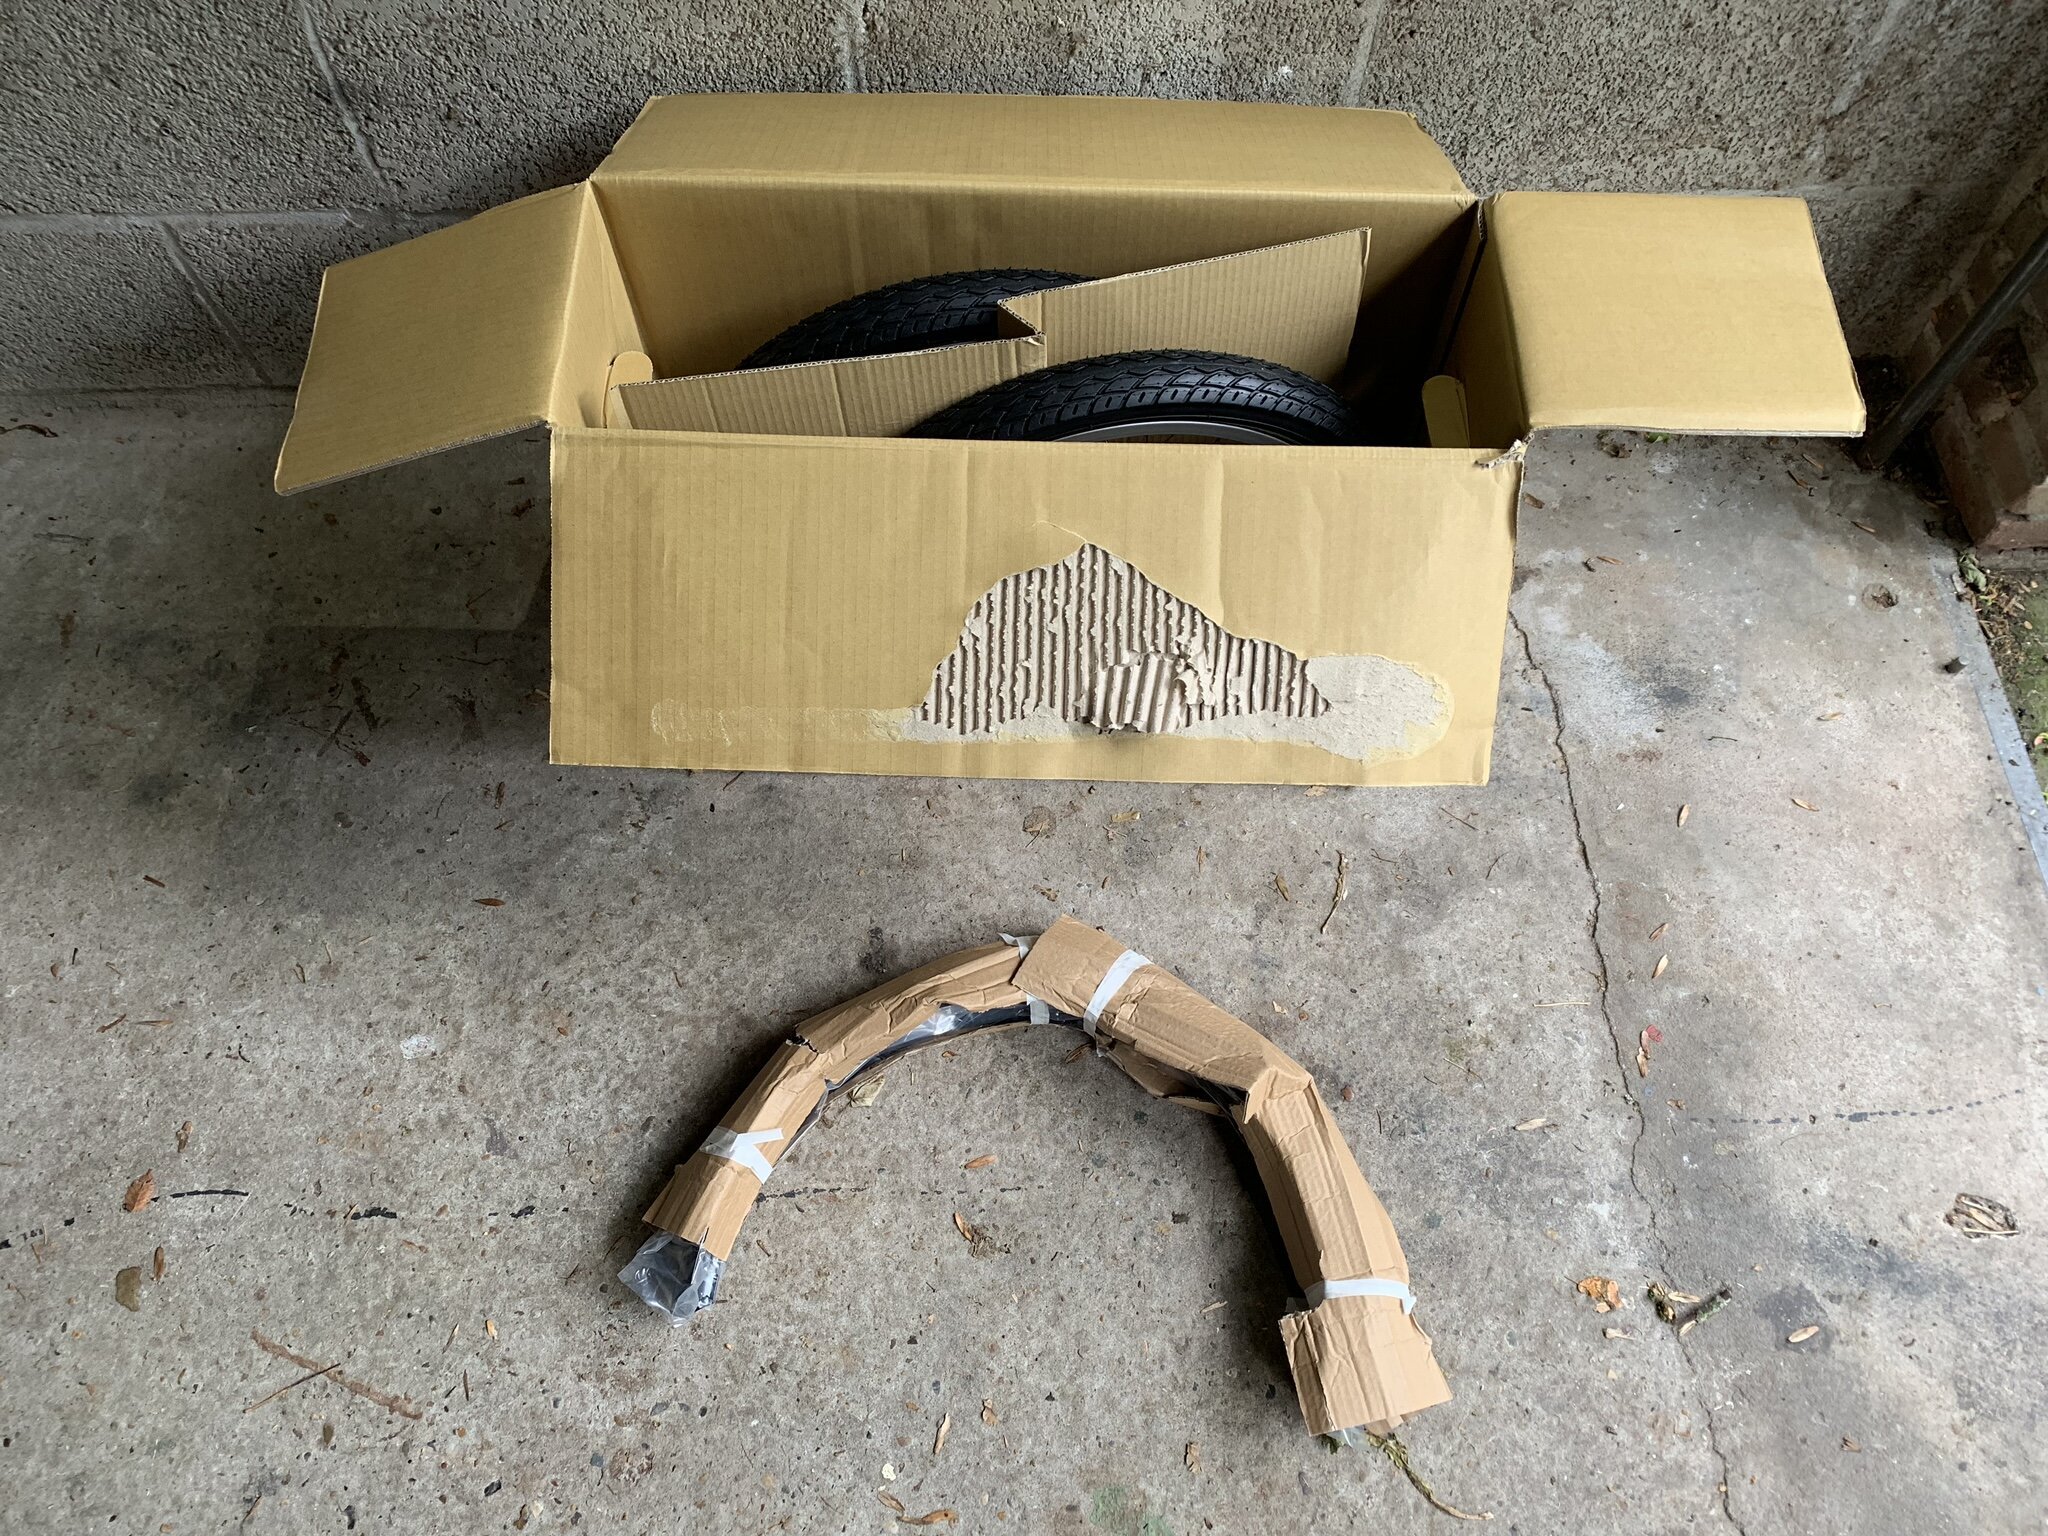
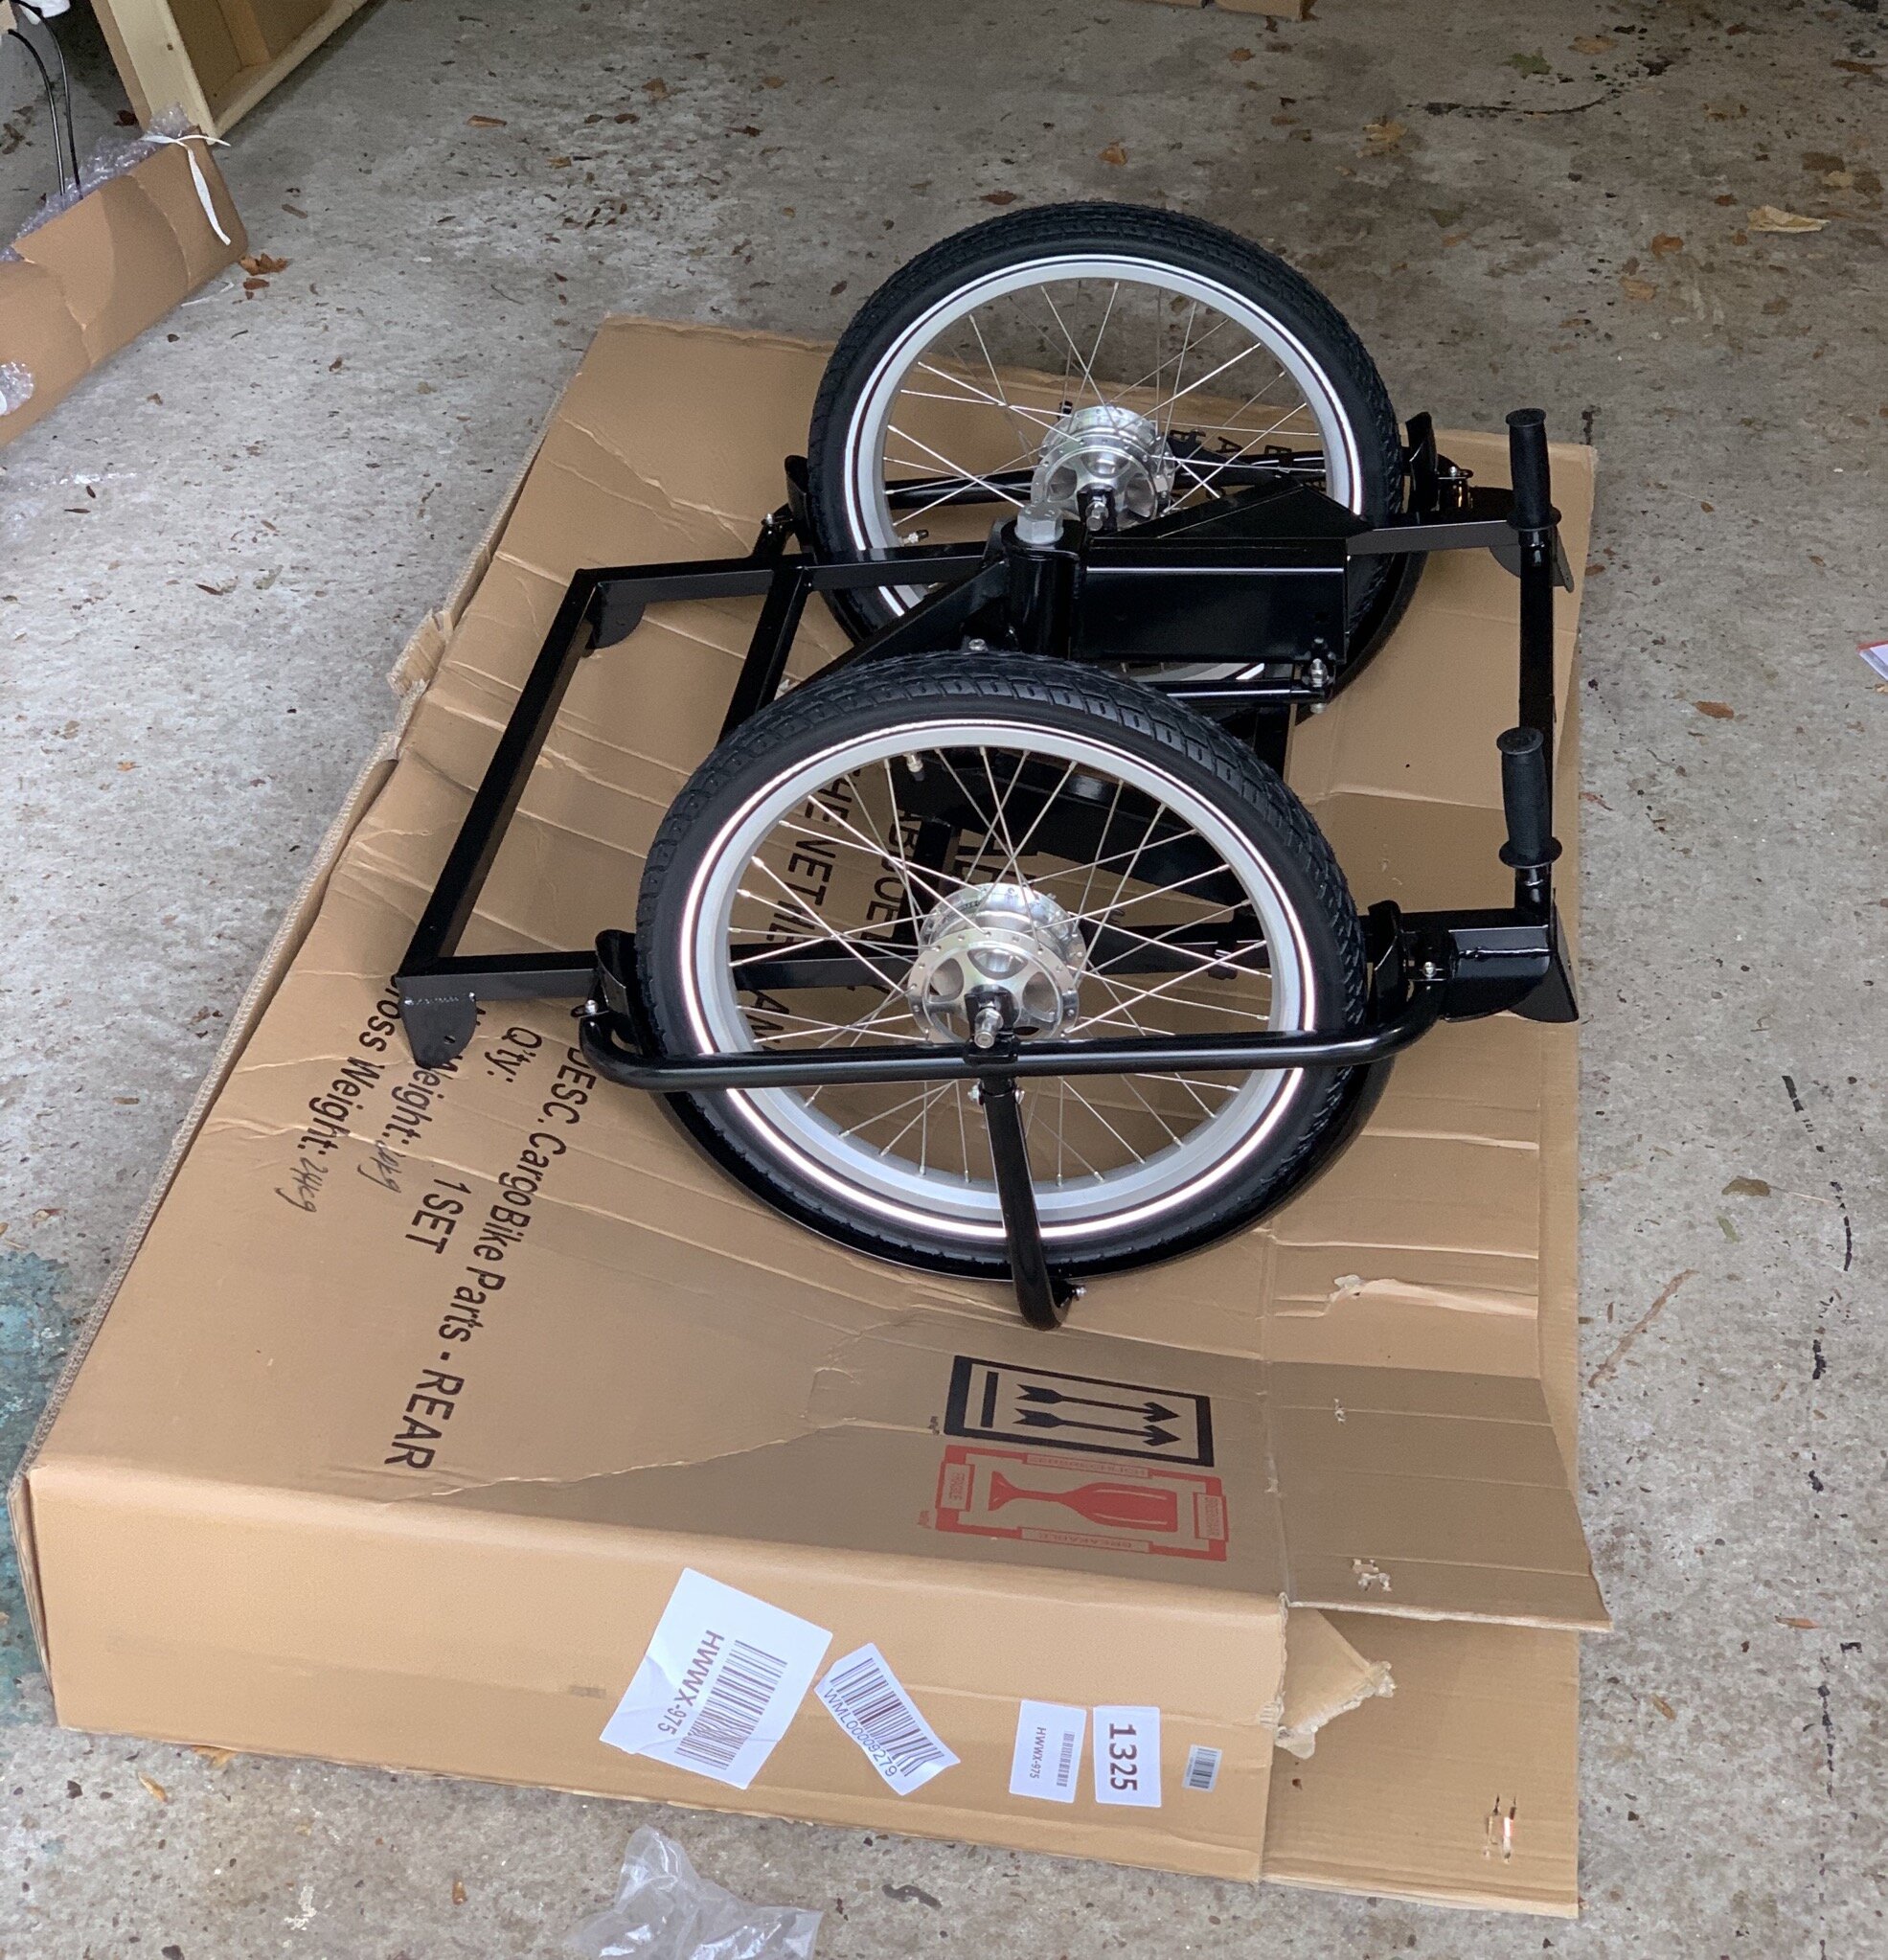
The bike arrives in many different boxes, containing wheels, parts of the frame, parts of the wooden cargo box and the semi-assembled rear end of the bike. It's a very good idea to think about where you're going to have your build fest. Assembling the bike can take hours and you really don't want to move all the parts, nuts and bolts around.
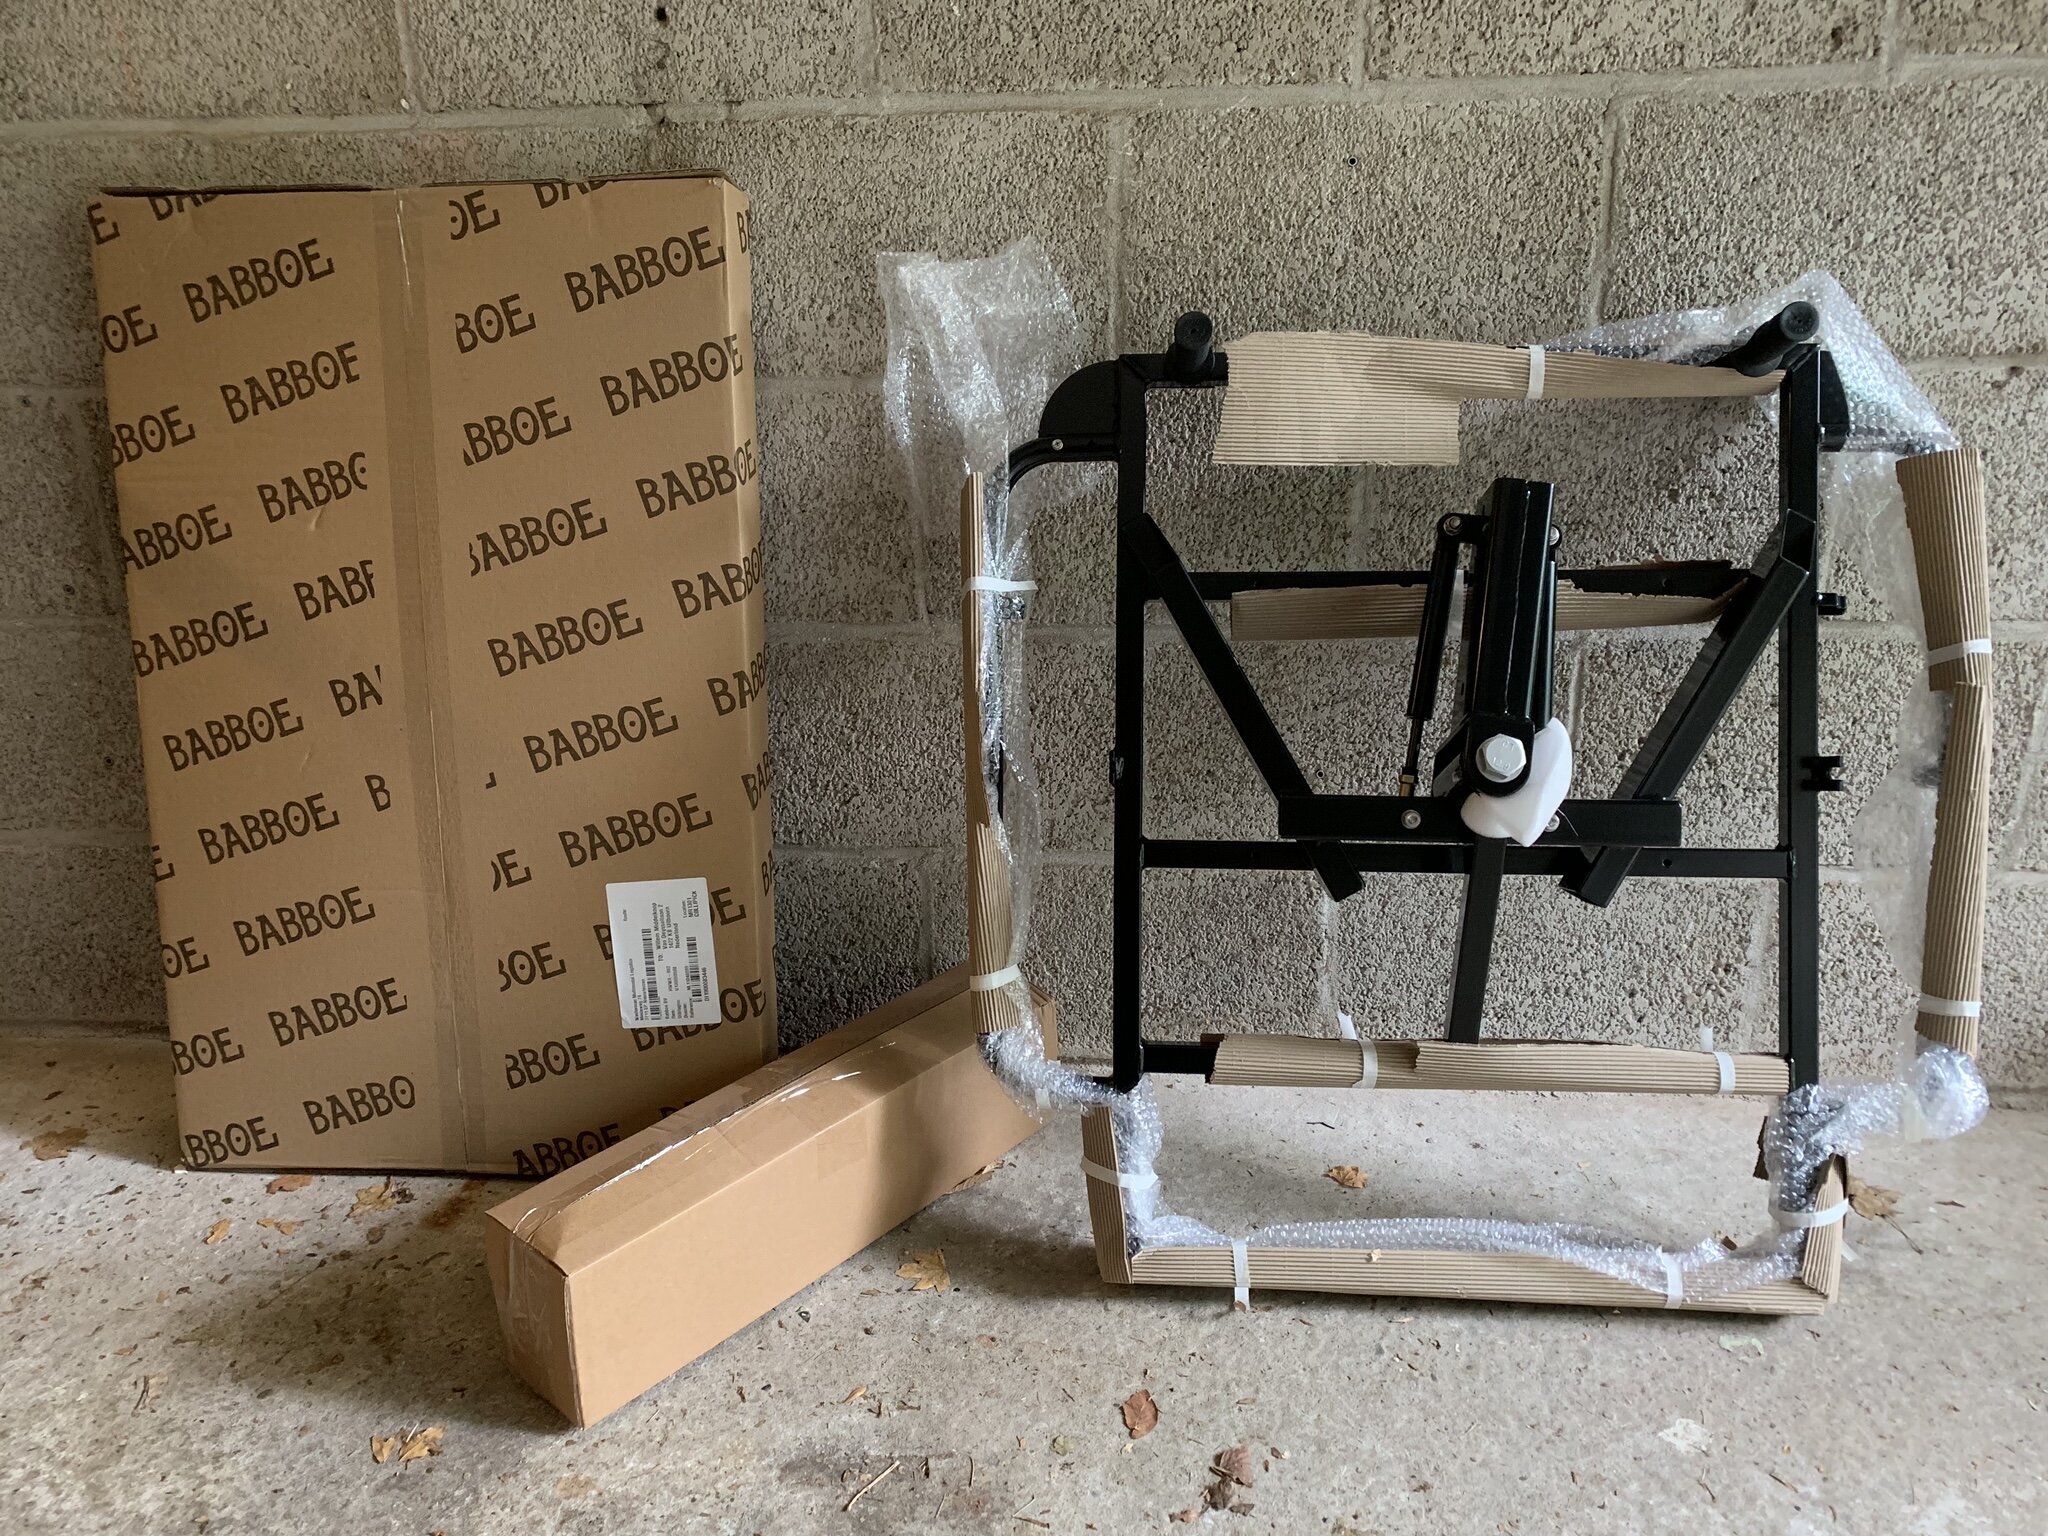
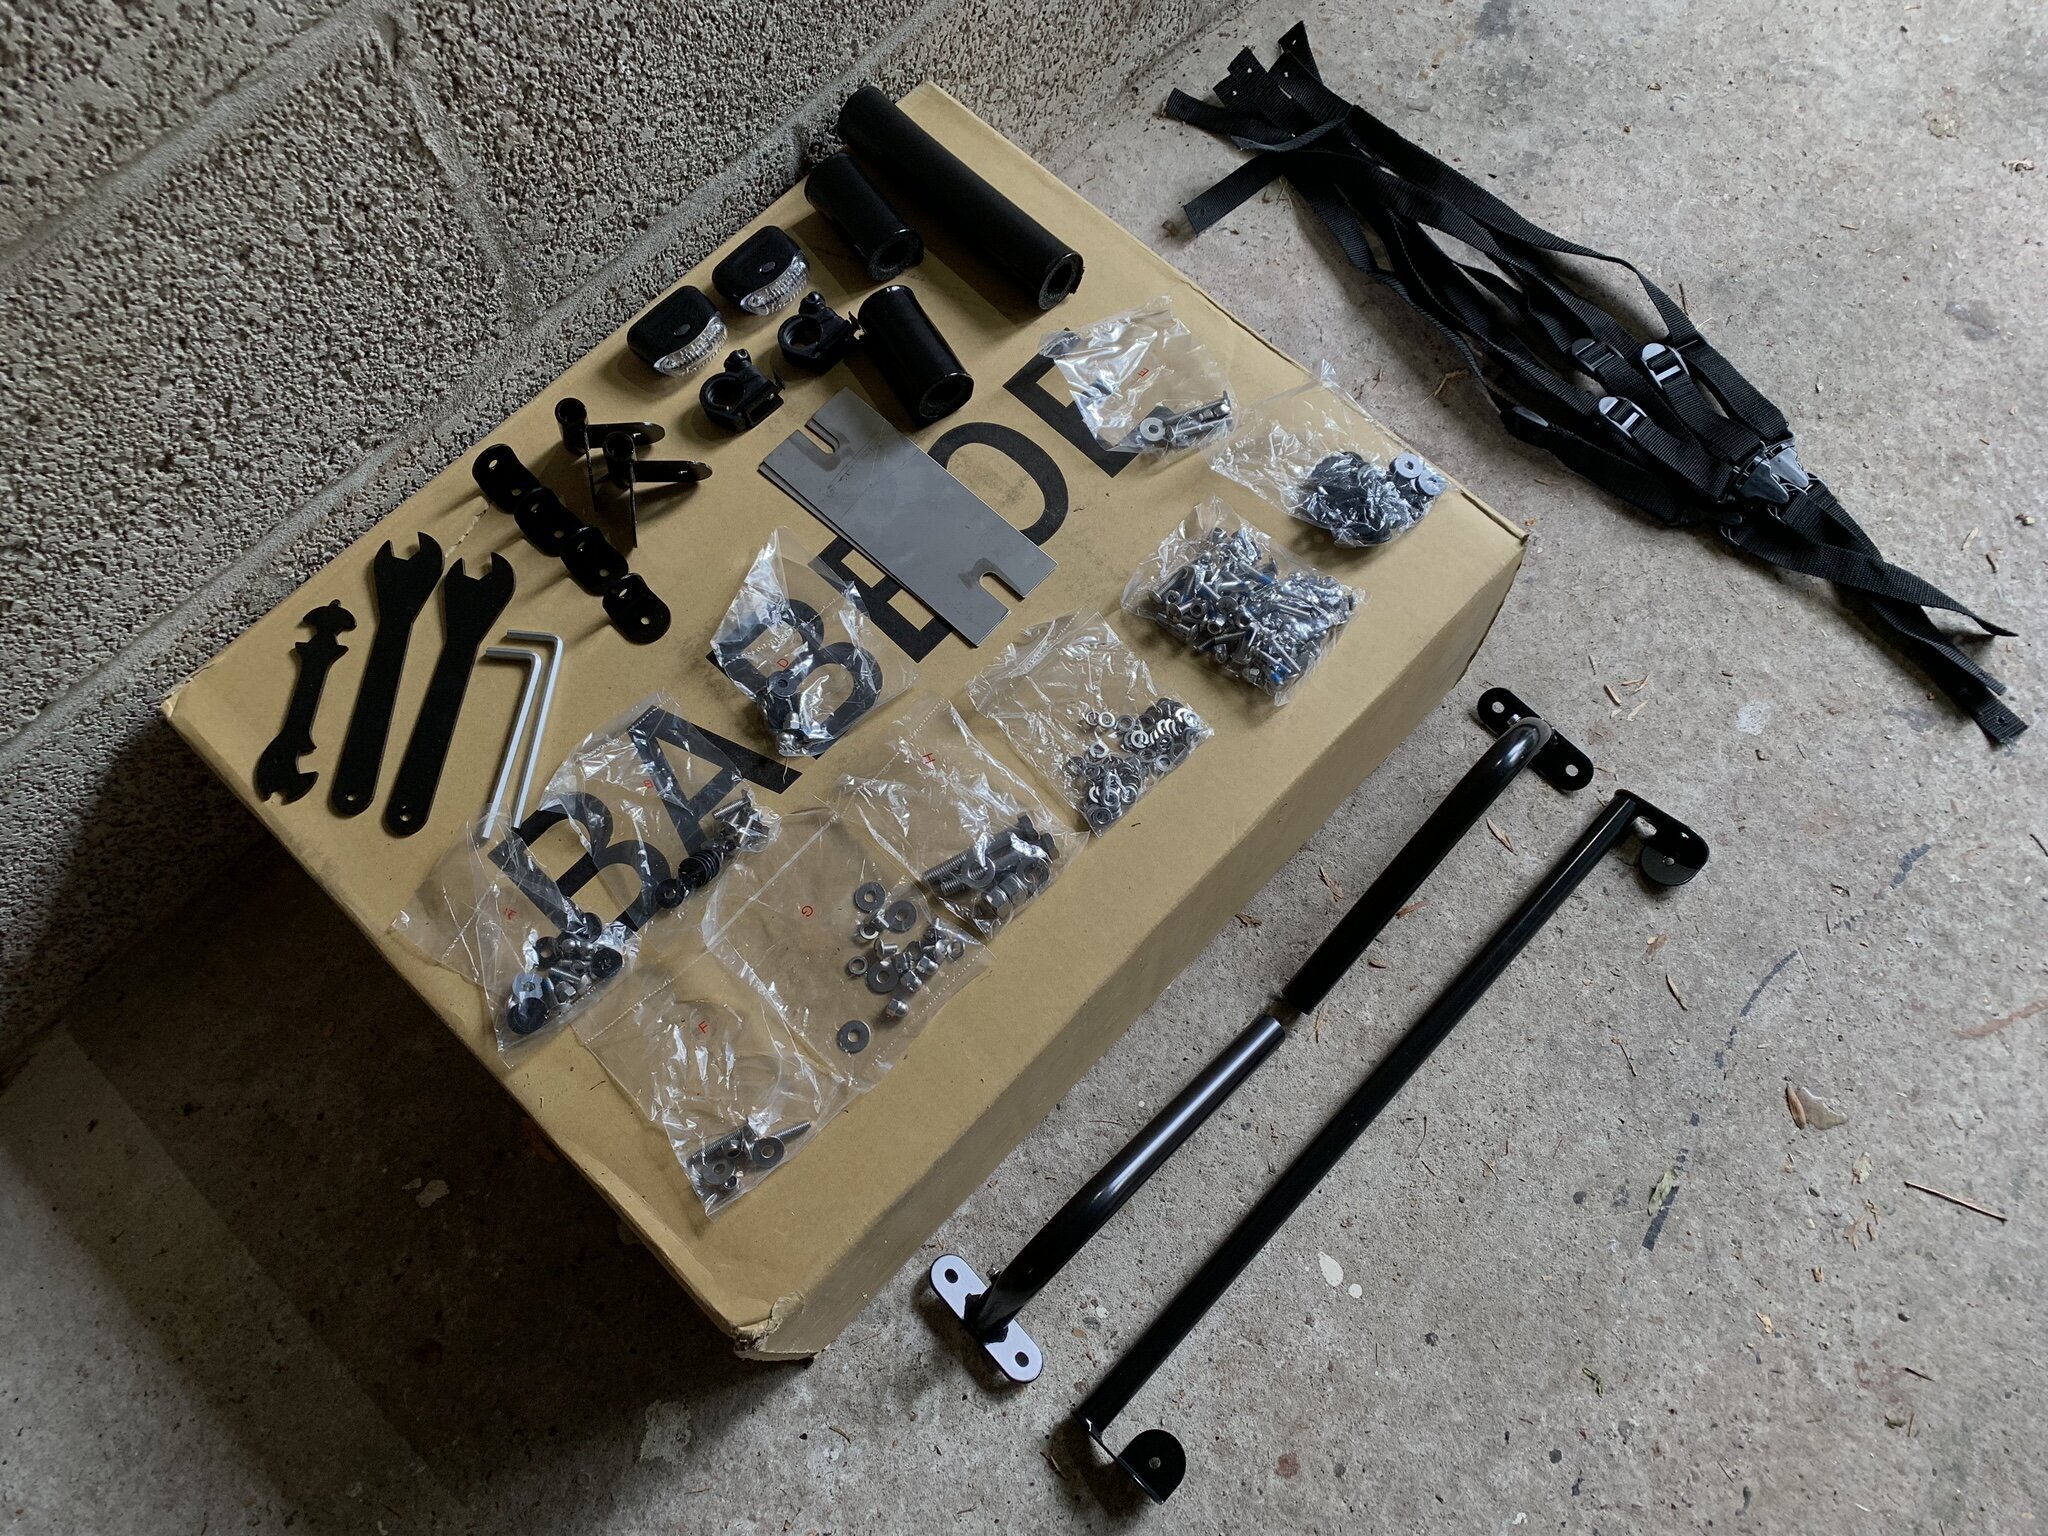
Once you have unpacked all the boxes, you'll get a good feeling on how much work assembling the bike actually is. Unlike a modern road bike, this cargo bike has in incredible lot of individual nuts and bolts. What's more, each individual nut+bolt connection will require two, three or even four rings. Picking the right combination, every time, is time consuming (and worth paying attention to!).
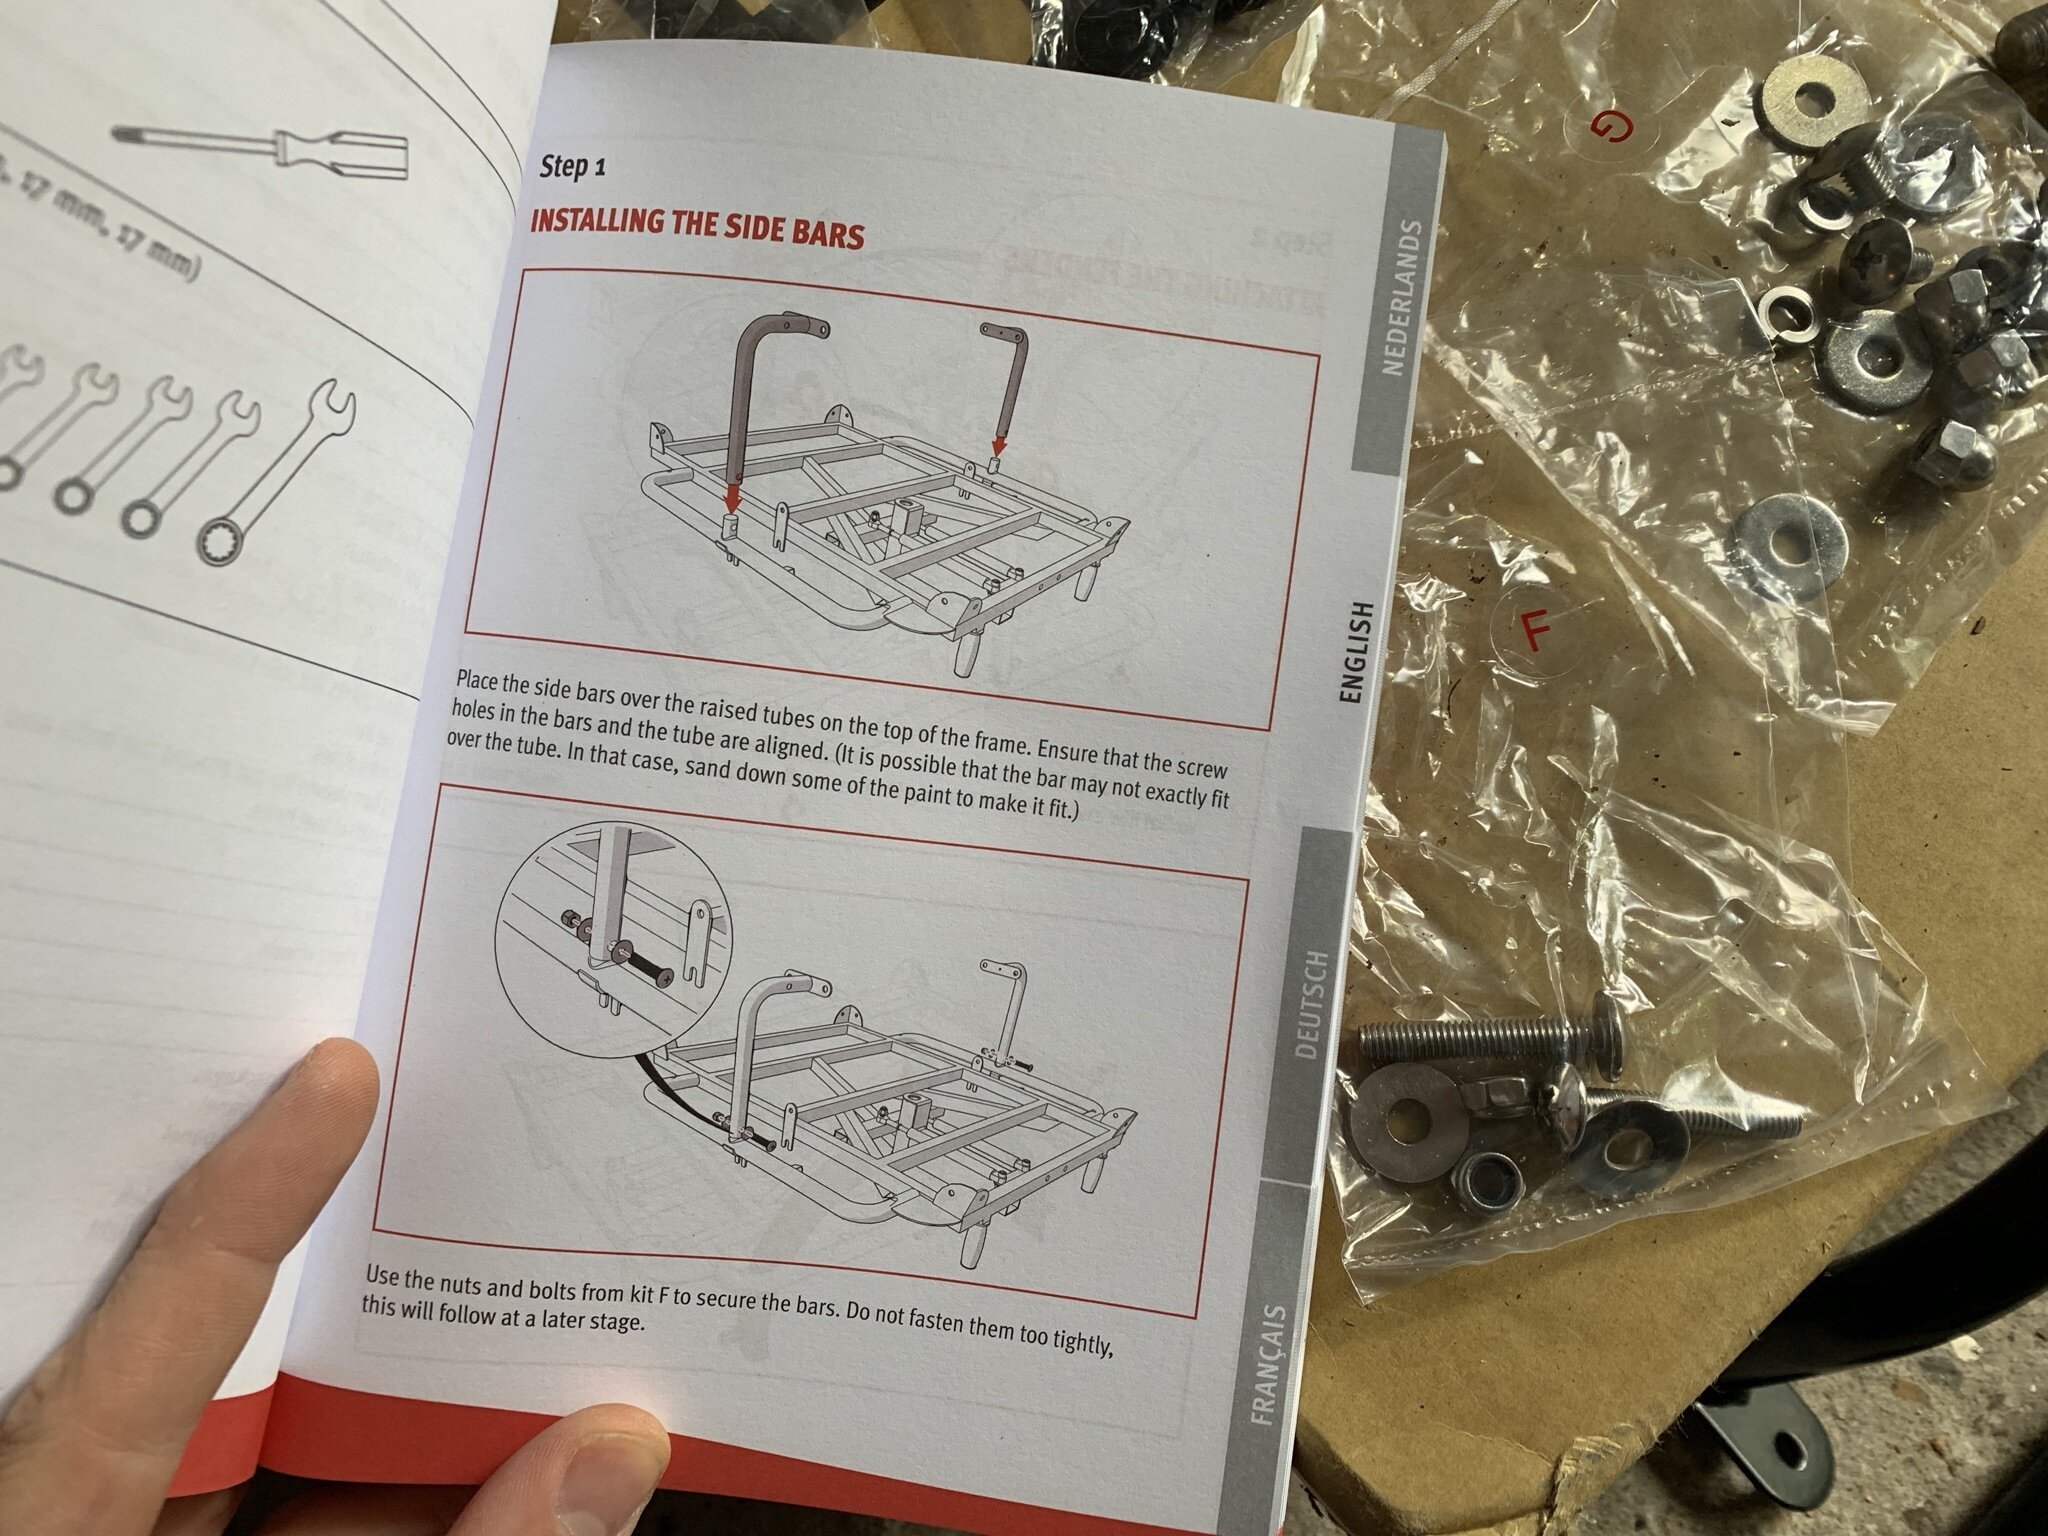
Make sure not to remove the screws from their bag as each of them is marked with a letter, used as reference in the manual. Really pay attention to the drawings in the manual as not all parts are symmetrical (and have only very small visual differences, like a nut hole). Even the great magnificent author made a few mistakes.., requiring me to disassemble parts of the bike in later steps. Not handy.
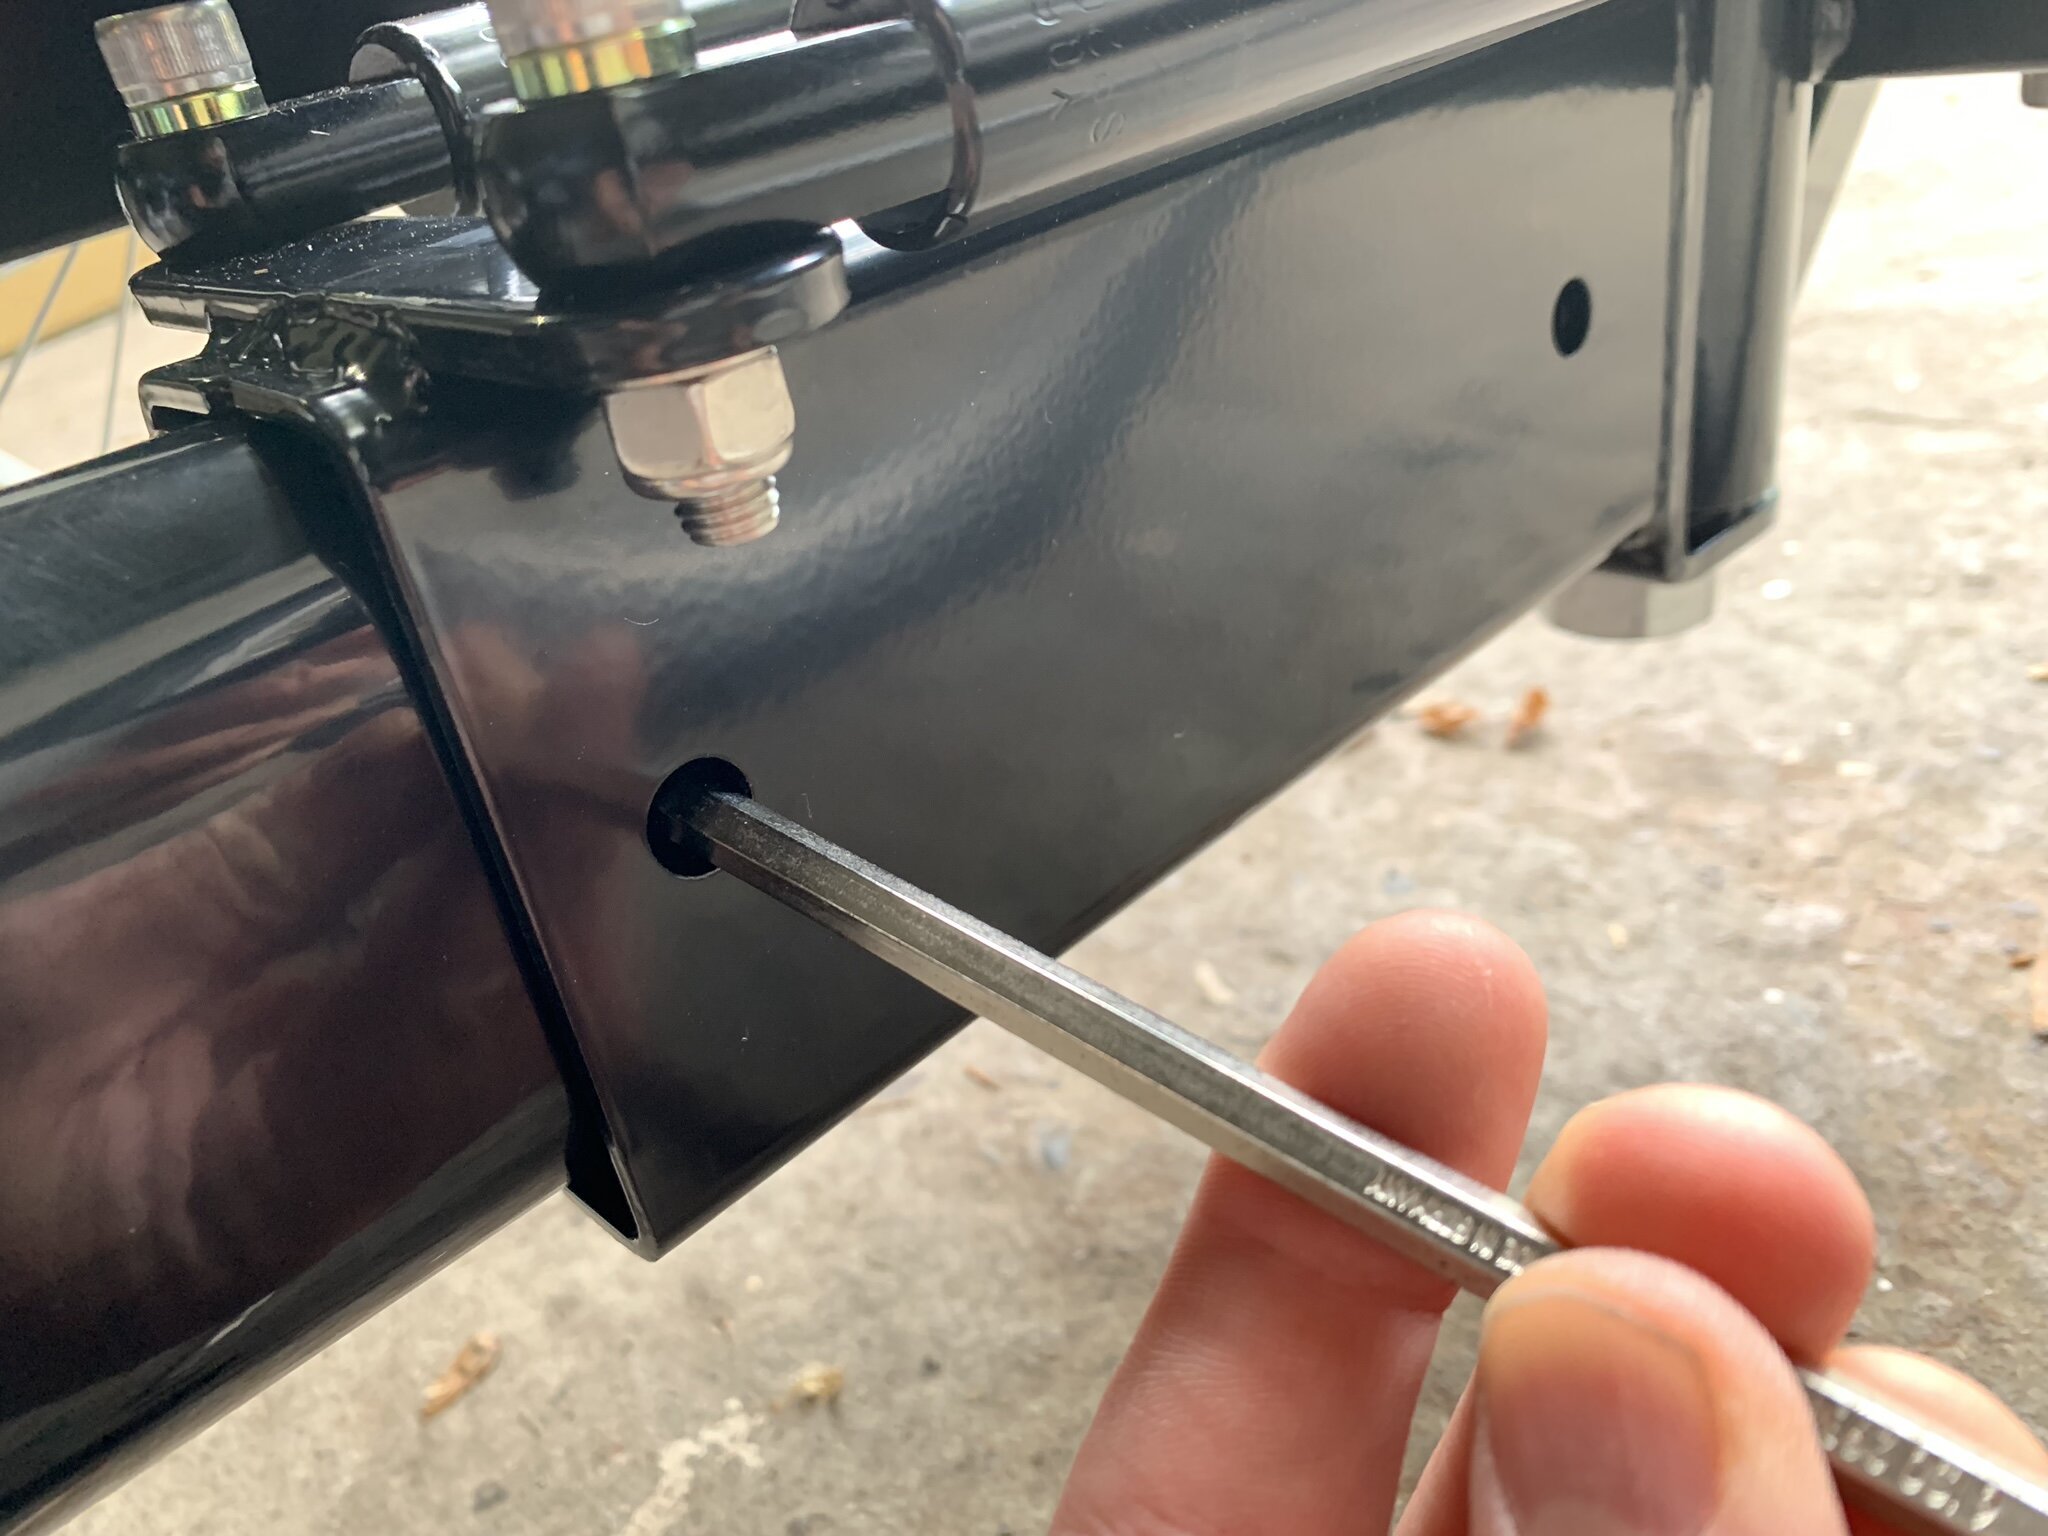
You'll need some wrenches, hex keys and a screw driver to assemble the bike. The relatively uncommon 15MM wrench is included. But if you're into bikes like me, you'll probably have such a wrench as it's common for fitting bike pedals.
Chinese precision
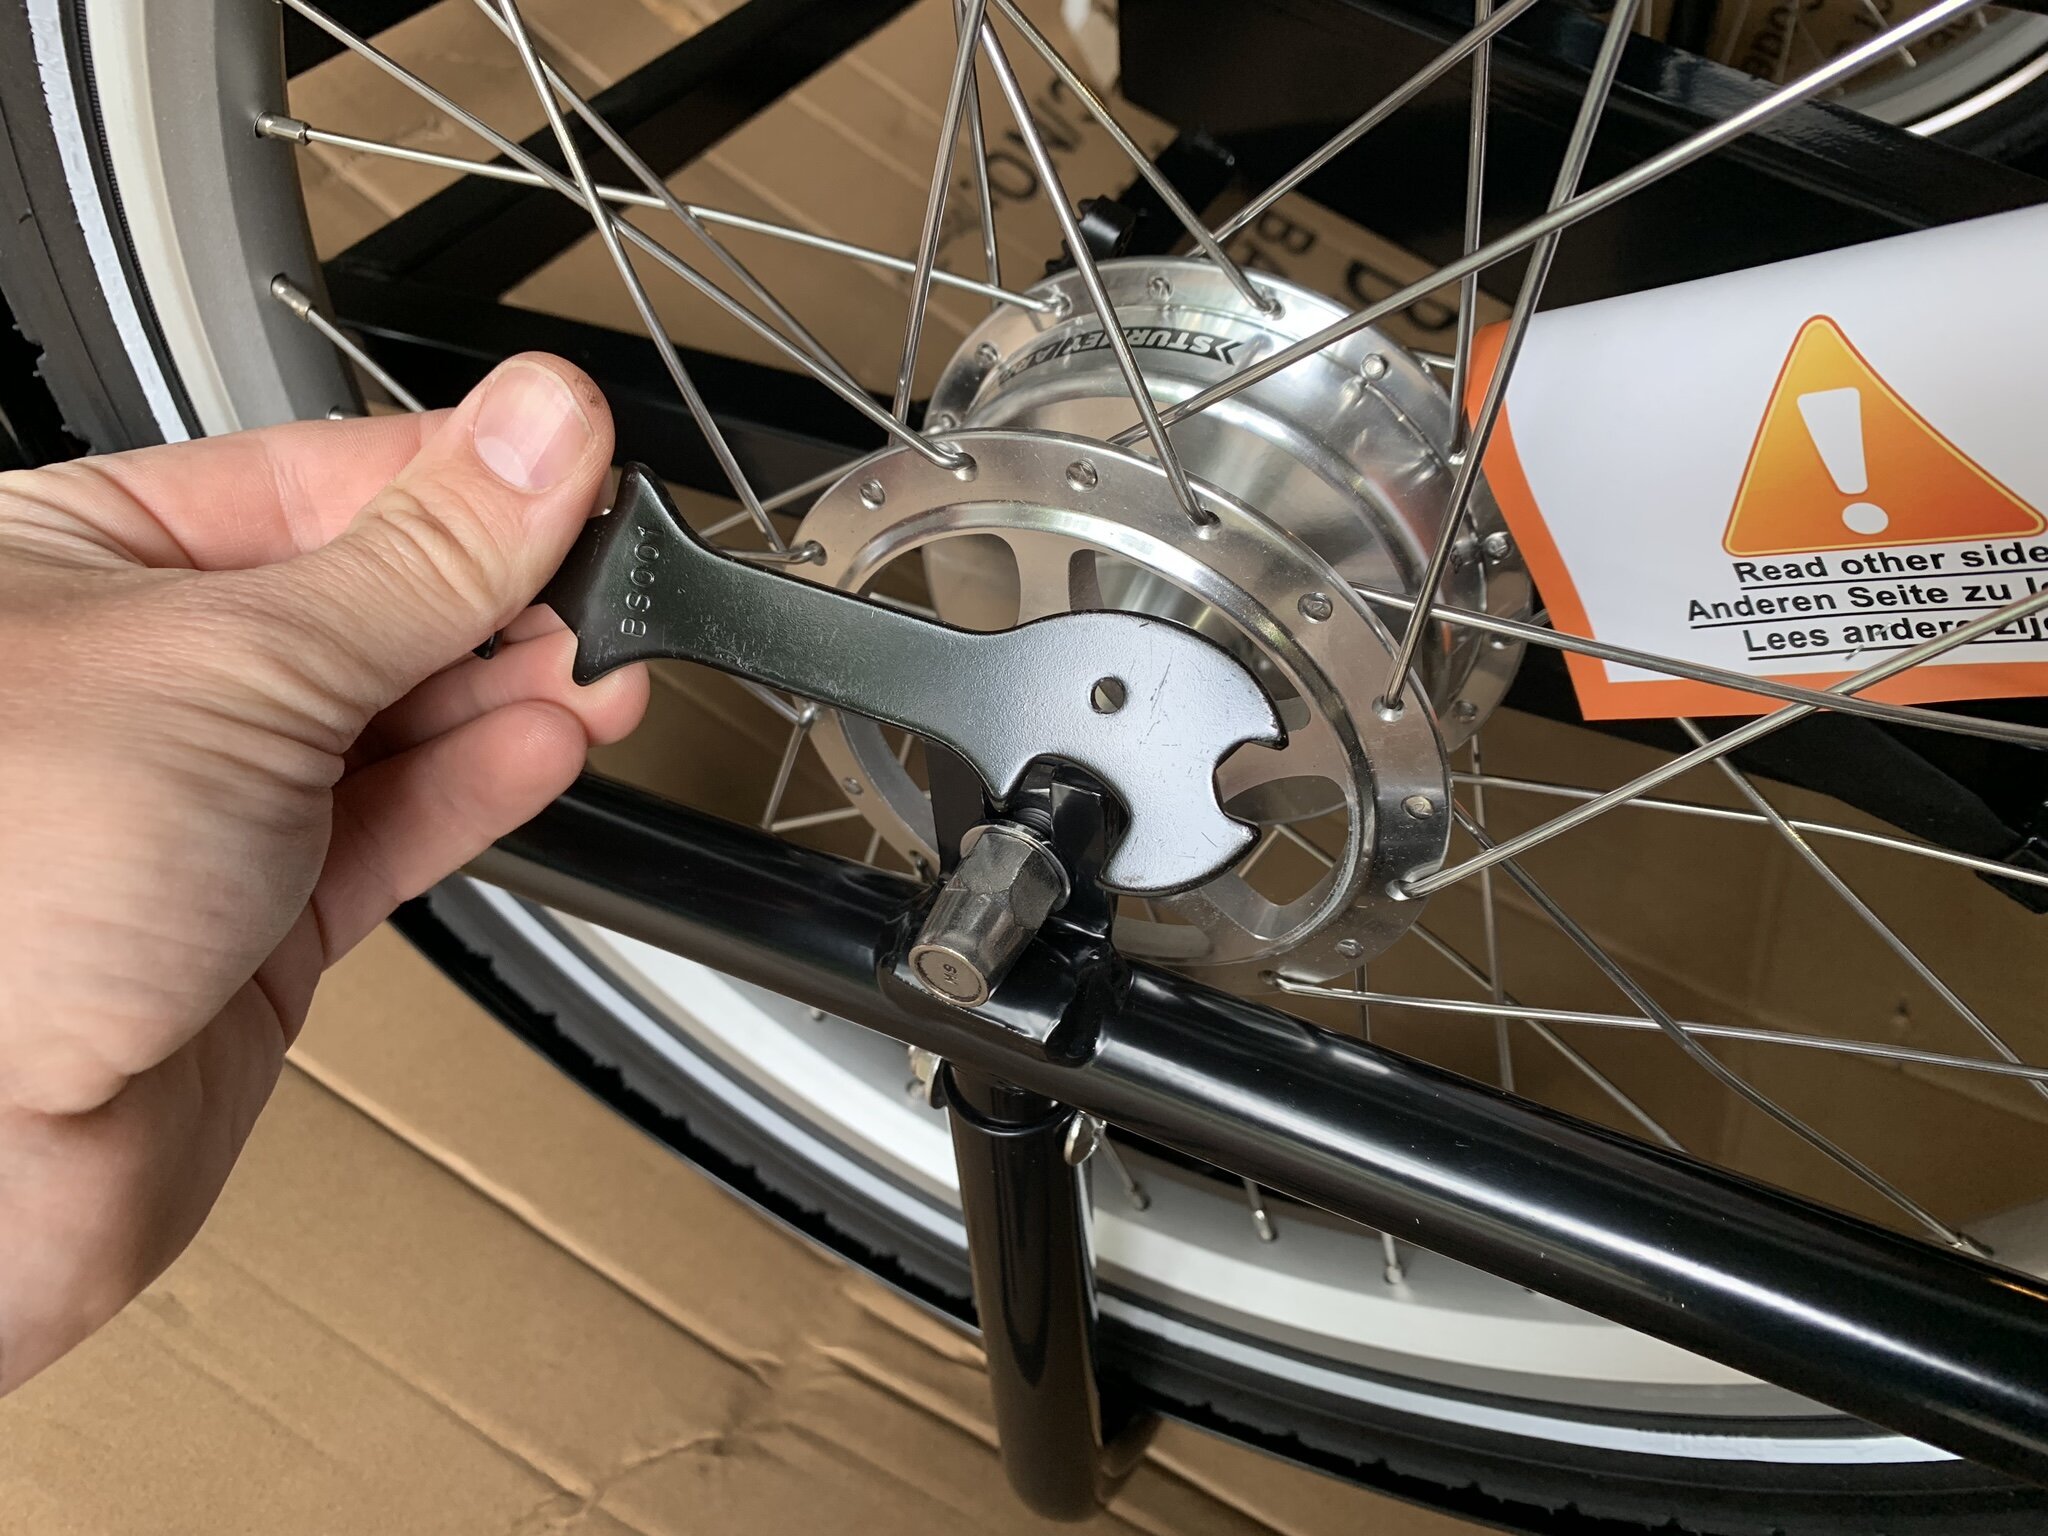
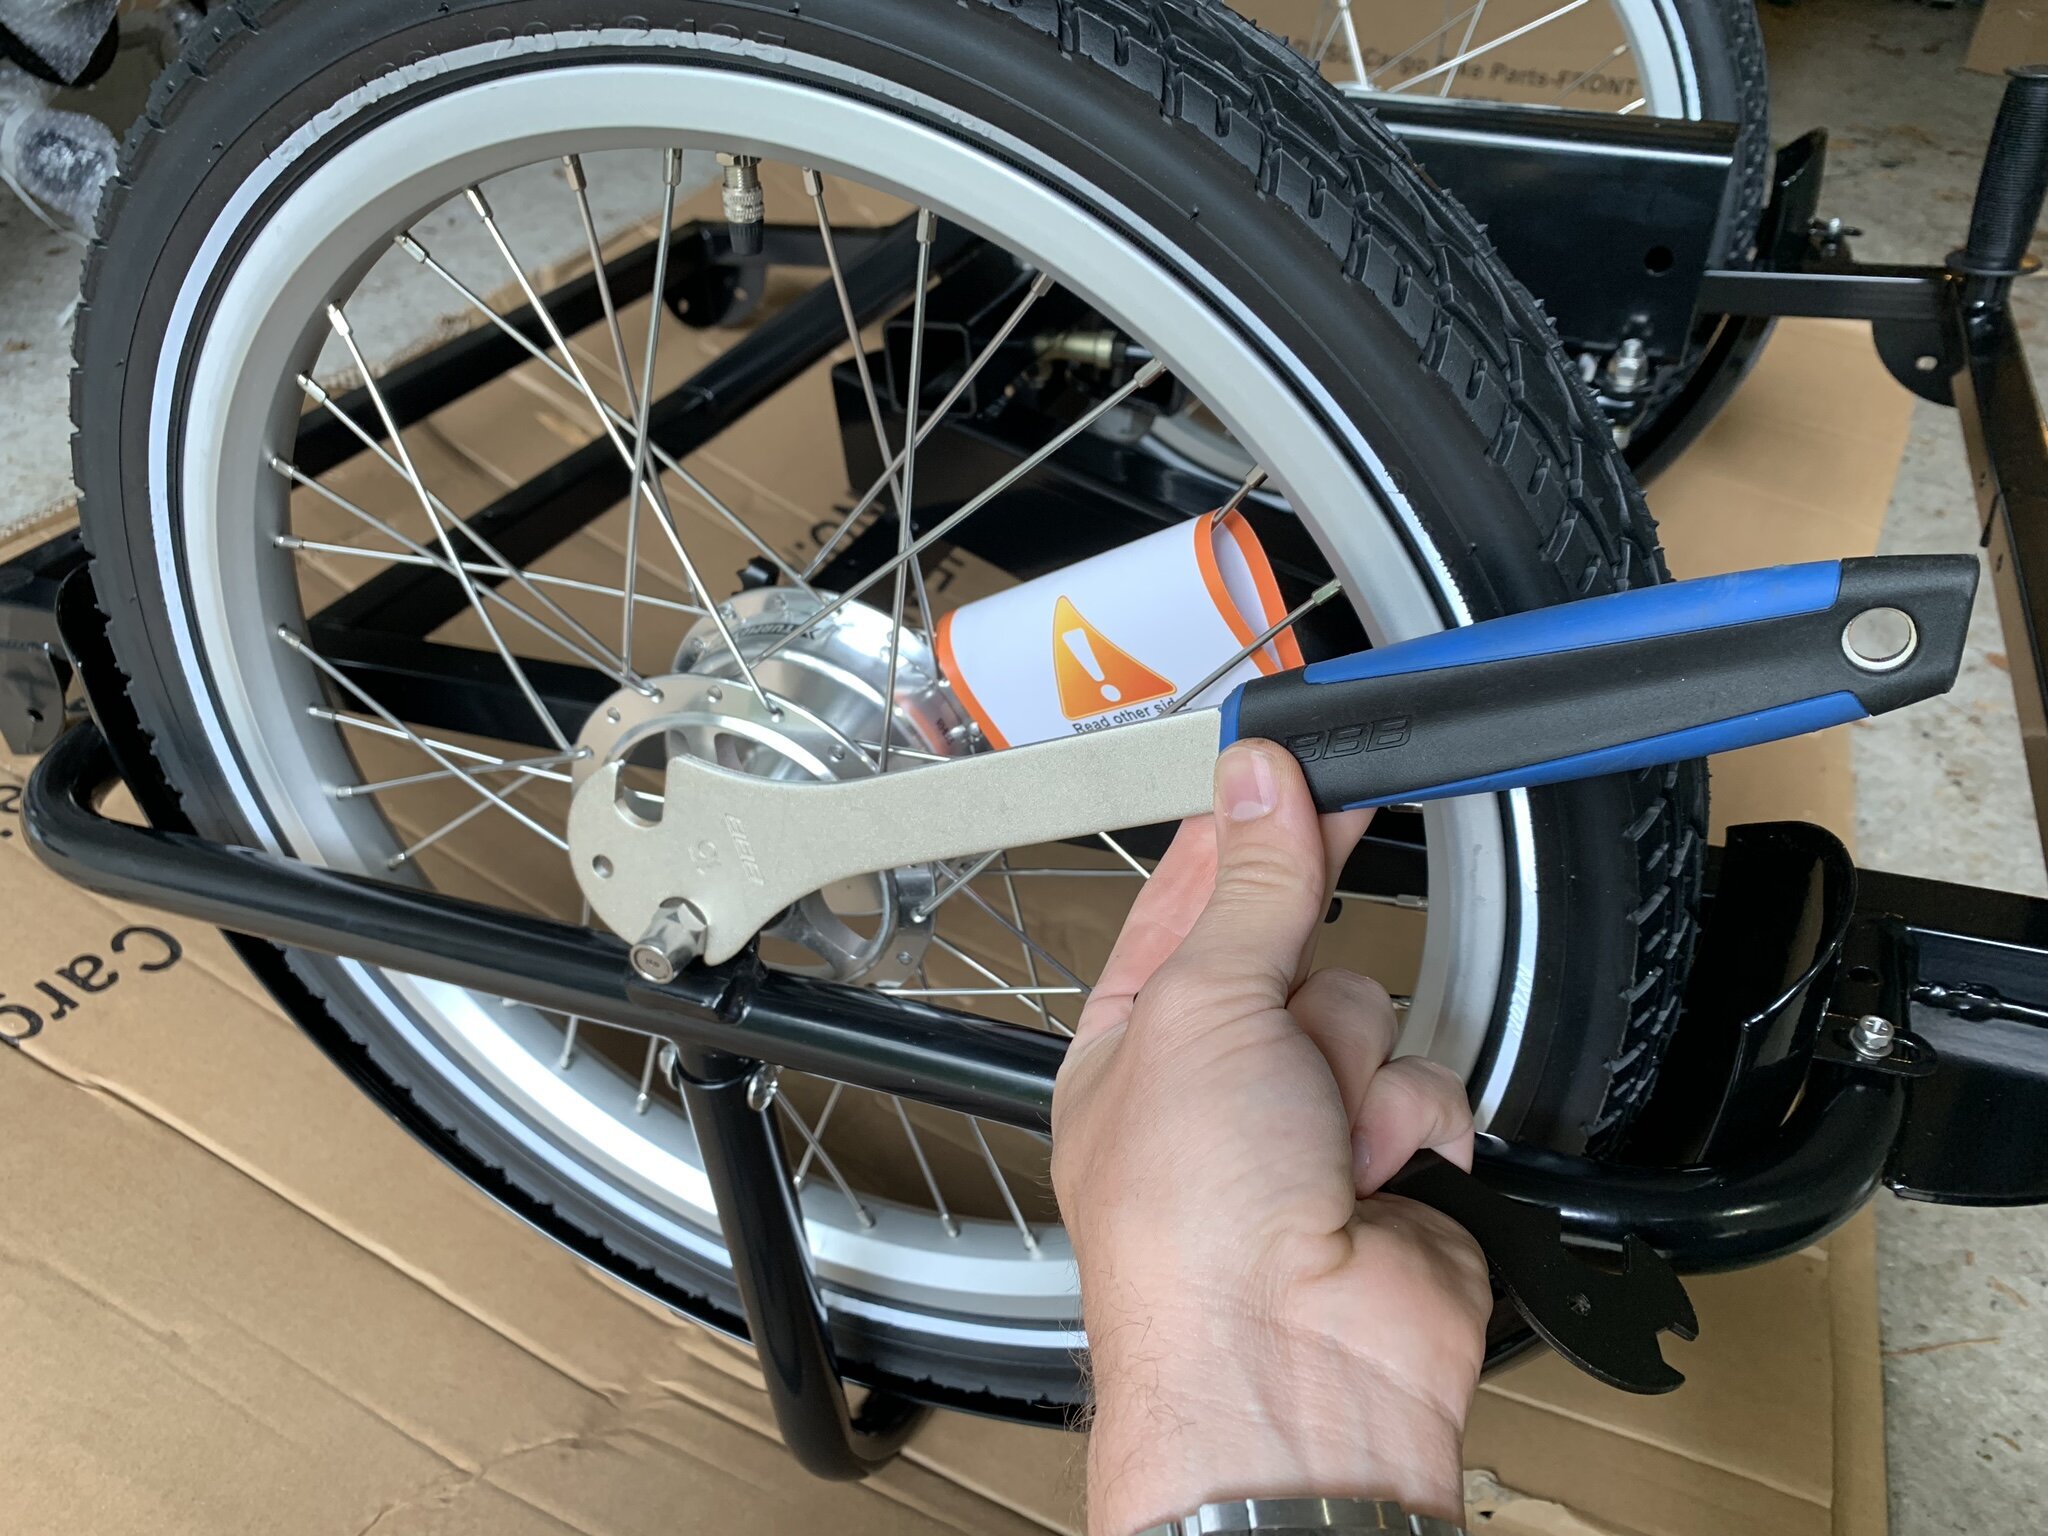
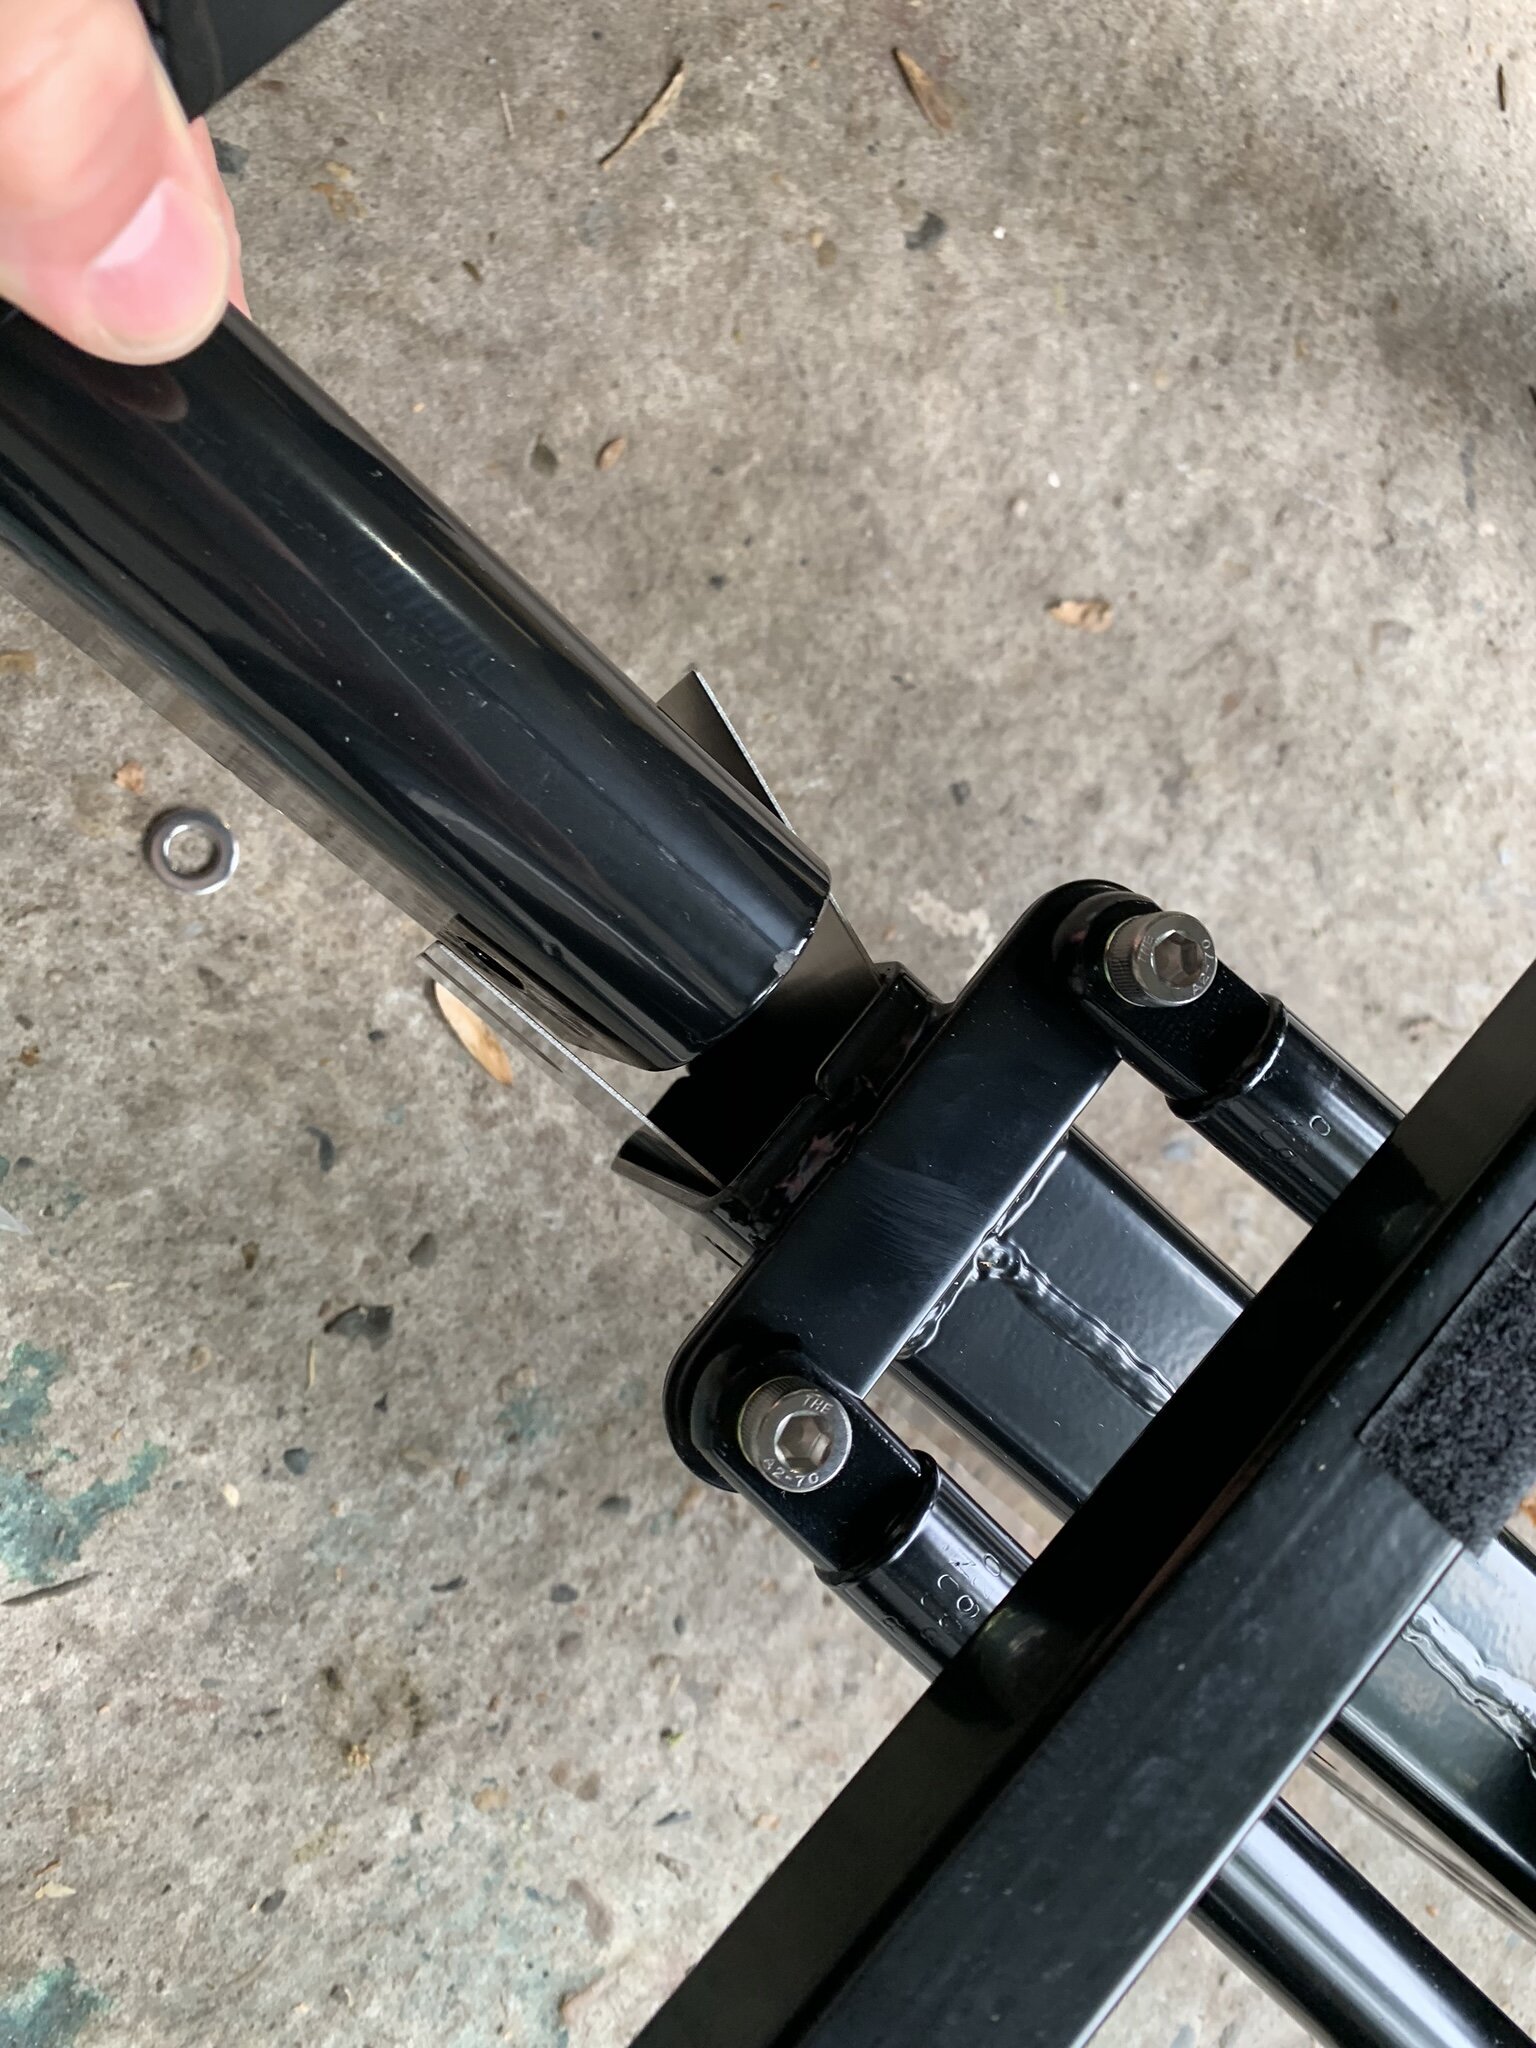
At a certain stage you are to join the rear and front frames. This is done using a central connection, right underneath the cargo compartment of the bike. This is where the Chinese precision is really apparent (and appalling).
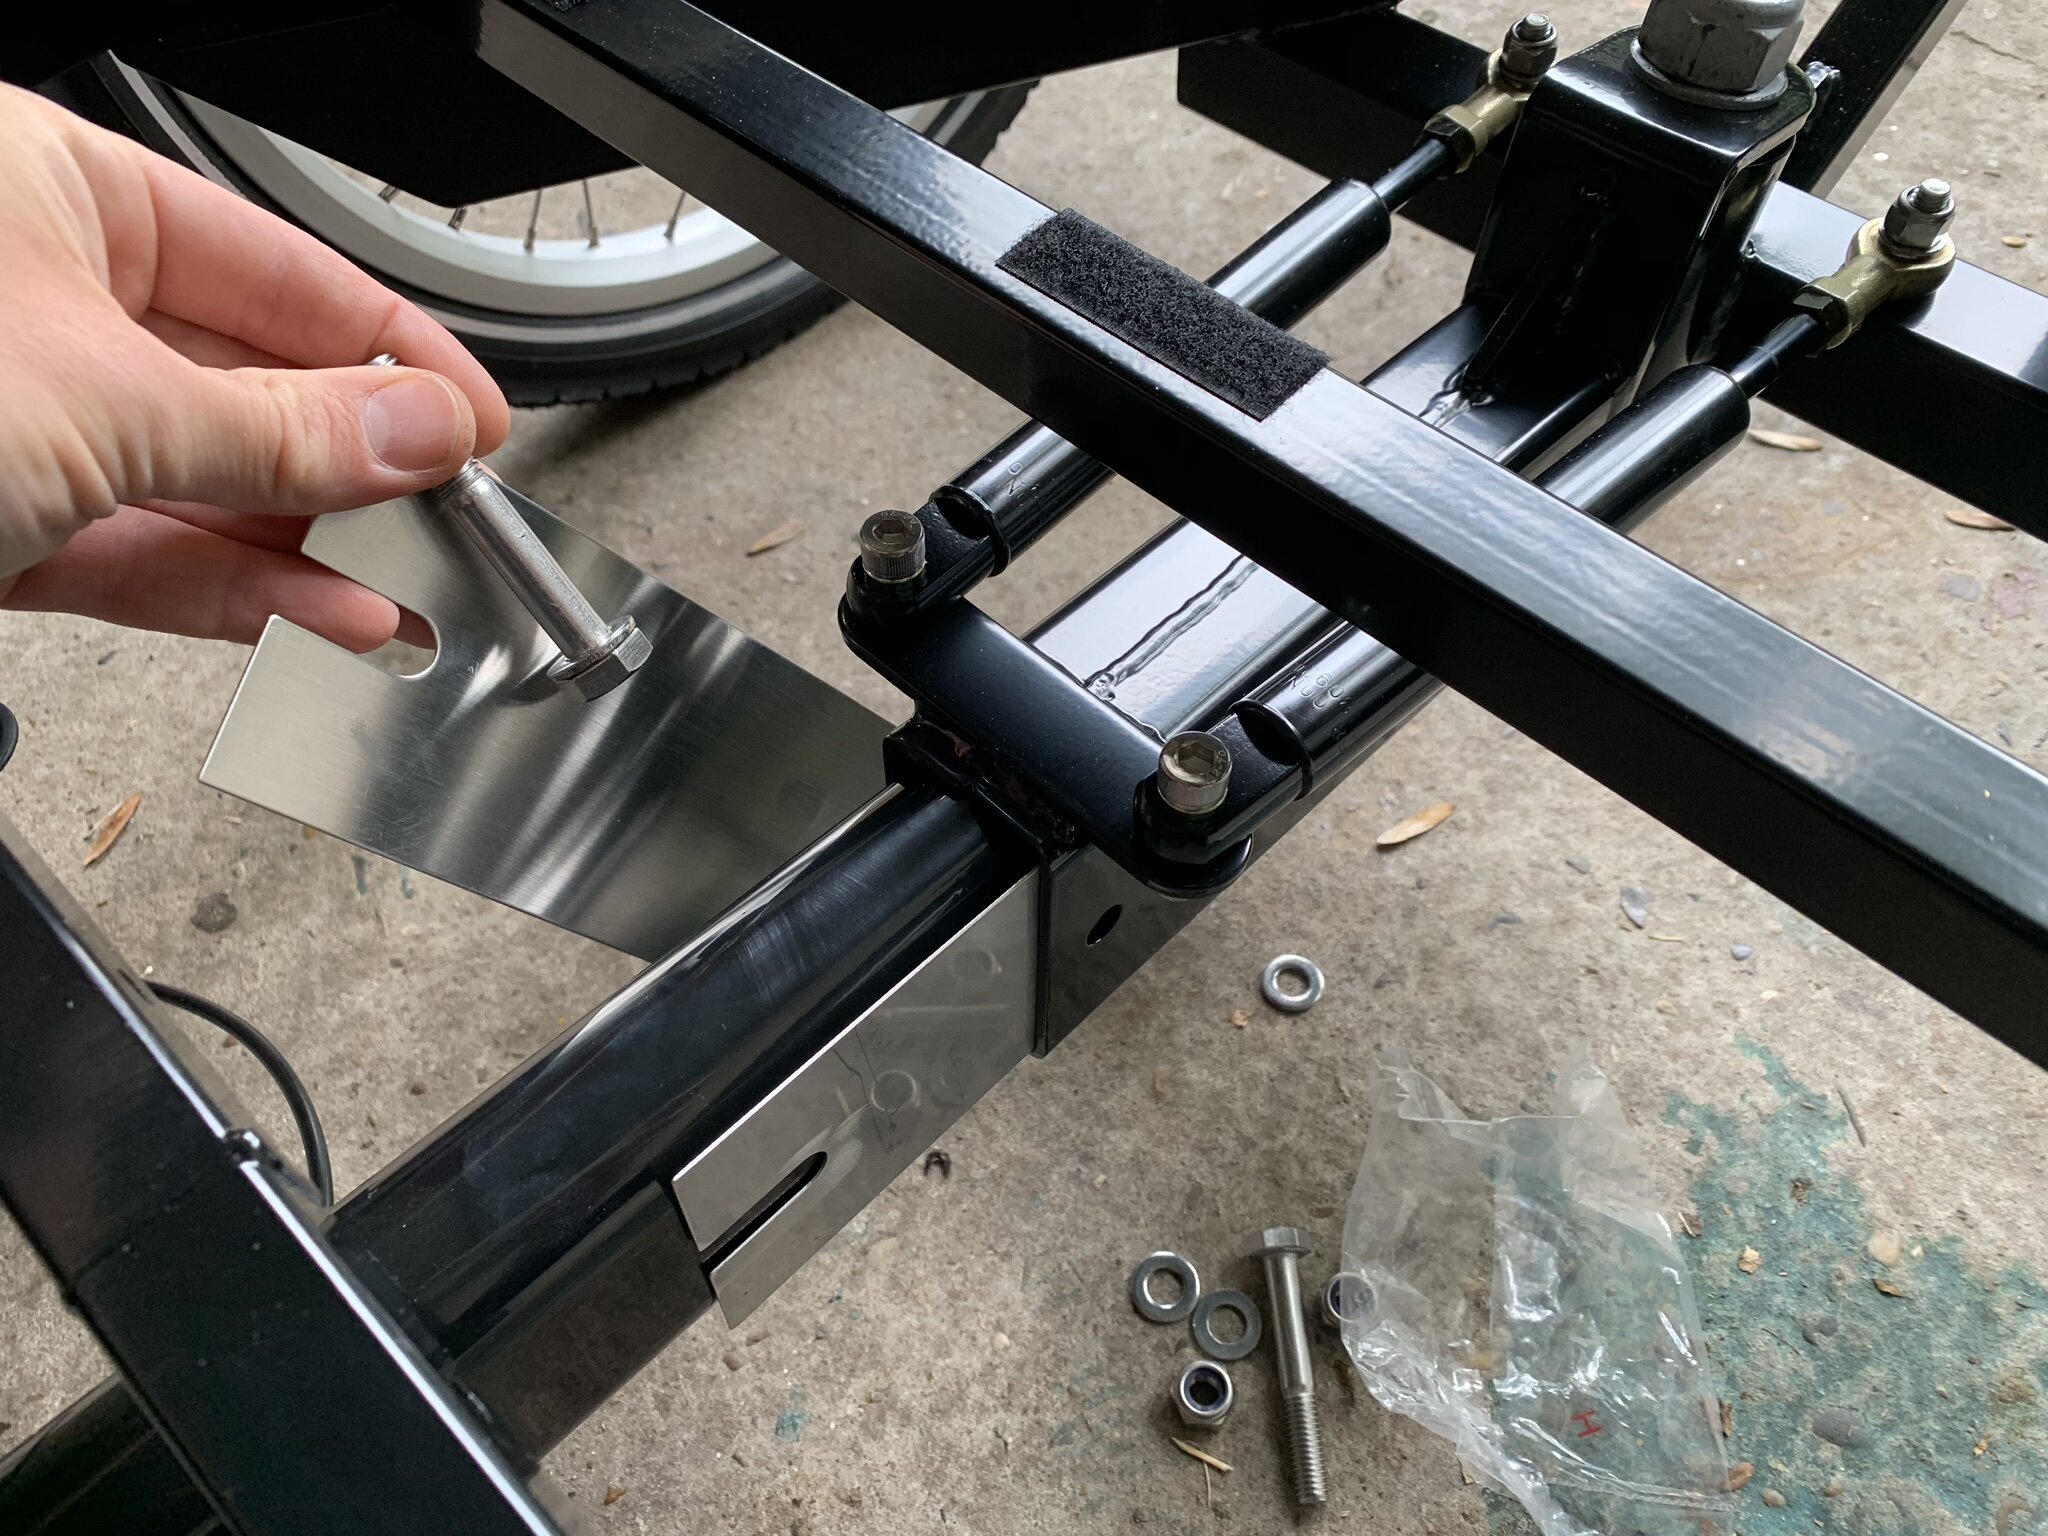
The assembling kit comes with purpose built filler plates that you're supposed to squeeze in to make up for errors in precision. To ensure a tight fit you should try to use both of the filler plates. It will take some balancing around (as the front and rear frames aren't exactly light), but it's possible to squeeze everything into place.
Don't use a (metal) hammer to precisely position the filler plate in front of the holes as it will damage the frame's paint. Instead consider using a piece of wood and a hex key to make the nesscecary adjustments before bolting things together.
Cable management (or lack thereof)
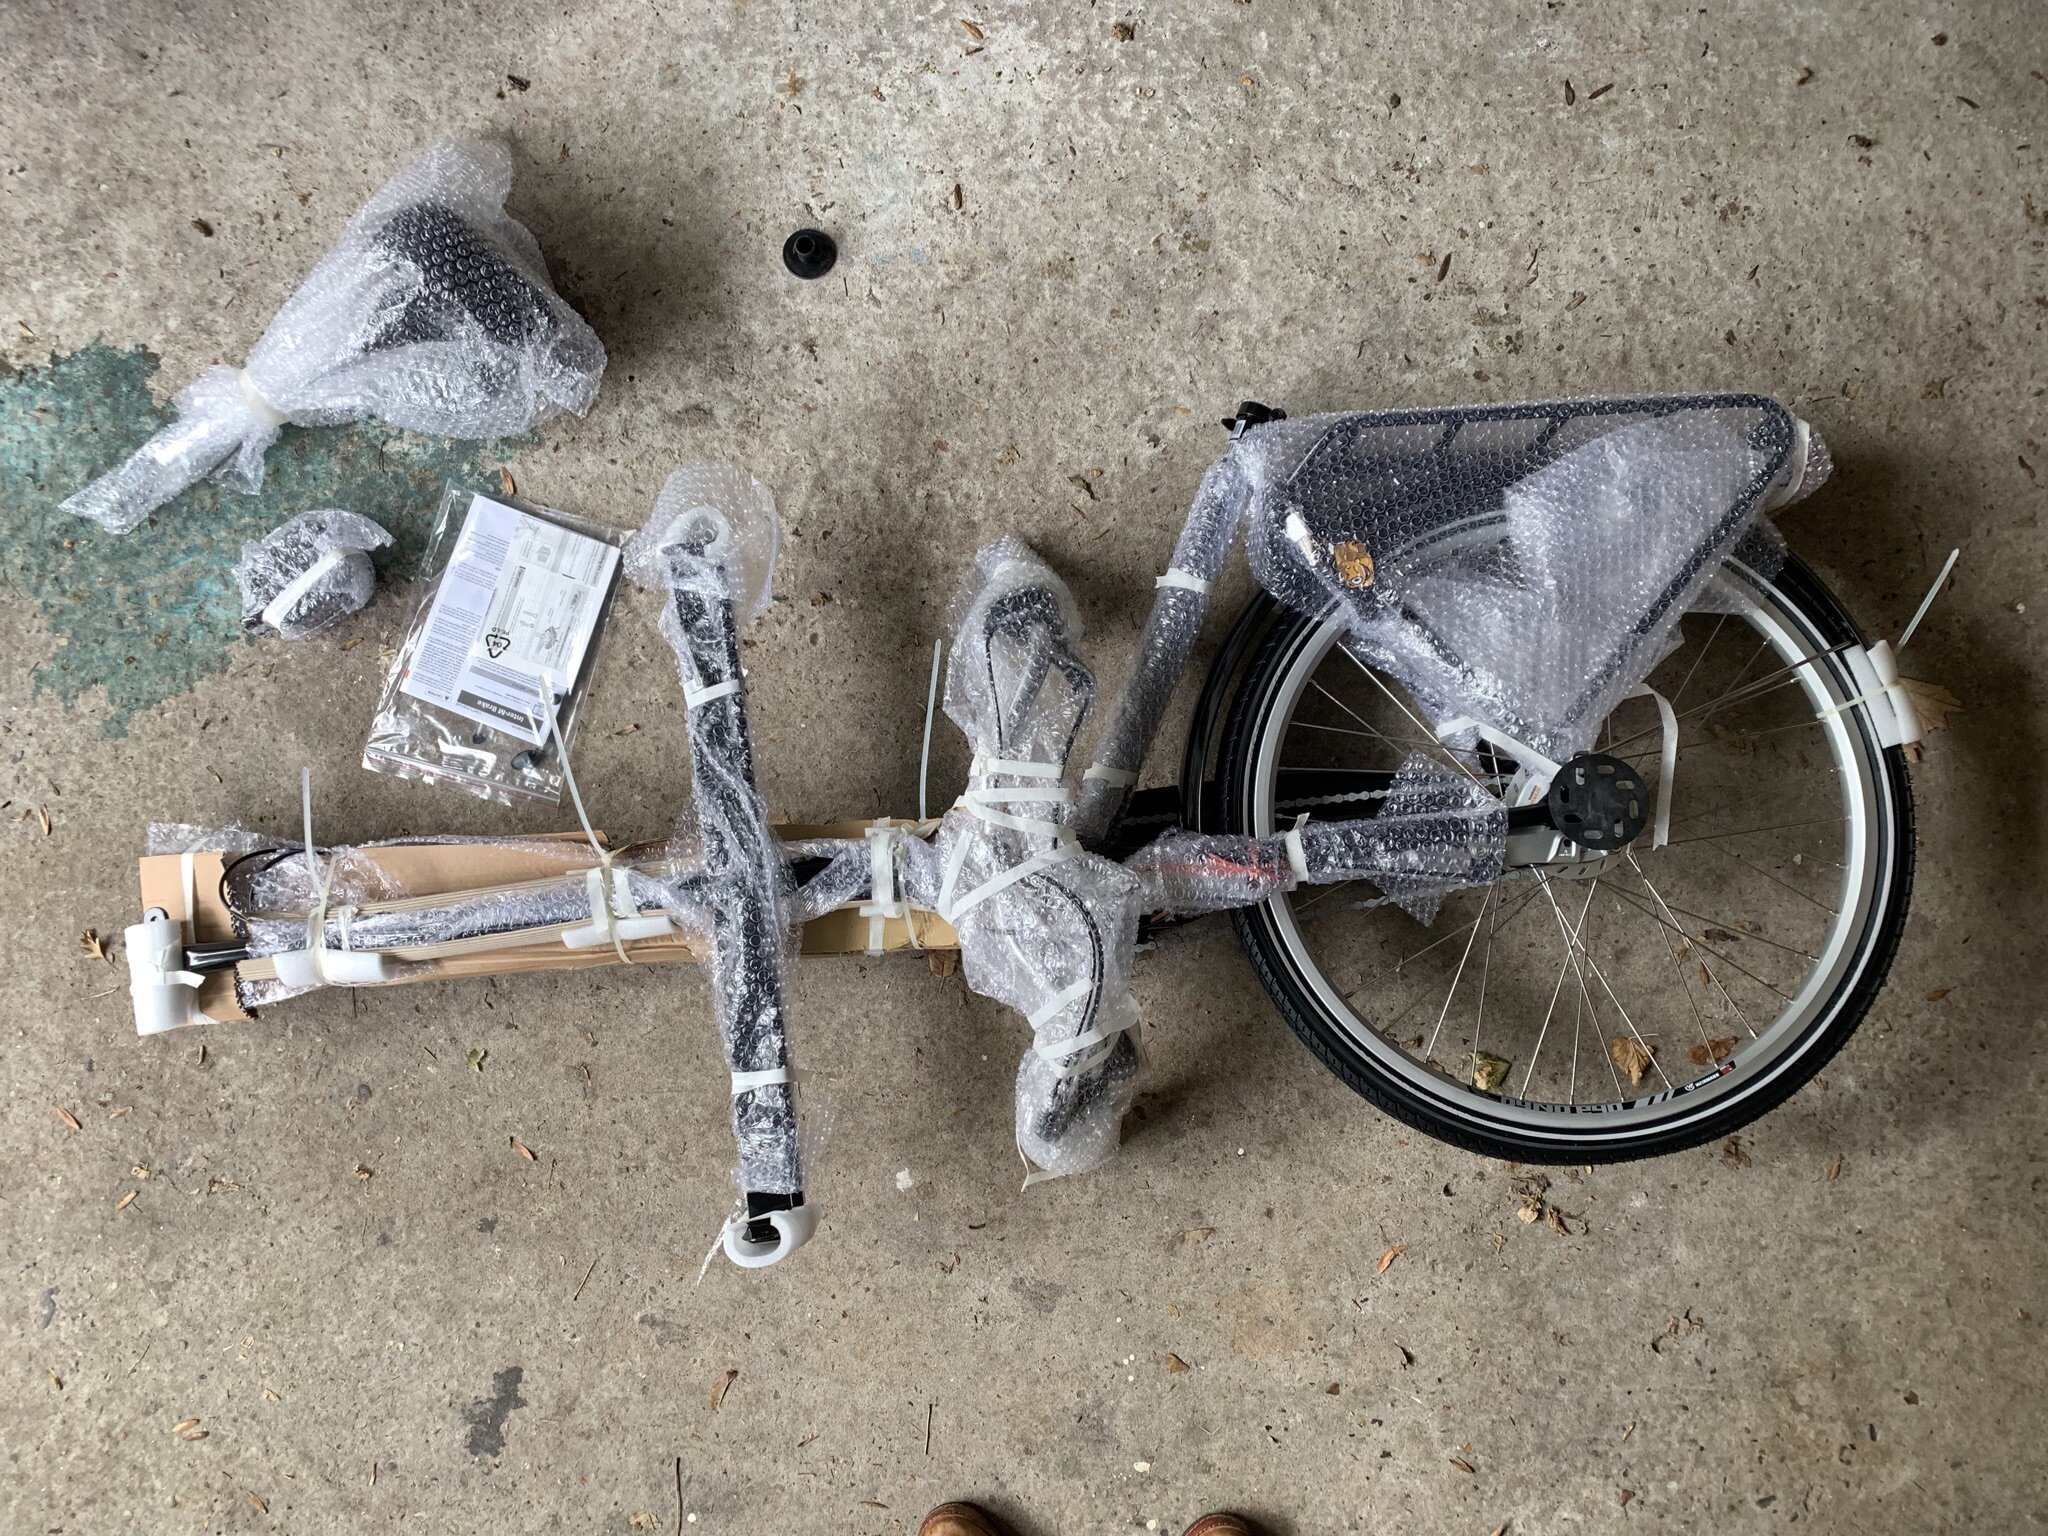
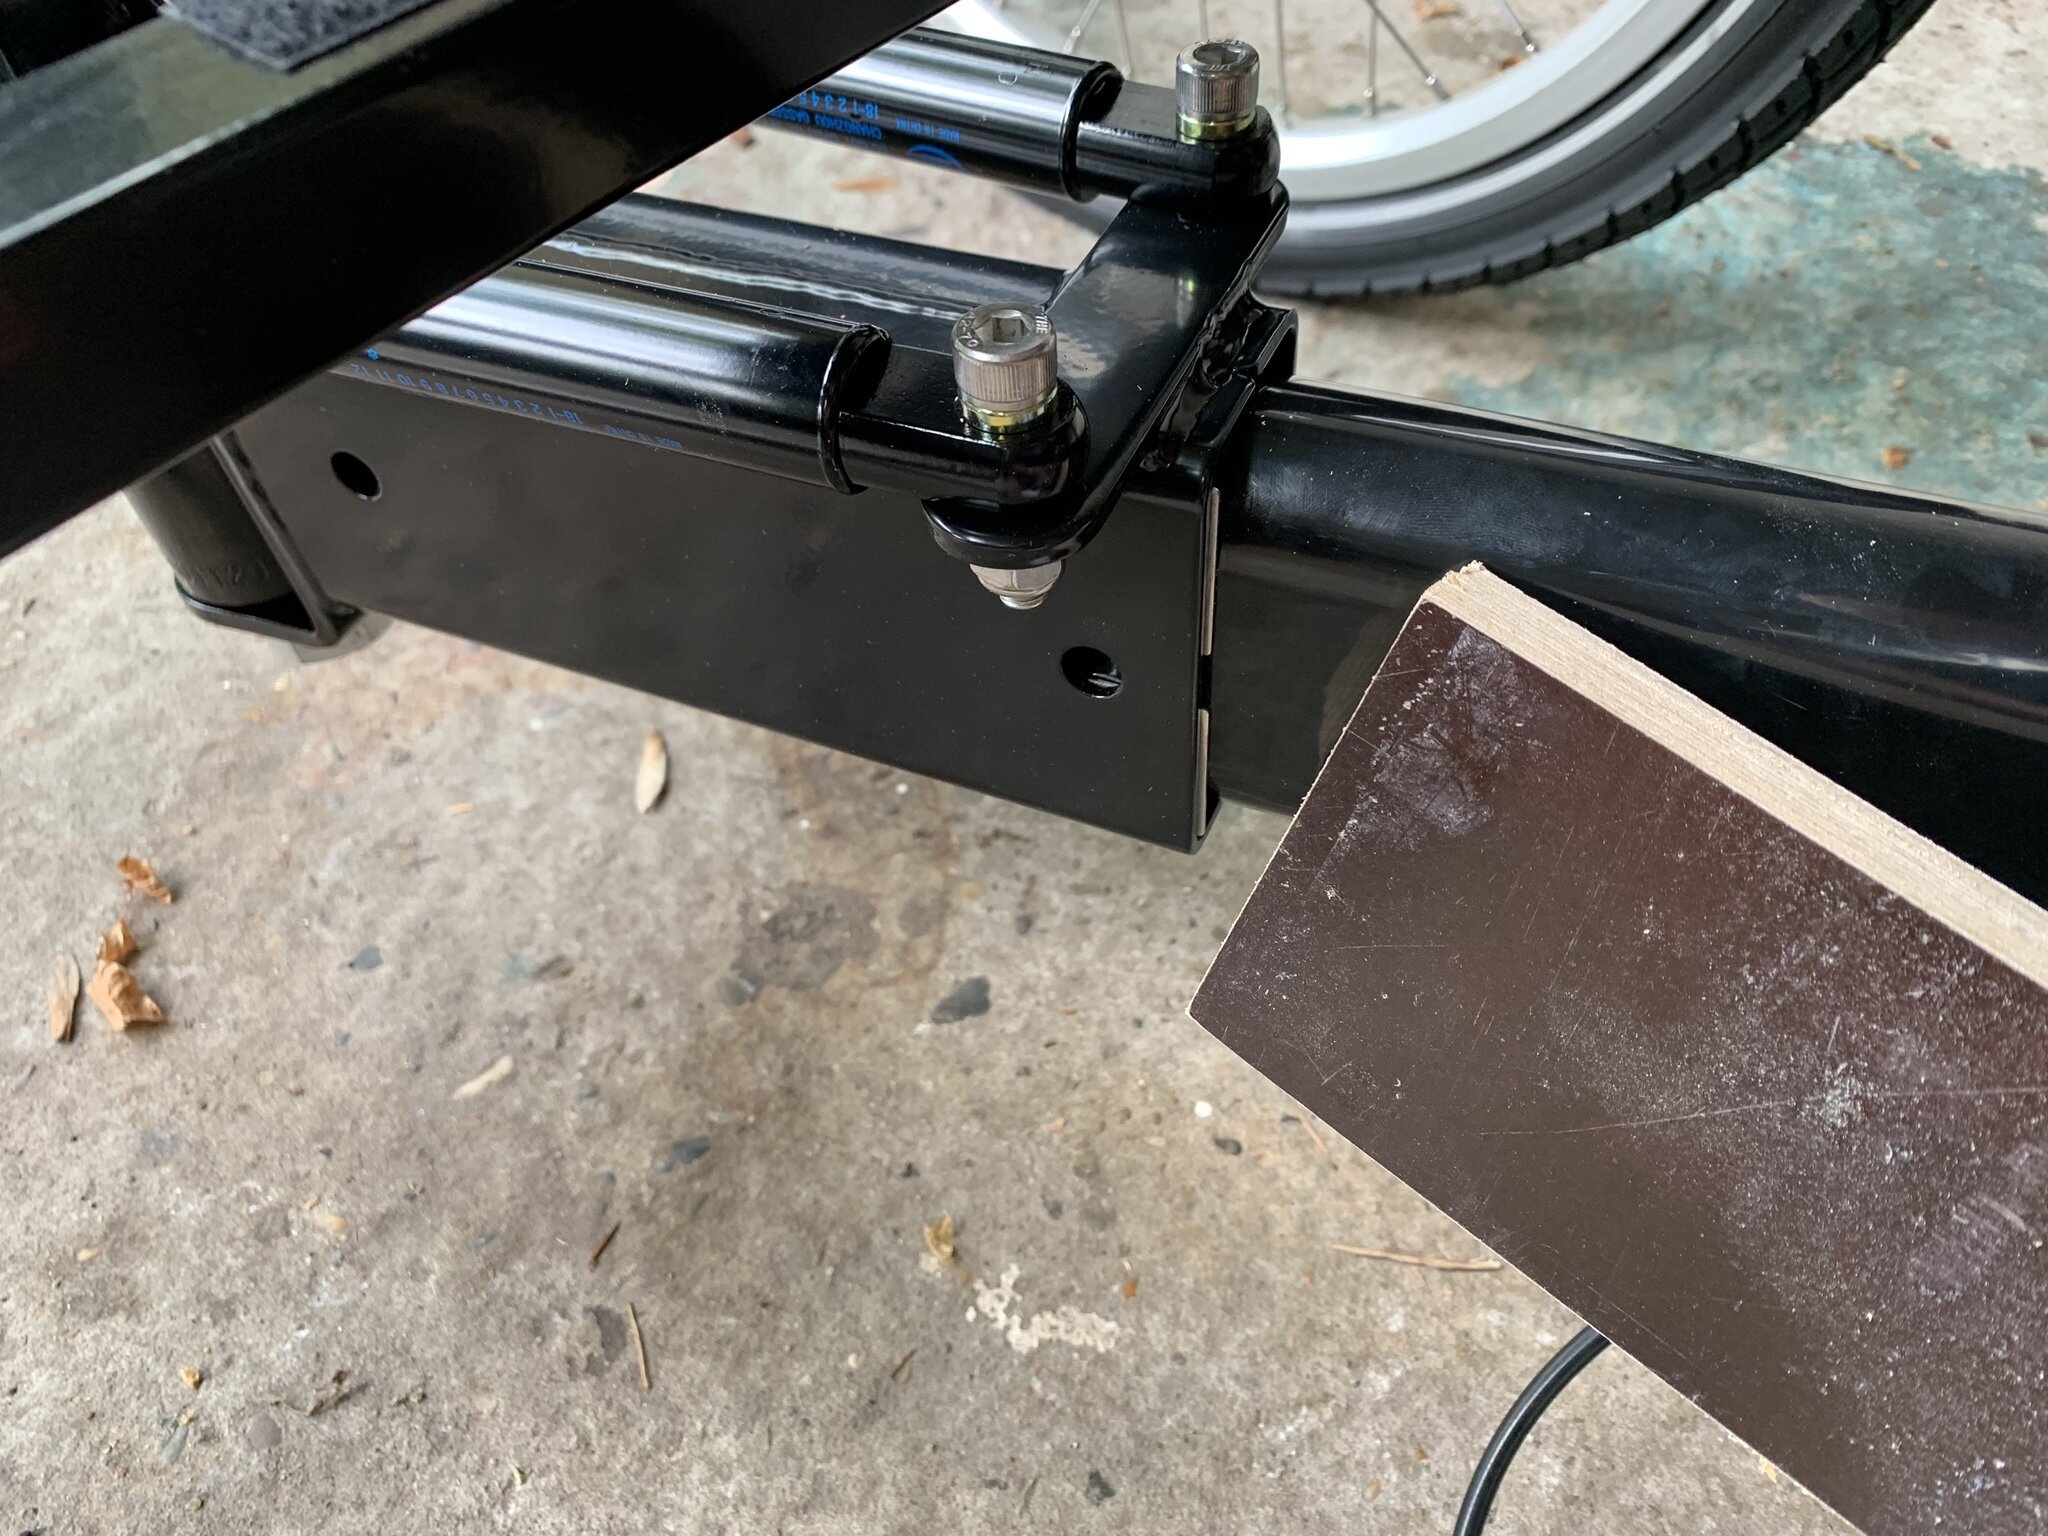
Once the front and rear parts are connected, you are to connect the brake cables to the front wheels. There is no designated cable management, you are to figure this out yourself - instructed to use some (non-included) tie wraps to fix things up...
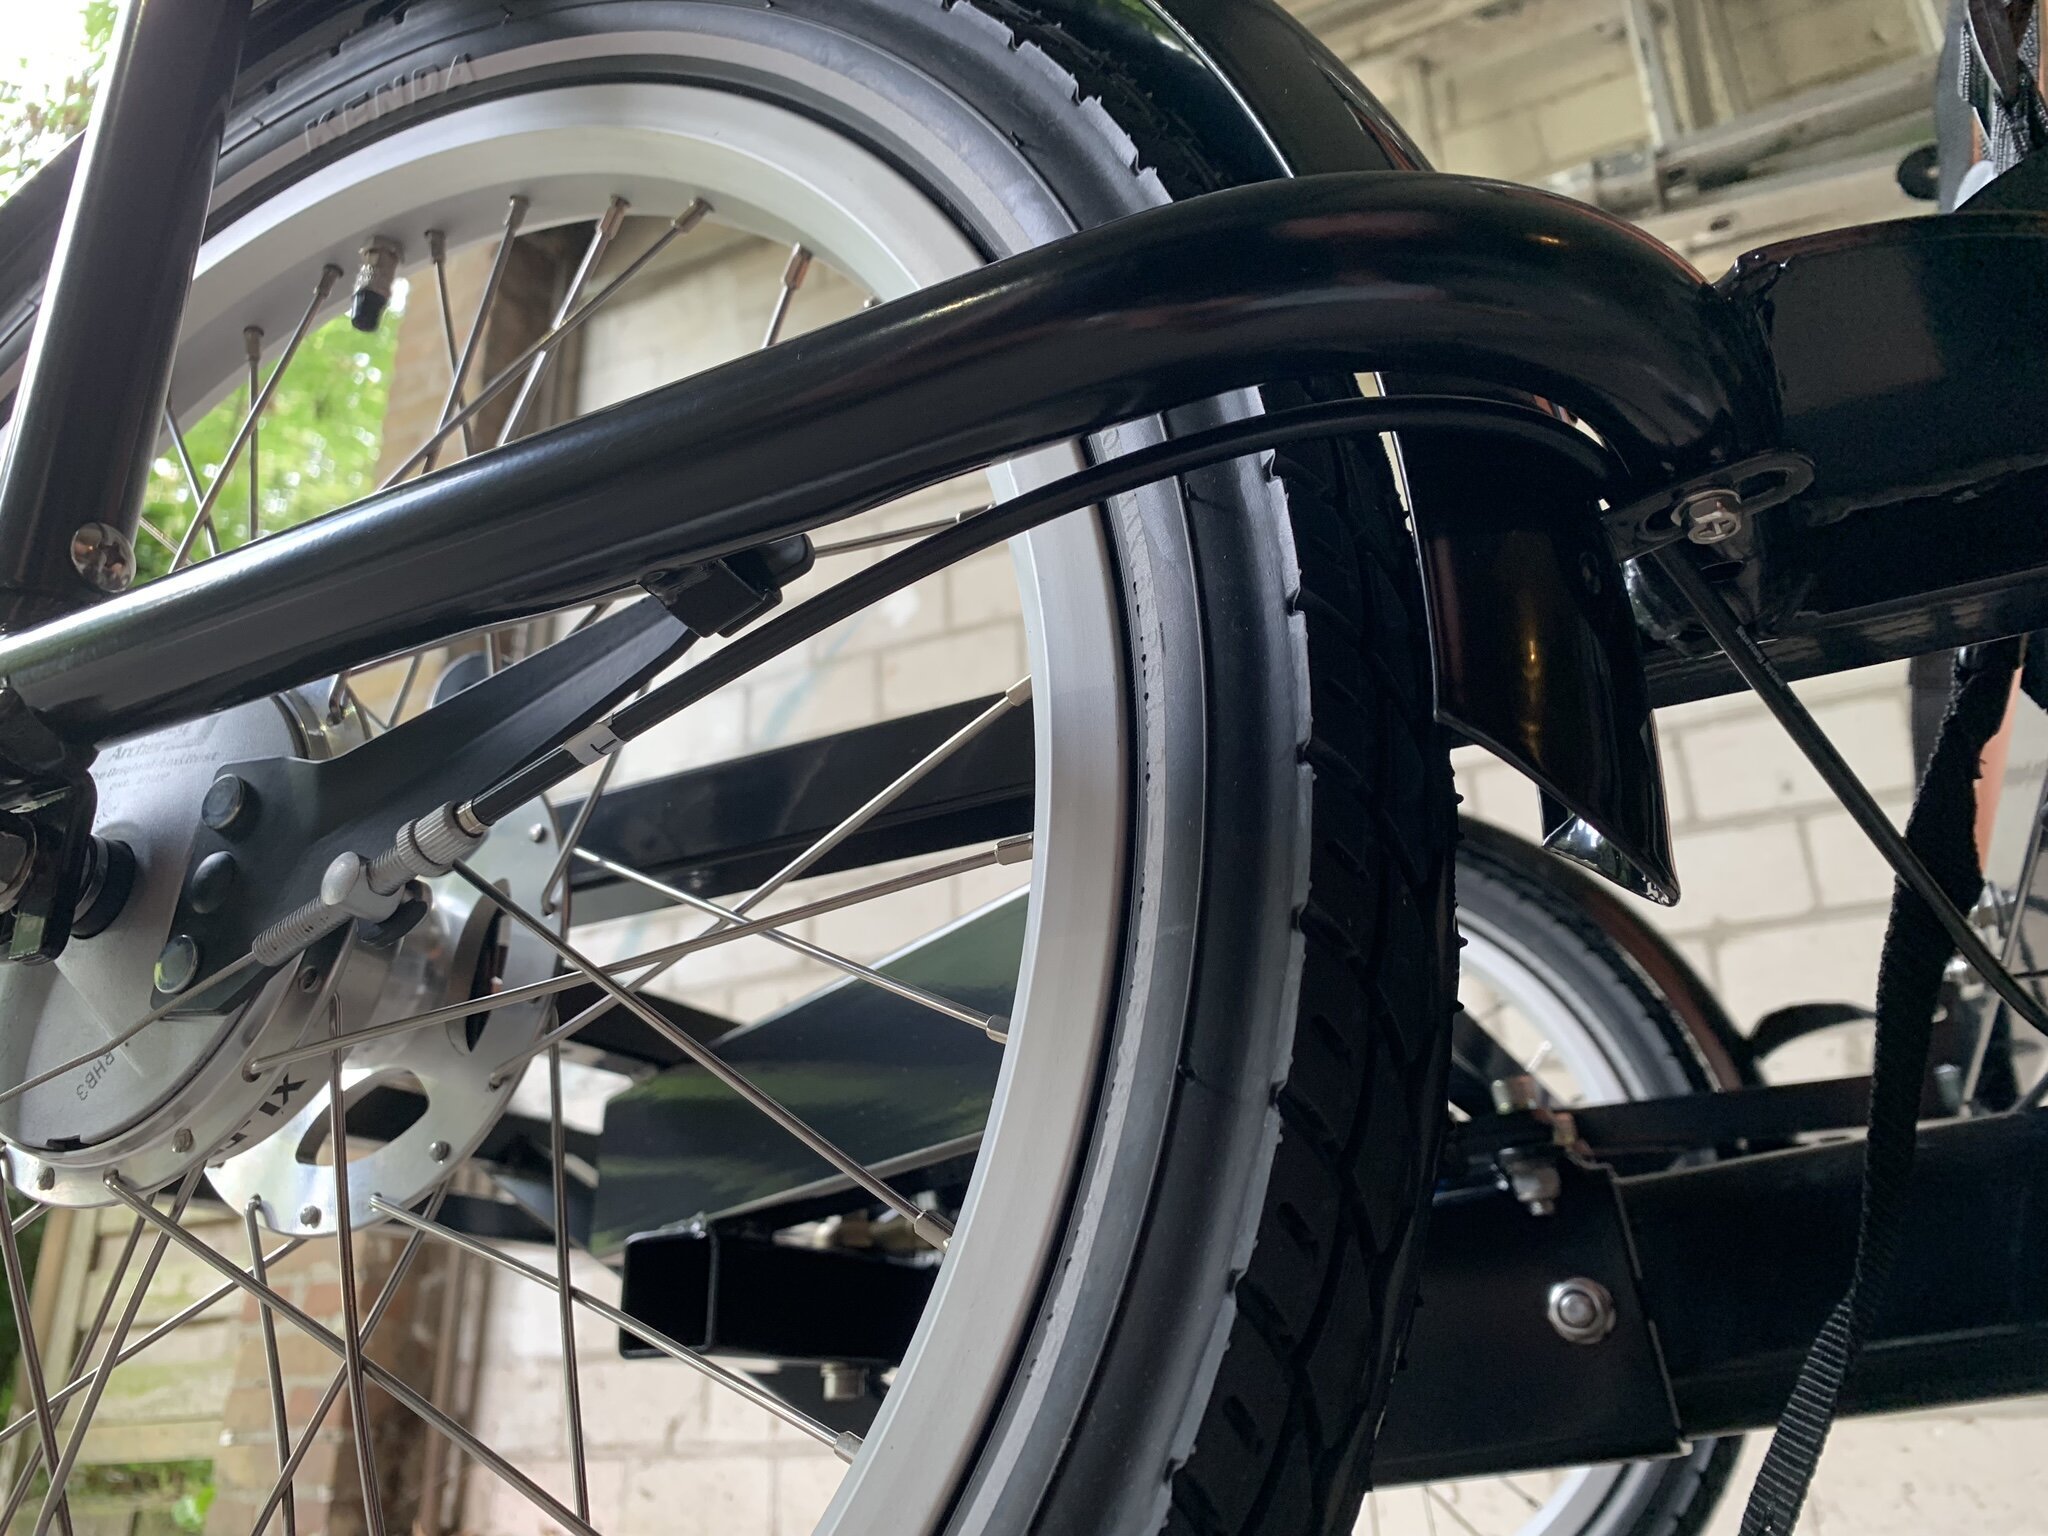
In a time when modern bikes have internal cable management, I think this is hopelessly old fashioned. Whatever you do to arrange the cables, make sure to test if any of them obstruct the swinging of the cargo box. You don't want any cables to get stuck causing damage or an accident.

Building the box
Once the frame (and cables) are done, it's a relatively simple matter of building the (wooden) box. The box itself provides some structural integrity to the (front)frame. For this reason it's a good idea to make sure you have fixed all the bolts, but only after (final) assembly as some of the bolts need a little space to 'wiggle in' other parts.
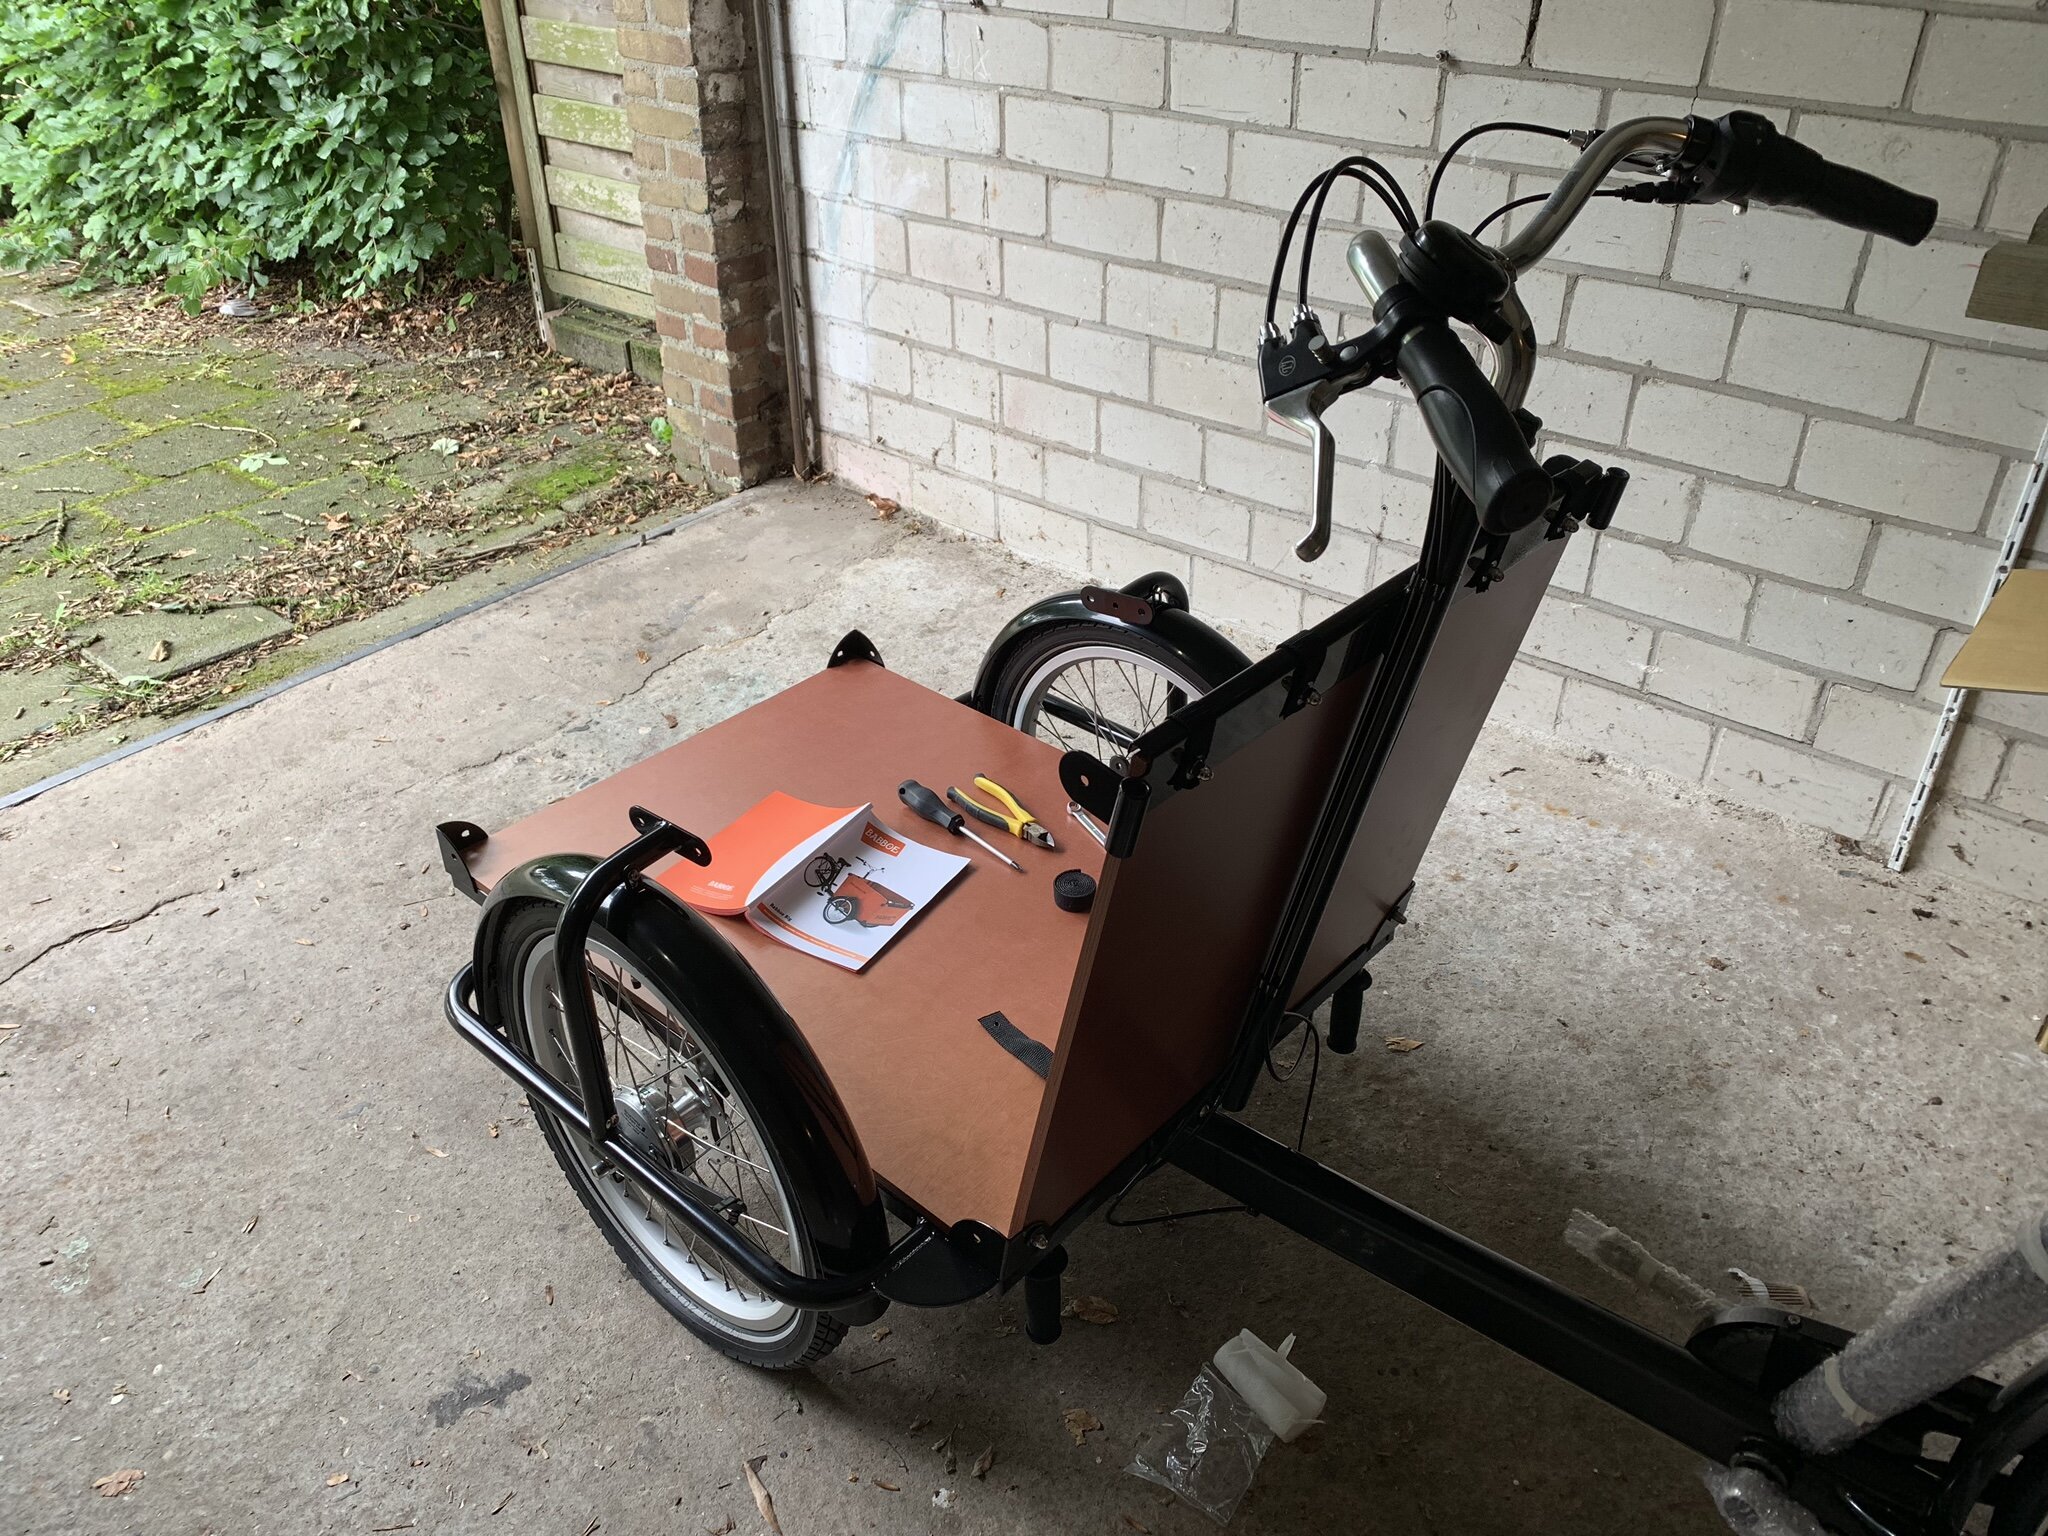
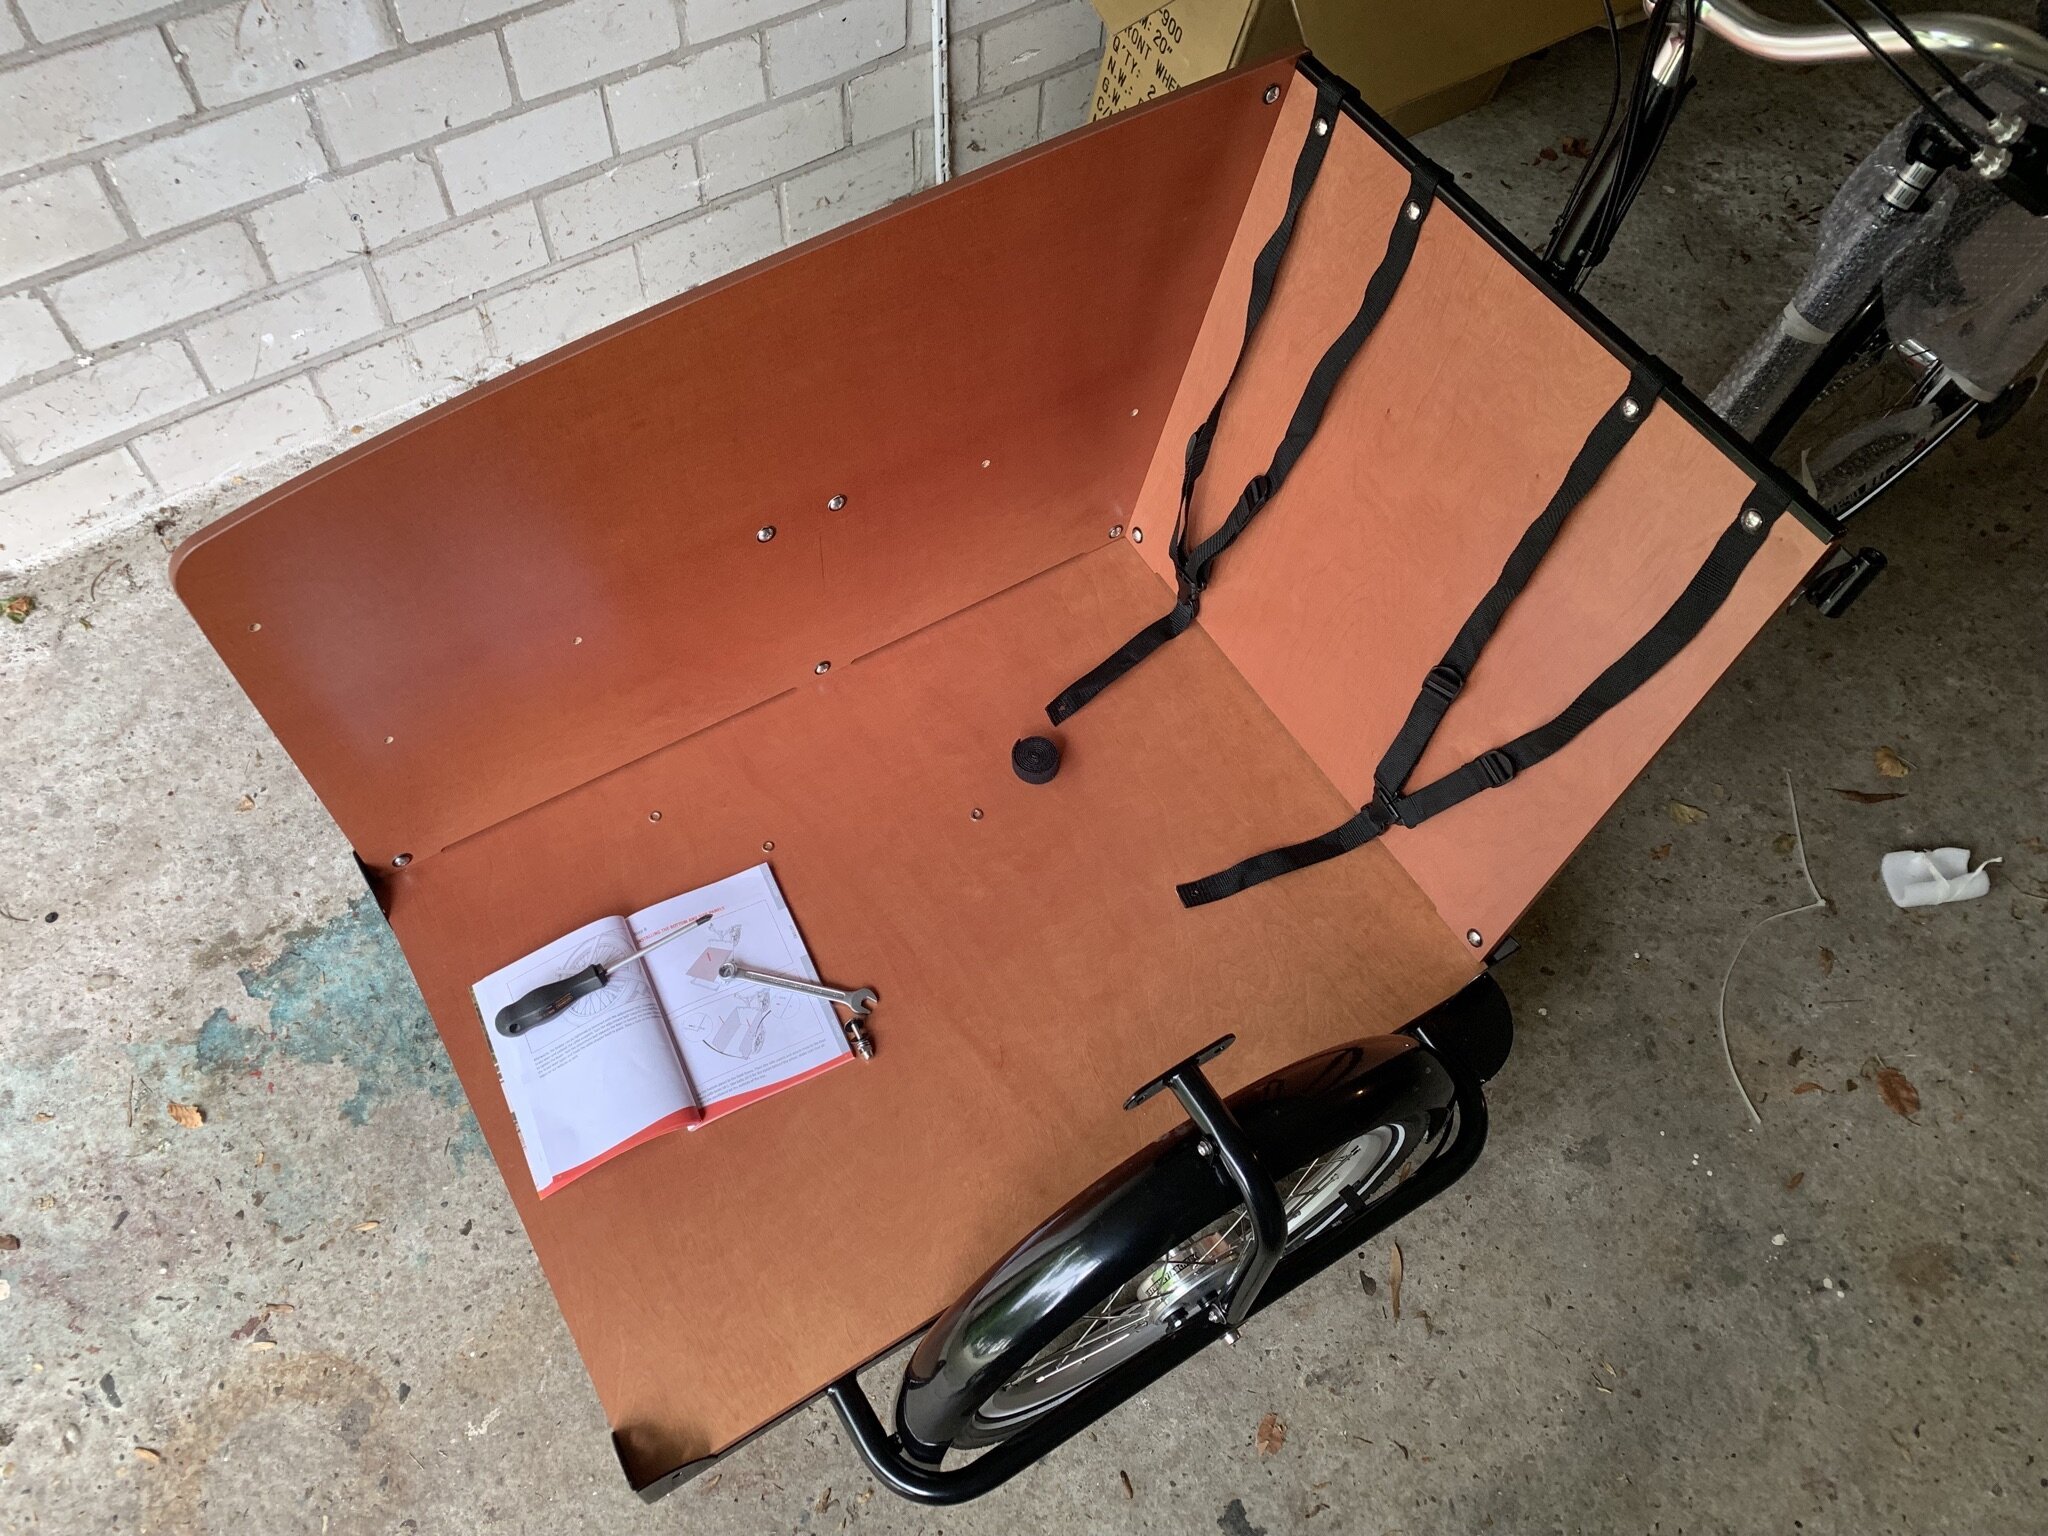
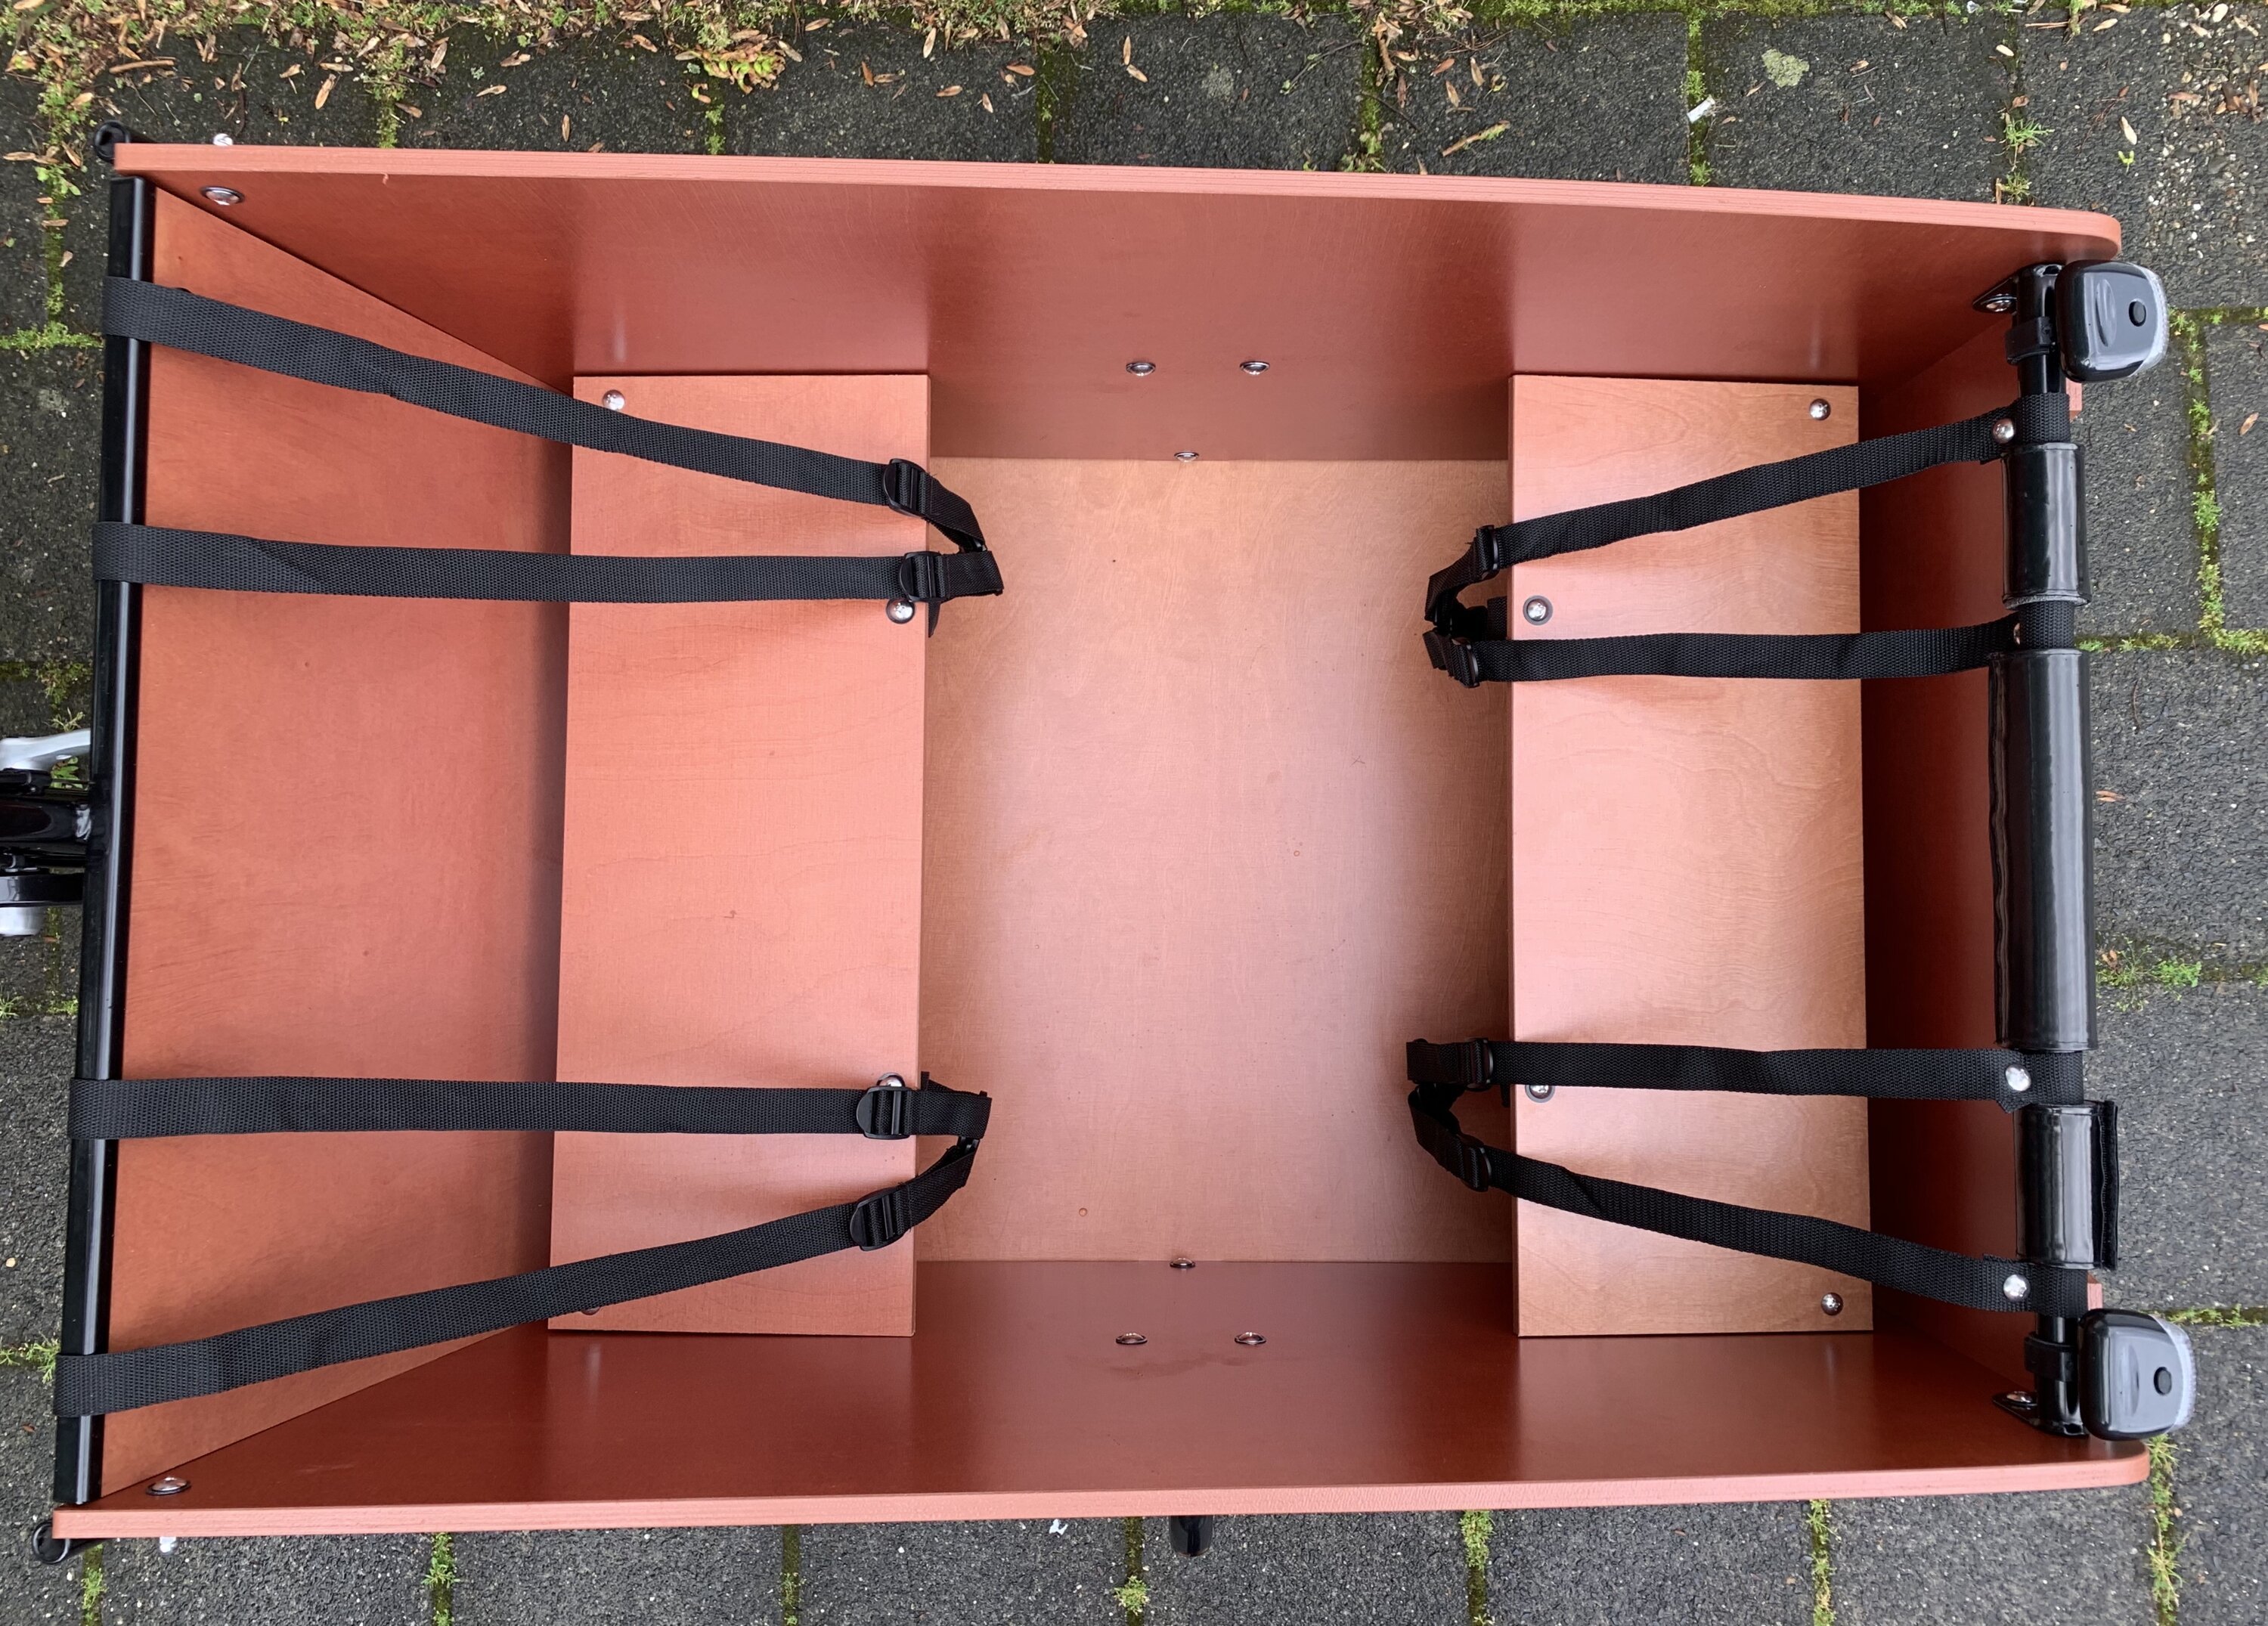
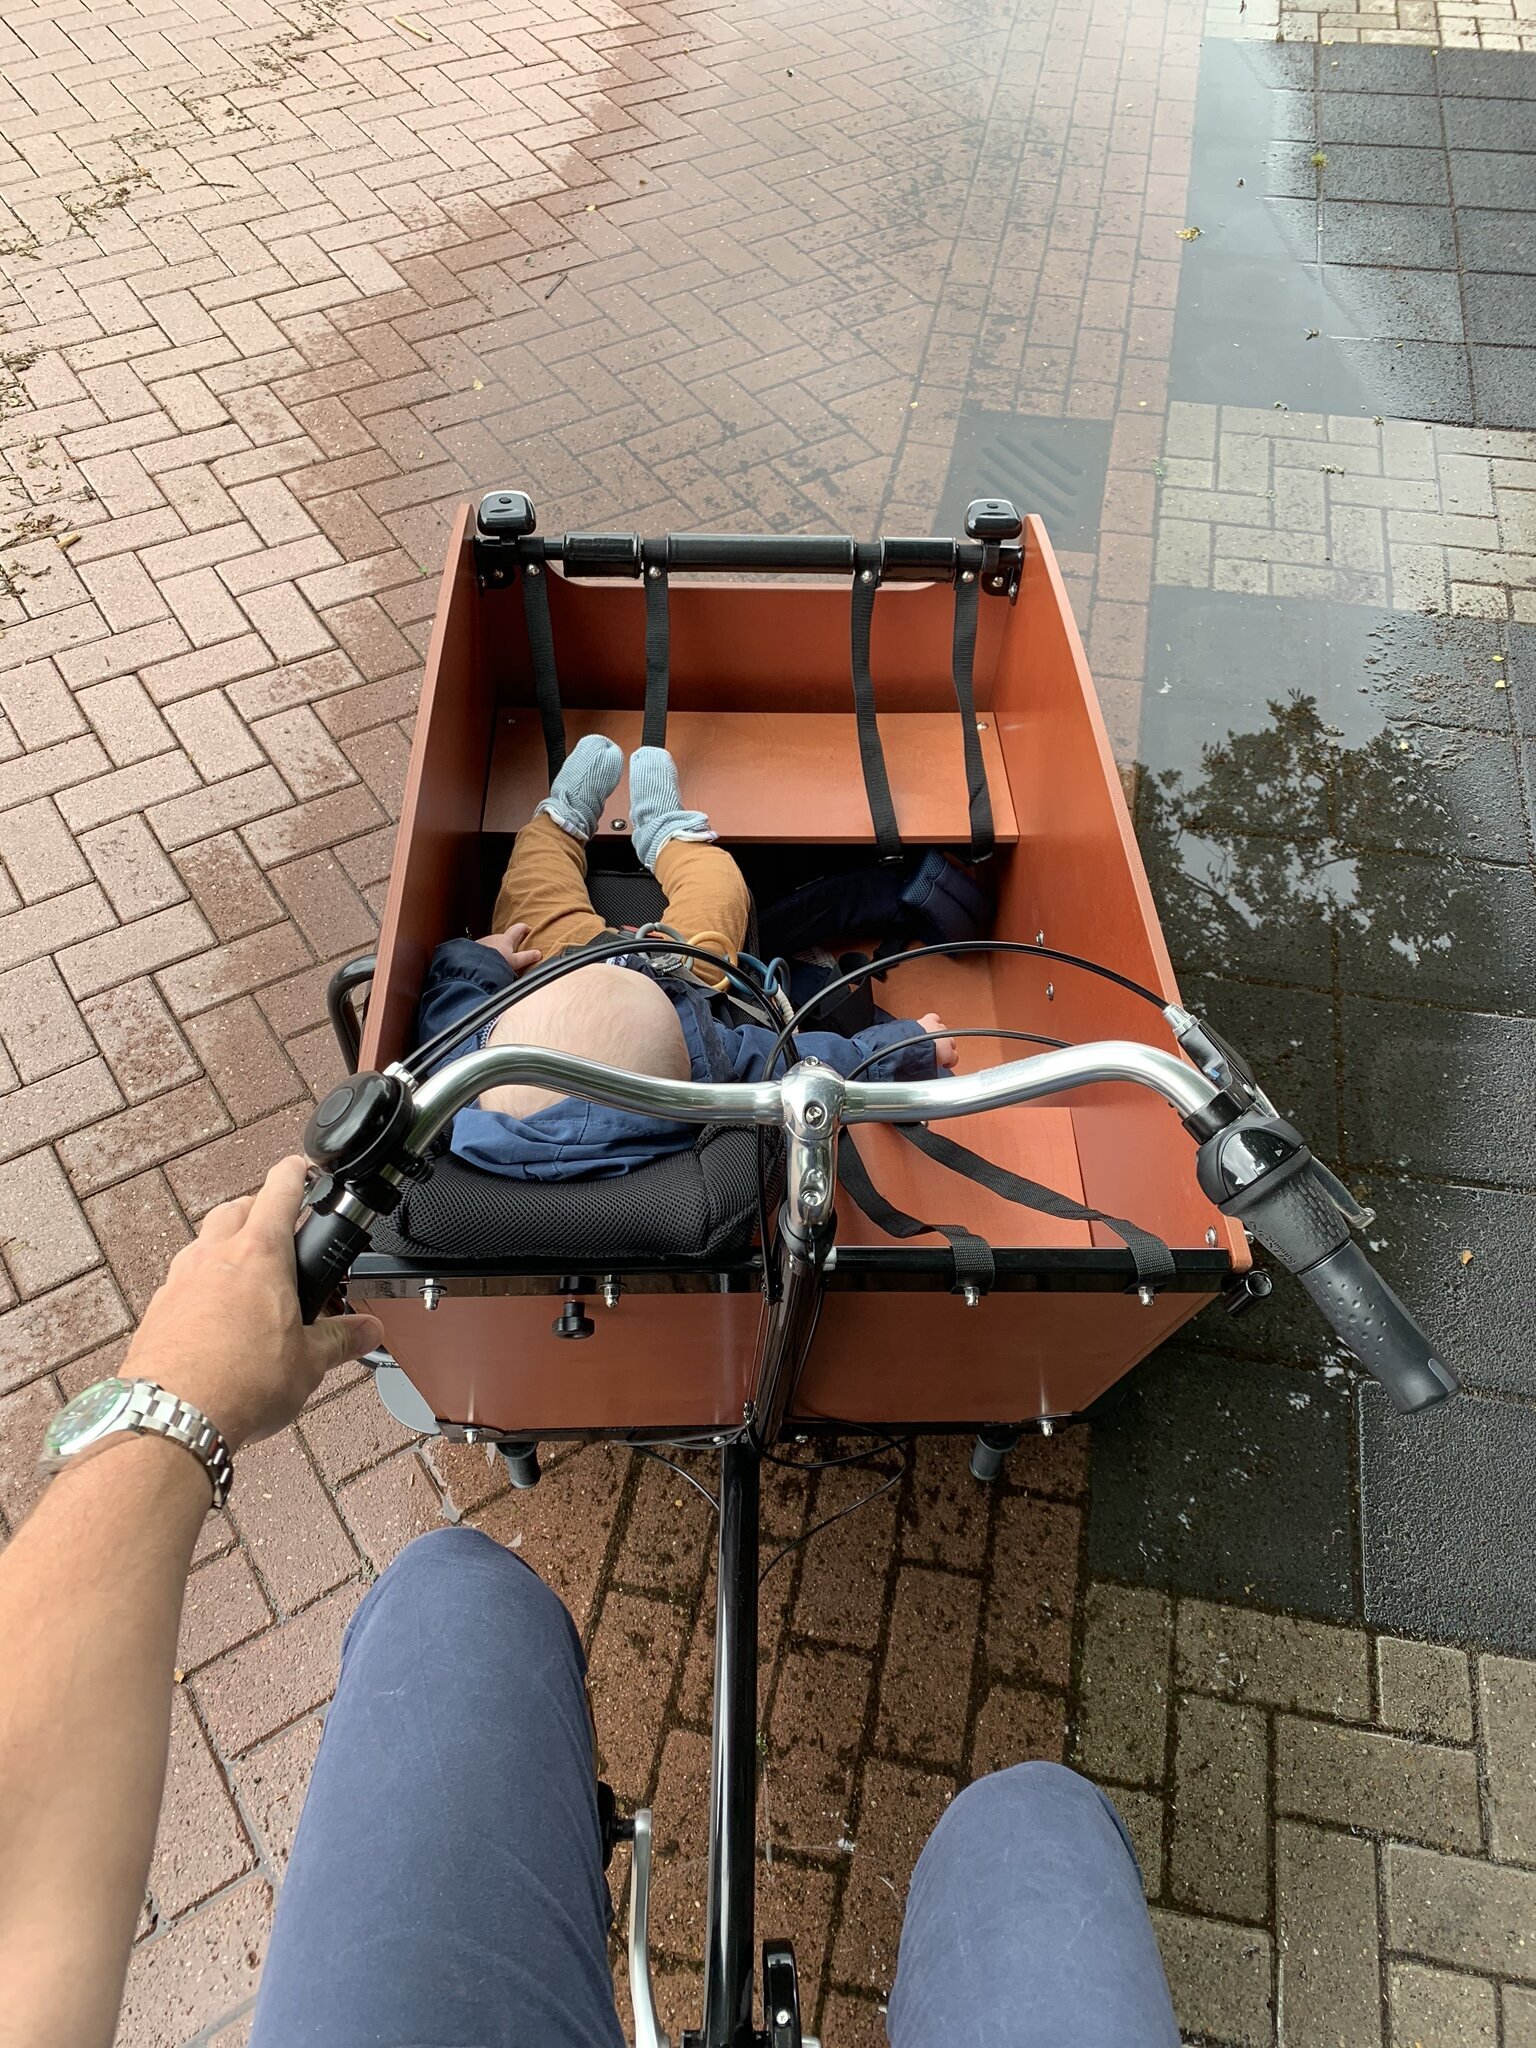
Once the cargo box is done you are to choose the "inner furniture" of the cargo bike. This is where the flexibility of the design really shines. You'll get two flippable benches as standard, but you can choose to omit them, replace them or augment them with optional baby/infant seats.

Conclusion
After hours of assembling the cargo bike I now have the feeling that I know it through and through. From an engineering perspective, that's great. But, if you're a parent with not an infinite amount of time... you might consider the fully assembled delivery option.
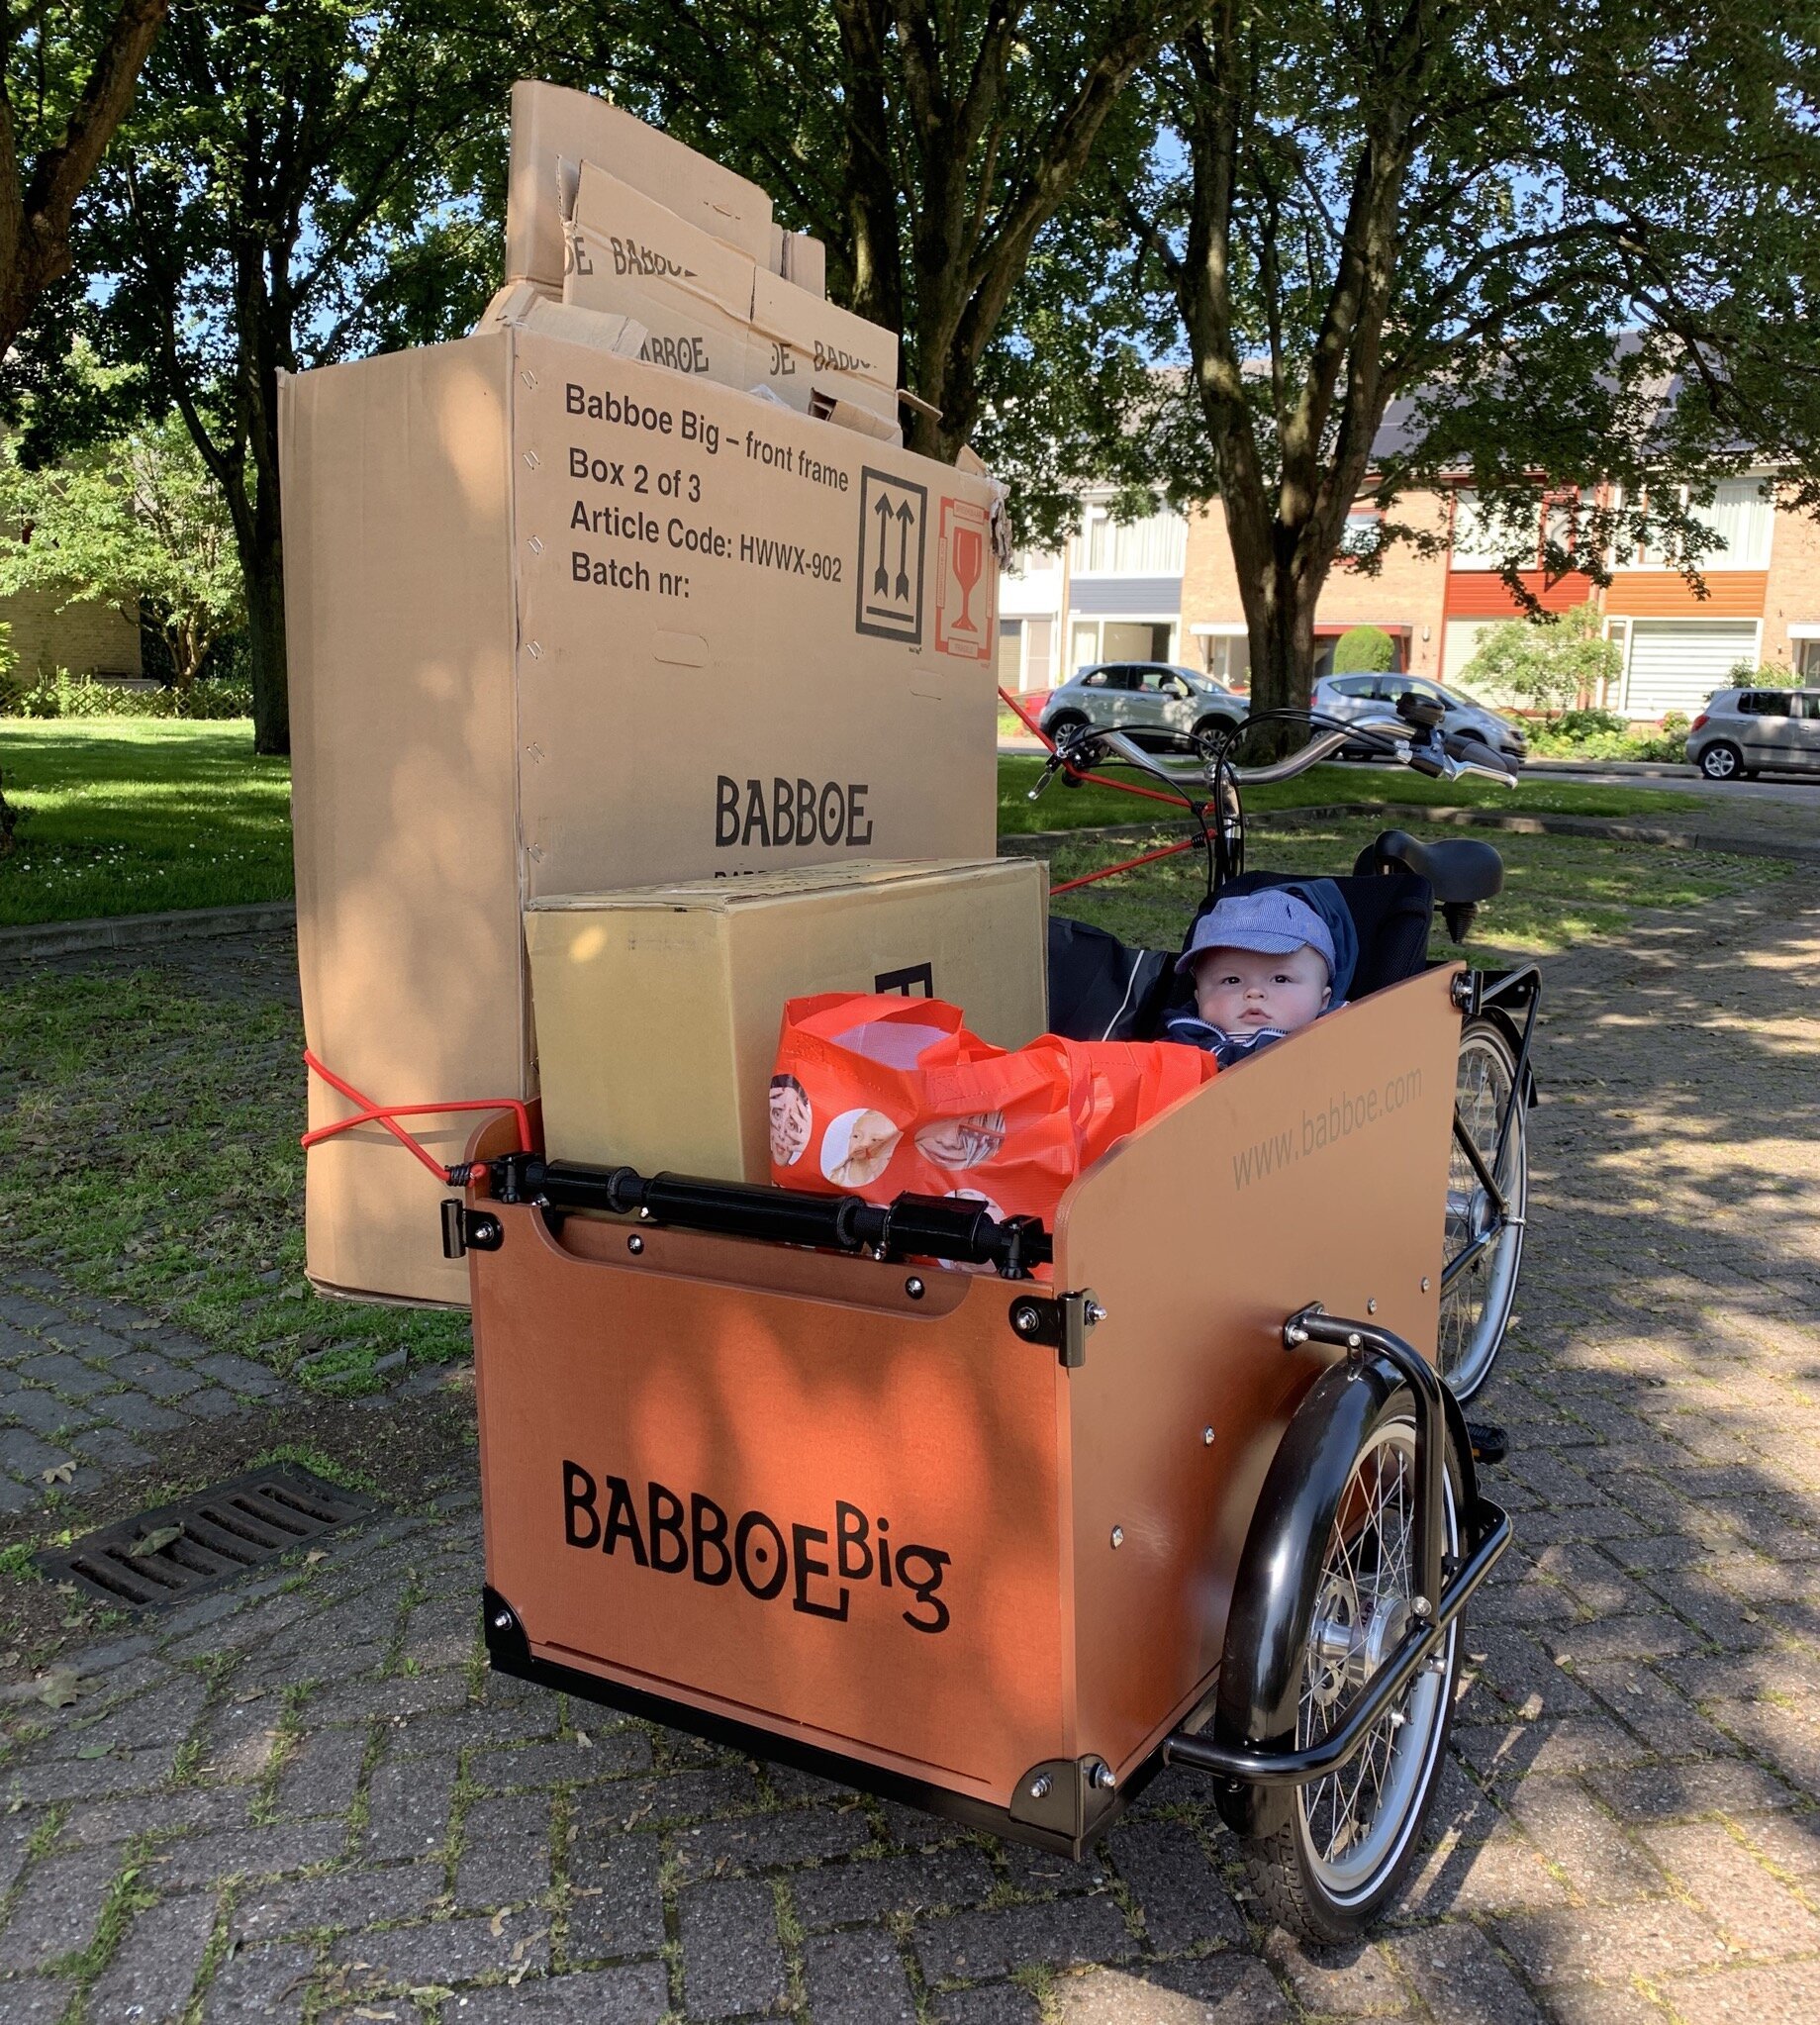
Whatever you choose, I can clearly understand why the Babboe Big is such a popular cargo bike. Its big box is very versatile and spacious. In addition to your kid(s), it can easily carry a lot more, an incredible lot!
Download
If you enjoy reading offline, this article is available for download:
Translations
This article is available in the following languages:
RSS / Atom
Grab one of the feeds to stay up to date, the feeds contain the full posts: