
Nov. 22, 2020
Replacing a Shimano shift cable
Fixing the cargo bike after hunting for bears
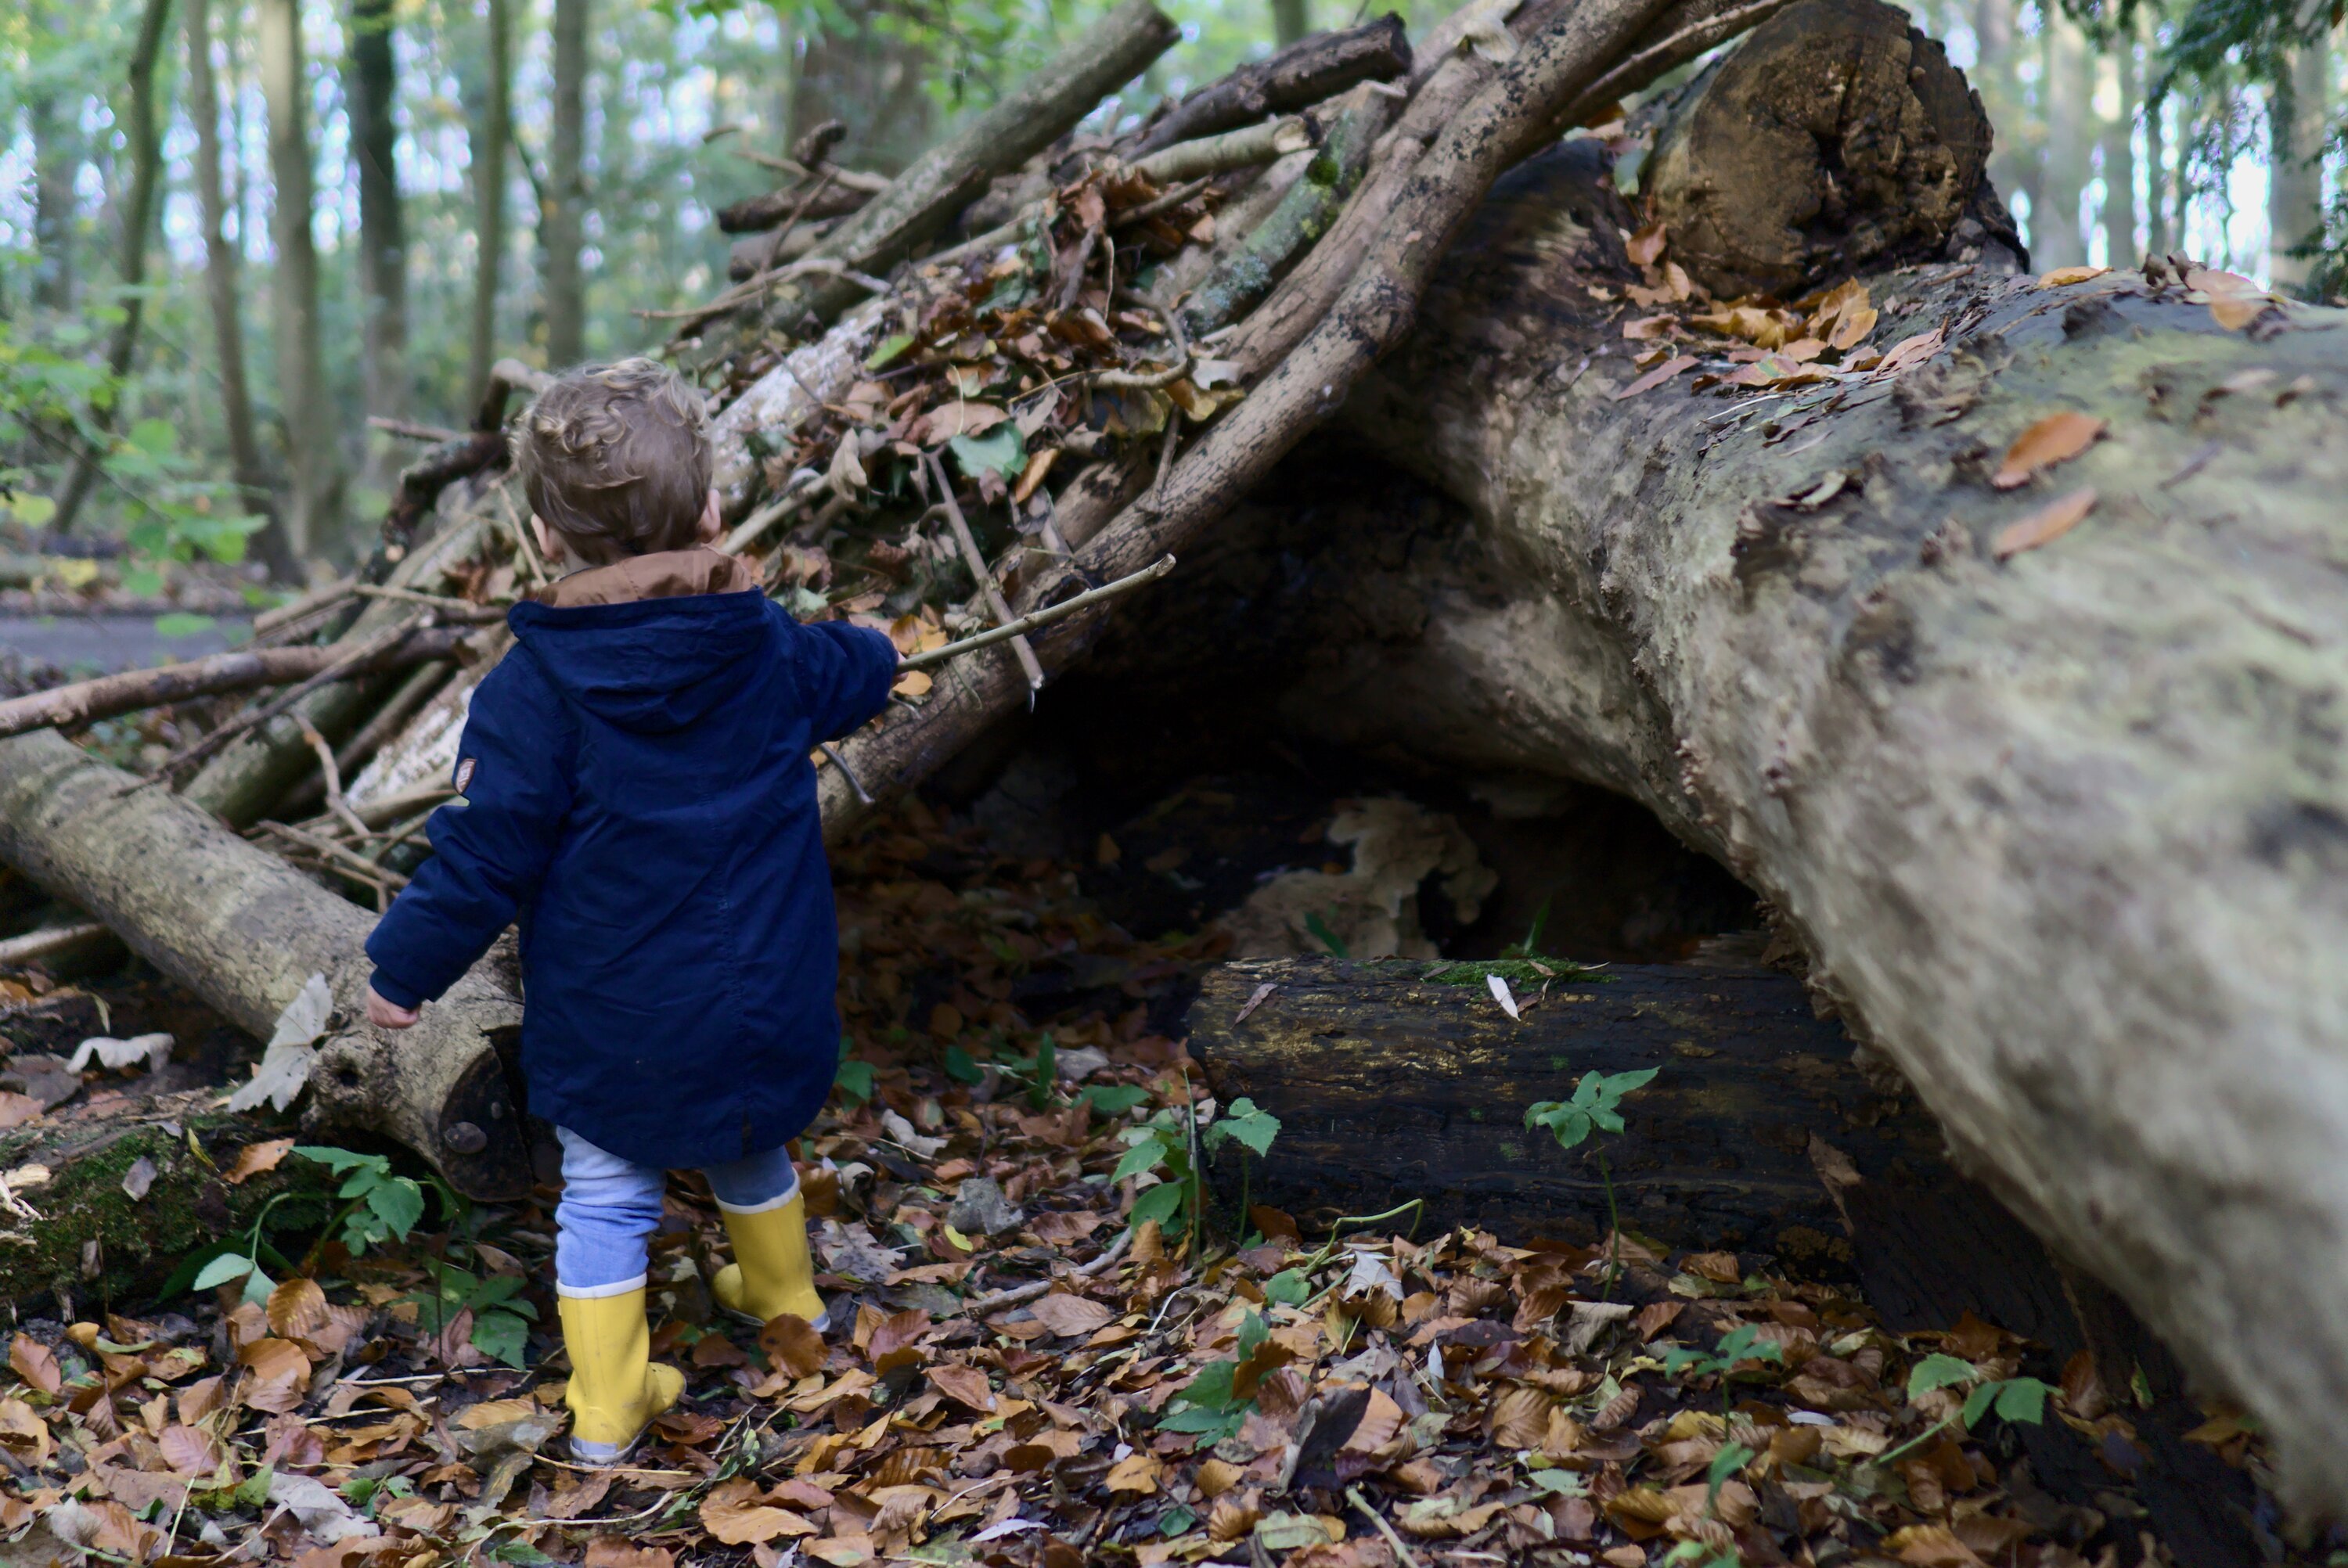
Last week my son and I where looking for bears in the local park... a child's fantasy is priceless! Unfortunately, during some off road riding with our cargo bike, one of the cables got tangled up with a sturdy branch! Our wounded carbo bike was in need for a repair!
Looking for bears
One thing I love about cycling is that you experience the world around you very intensely. You smell nature, you hear the birds and you see so much more around you. It's no coincidence then, that I enjoy going out on adventure with my son using our cargo bike.

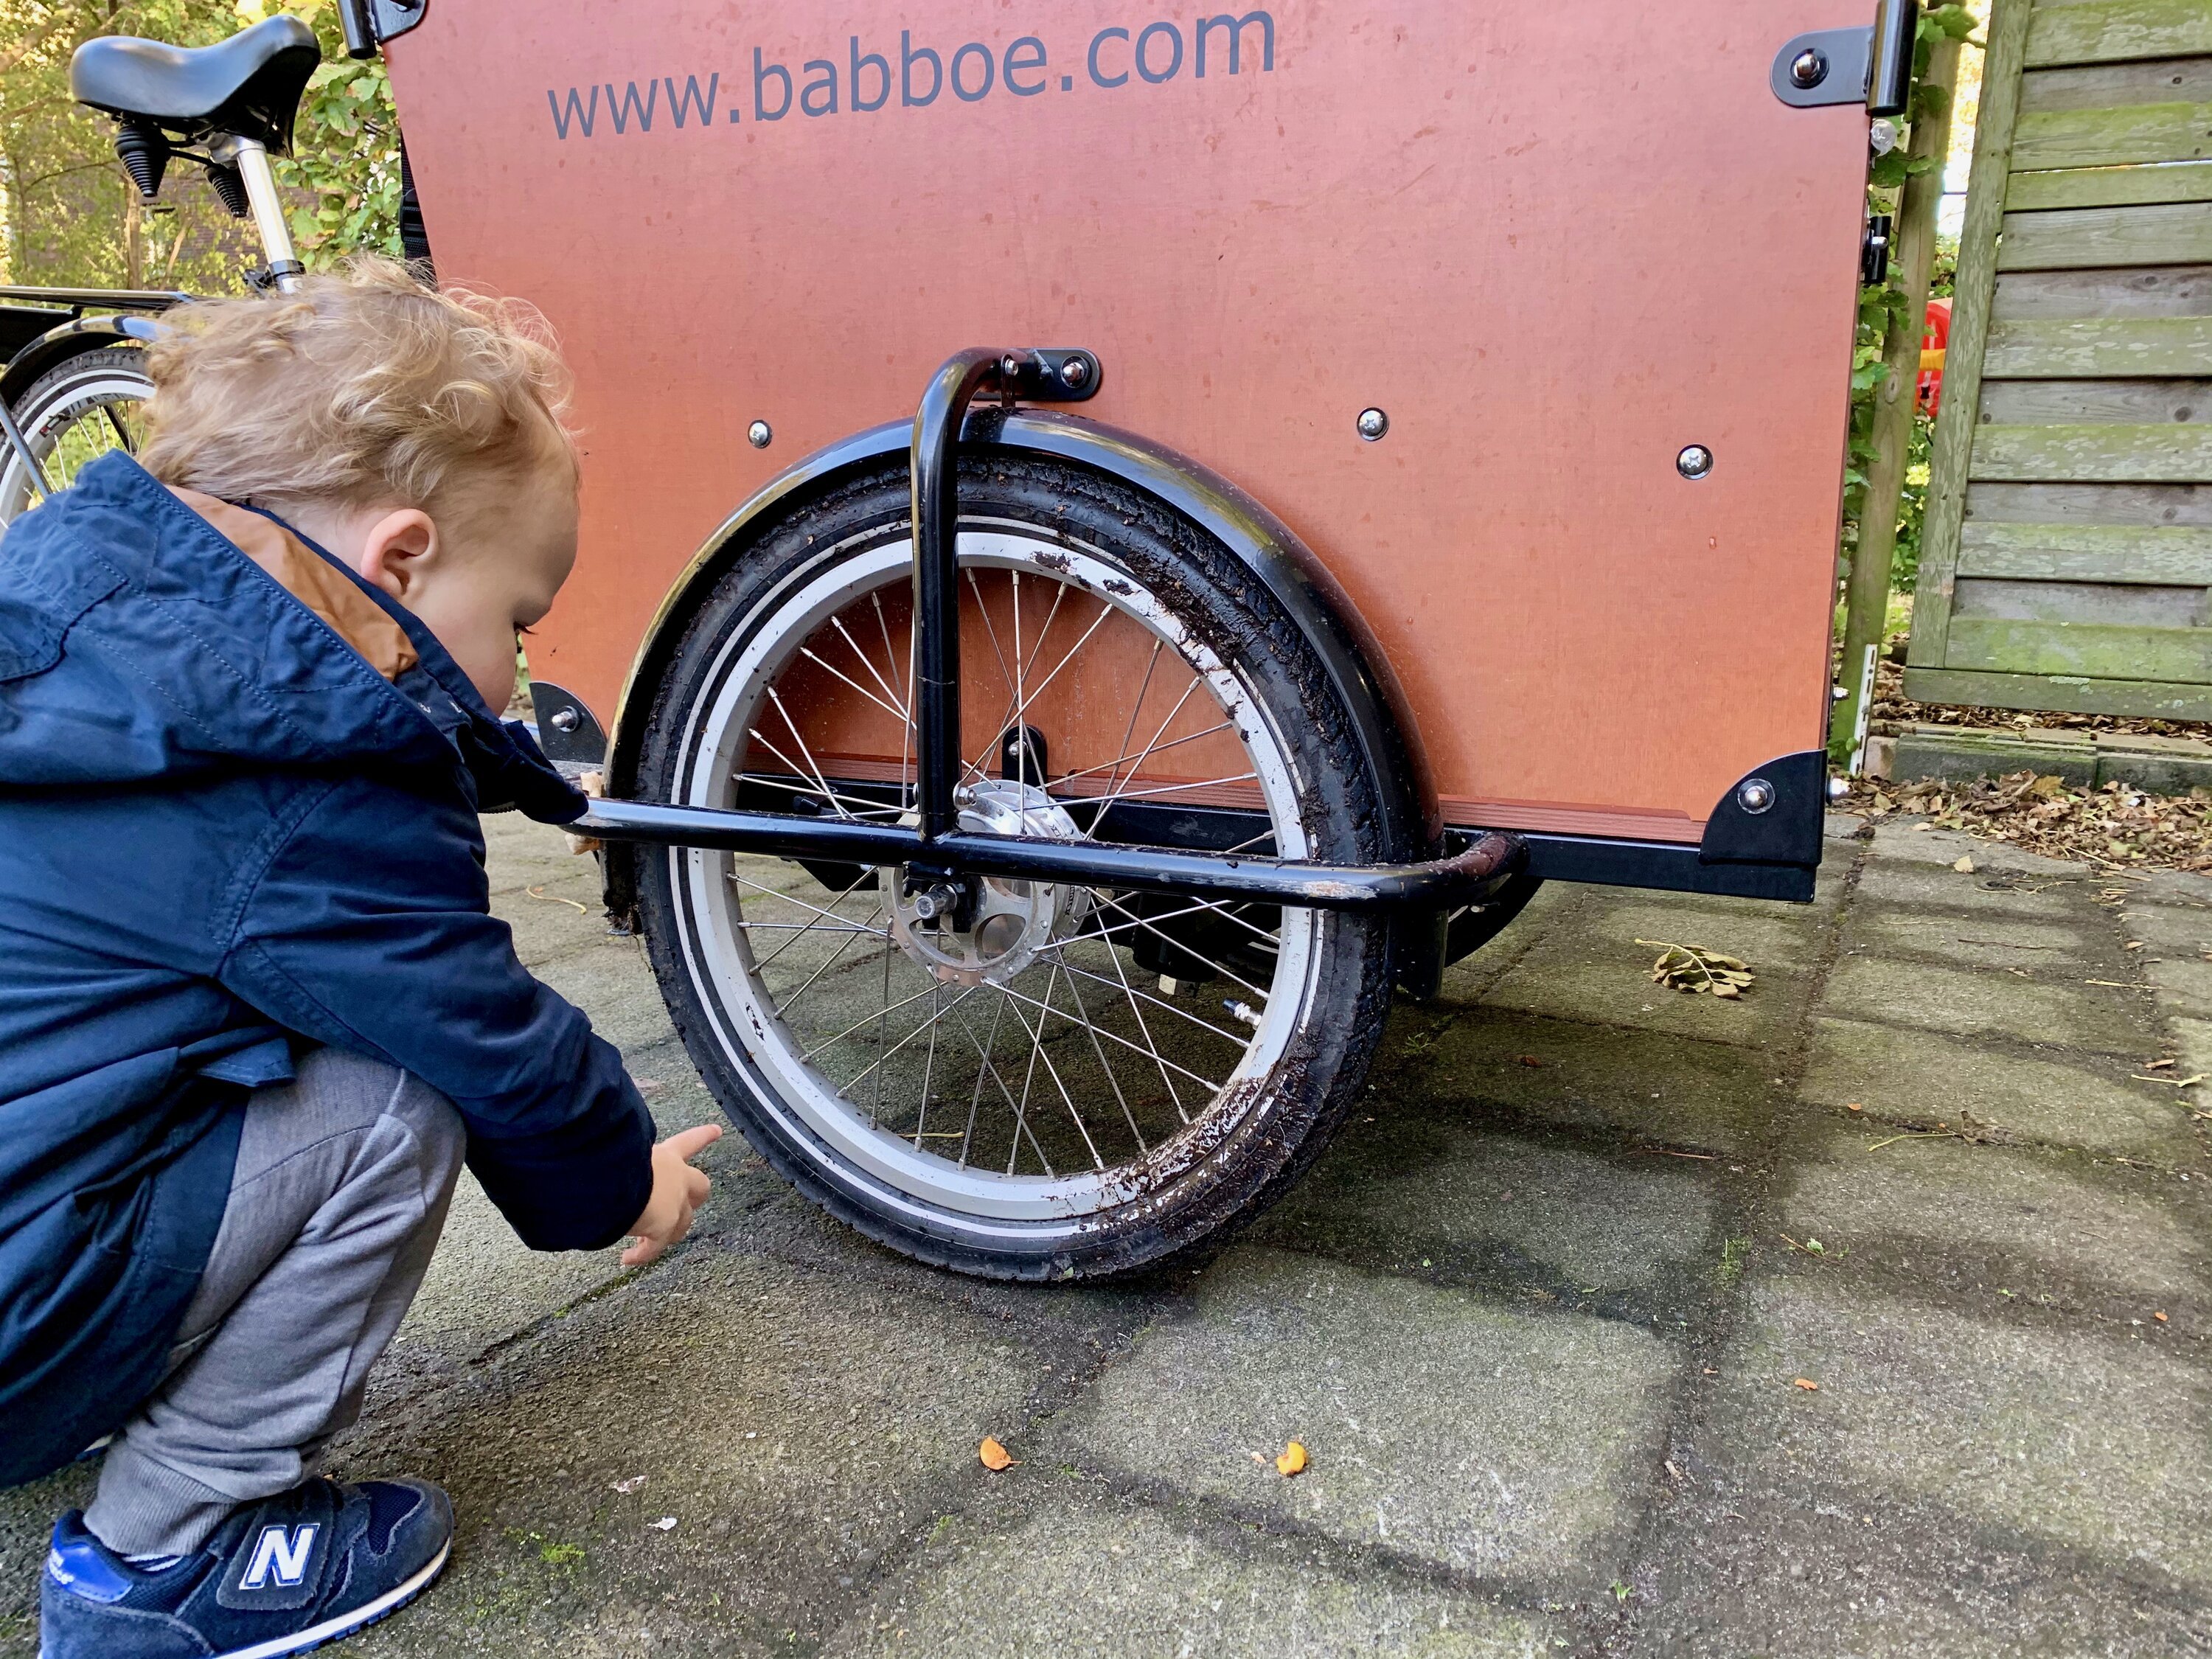
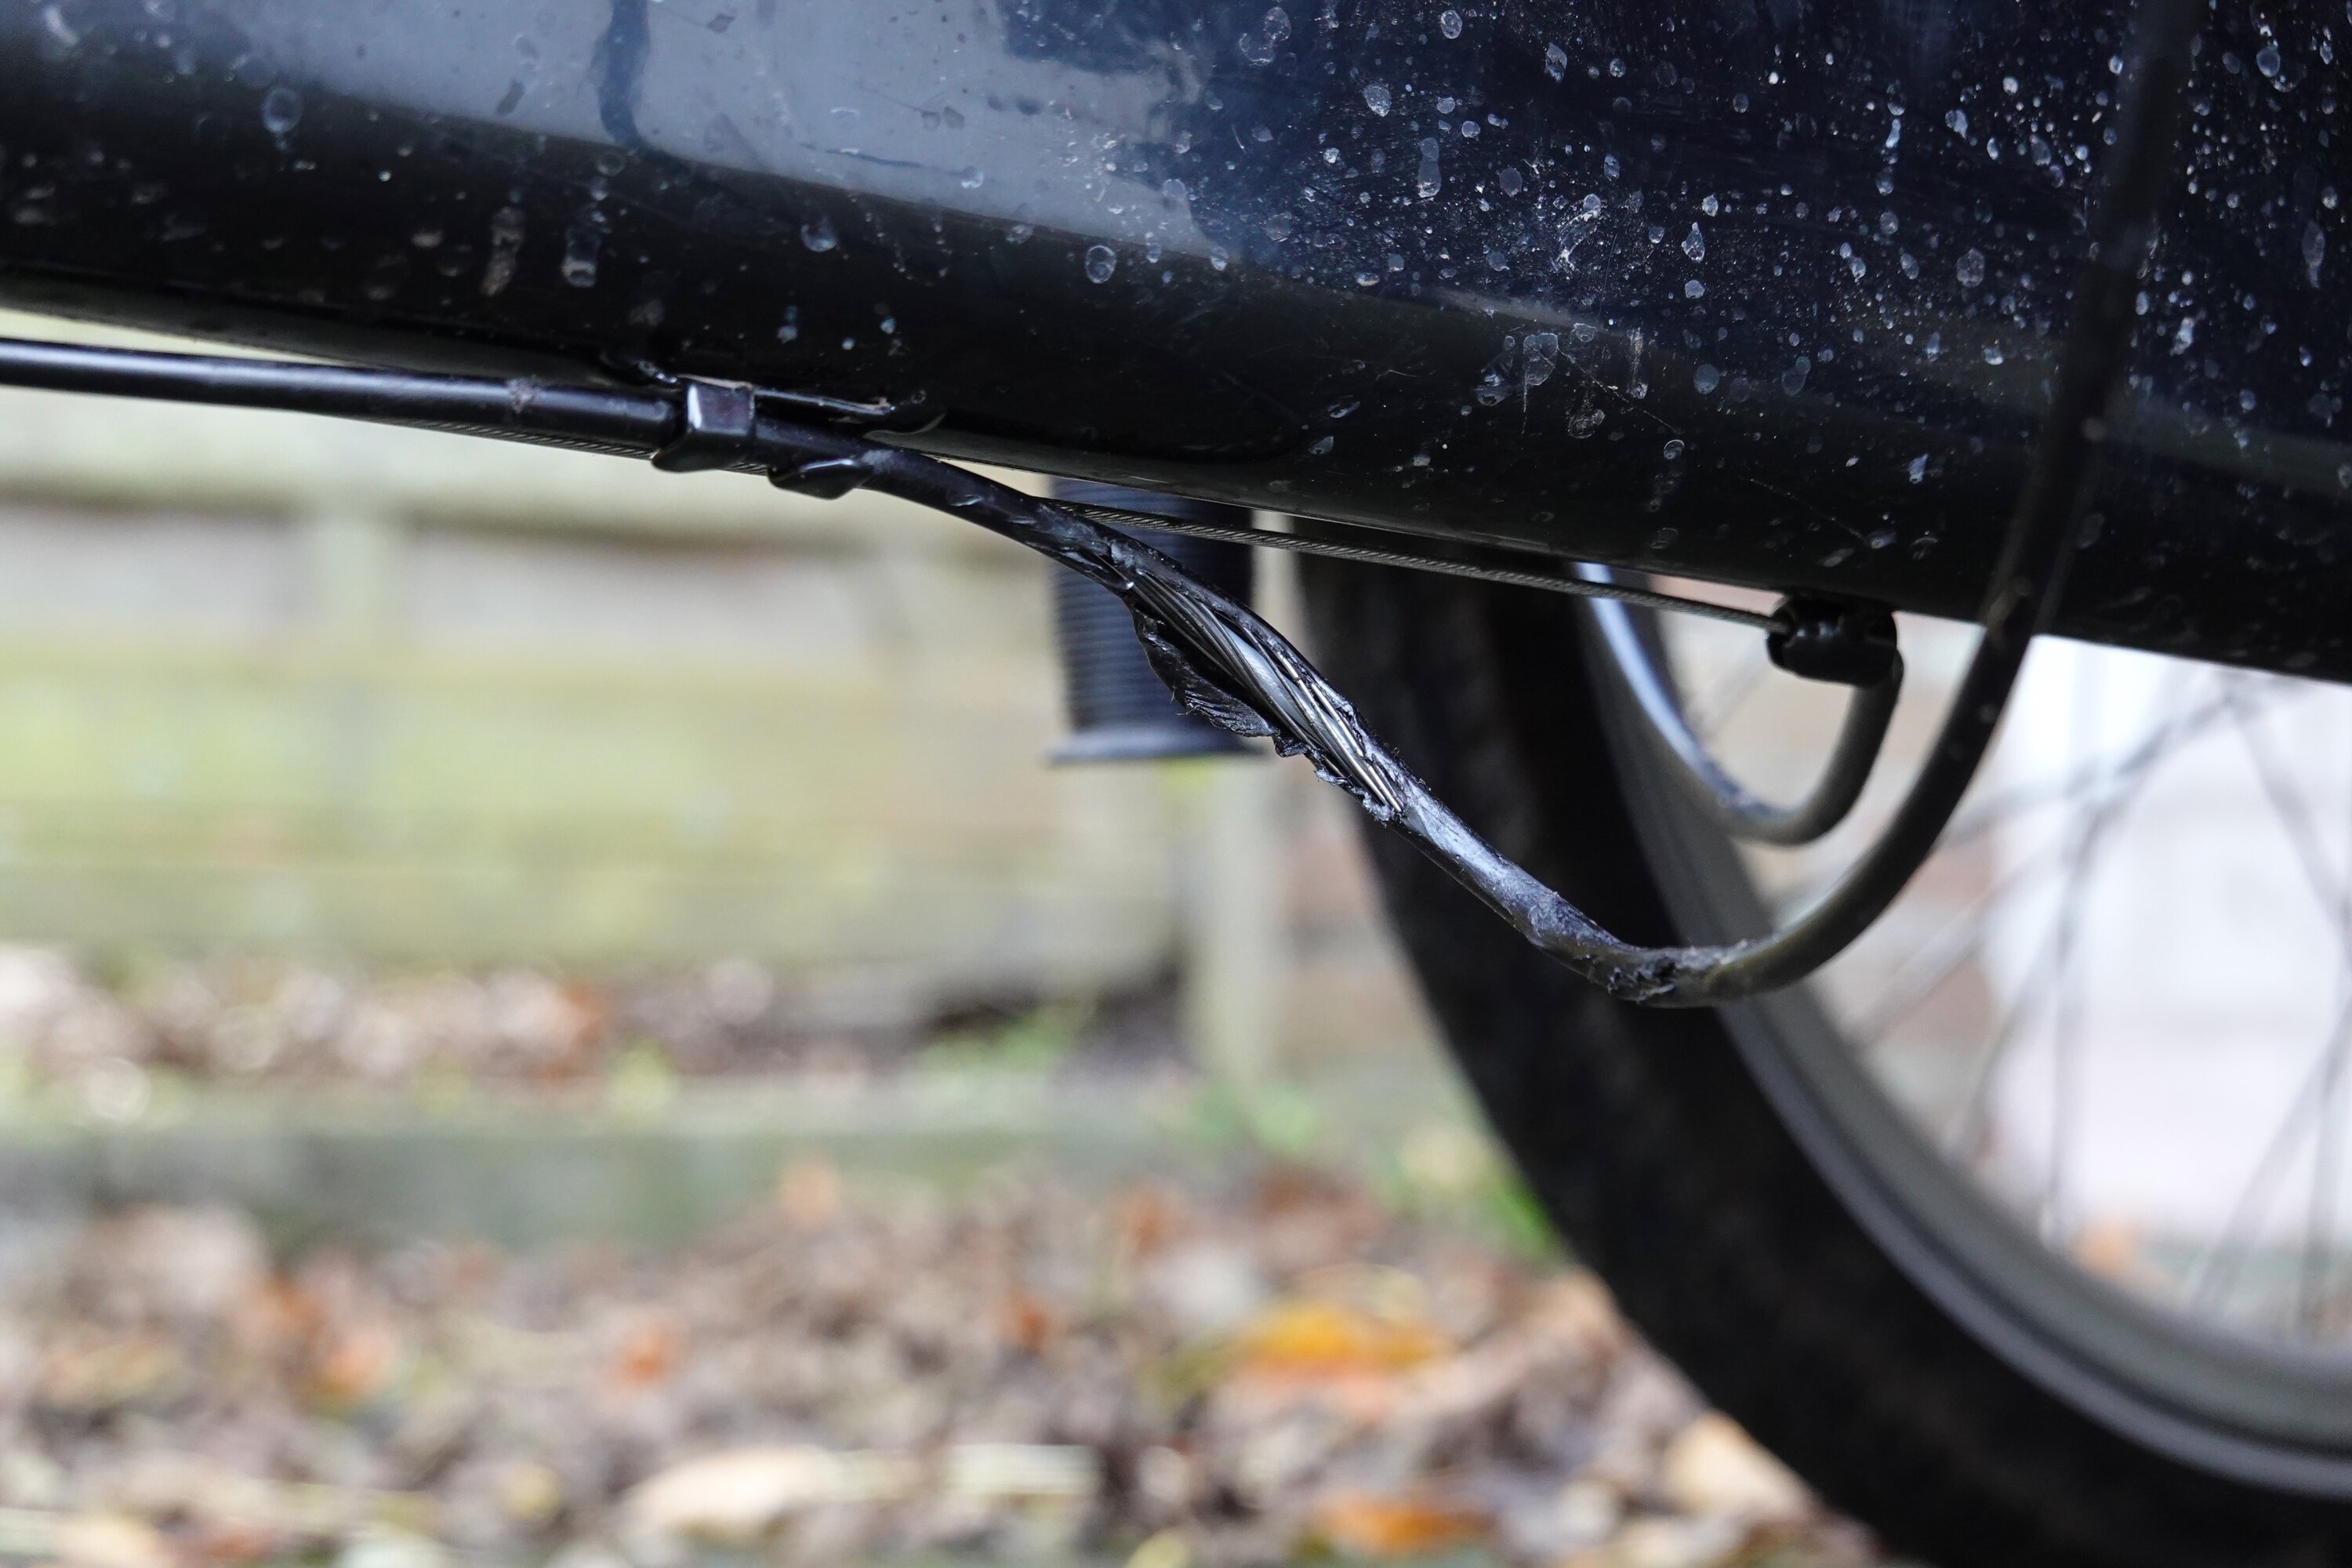
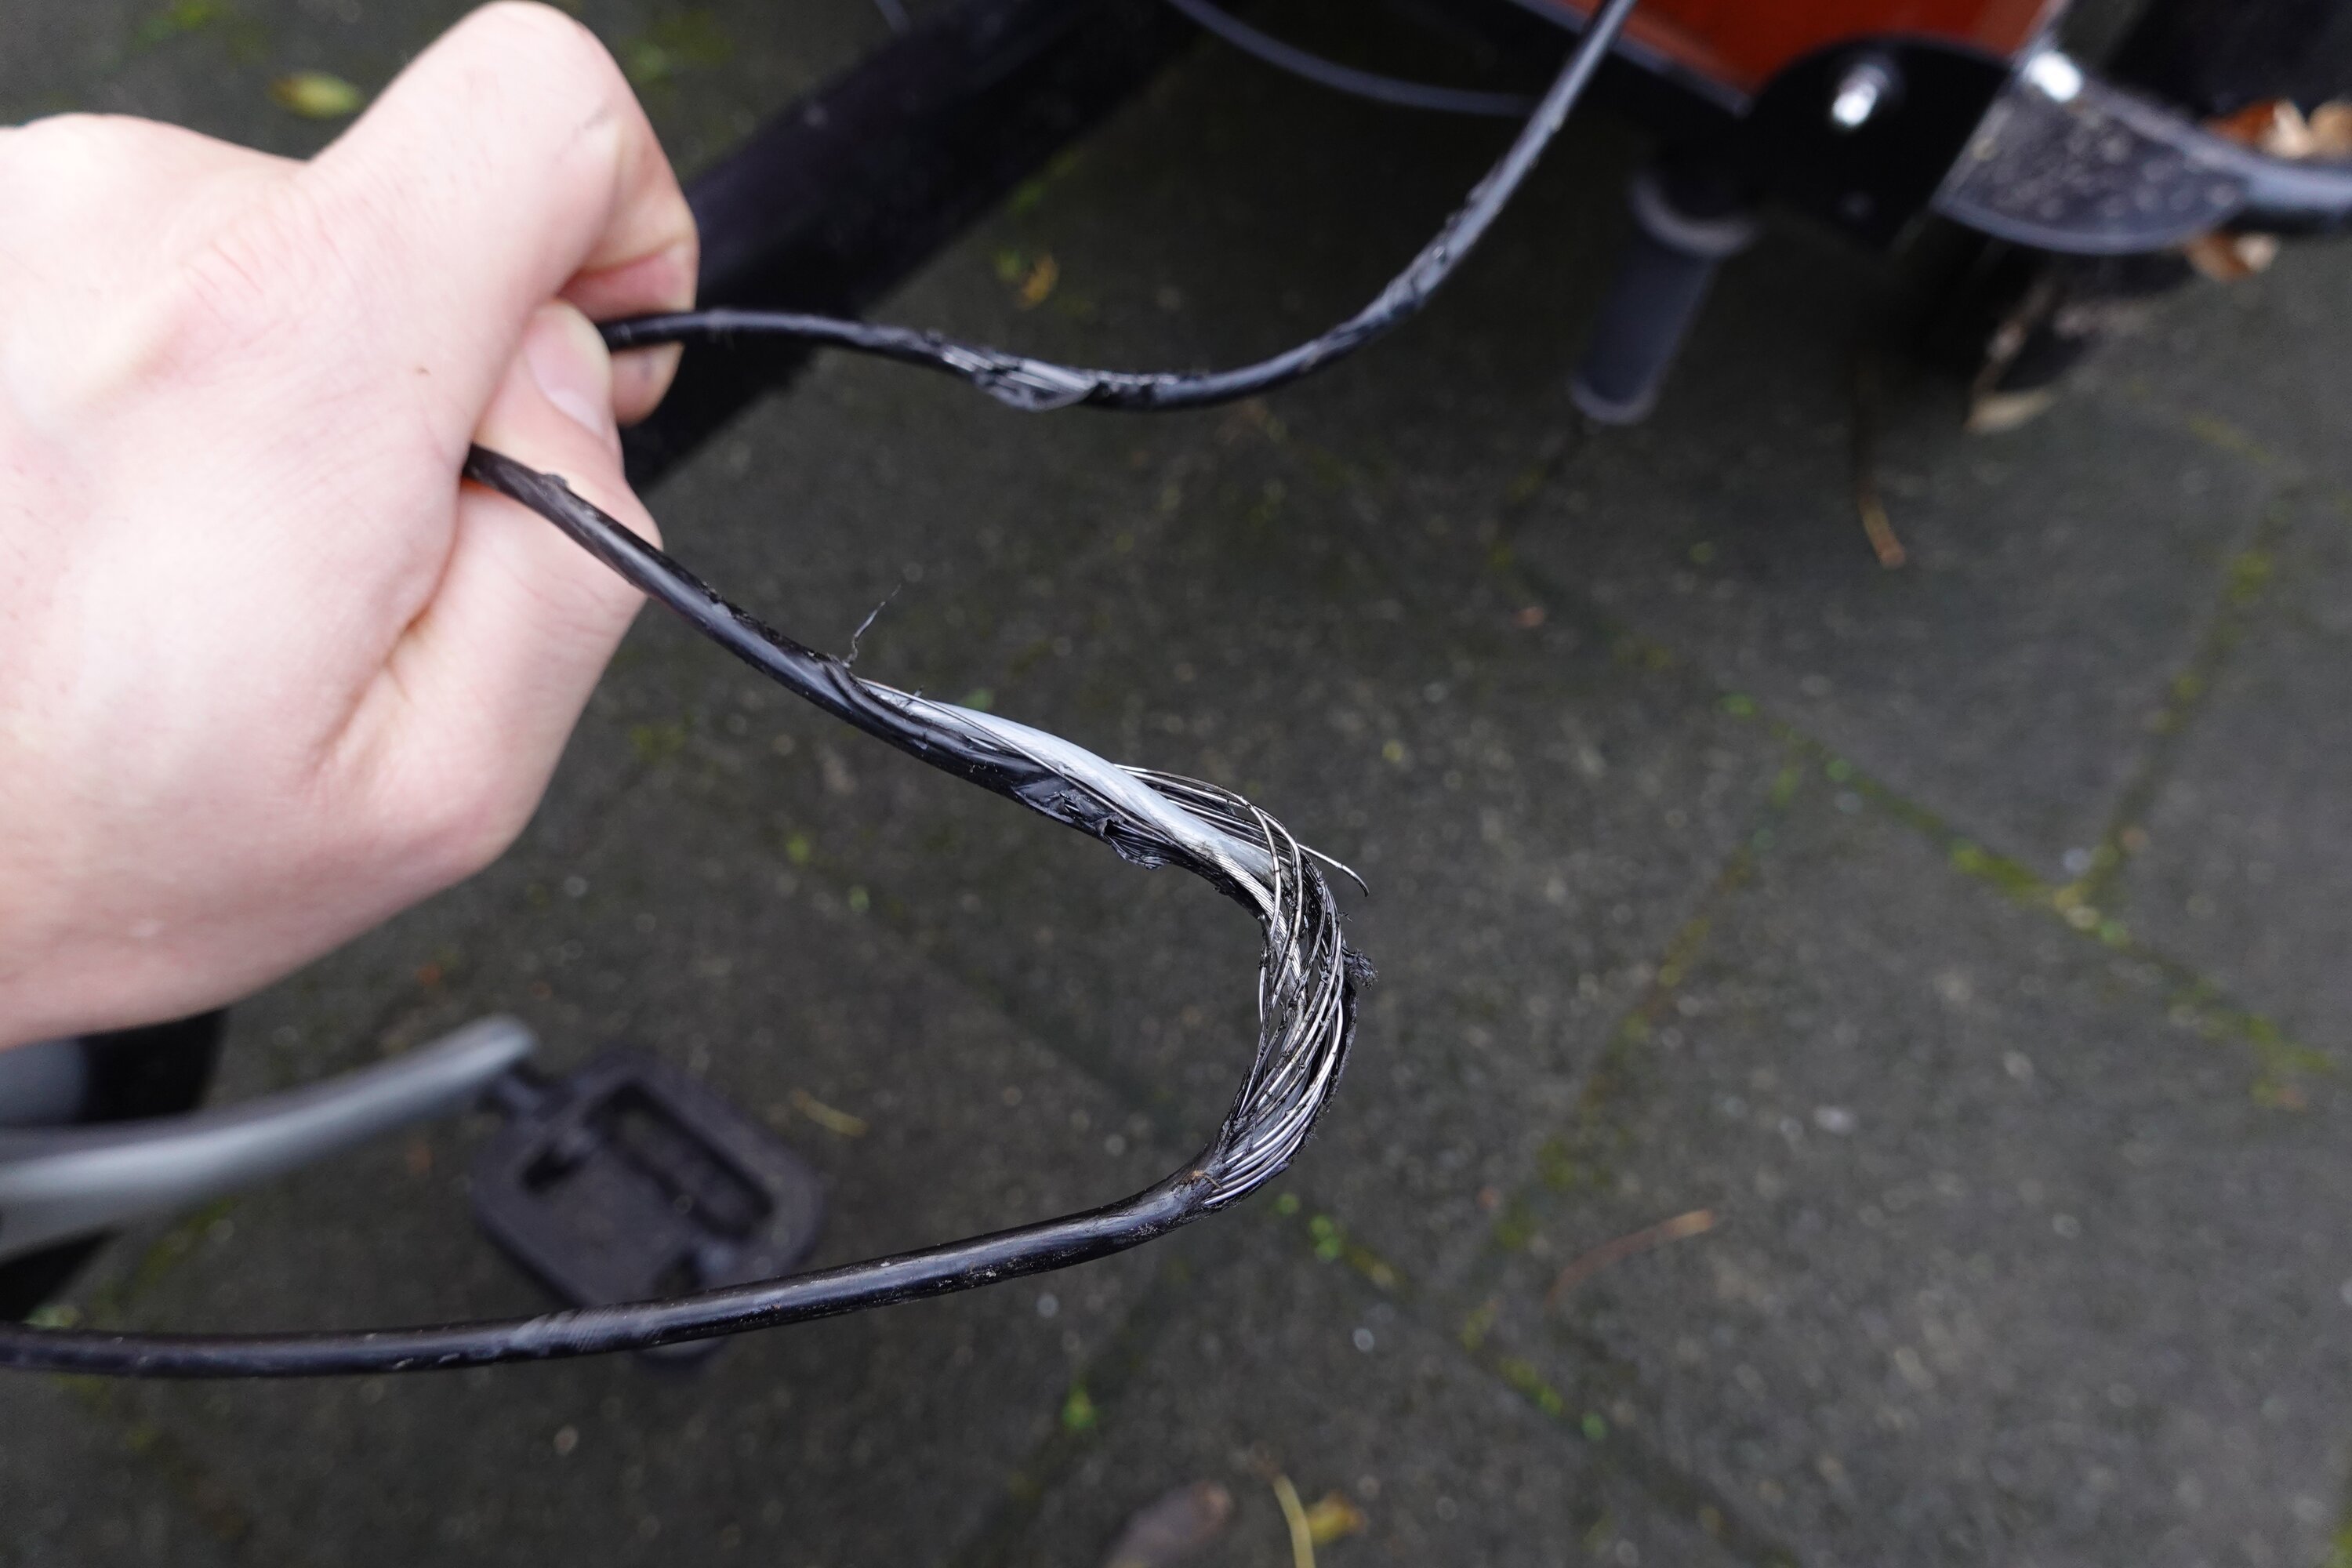
One of the cool things my son and I sometimes do, is to ride the cargo bike off road... Going through mud and bushes adds to the adventure! This time the bushes fought back! A sturdy branch got stuck right between the shifter cable underneath the cargo bike's frame! It pulled the entire cable from the frame, causing it to tear apart!
Replacing the shifter cable
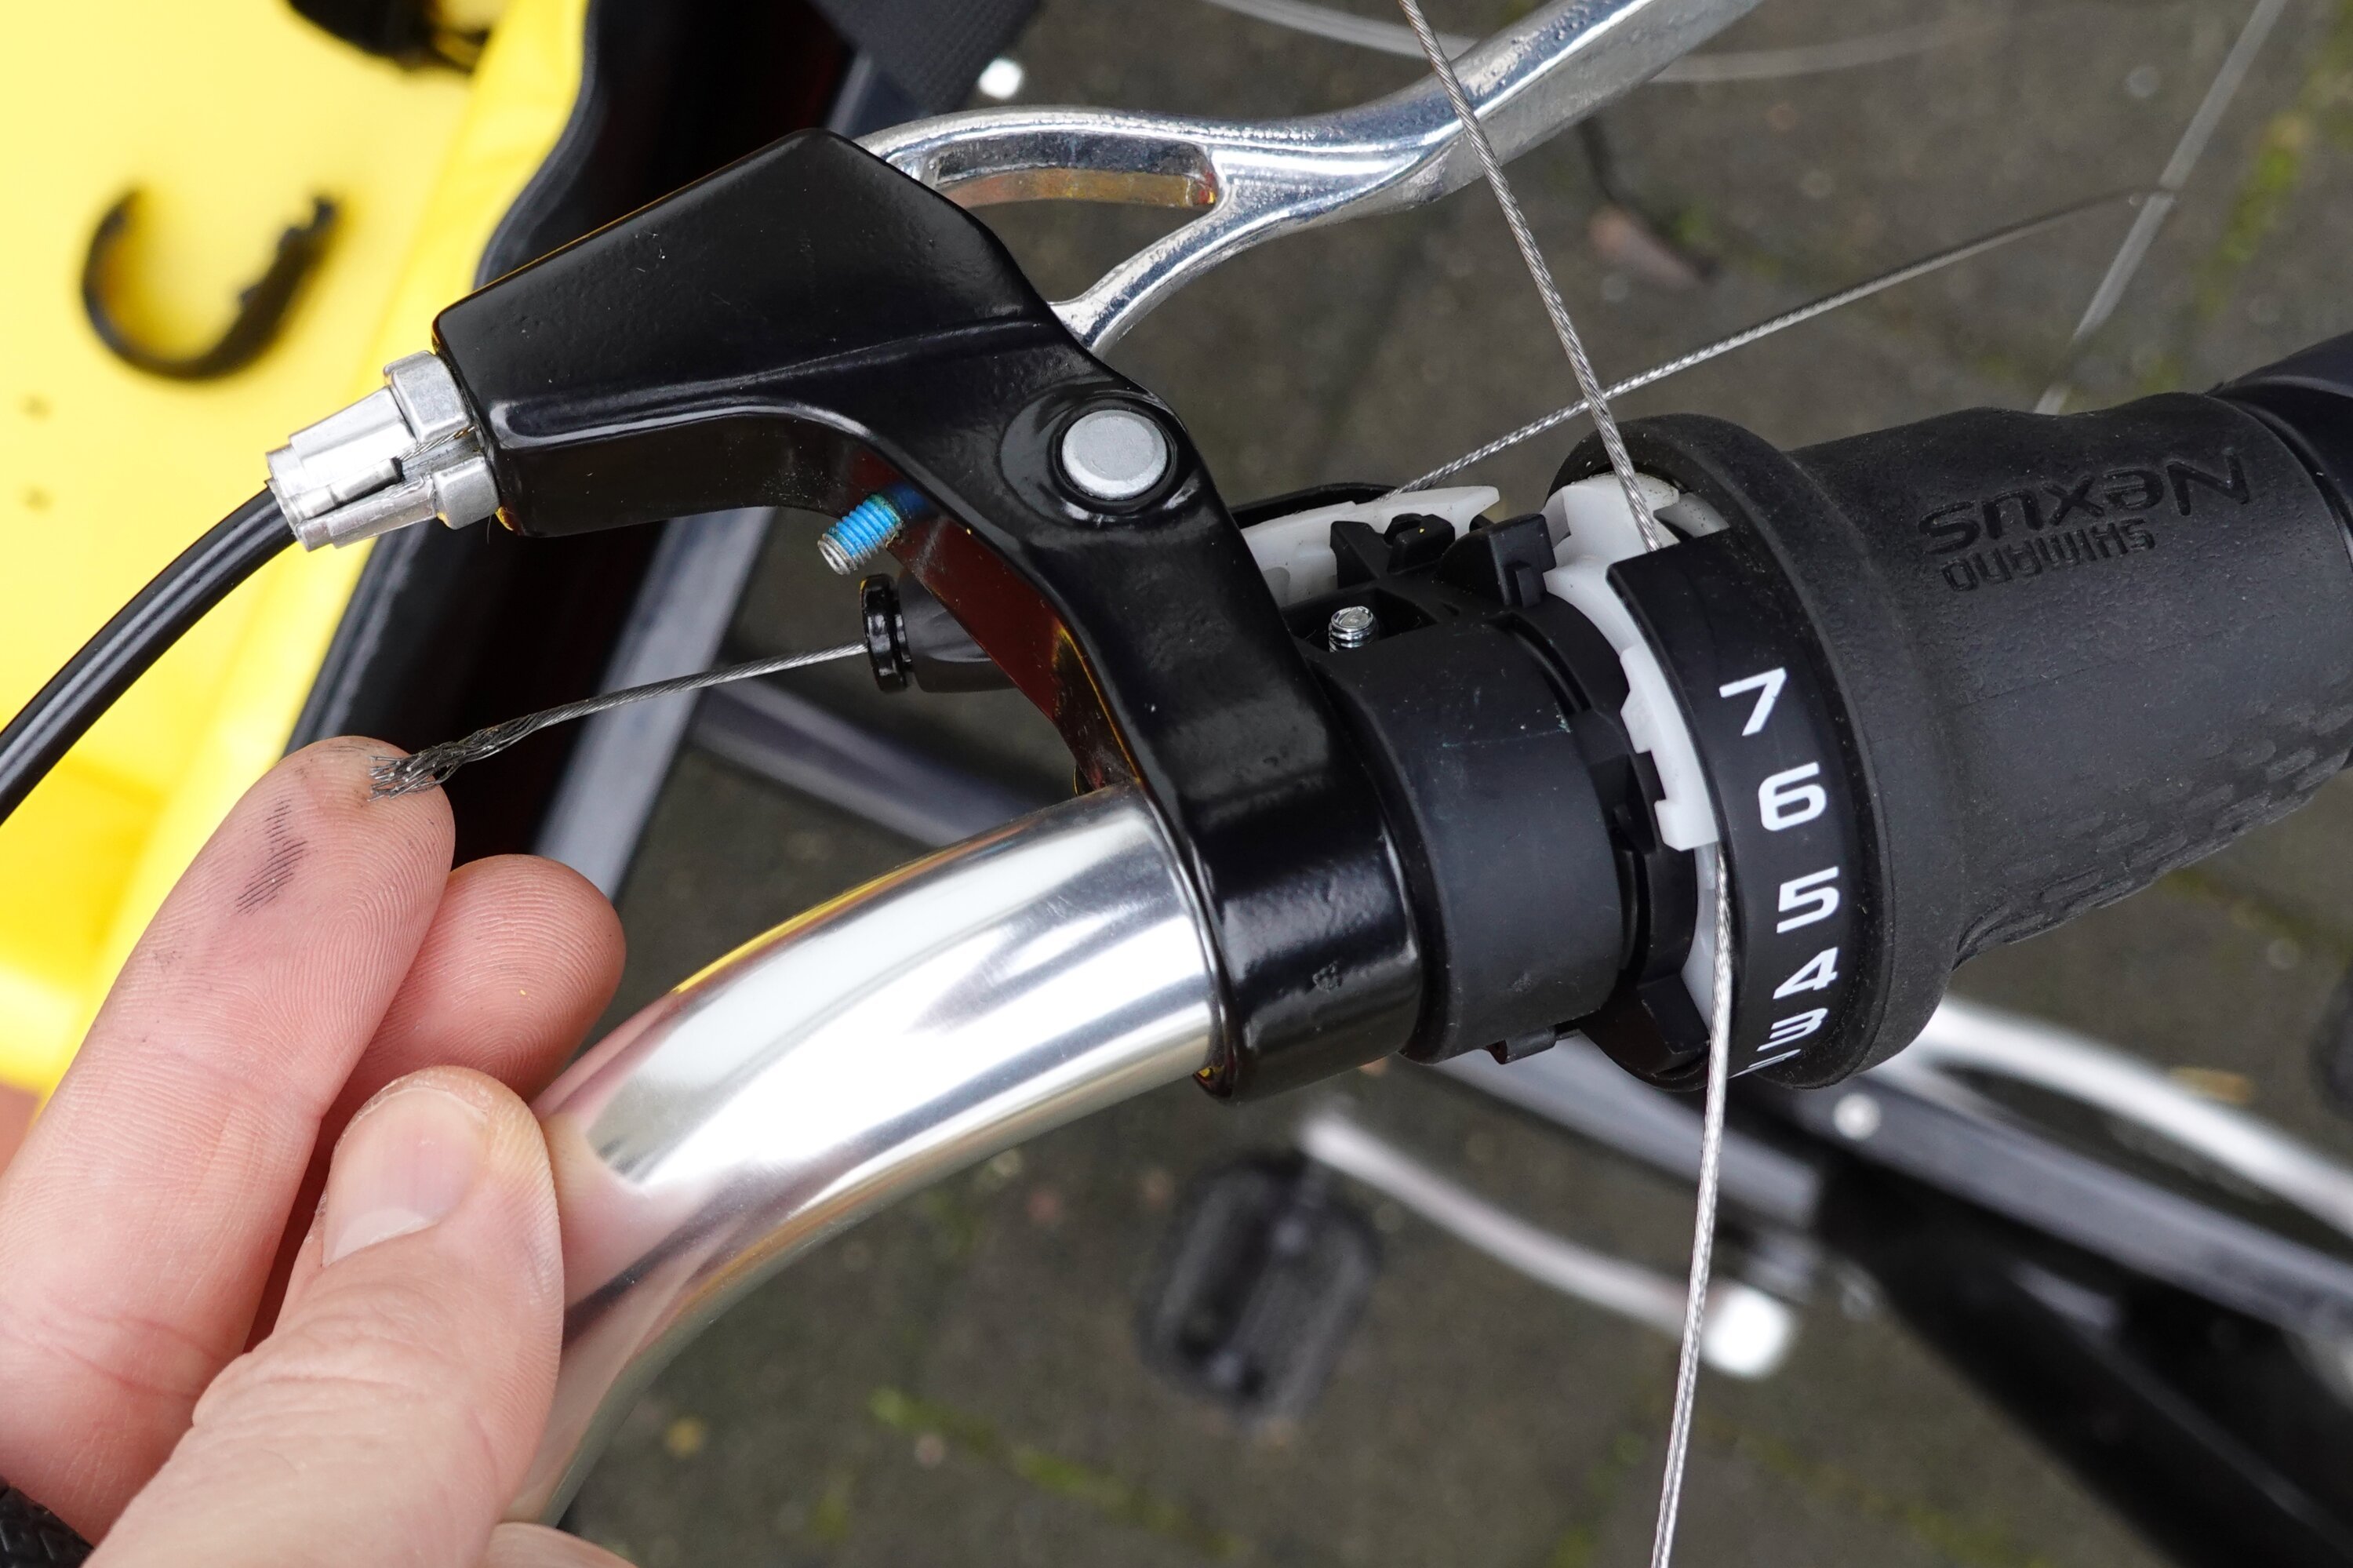
Fortunately, I have collected all the necessary tools to repair bikes myself. It's a great thing to invest in some good tools and to learn how to use them. The cargo bike is equipped with a 7-speed Shimano Nexus gear hub, it's relatively easy to service.
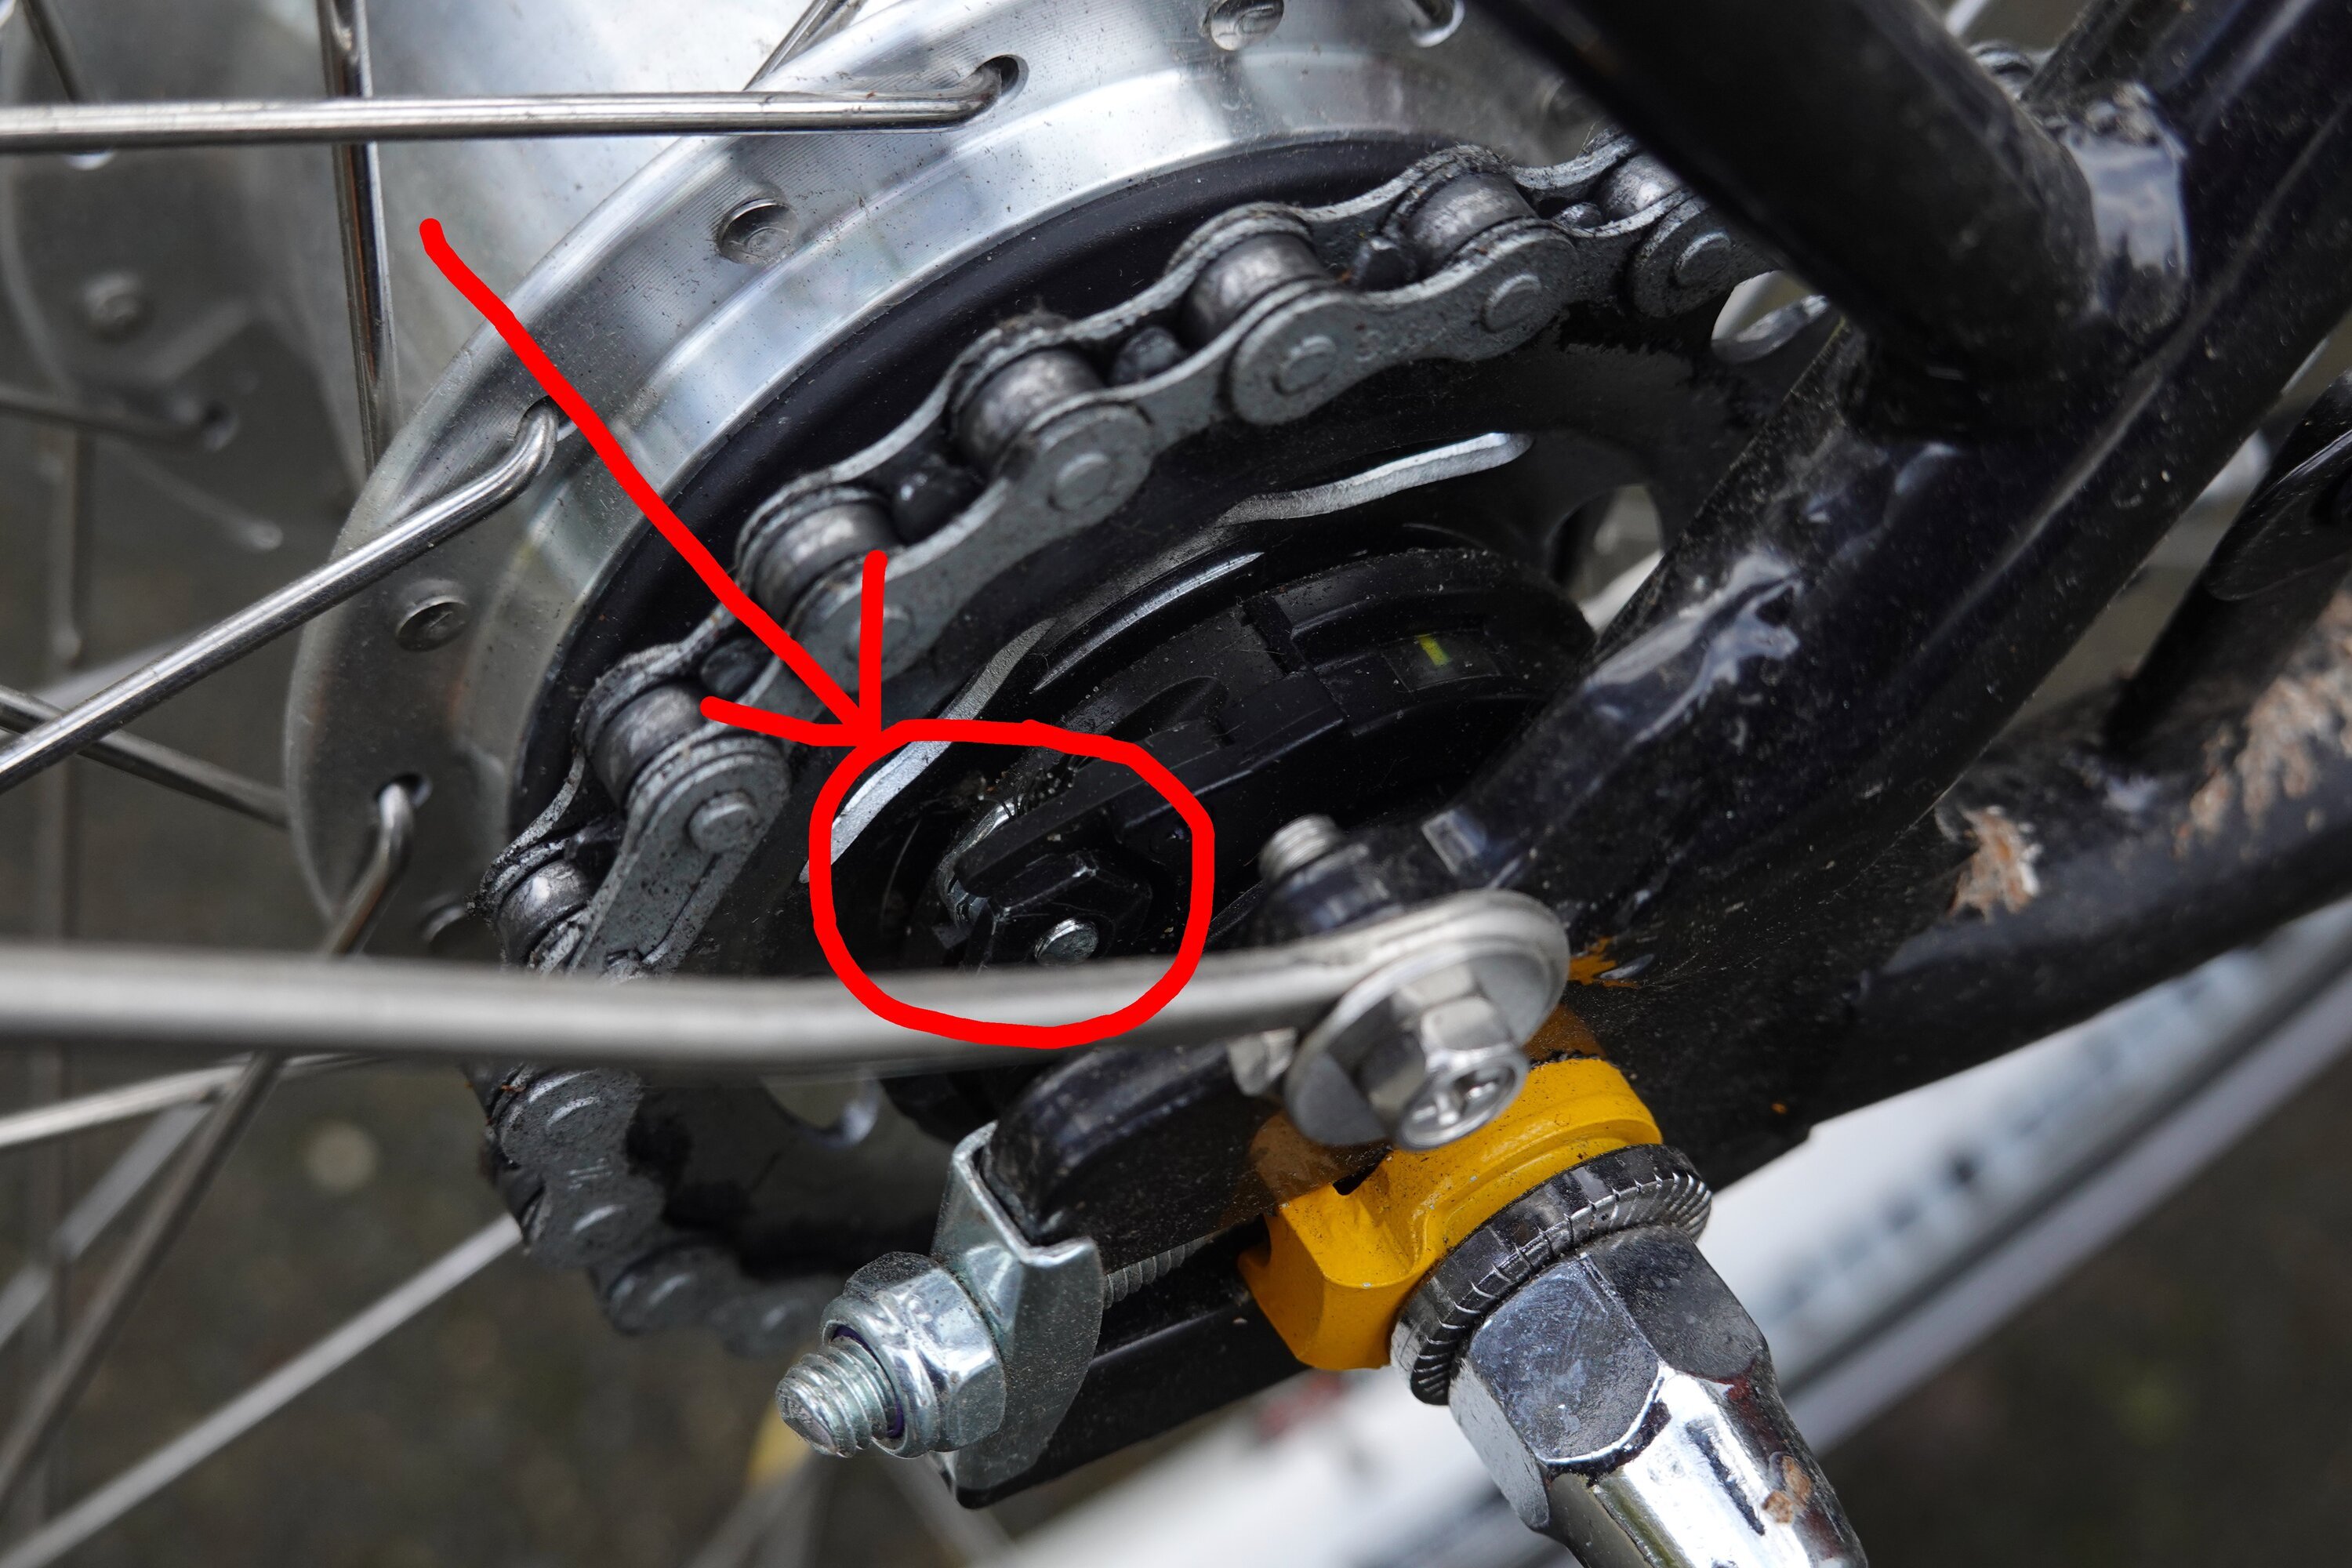
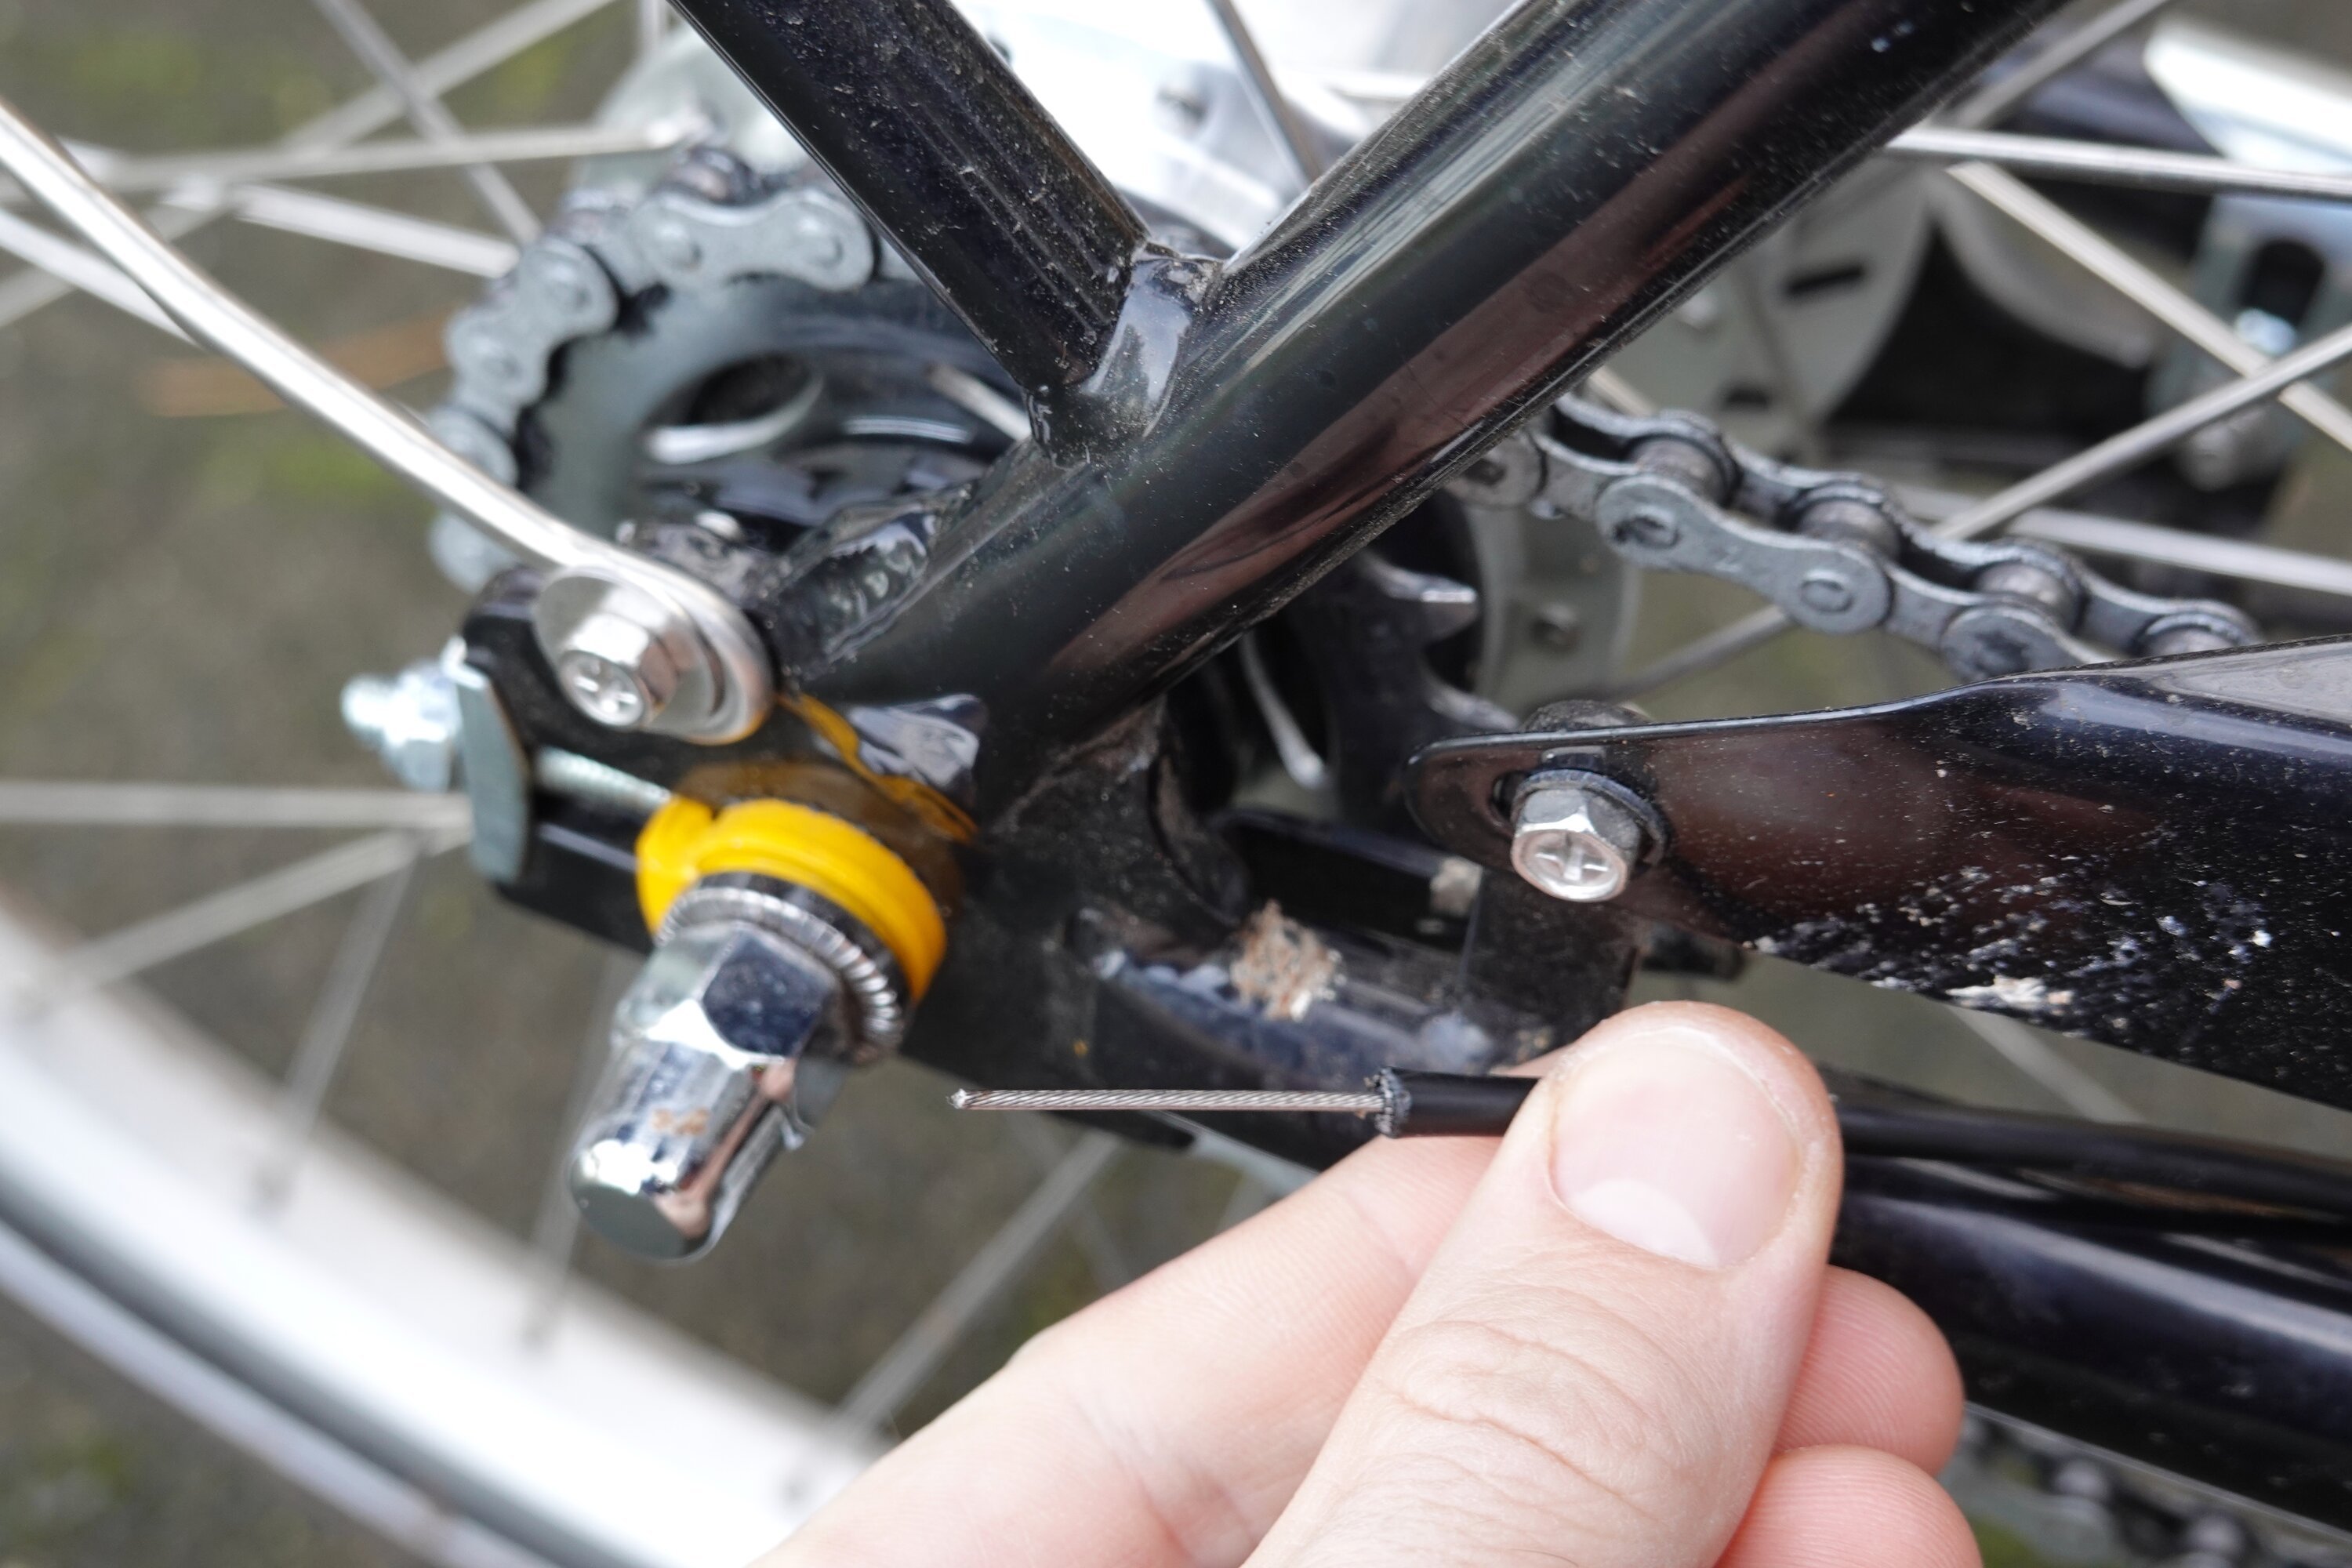
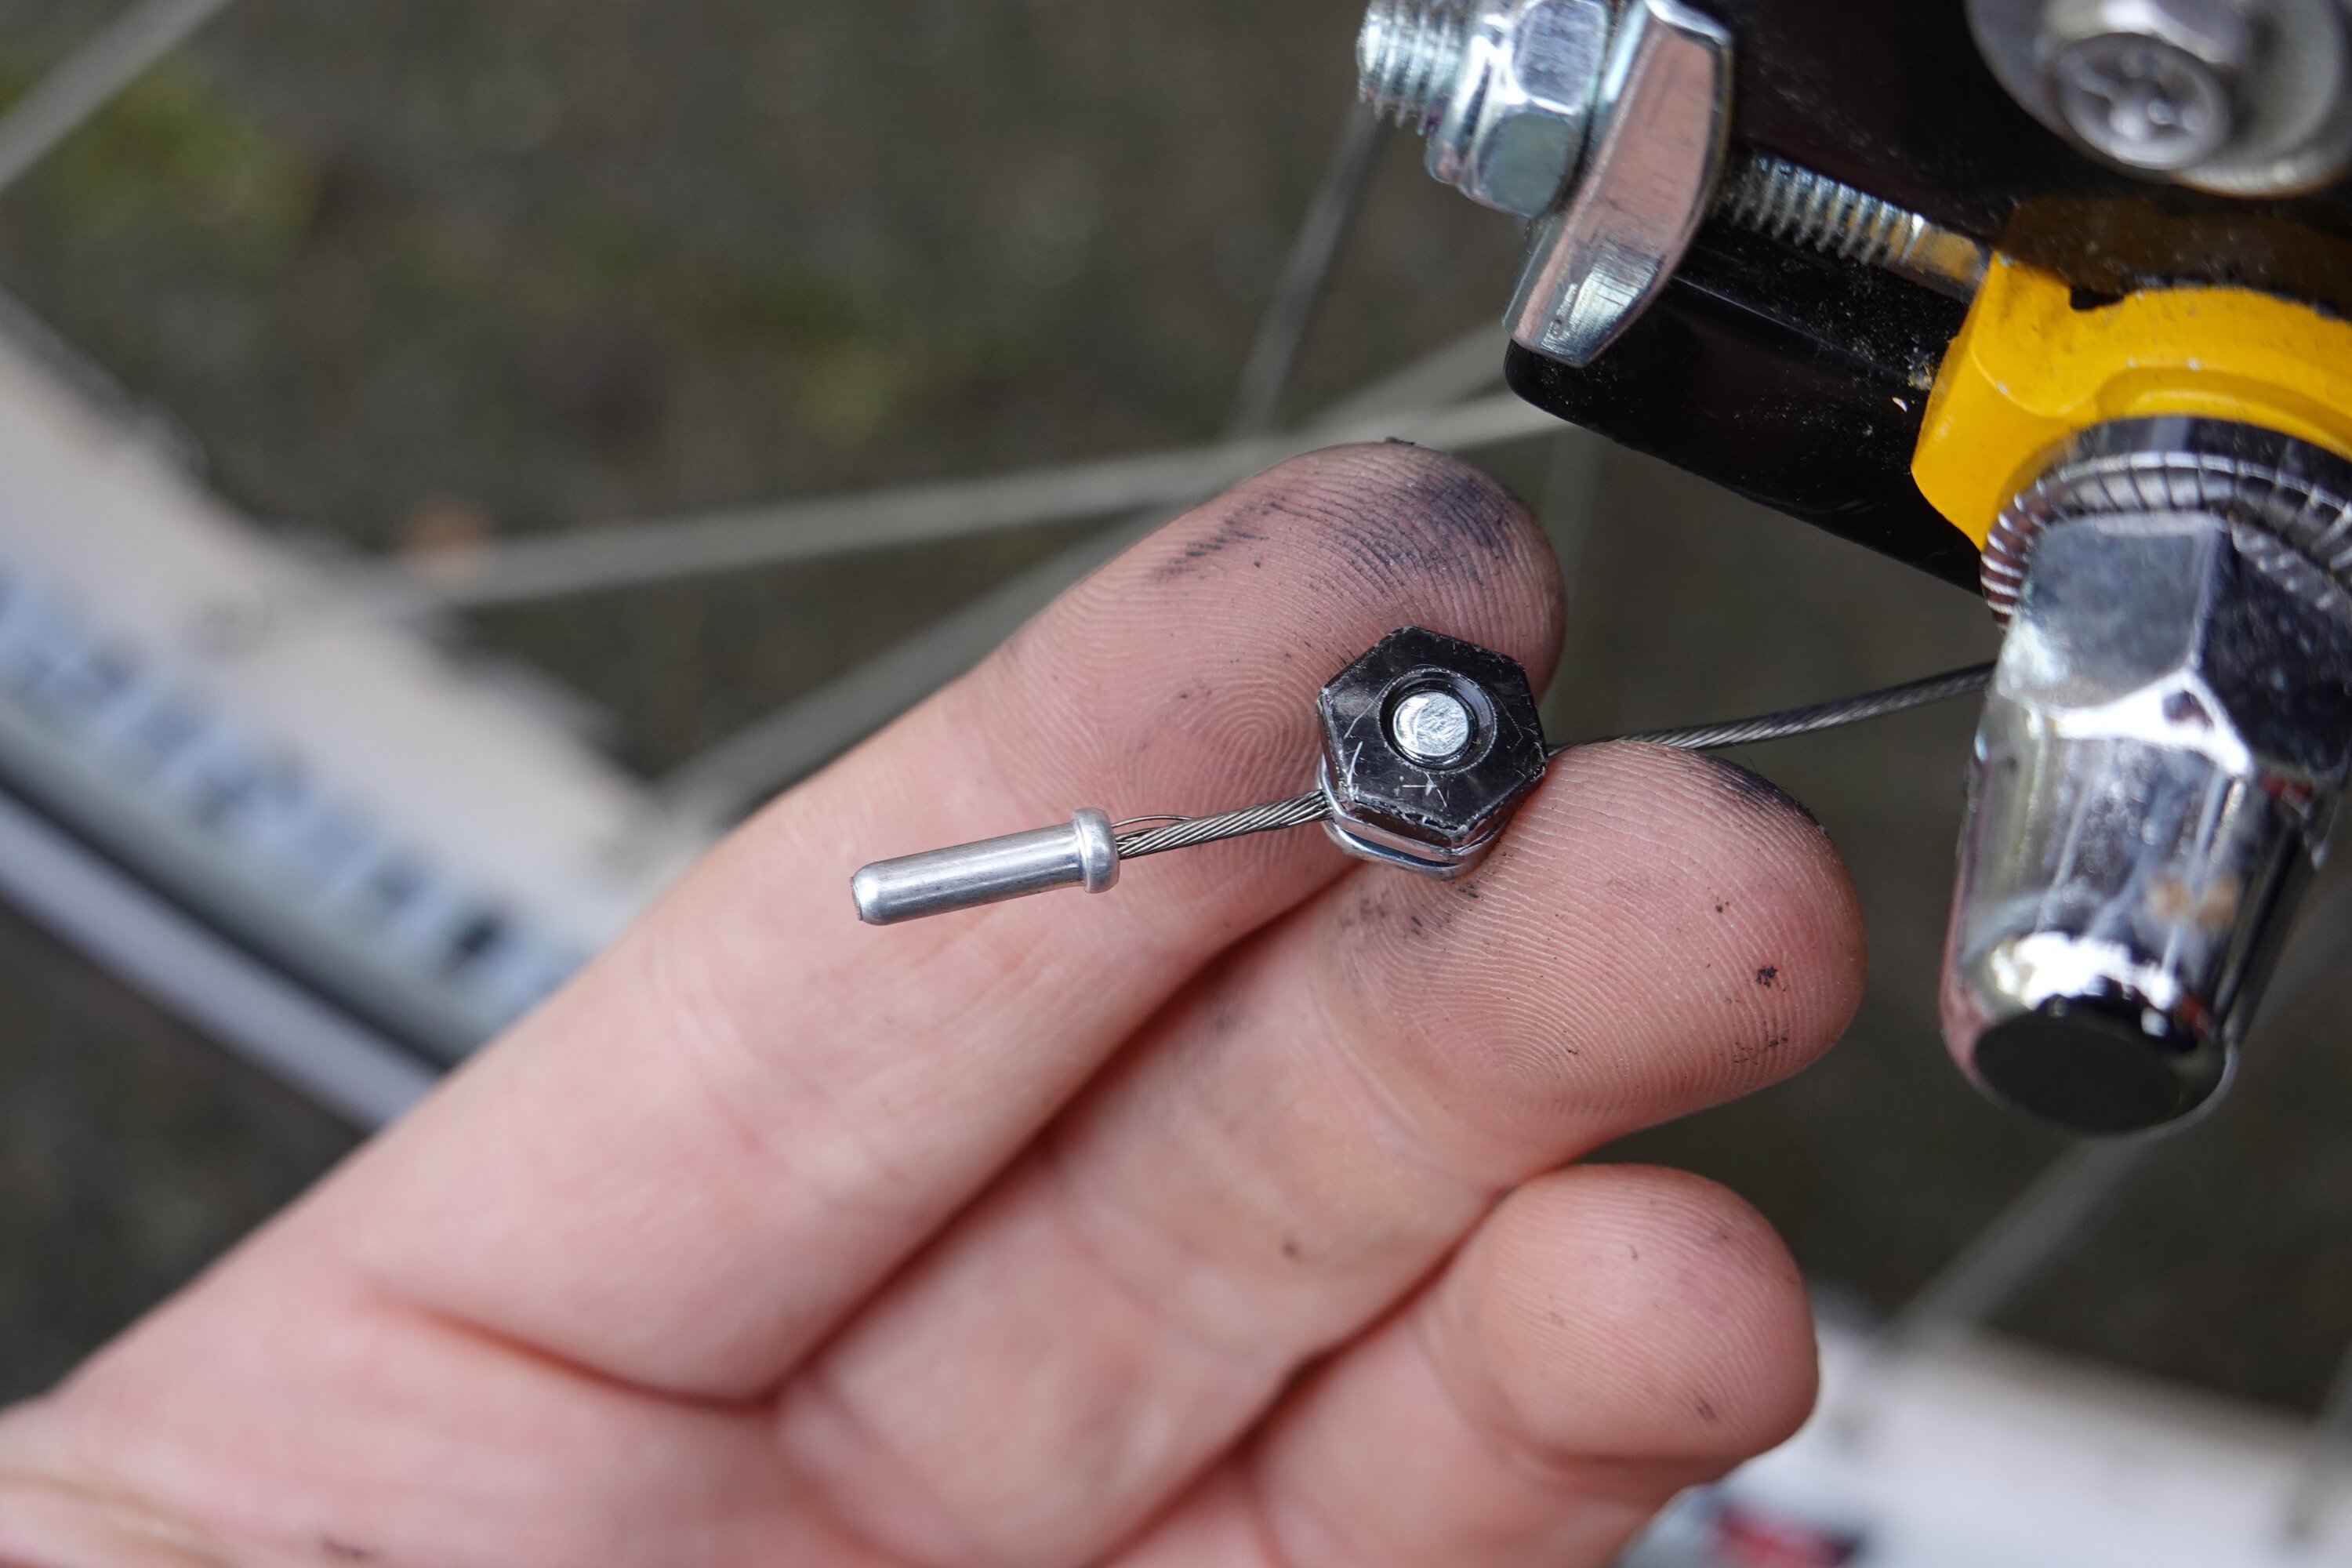
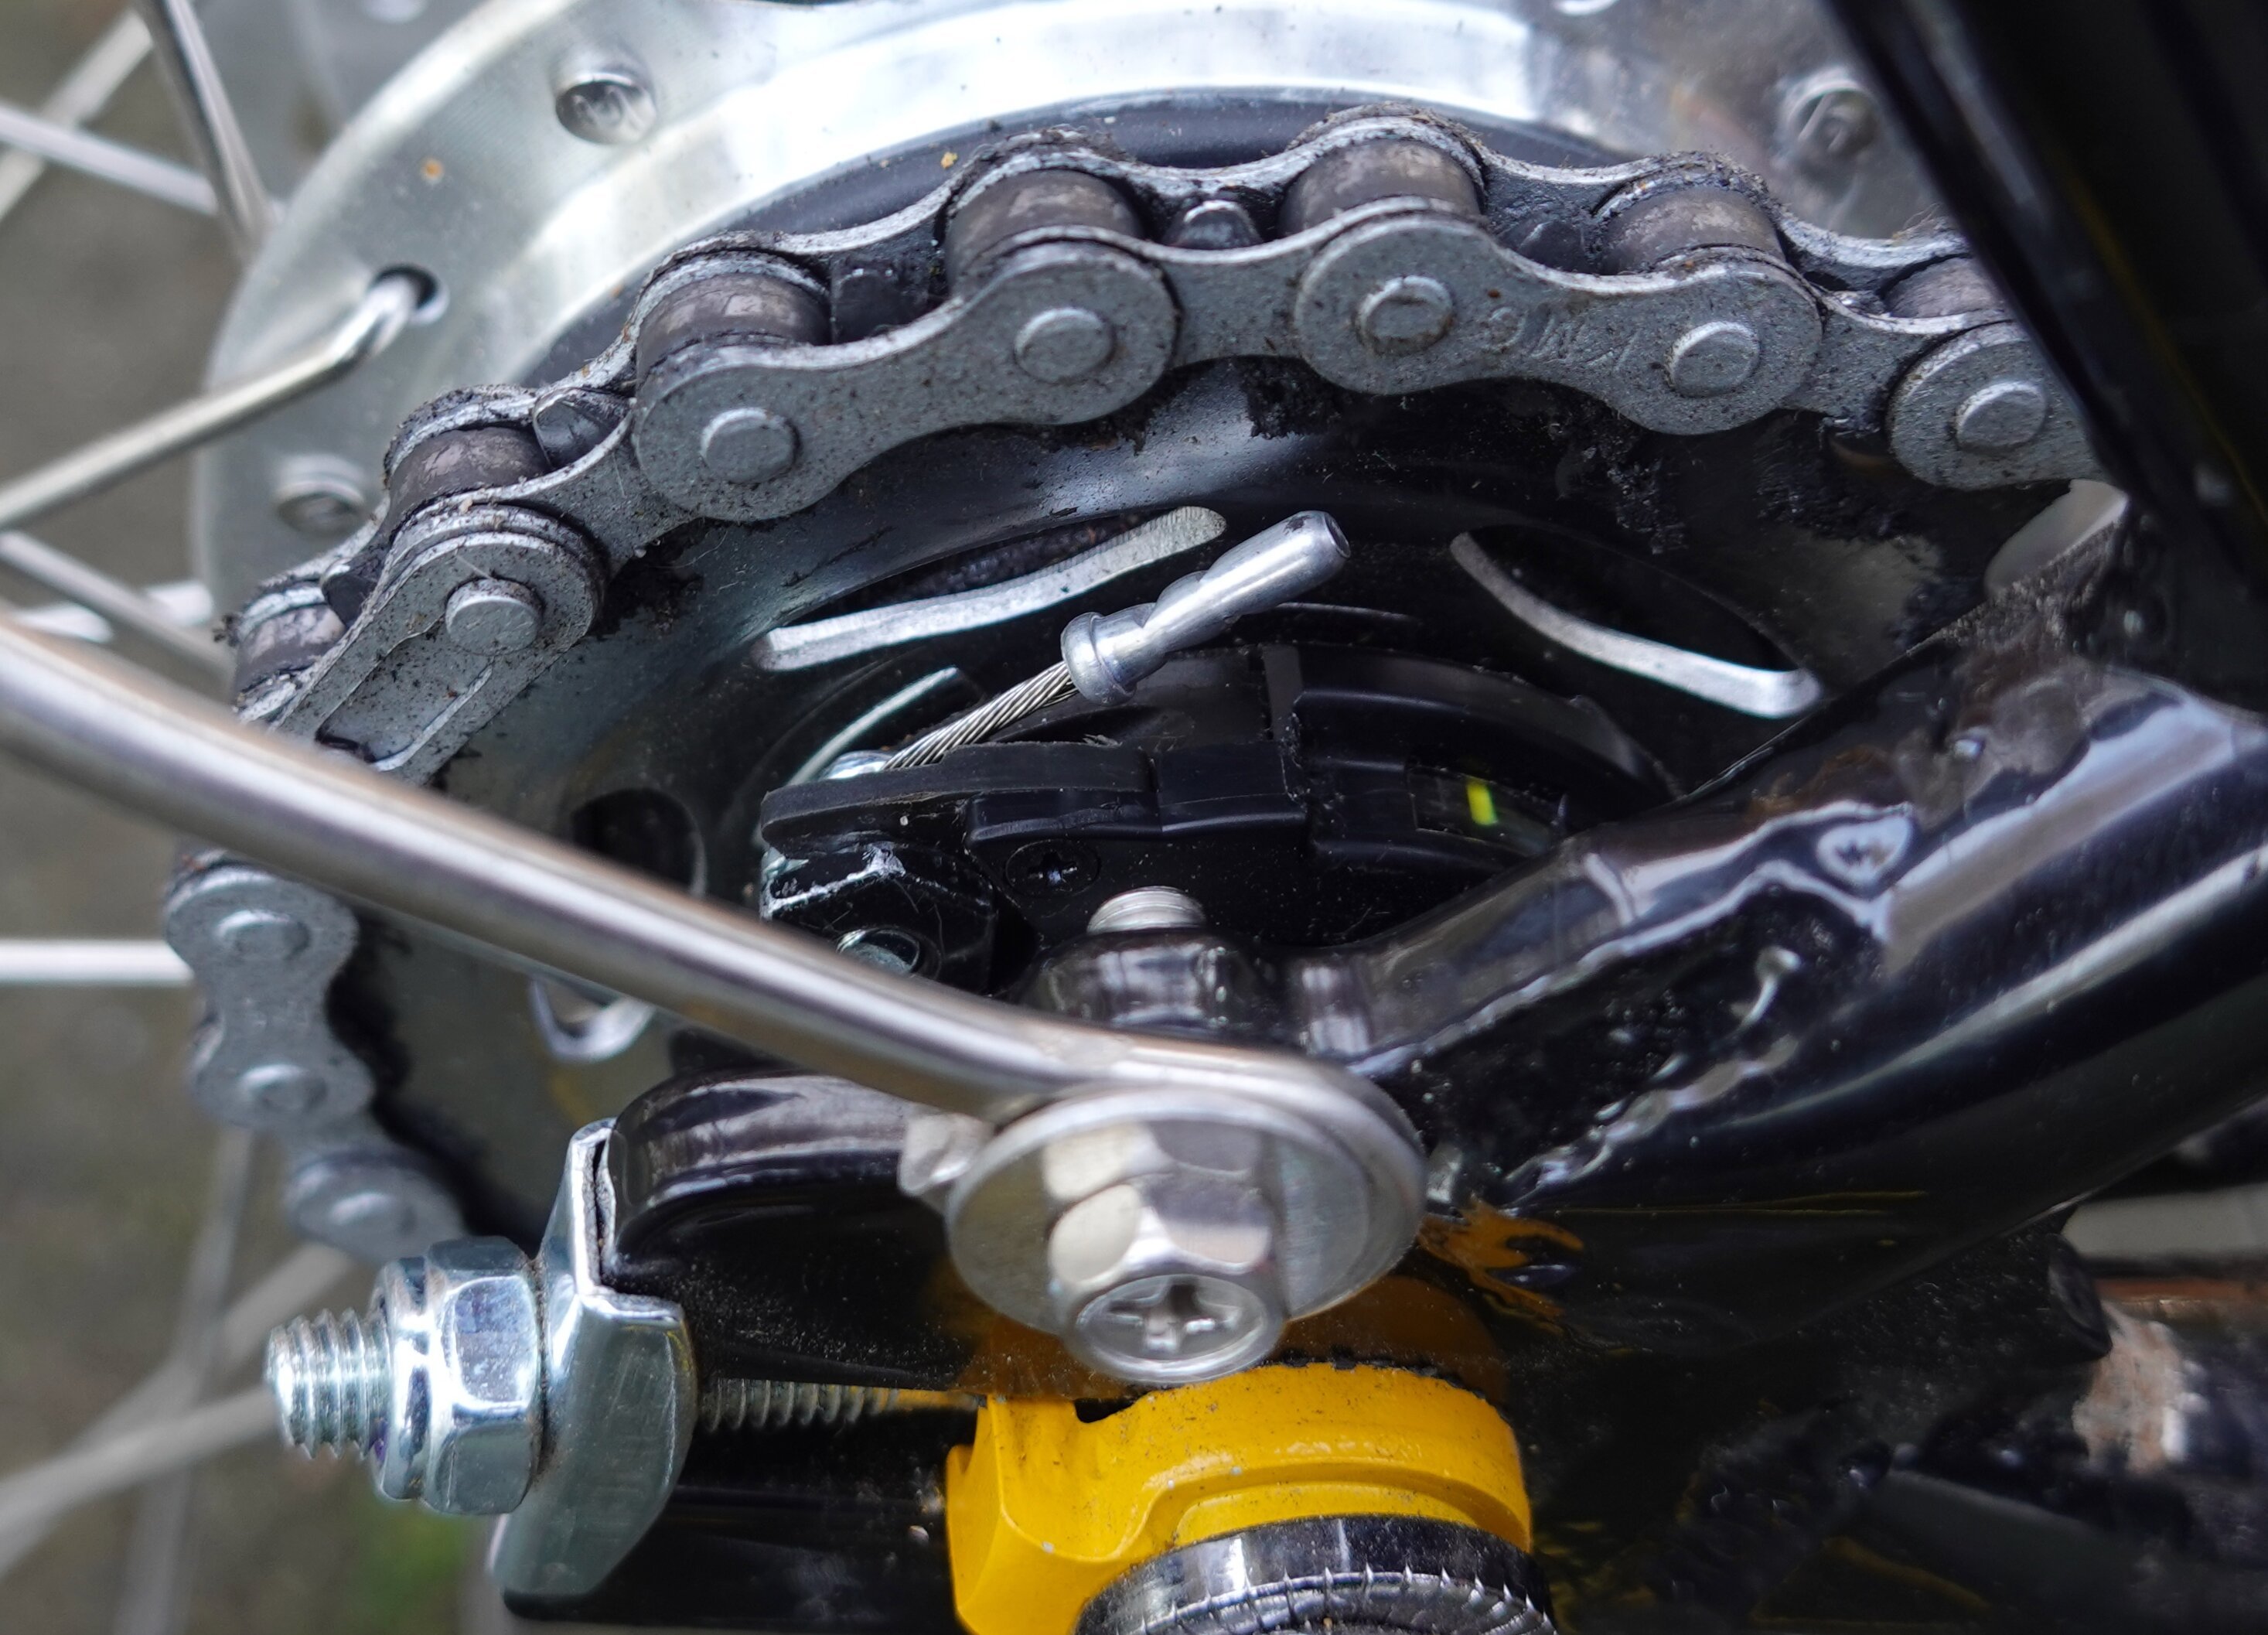
To remove the (damaged) shifter cable you should place the shifter in its first gear, loosening tension on the shifter cable. Then you can use your finger (or a screw driver) to push the cable bracket at the gear hub back. This will allow you to pull out the bolt that holds the cable.
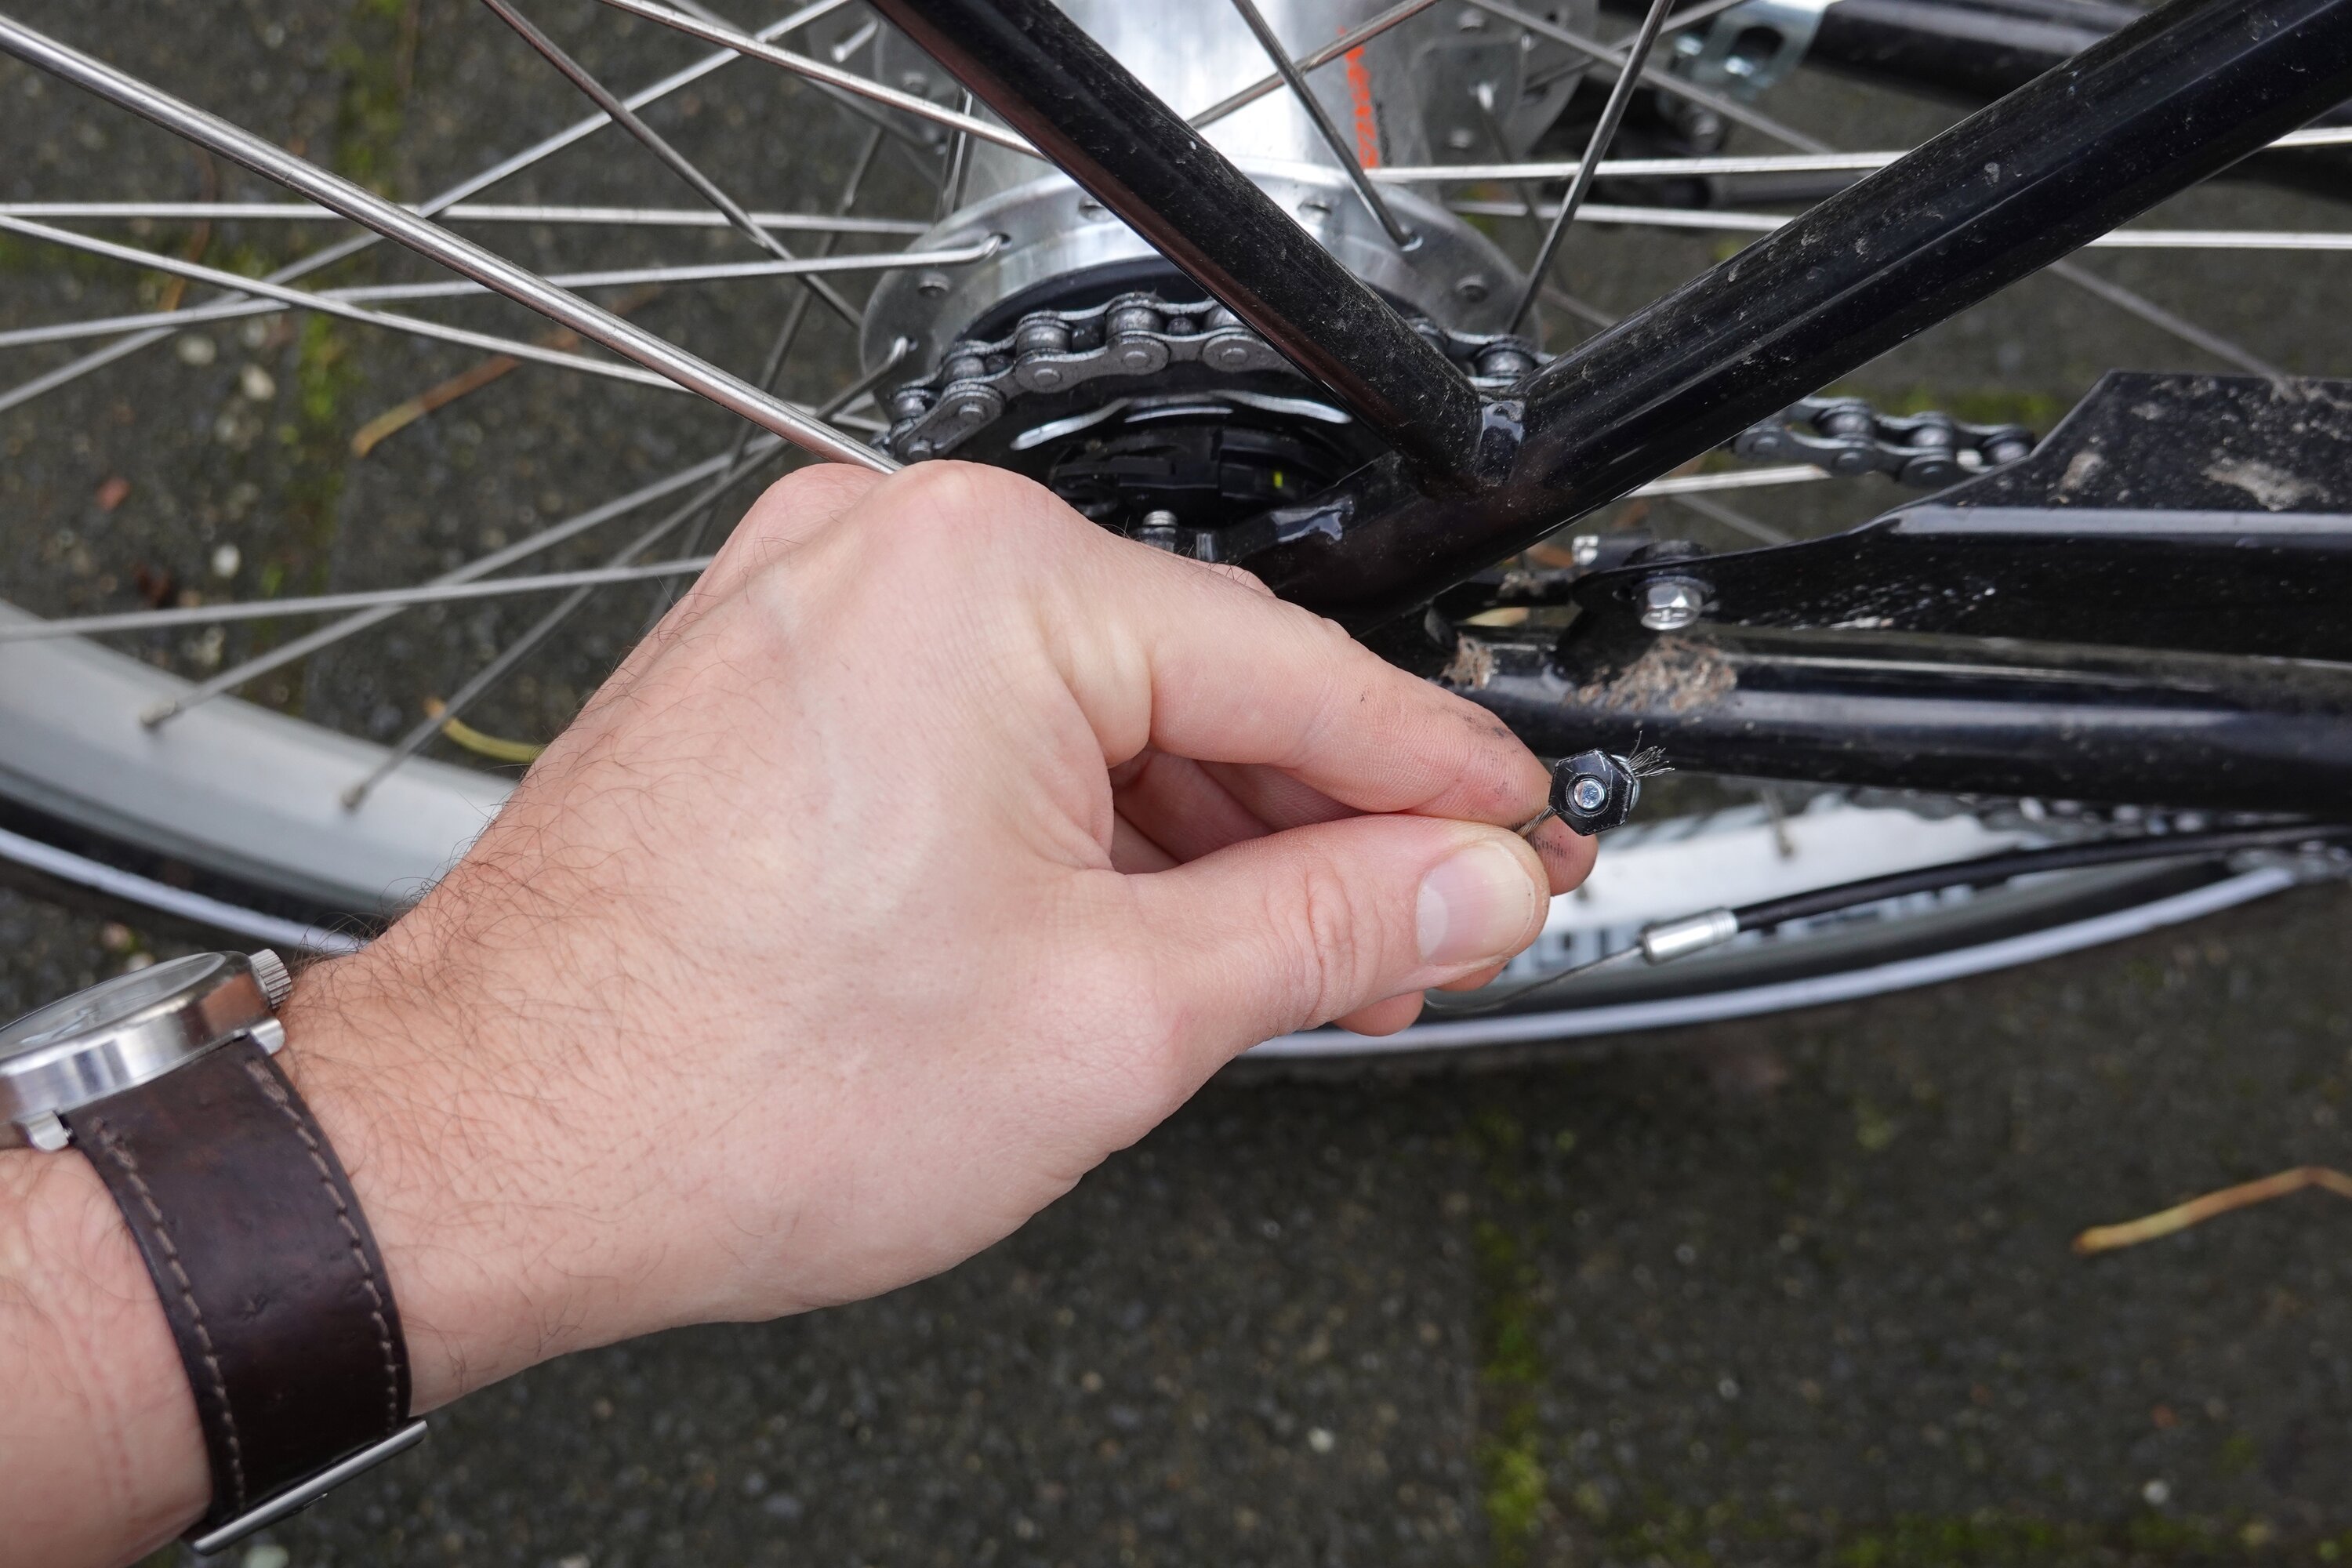
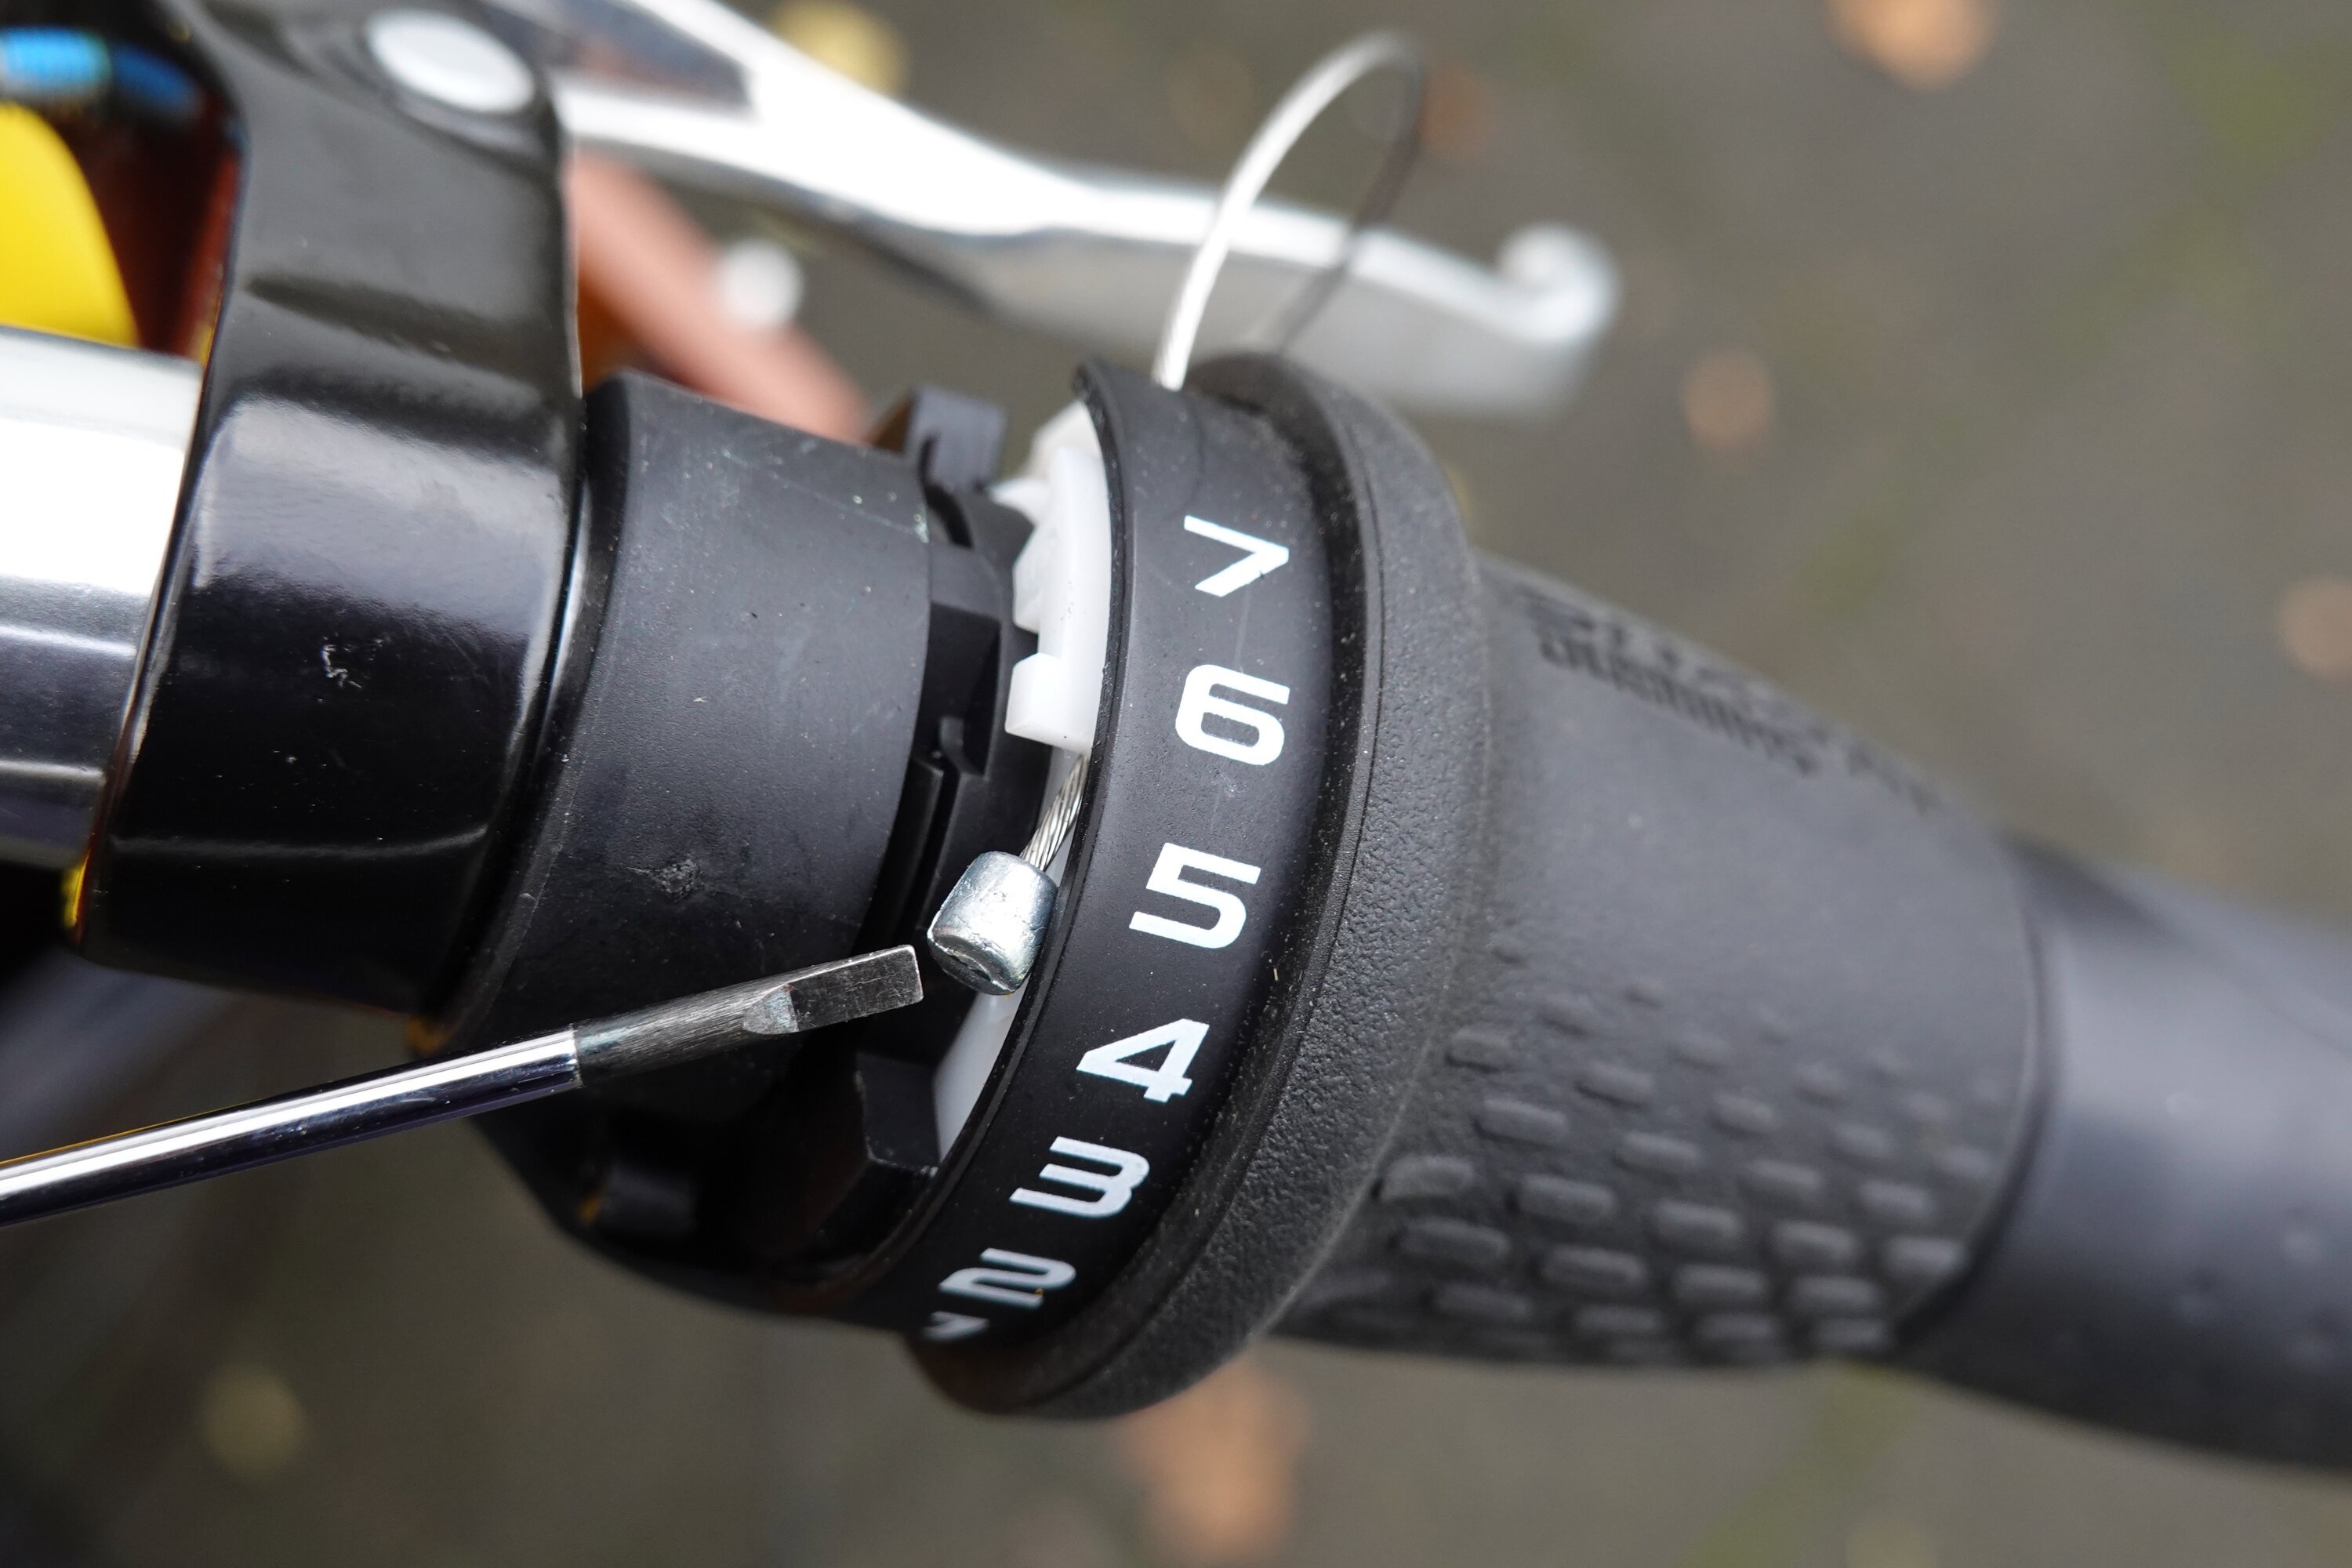
Remove the bolt from the cable's end point and keep it in a safe place (as you'll need it later!). To remove the cable you should open the shifter's handle. Shimano's integrated steer shifter is closed using two tiny screws. If you remove them, you should be able to remove the cover plate. This will allow you to see (and loosen) the other cable's end point.
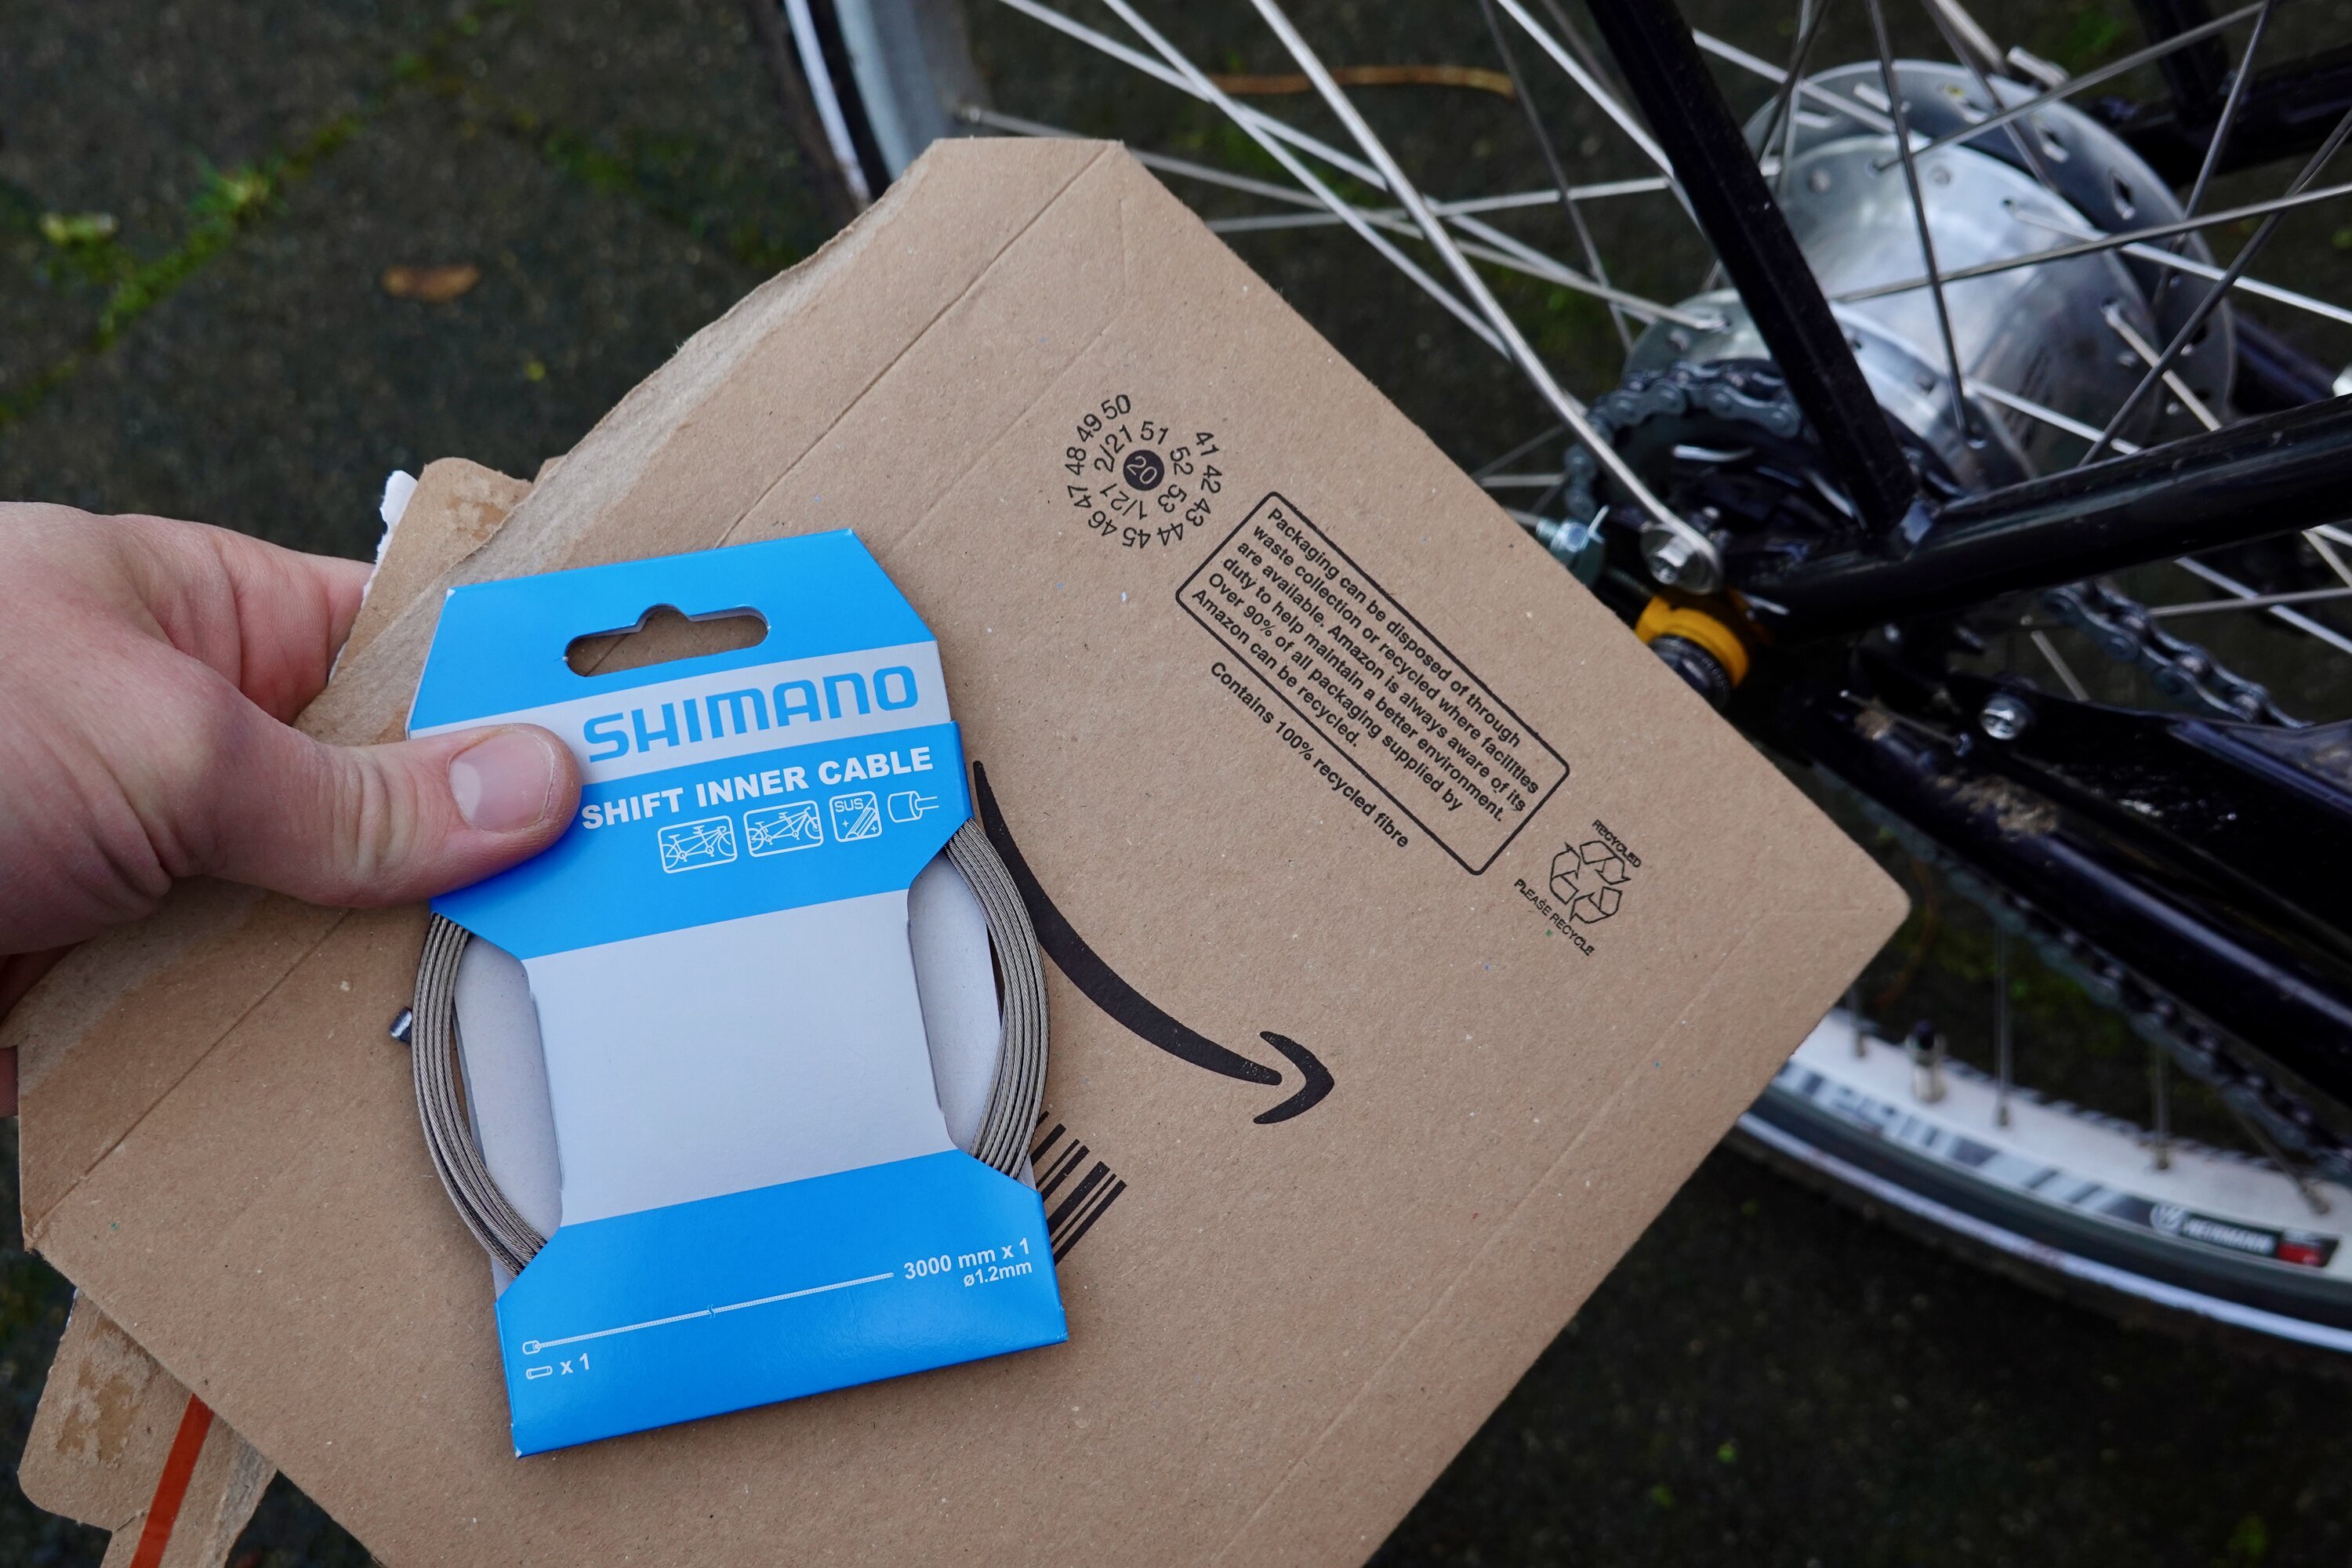
Finding yourself a new cable isn't hard, most (local) bike shops will have them in stock. Mind you, though, if you're working on a cargo bike or a tandem you'll need a longer than standard cable! It's a good idea to measure the exact length of the cable using the old cable.
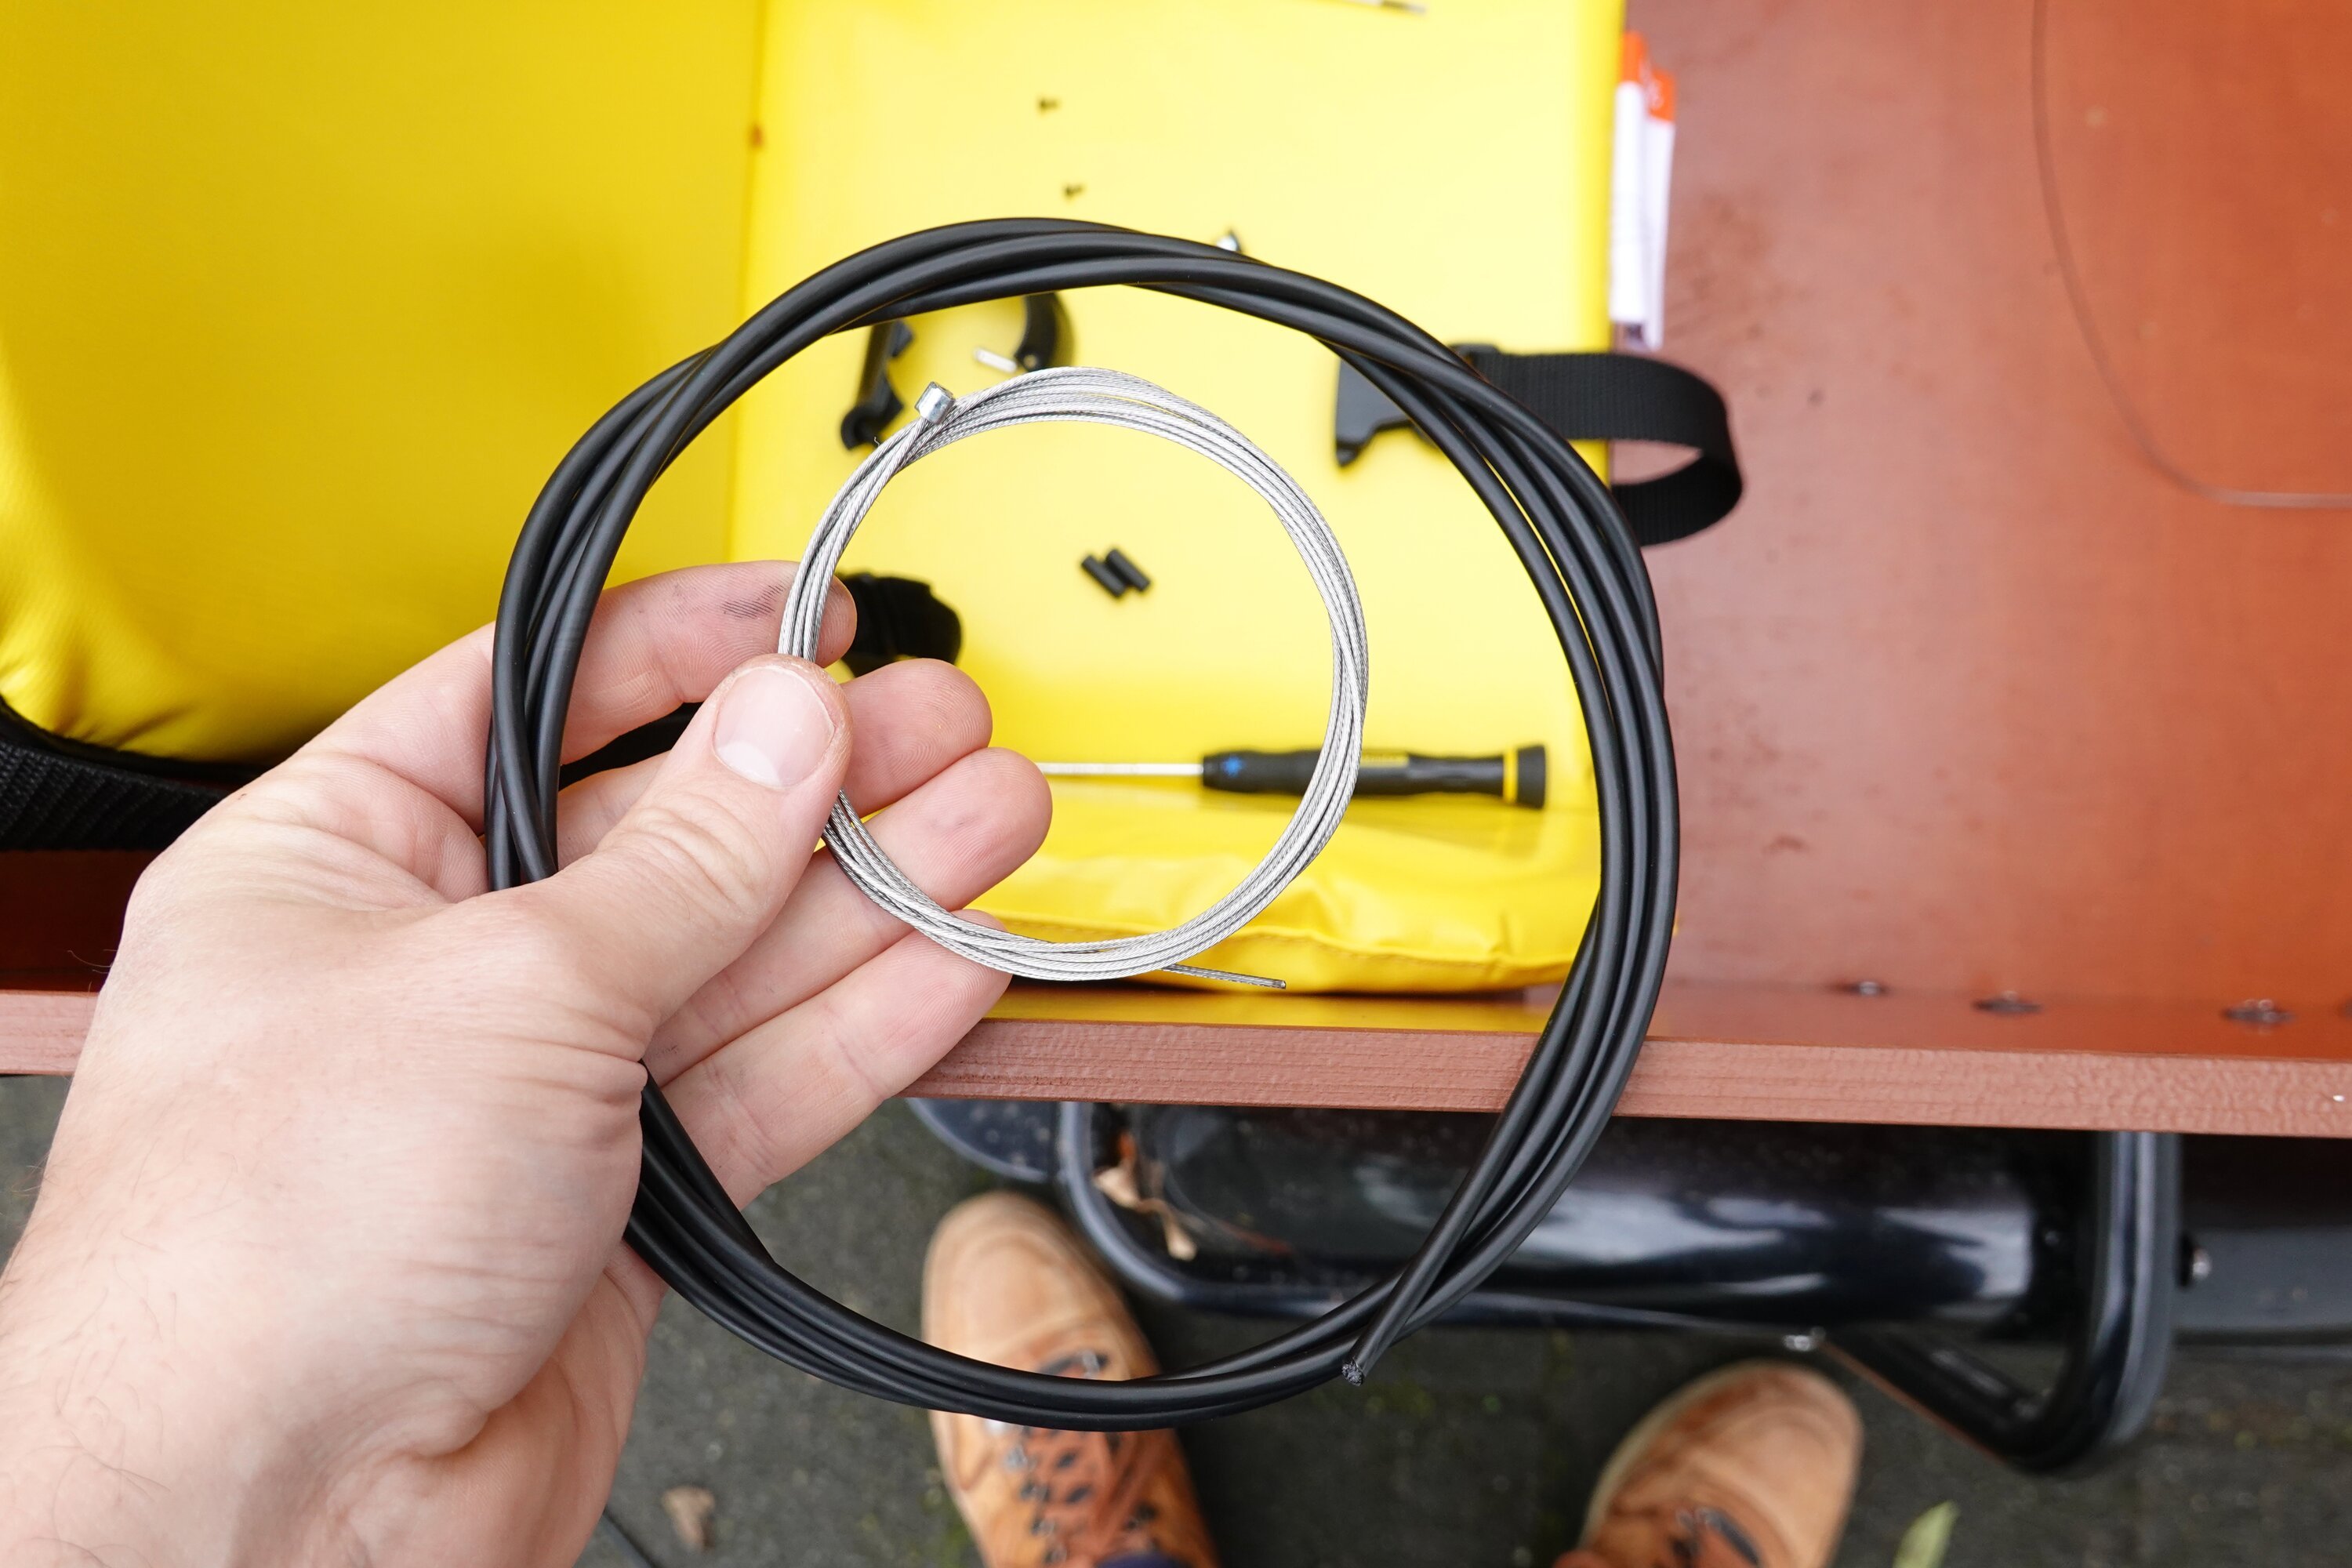
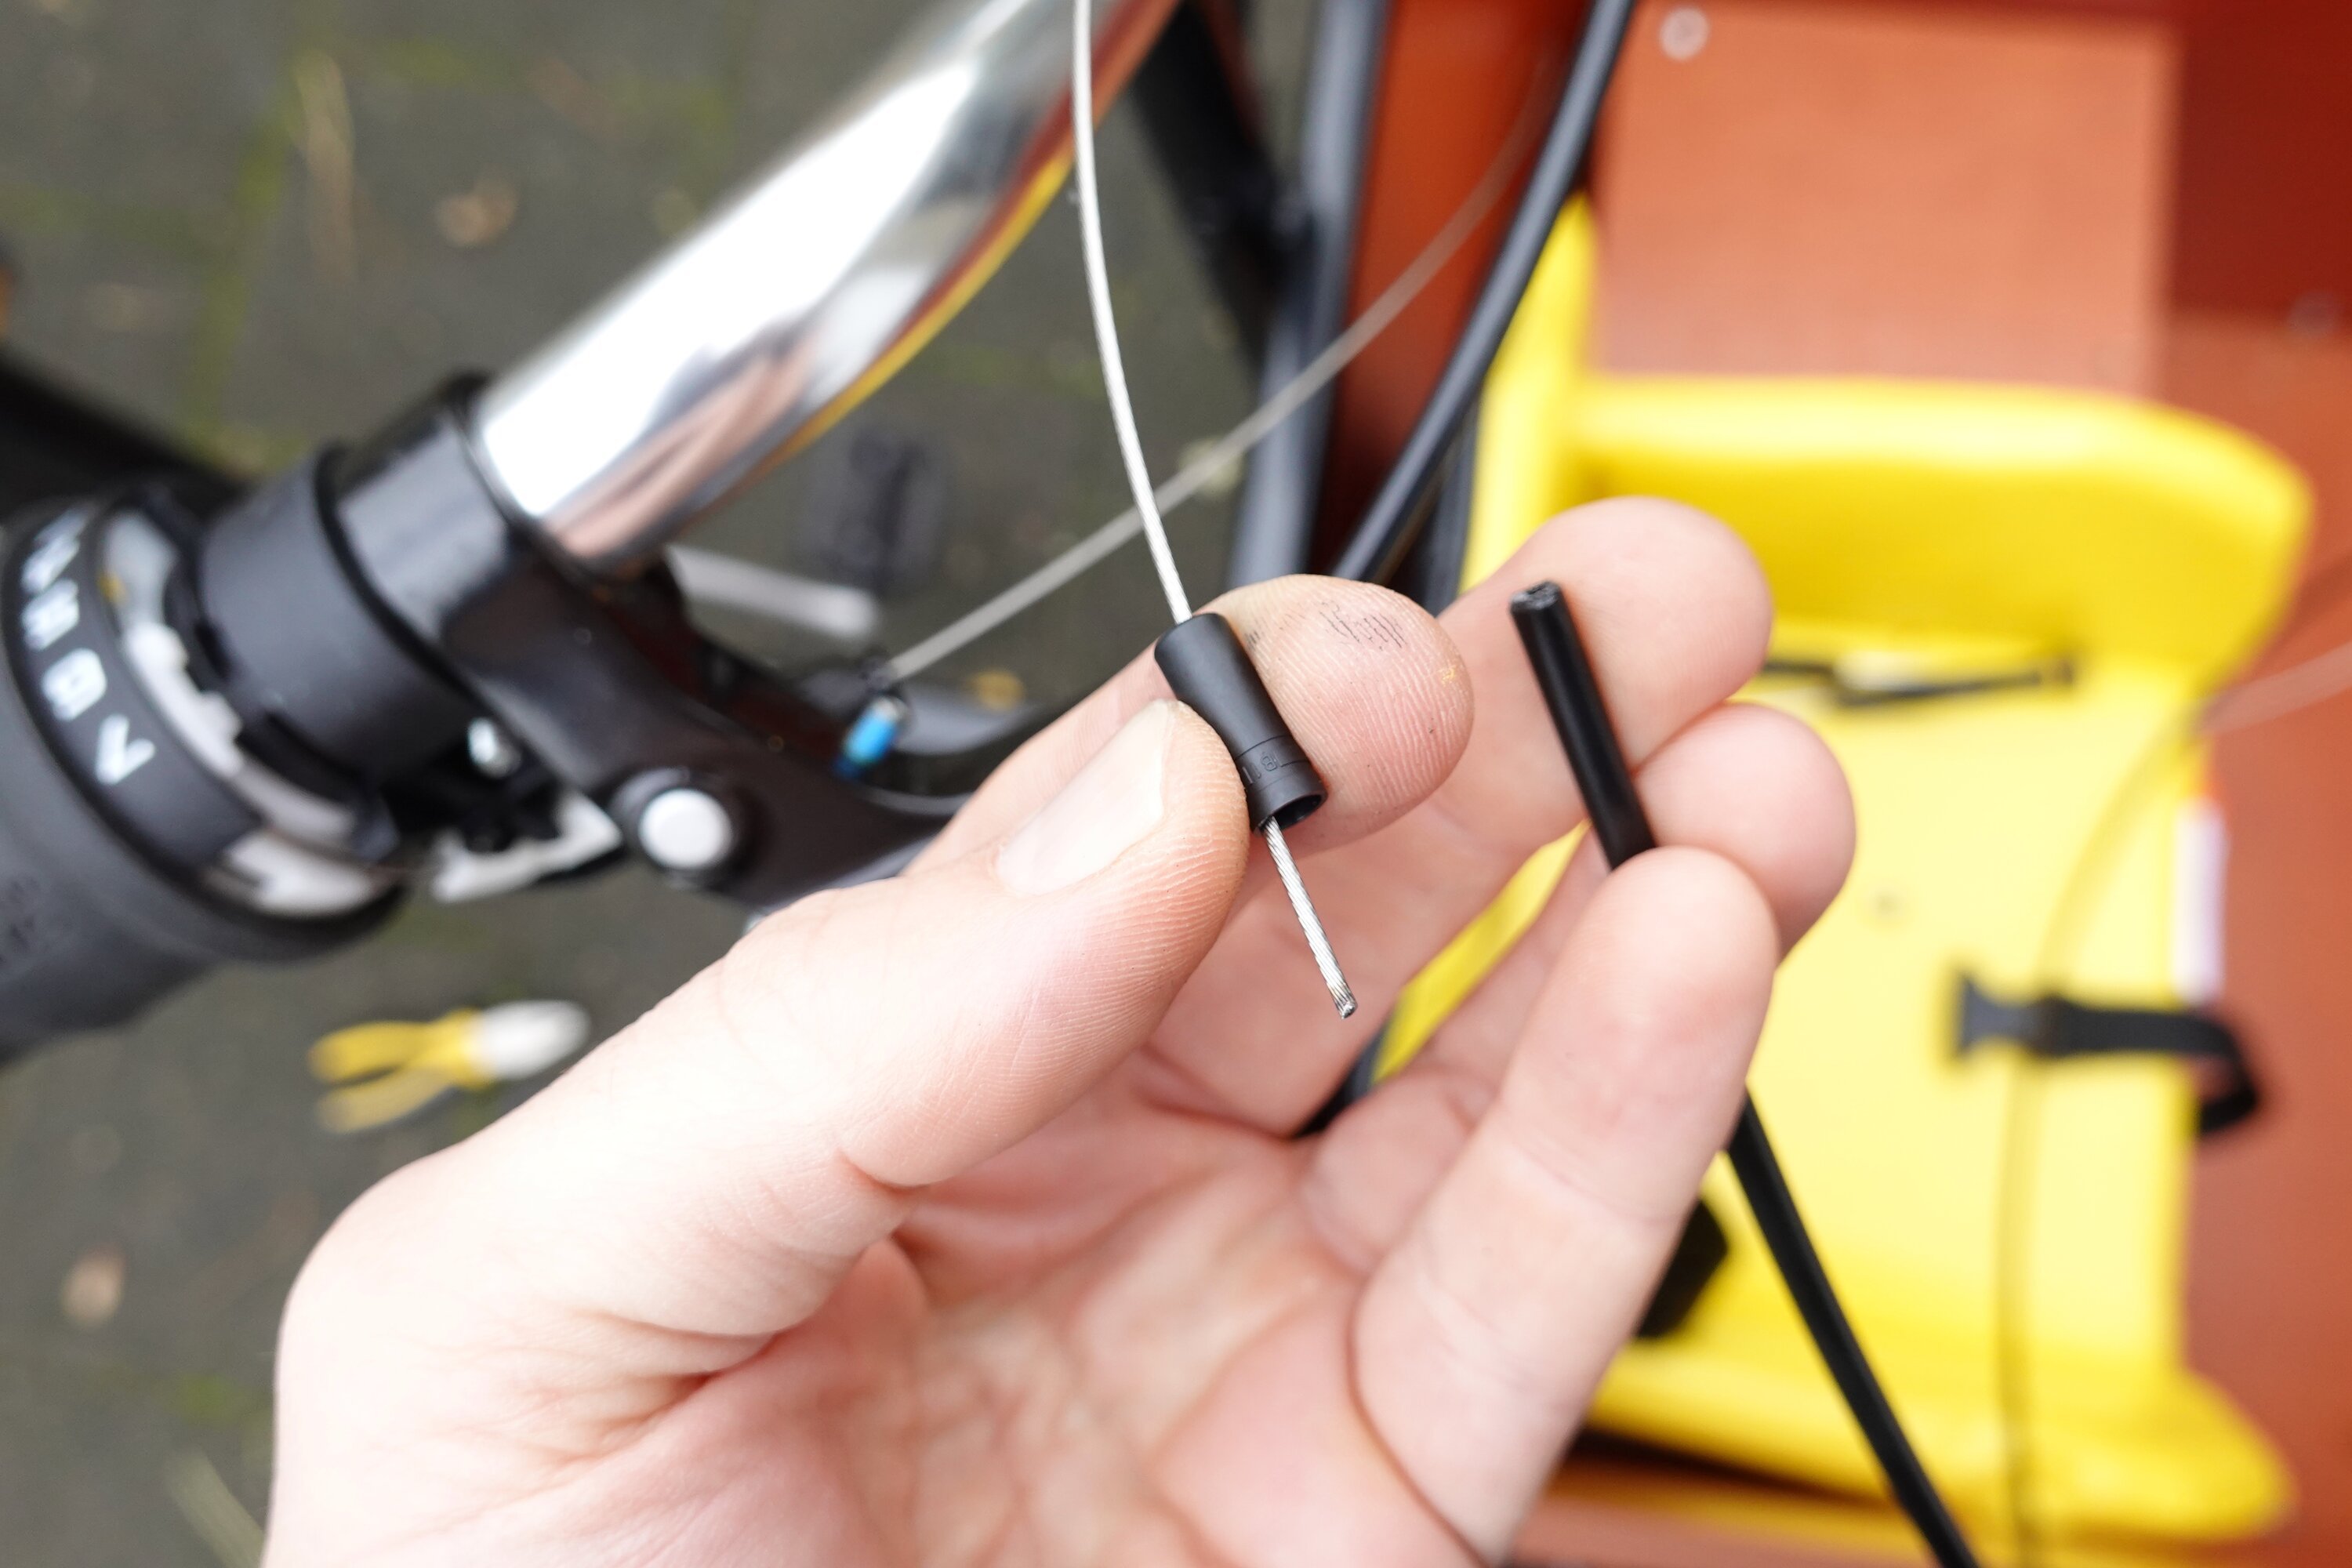
The first step is to measure and install the new outer cable. Make sure to include enough clearance around your steer. If the cable is too tight, it will intervene with steering! Once you have installed the outer cable, you can install the inner cable. Start at the handle bar and work your way through all the tiny holes and cable caps.
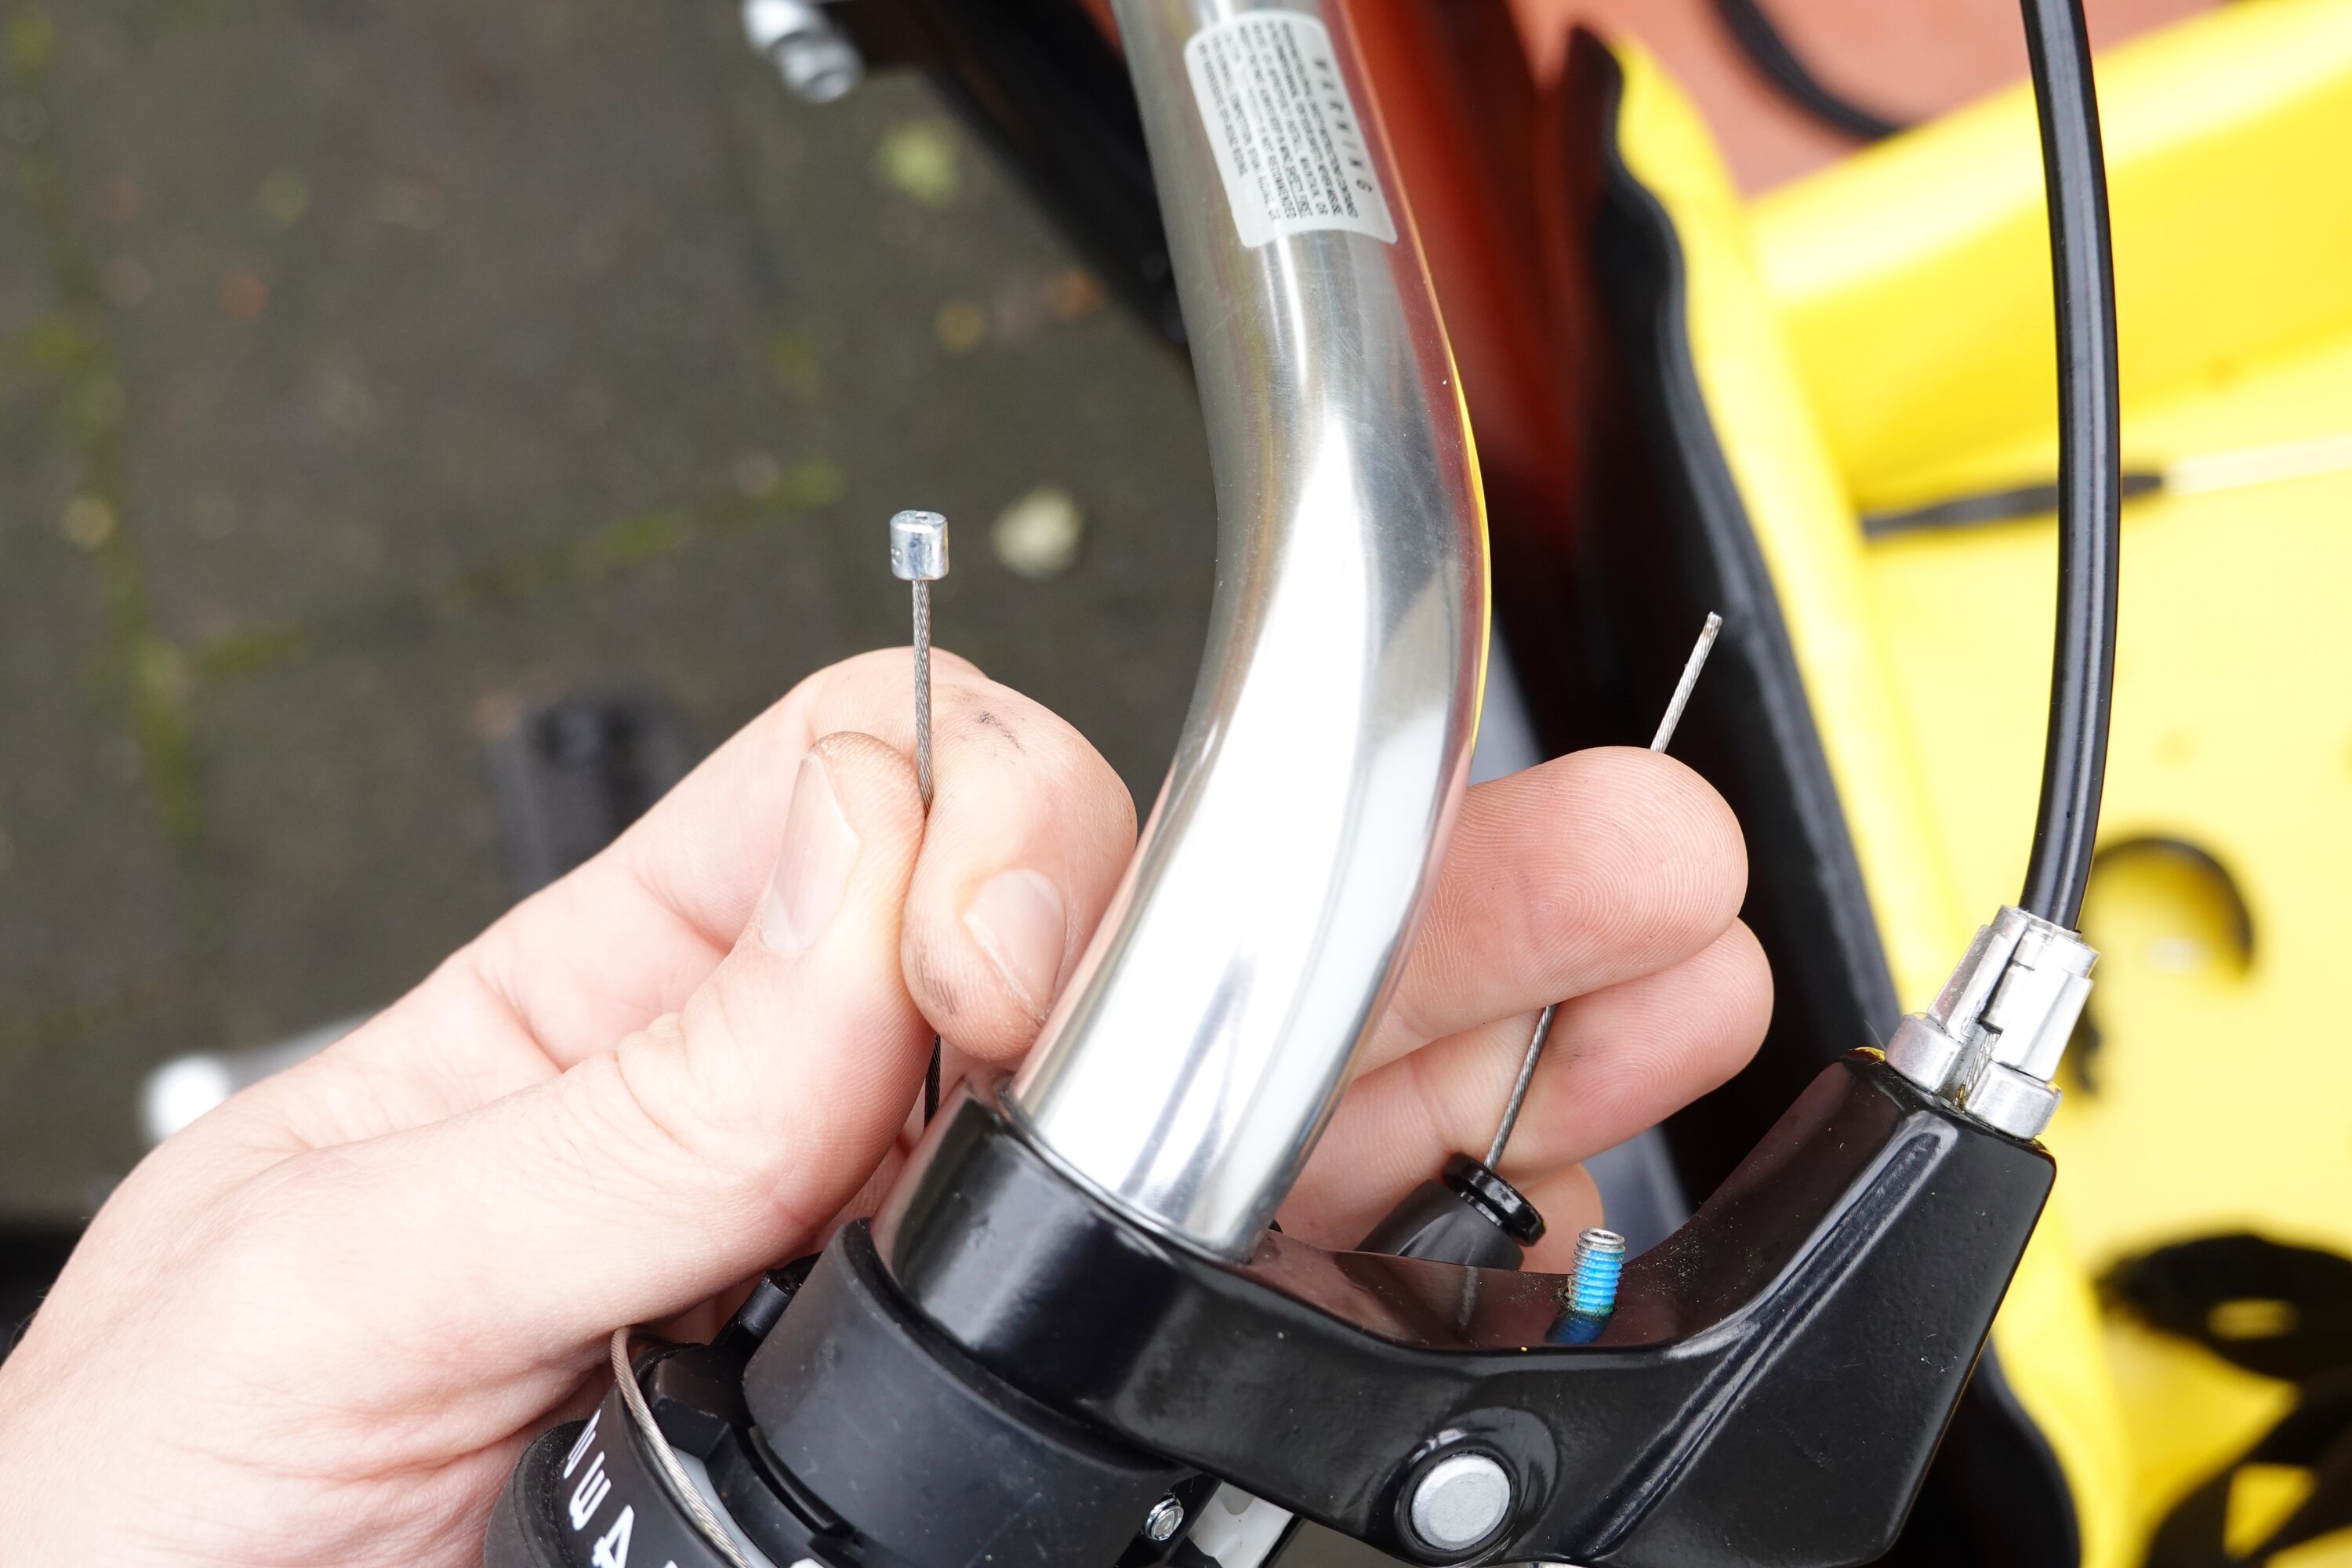
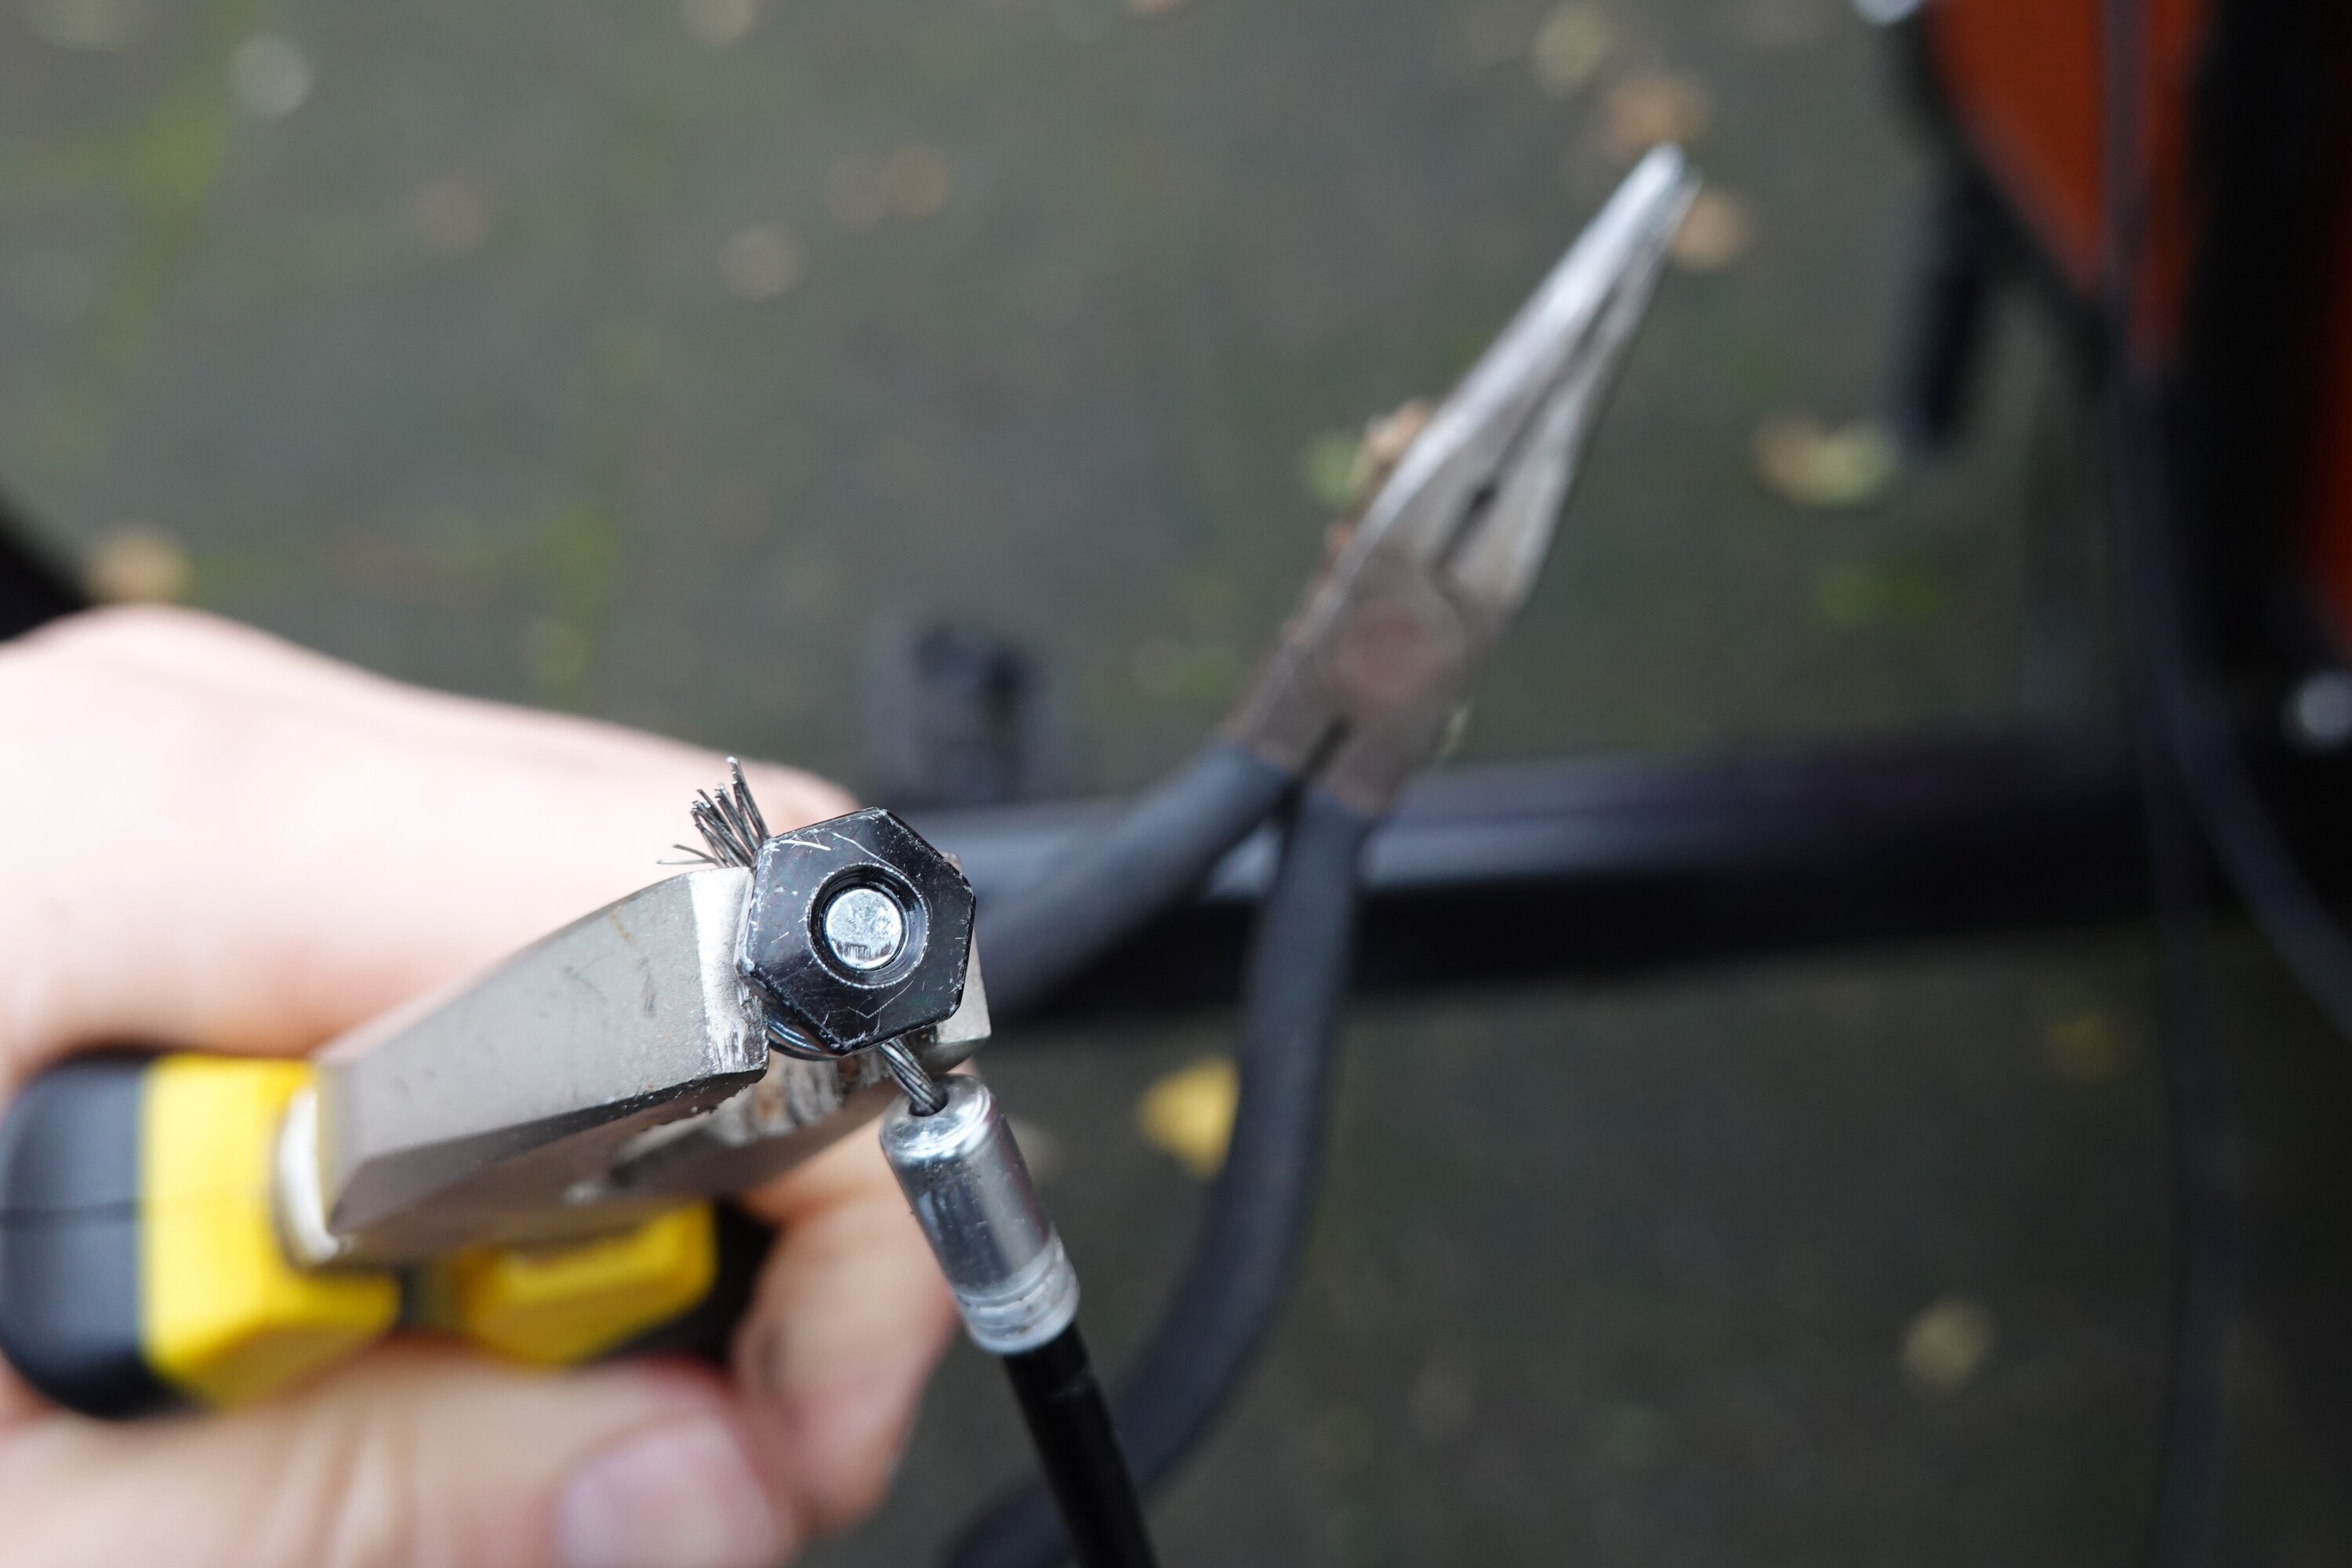
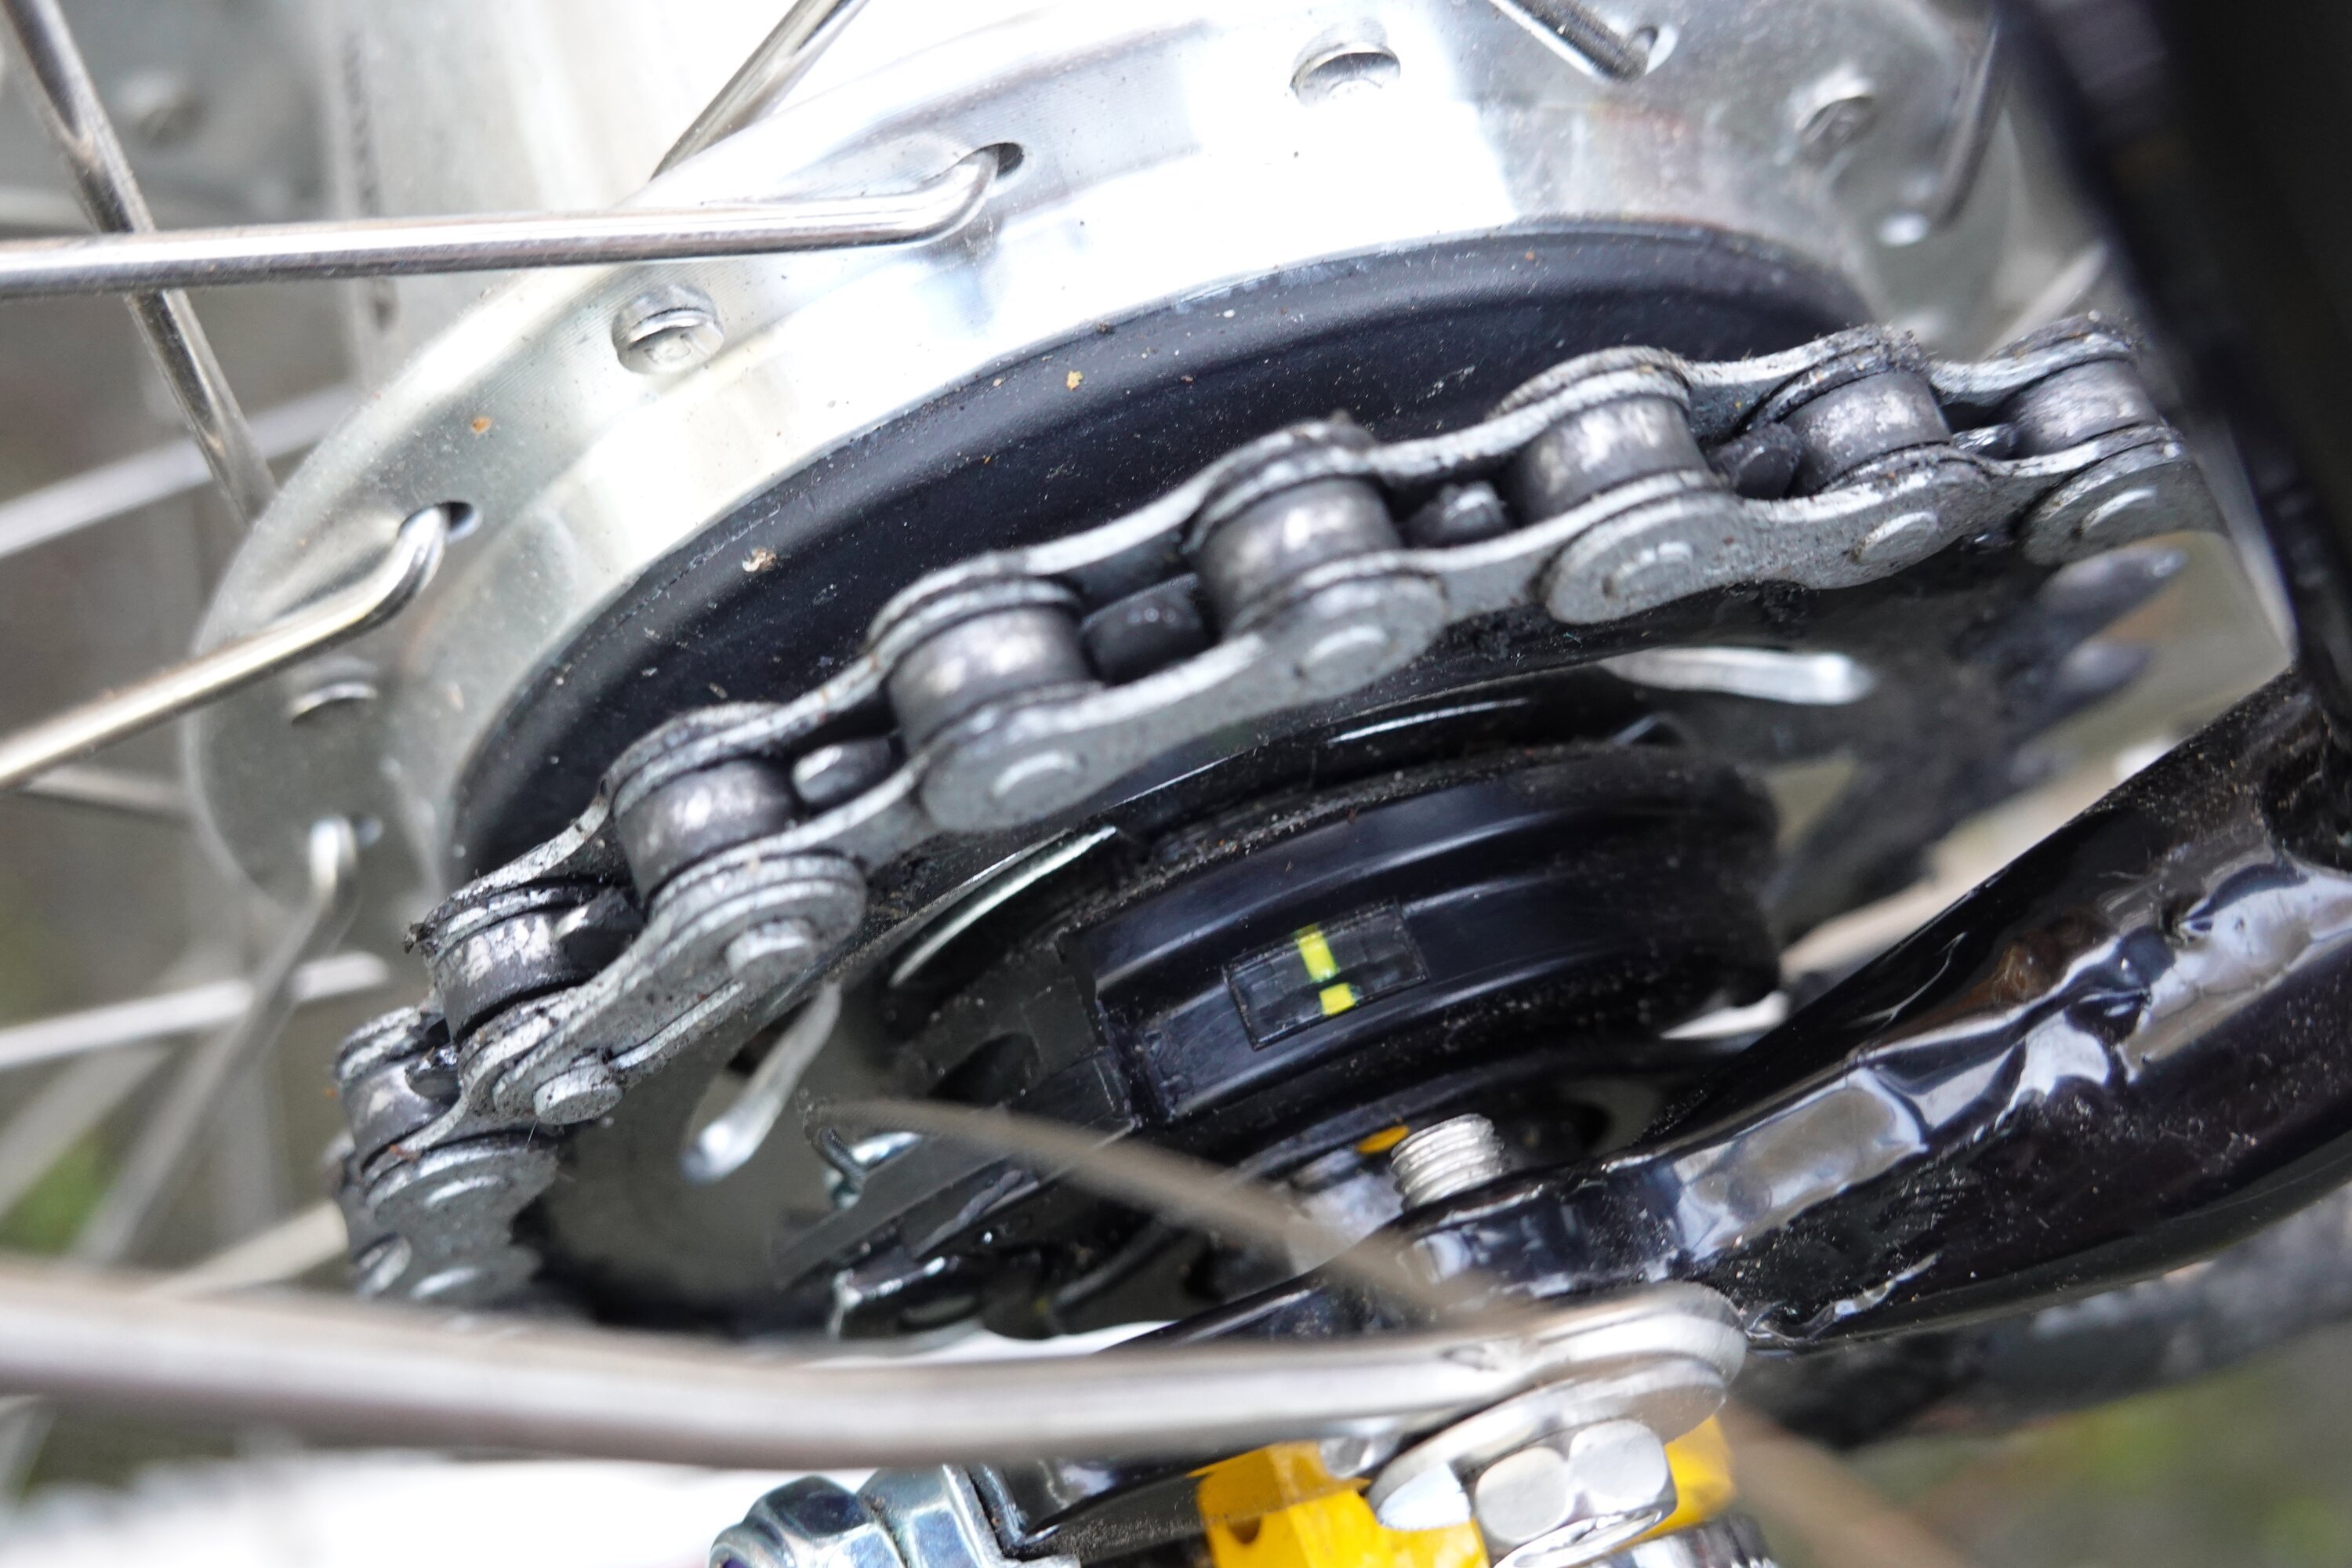
Don't immediately cut the cable, yet. You should first try to install it and see if everything works. After installing the bolt and fixing it to the rear hub bracket, you should look for a yellow marker. The yellow marker is an easy way to see if the shifter cable is properly tensioned. The two yellow parts of the marker should align when you have selected the fourth gear on the shifter.
It is my strategy to get it 'roughly right' using the bolt, and finetune the alignment using the special alignment bolt near the shifter at the handle bar. Once you're confident that it is properly aligned, you should do a little test drive. If all works well, it is safe to cut the cable and install the end cap, which prevents the cable from unraveling into individual threads.
Conclusion
Sometimes adventure takes its toll on your gear... our cargo bike suffered some damage to the Shimano shifter cable. Luckily, repairing the bike wasn't hard with the right tools and parts.
Investing in proper tools (and learning how to use them) is a good idea. I was able to repair the cargo bike for as little as € 12. Being able to do simple repairs yourself is really a great asset for all adventures!

Download
If you enjoy reading offline, this article is available for download:
Translations
This article is available in the following languages:
RSS / Atom
Grab one of the feeds to stay up to date, the feeds contain the full posts: