Aug. 31, 2020
Free from the iCloud: Escaping Apple Photos
Using offline photo library management software
After encountering the umpteenth ‘magic’ bug while managing my iPhone’s photos, I was done with it. Apple came a long way since it launched iPhoto (the predecessor of iCloud Photos). But for something as valuable as my personal memories, I want to be in full control. Read along to learn how I migrated my photo library away from the iCloud, using free, open source software.
Shooting digital photos since 2001
Due to some luck (a relative won it in a lottery), I got my first digital camera in 2001. It was a 0.8 megapixel camera from Samsung: a Digimax 800K. In every way it was extremely limited: it was very slow, it had a lousy battery life, it lacked a display and its memory card could only fit approximately 12 photos.
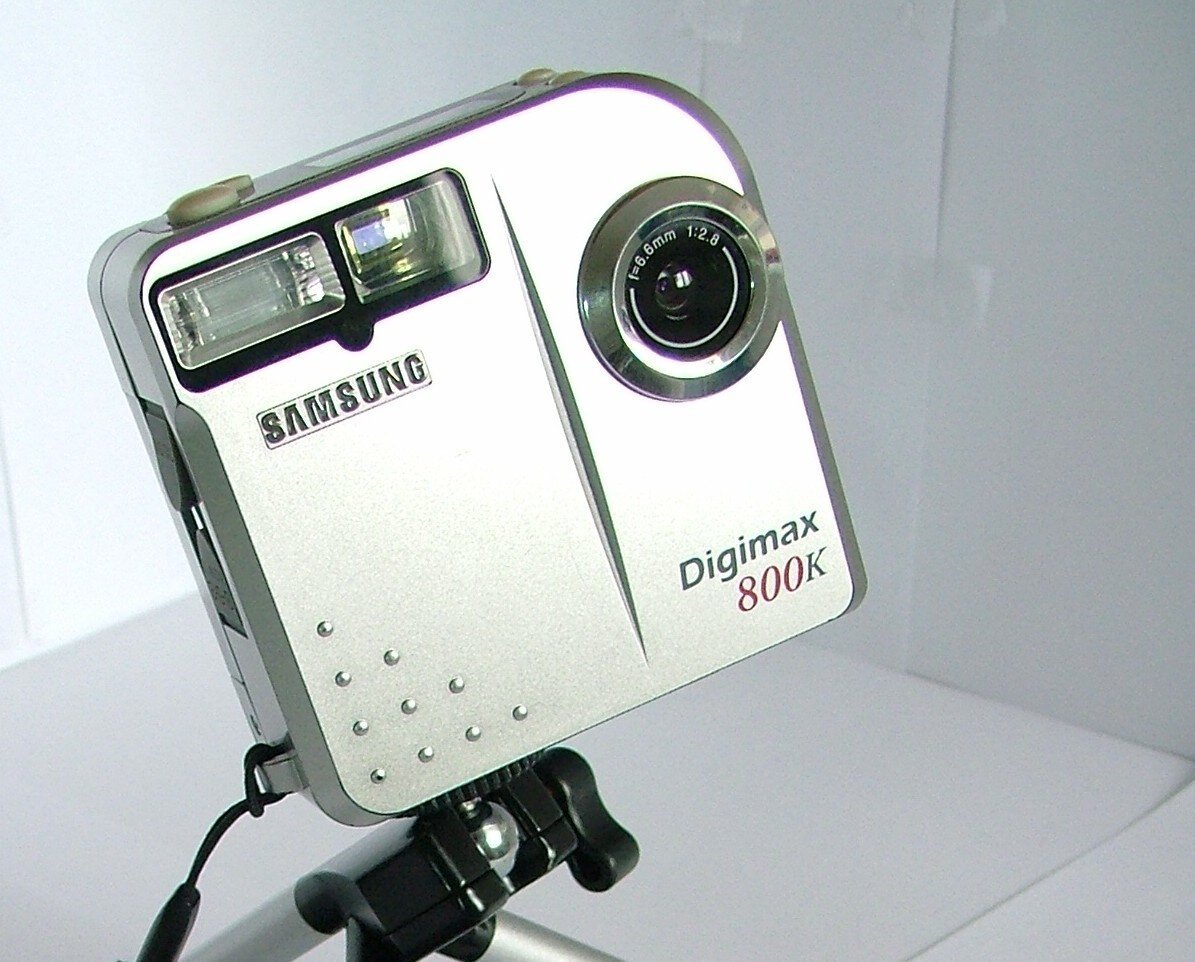
Despite its limitations, I used this bad boy to take pictures. It captured some of my most interesting teenage memories. When I look at those pictures, it’s like visiting a museum... the “Willem museum”, ha!

Hello Apple Macintosh
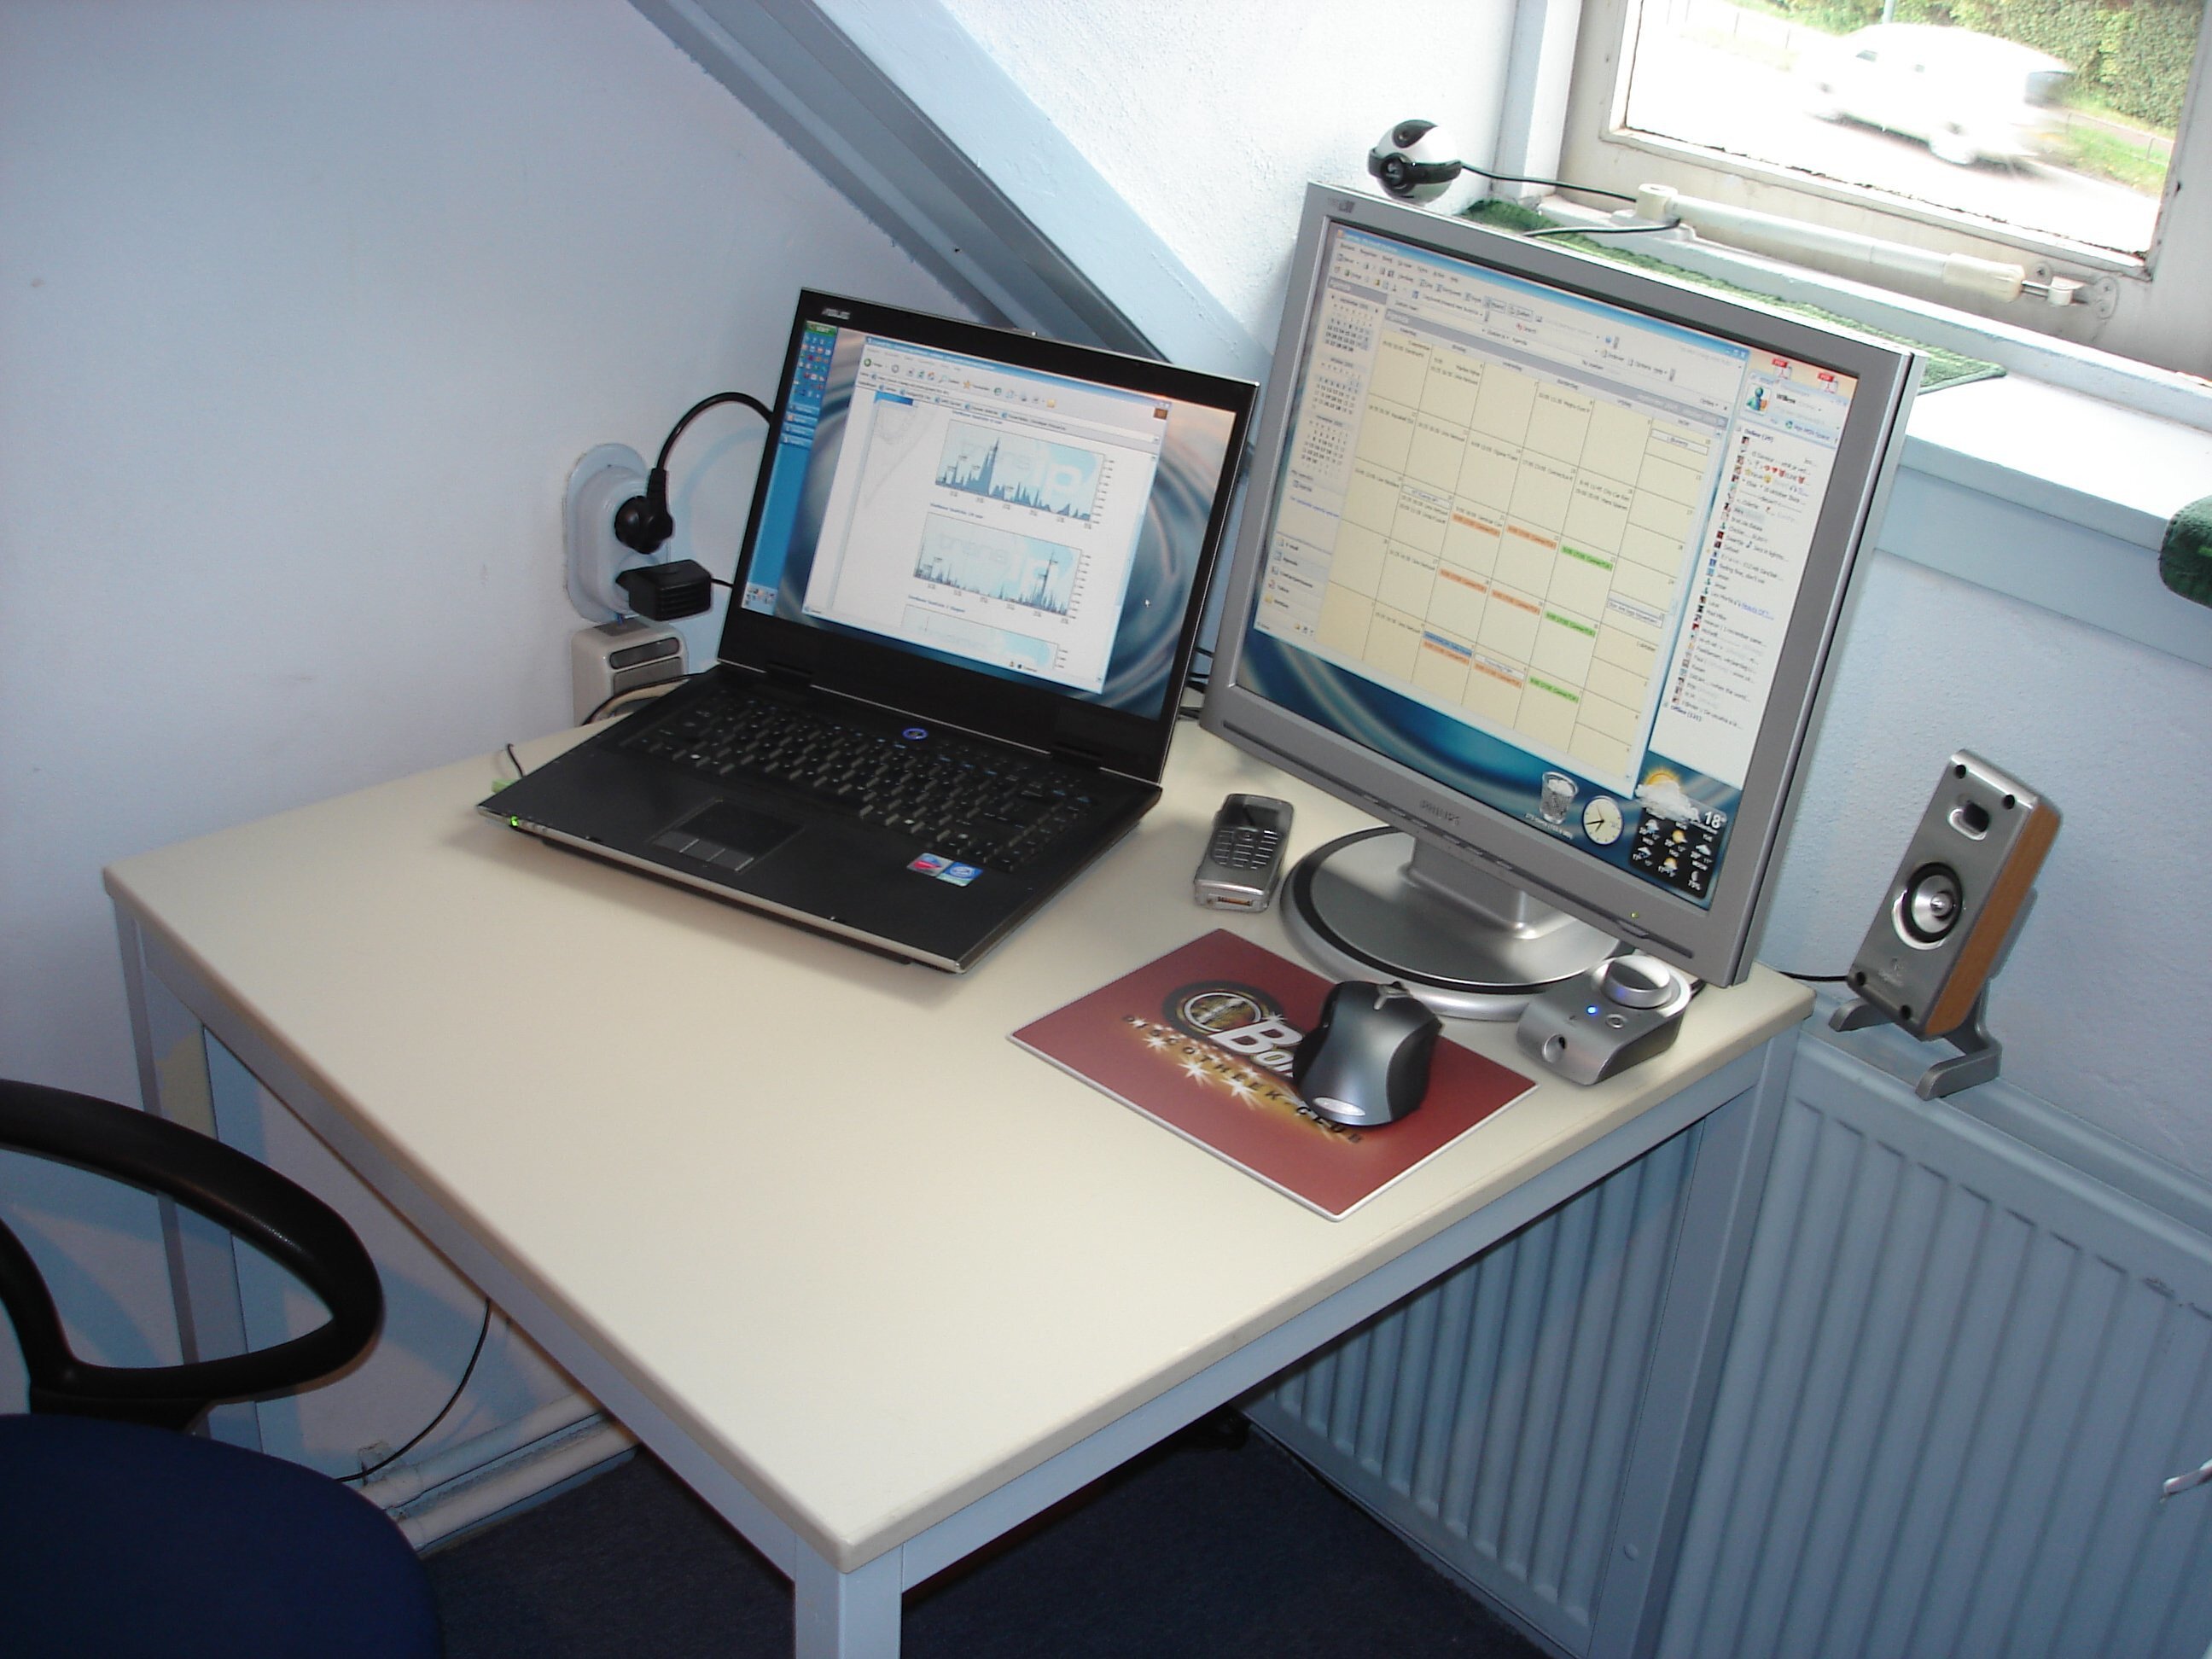
Fast forward a few years and my digital photo library grew significantly. Software of that day wasn’t designed to accommodate the ever growing digital memories. My Windows computer was very much an office tool.
When Steve Jobs introduced the iLife apps for Apple Macintosh in 2002 he described it as “It’s like Microsoft Office for the rest of your life.” It was specifically designed to as a center piece to manage your digital lifestyle: iTunes for music, iMovie for video, iPhoto for photos. It was designed to be easy and fun!
You should watch the iLife introduction video, featuring Jony Ive and Phil Schiller. This was visionary stuff in 2002 (Windows Vista wasn’t invented yet!).
In 2006 the Mac and its operating system were amazing: it looked like it came from the future. Translucent windows, colourful buttons, powerful software and a UNIX software basis.
iPhone
Everything changed in 2007 when Steve Jobs introduced the original iPhone. The device was designed to be an iPod, a phone and an internet device all in one. Like the Mac and its accompanying iLife suite of software, the iPhone was designed to become a center piece of your digital life.
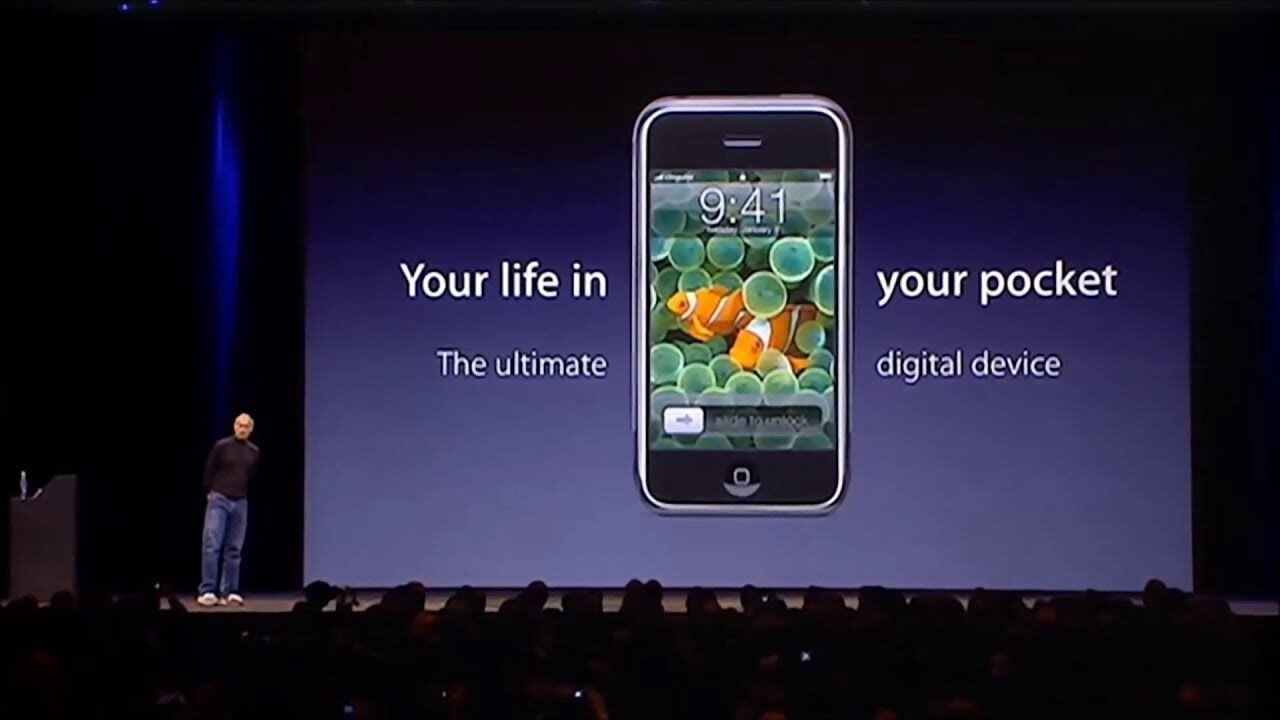
Together with some buddies I went to Miami to get an iPhone (among other things)! I knew this device was the future and I wanted one badly. They weren’t sold in Europe and stock in the U.S. was extremely limited. We visited multiple Apple Stores in the early mornings hoping to find an iPhone in stock. There where people waiting with us - every morning. It was crazy.

Ultimately we found some iPhones in a slightly shady store in some nearby mall. Gray market dealers made some pretty penny reselling unlocked iPhones. But it didn’t matter: I got an iPhone!
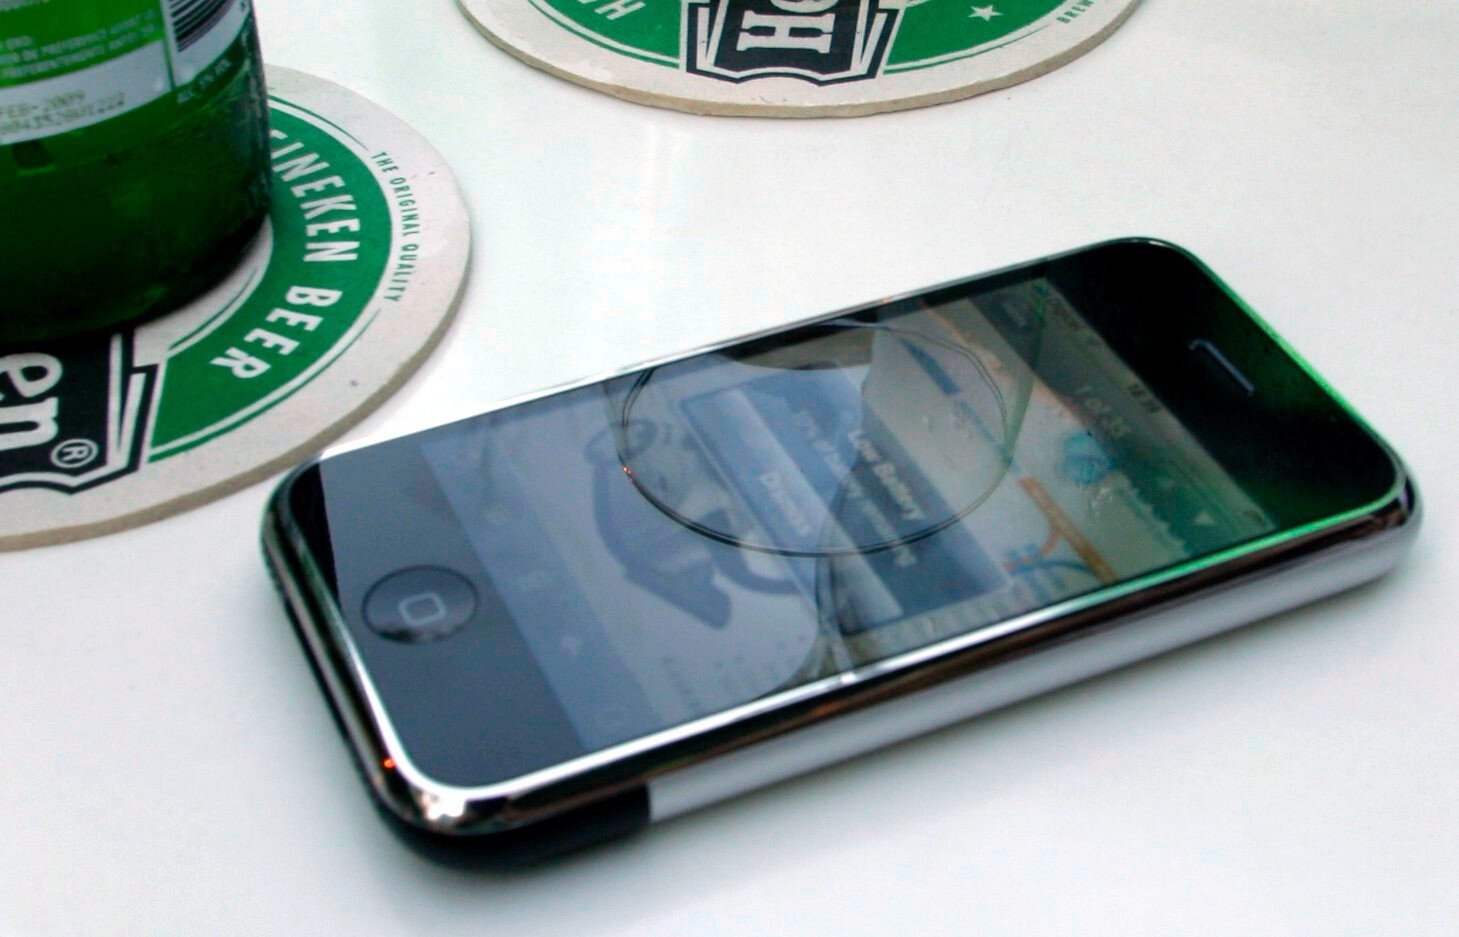
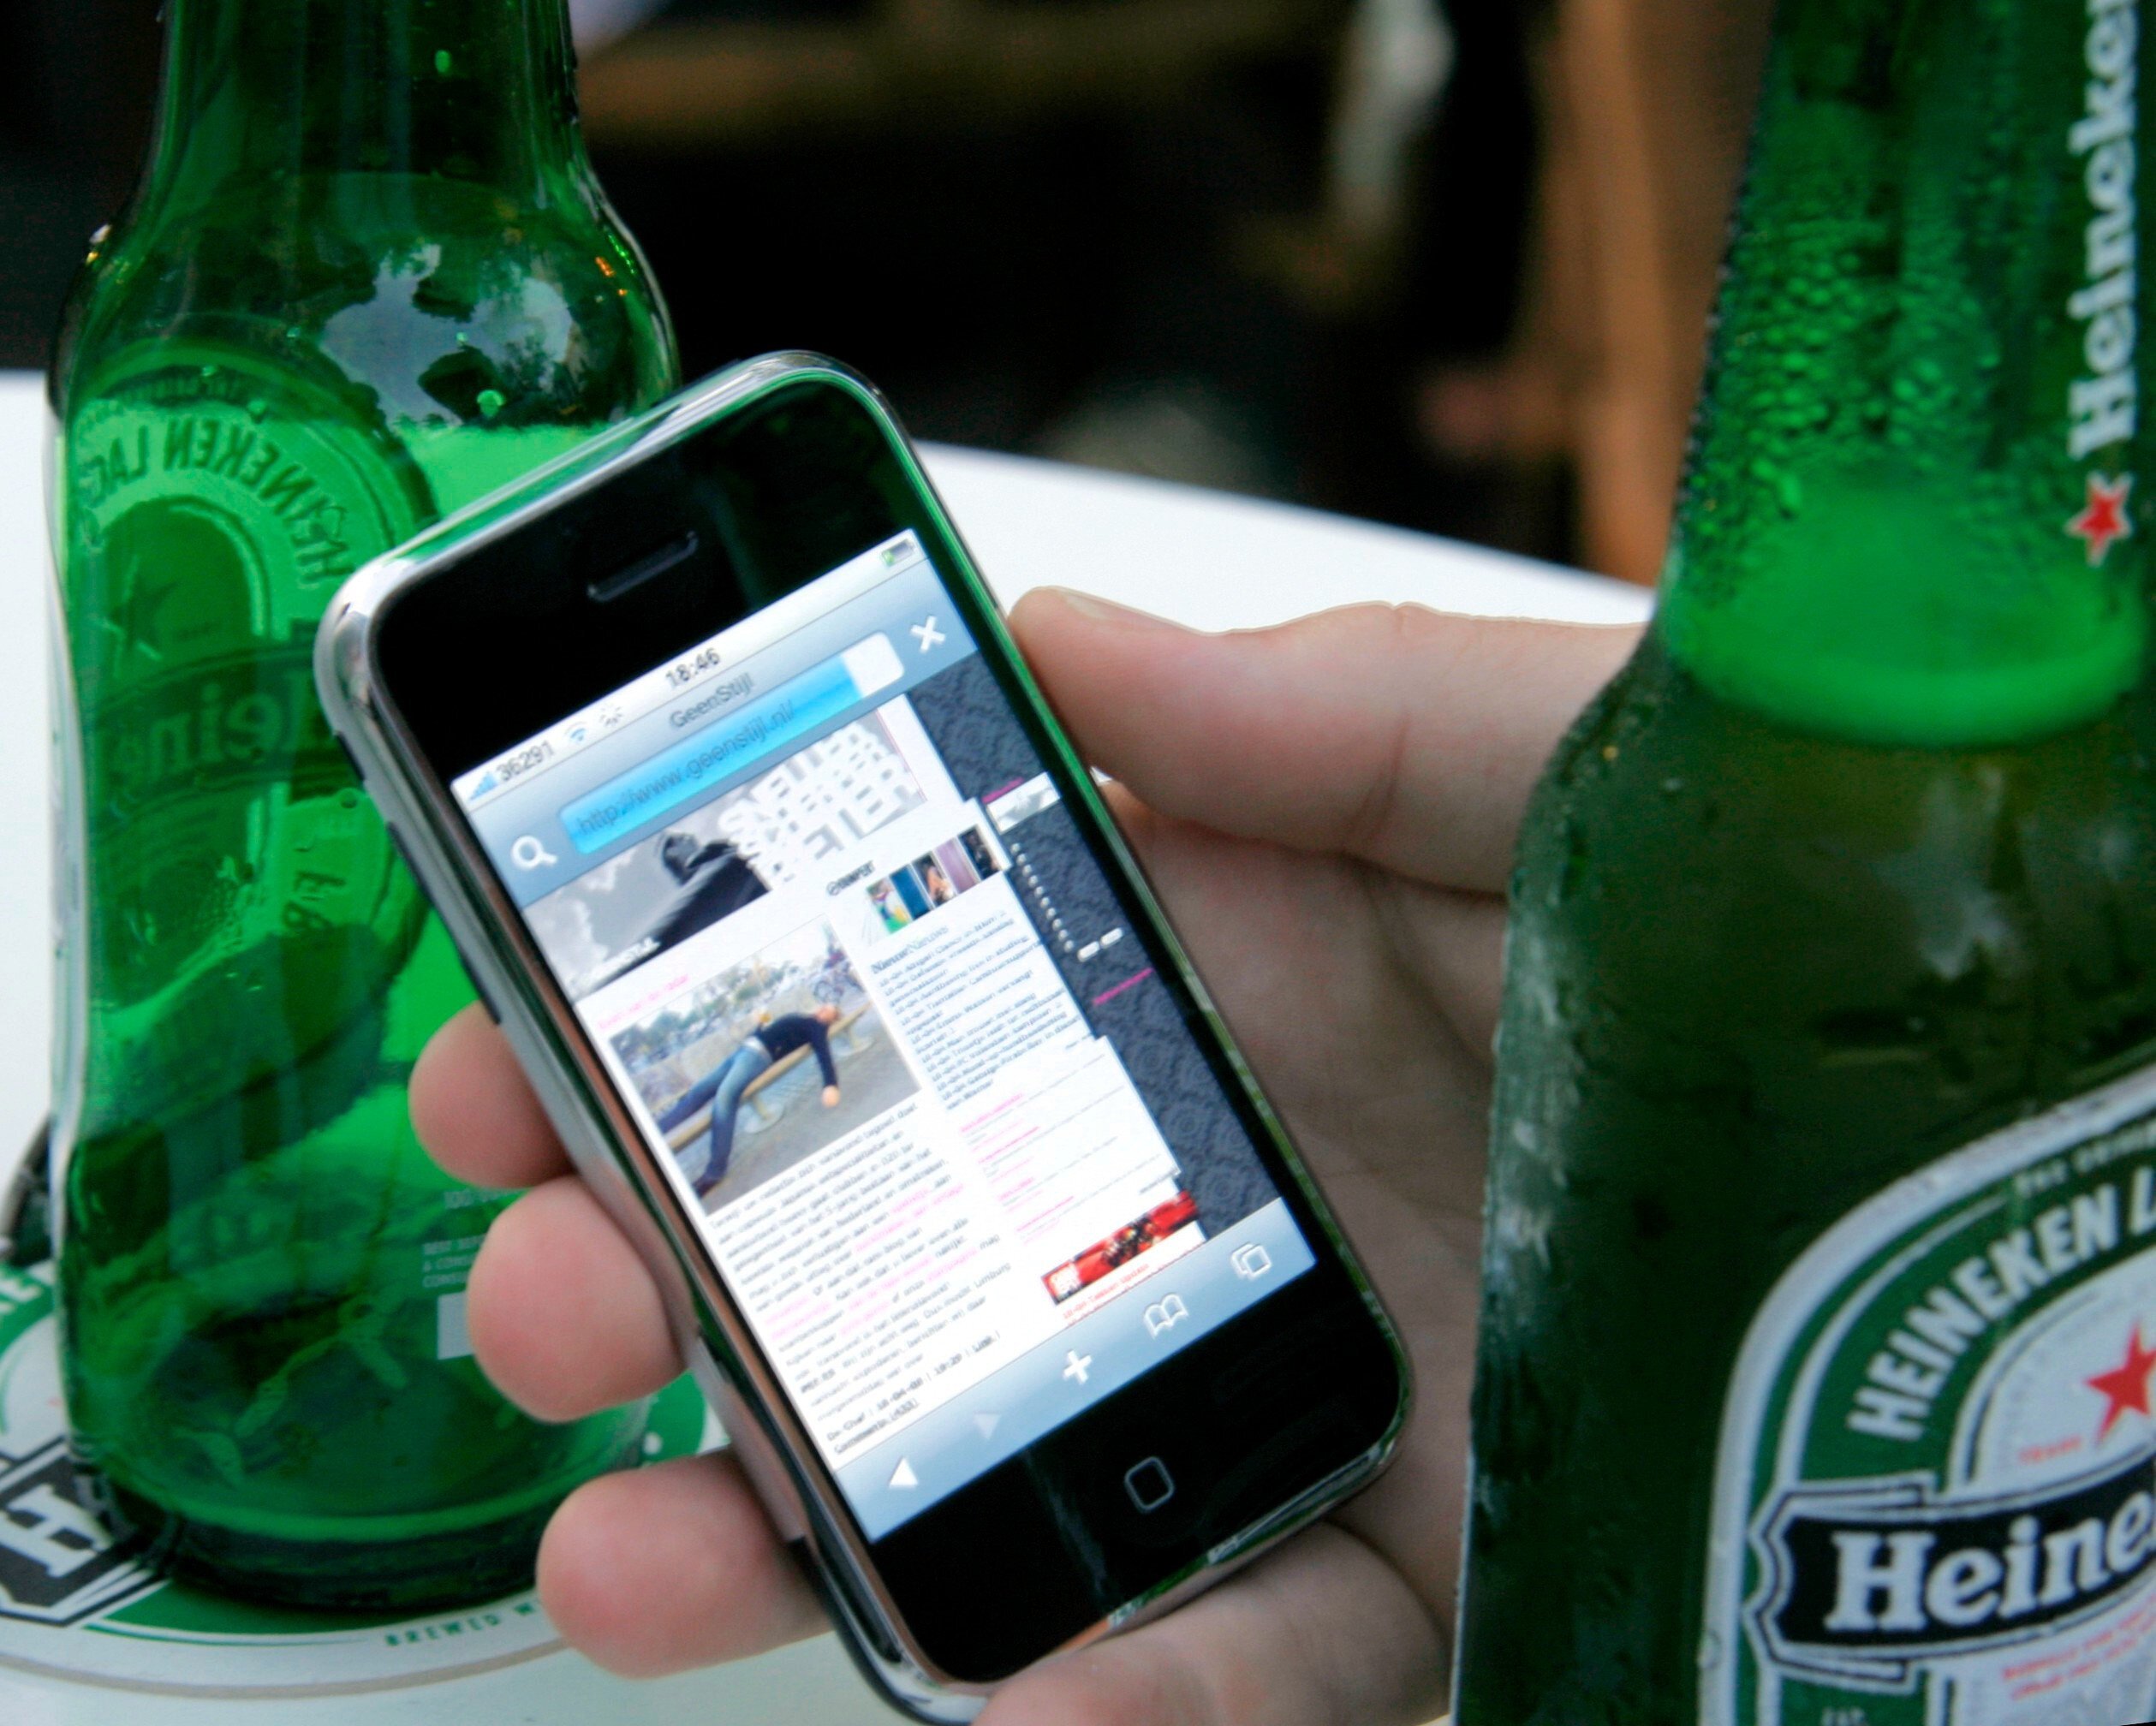
While the original iPhone’s camera wasn’t that great, things changed when the iPhone 4 came out. The fourth iPhone replaced my normal photo camera. Its high resolution “retina” display made the pictures pop on the iPhone. The 5 megapixel camera with autofocus wasn’t all that bad.


iCloud Photos
In 2015 Apple introduced iCloud Photos and stopped developing iPhoto. It was not Apple’s finest hour as the new iCloud Photos had numerous problems. I decided to wait and to stick with the now abandoned iPhoto app.
Eventually Apple greatly improved the Photos app, but its focus was no longer to be a digital hub that you control (like the Mac with iPhoto). Instead, Apple Photos is designed to be a service that fully controls your photos. I guess this is convenient for those folks that don’t want to be bothered with managing their own stuff. While Apple Photos still allows you to keep a local, offline, photo library, you’ll be getting a limited experience (riddled with bugs). Therefore the best way to use Apple Photos is by enabling the so called ‘iCloud Photo Library’.
With iCloud Photos, all your photos are uploaded to Apple servers. While Apple arguably has the best reputation and policy when it comes to user privacy, it's still an American company doing big corporate stuff you don't control as simple user. It is something you should decide for yourself, but when it comes to my photos, I’d rather be responsible and in control myself. My distrust is not ungrounded: only recently the big (multi billion dollar) Adobe caused panic across photographers world wide when an update to their popular Lightroom app caused photos to disappear forever! Whatever cloud you’re using: always make a backup yourself!
Managing photos with free software
On various occasions I have been an advocate for free software. It is better because it offers you “free” as in freedom of speech (which is not the same as in “free beer”). Free software allows you to take control over your data, like your photos.
When you set out to look for an alternative for proprietary photo management apps, you have various free options:
- Shotwell is an app very much like the original Apple iPhoto in such a way that it allows you to organise your photos in events, group them by month and year. It is better than Apple Photos as it offers you much more control over photo files. It works with all the popular photo file formats, including RAW.
- Darktable: is an app that enables you to develop RAW photo files, manage them and view them through a zoom able light table.
- GIMP: is an image manipulation program that enables you to retouch and edit individual photos. It is very powerful and offers many advanced features.
- GNOME Photos: is an application that allows you to manage your photos in a simple manner. It is the default photo application in the popular GNOME desktop environment that you’ll find in many GNU/Linux distributions.
- digiKam: is an advanced photo management application that offers many different options to import, manage, edit and export your photos. It has been the default photo app on the popular KDE desktop environment.
Prerequisite: clean your library!
Before migrating your photo library you must make sure it is organised well and you have cleaned it. They sometimes say “if you put shit in, you’ll get shit out”. This is why I took the time to go through all my photos and remove those that I deemed duplicate, bad or unnecessary. By selecting and filtering your library, you’ll make any migration easier.

For me this meant firing up an old MacBook to run an old copy of iPhoto. This enabled me to (rather aggressively) filter my photos. I removed many (near) duplicates, fuzzy ones and obvious meaningless photos. I took the time to do this, going through my photos a few hours per day for two weeks! Ultimately I reduced the number of photos by approximately 50%!
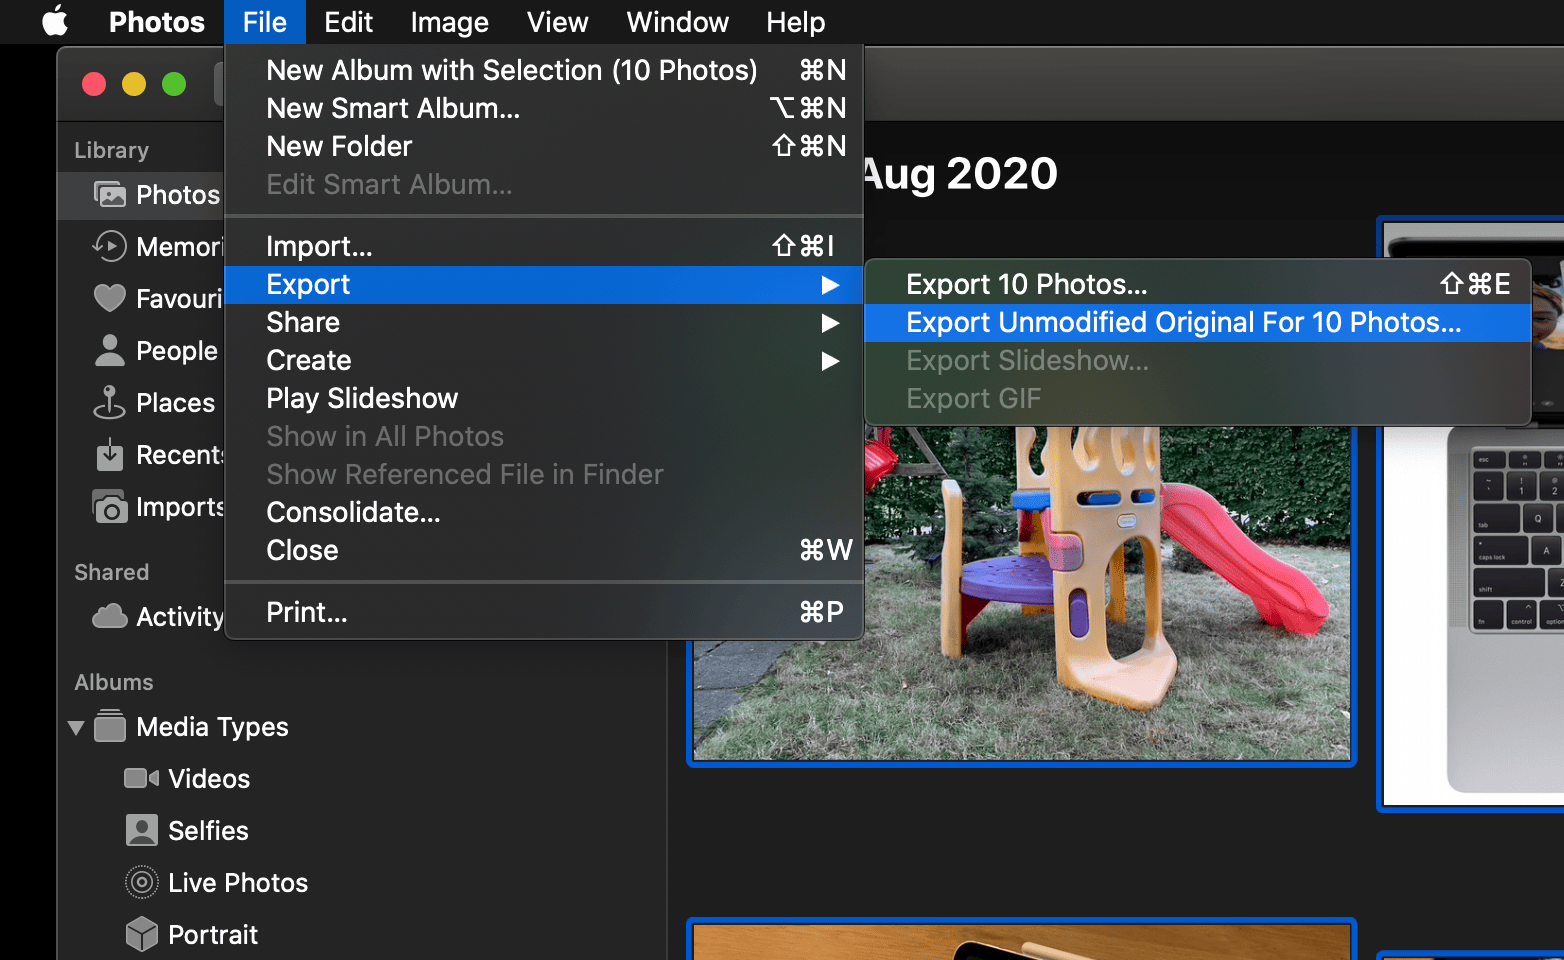
Export photos from Apple Photos
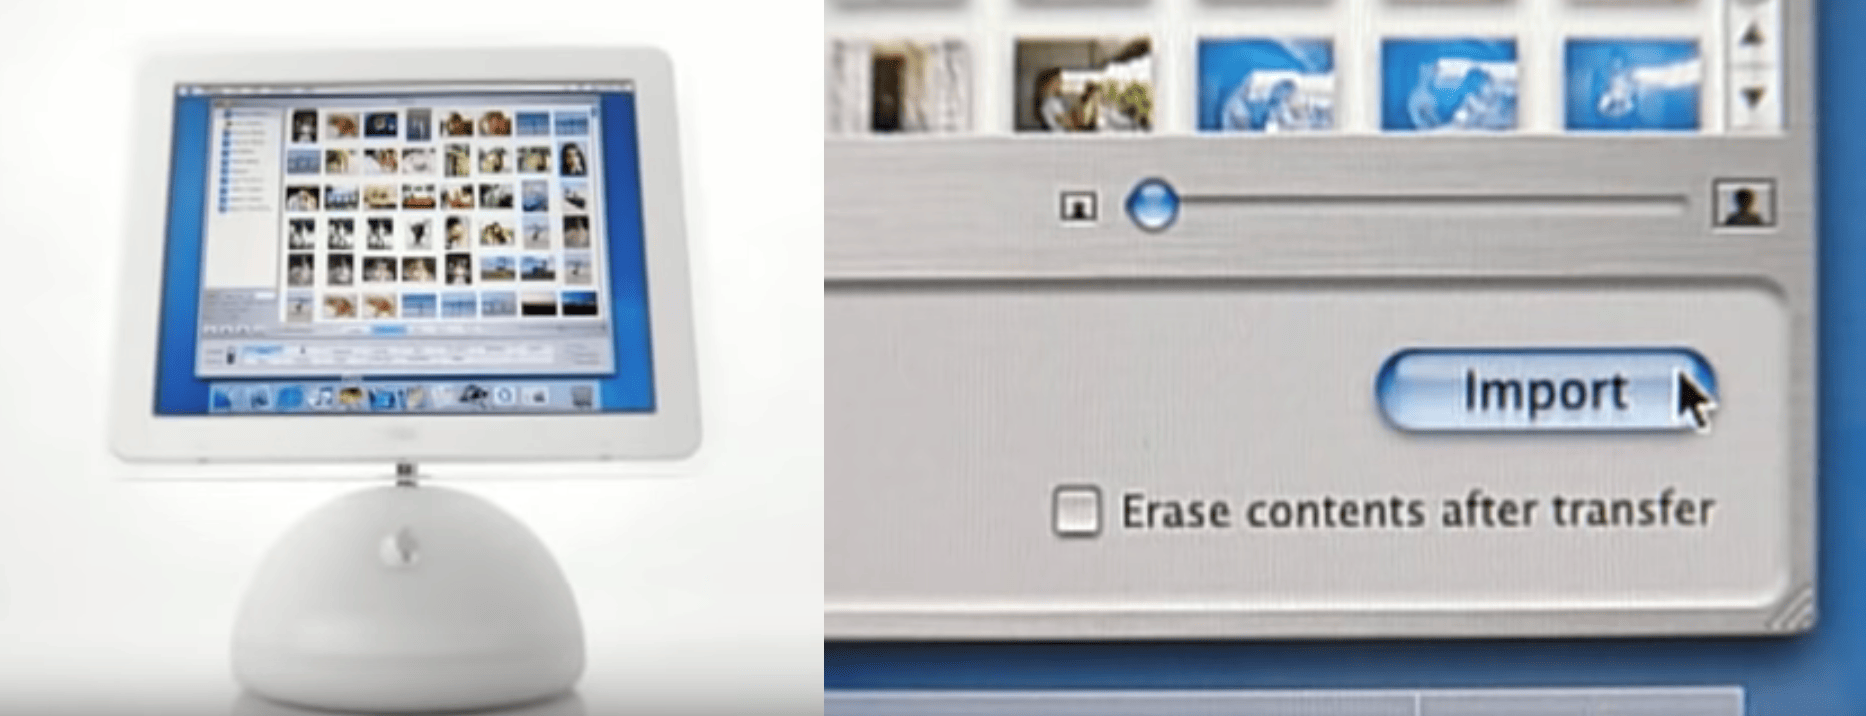
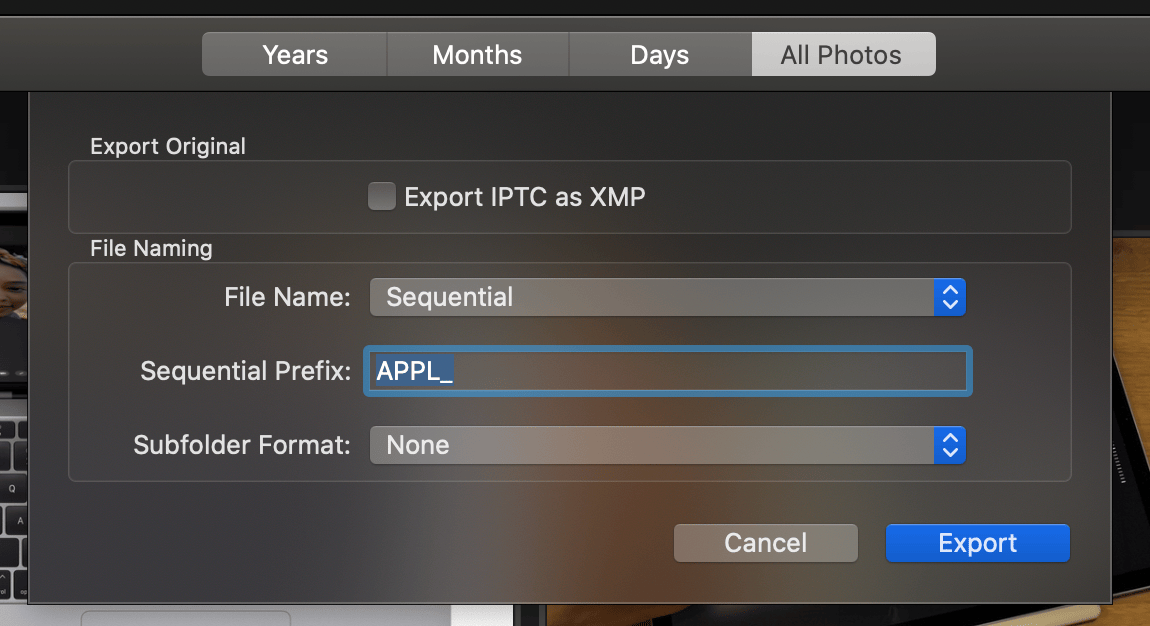
After cleaning my library, I upgraded it to Apple Photos. The latter runs better on modern Apple computers, like my powerful iMac. Using Apple Photos you can export the original masters all at once. Select (all) your photos and choose “File” > “Export unmodified originals”. I used sequential filenames with a manually set prefix. This enabled me to do batch renaming using EXIF creation dates in a later step. Exporting the originals will take some time depending on your library’s size.
Batch renaming photos based on EXIF creation date
With my files freed from Apple Photos, the next step was to update all the individual filenames to a more meaningful something. I figured that a photo file with the date + time would be best. I opted for a YYYYMMDD-HH-MM template. I copied my files over to a computer that runs on GNU/Linux, offering me all kinds of terminal programs to do this. If you’re running on Windows or macOS you should be able to find the same (or similar) tools to do these things without Linux.
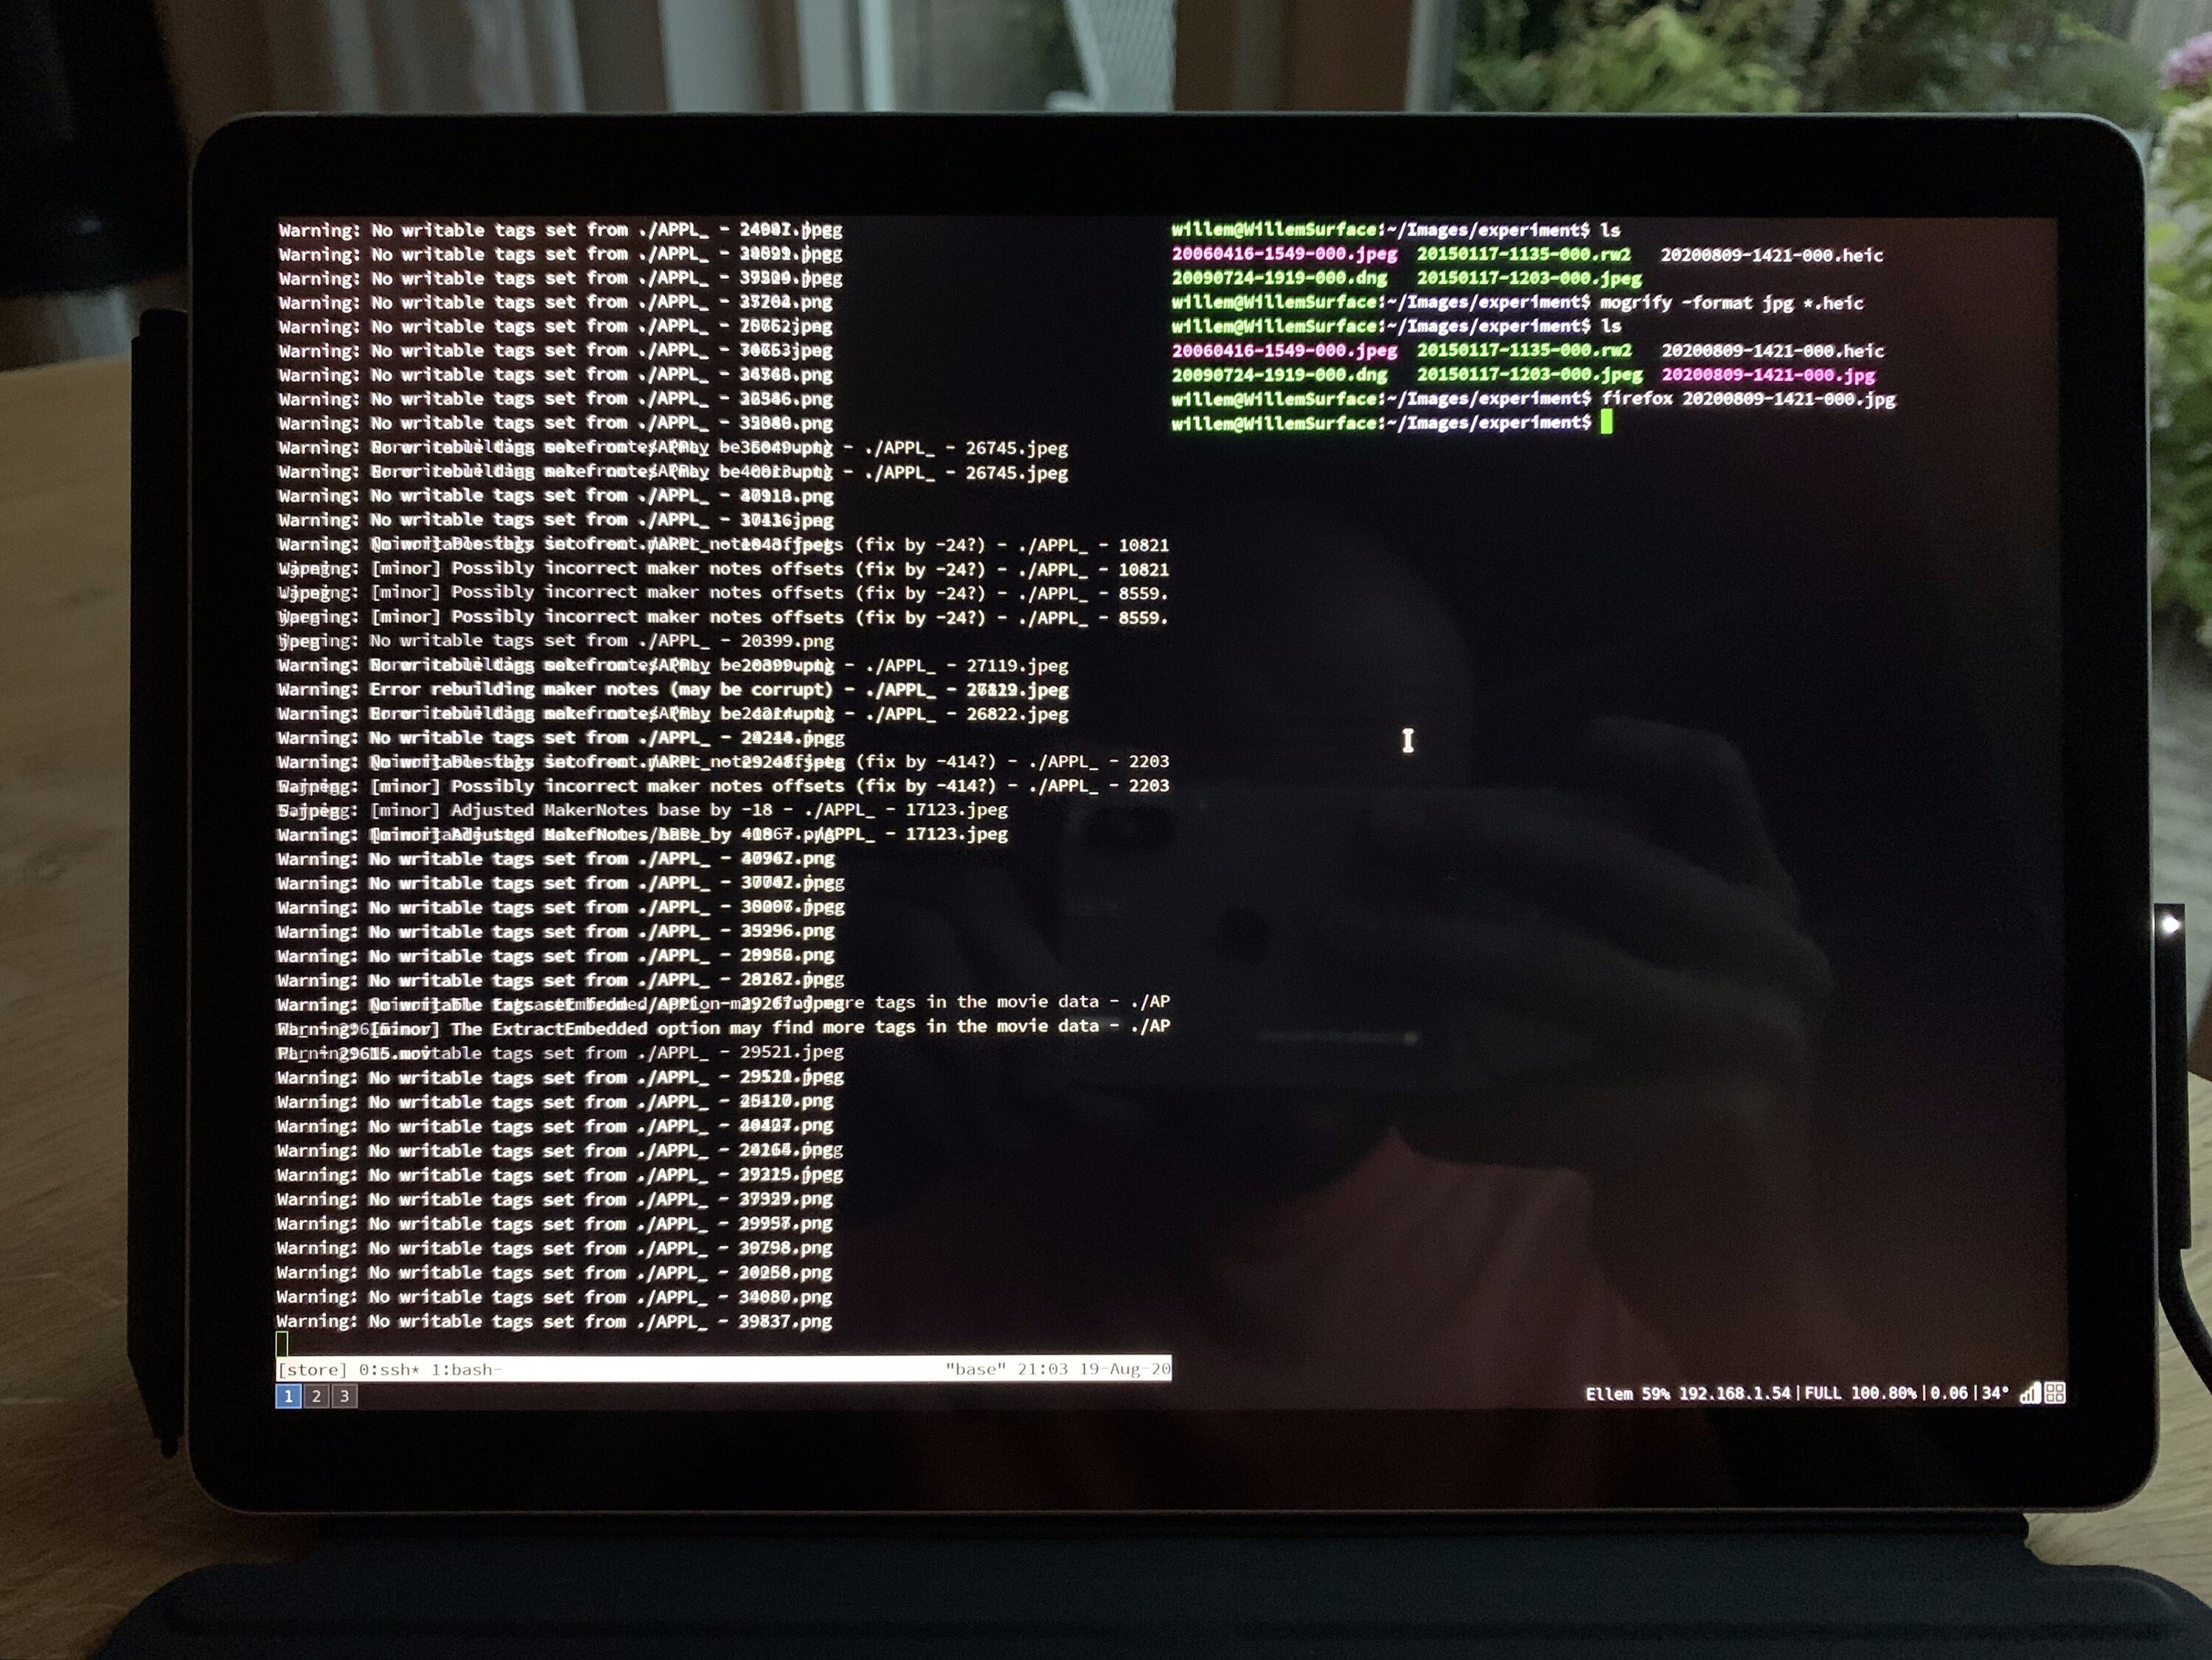
I used the exiftool available on GNU/Linux to do this, the exact command I used was: exiftool -d '%Y%m%d-%H%M%%-03.c.%%e' '-filenameCreateDate'. I ran this command on a powerful server that could go through the thousands of photos more quickly than my tablet.
Batch converting HEIC to JPG
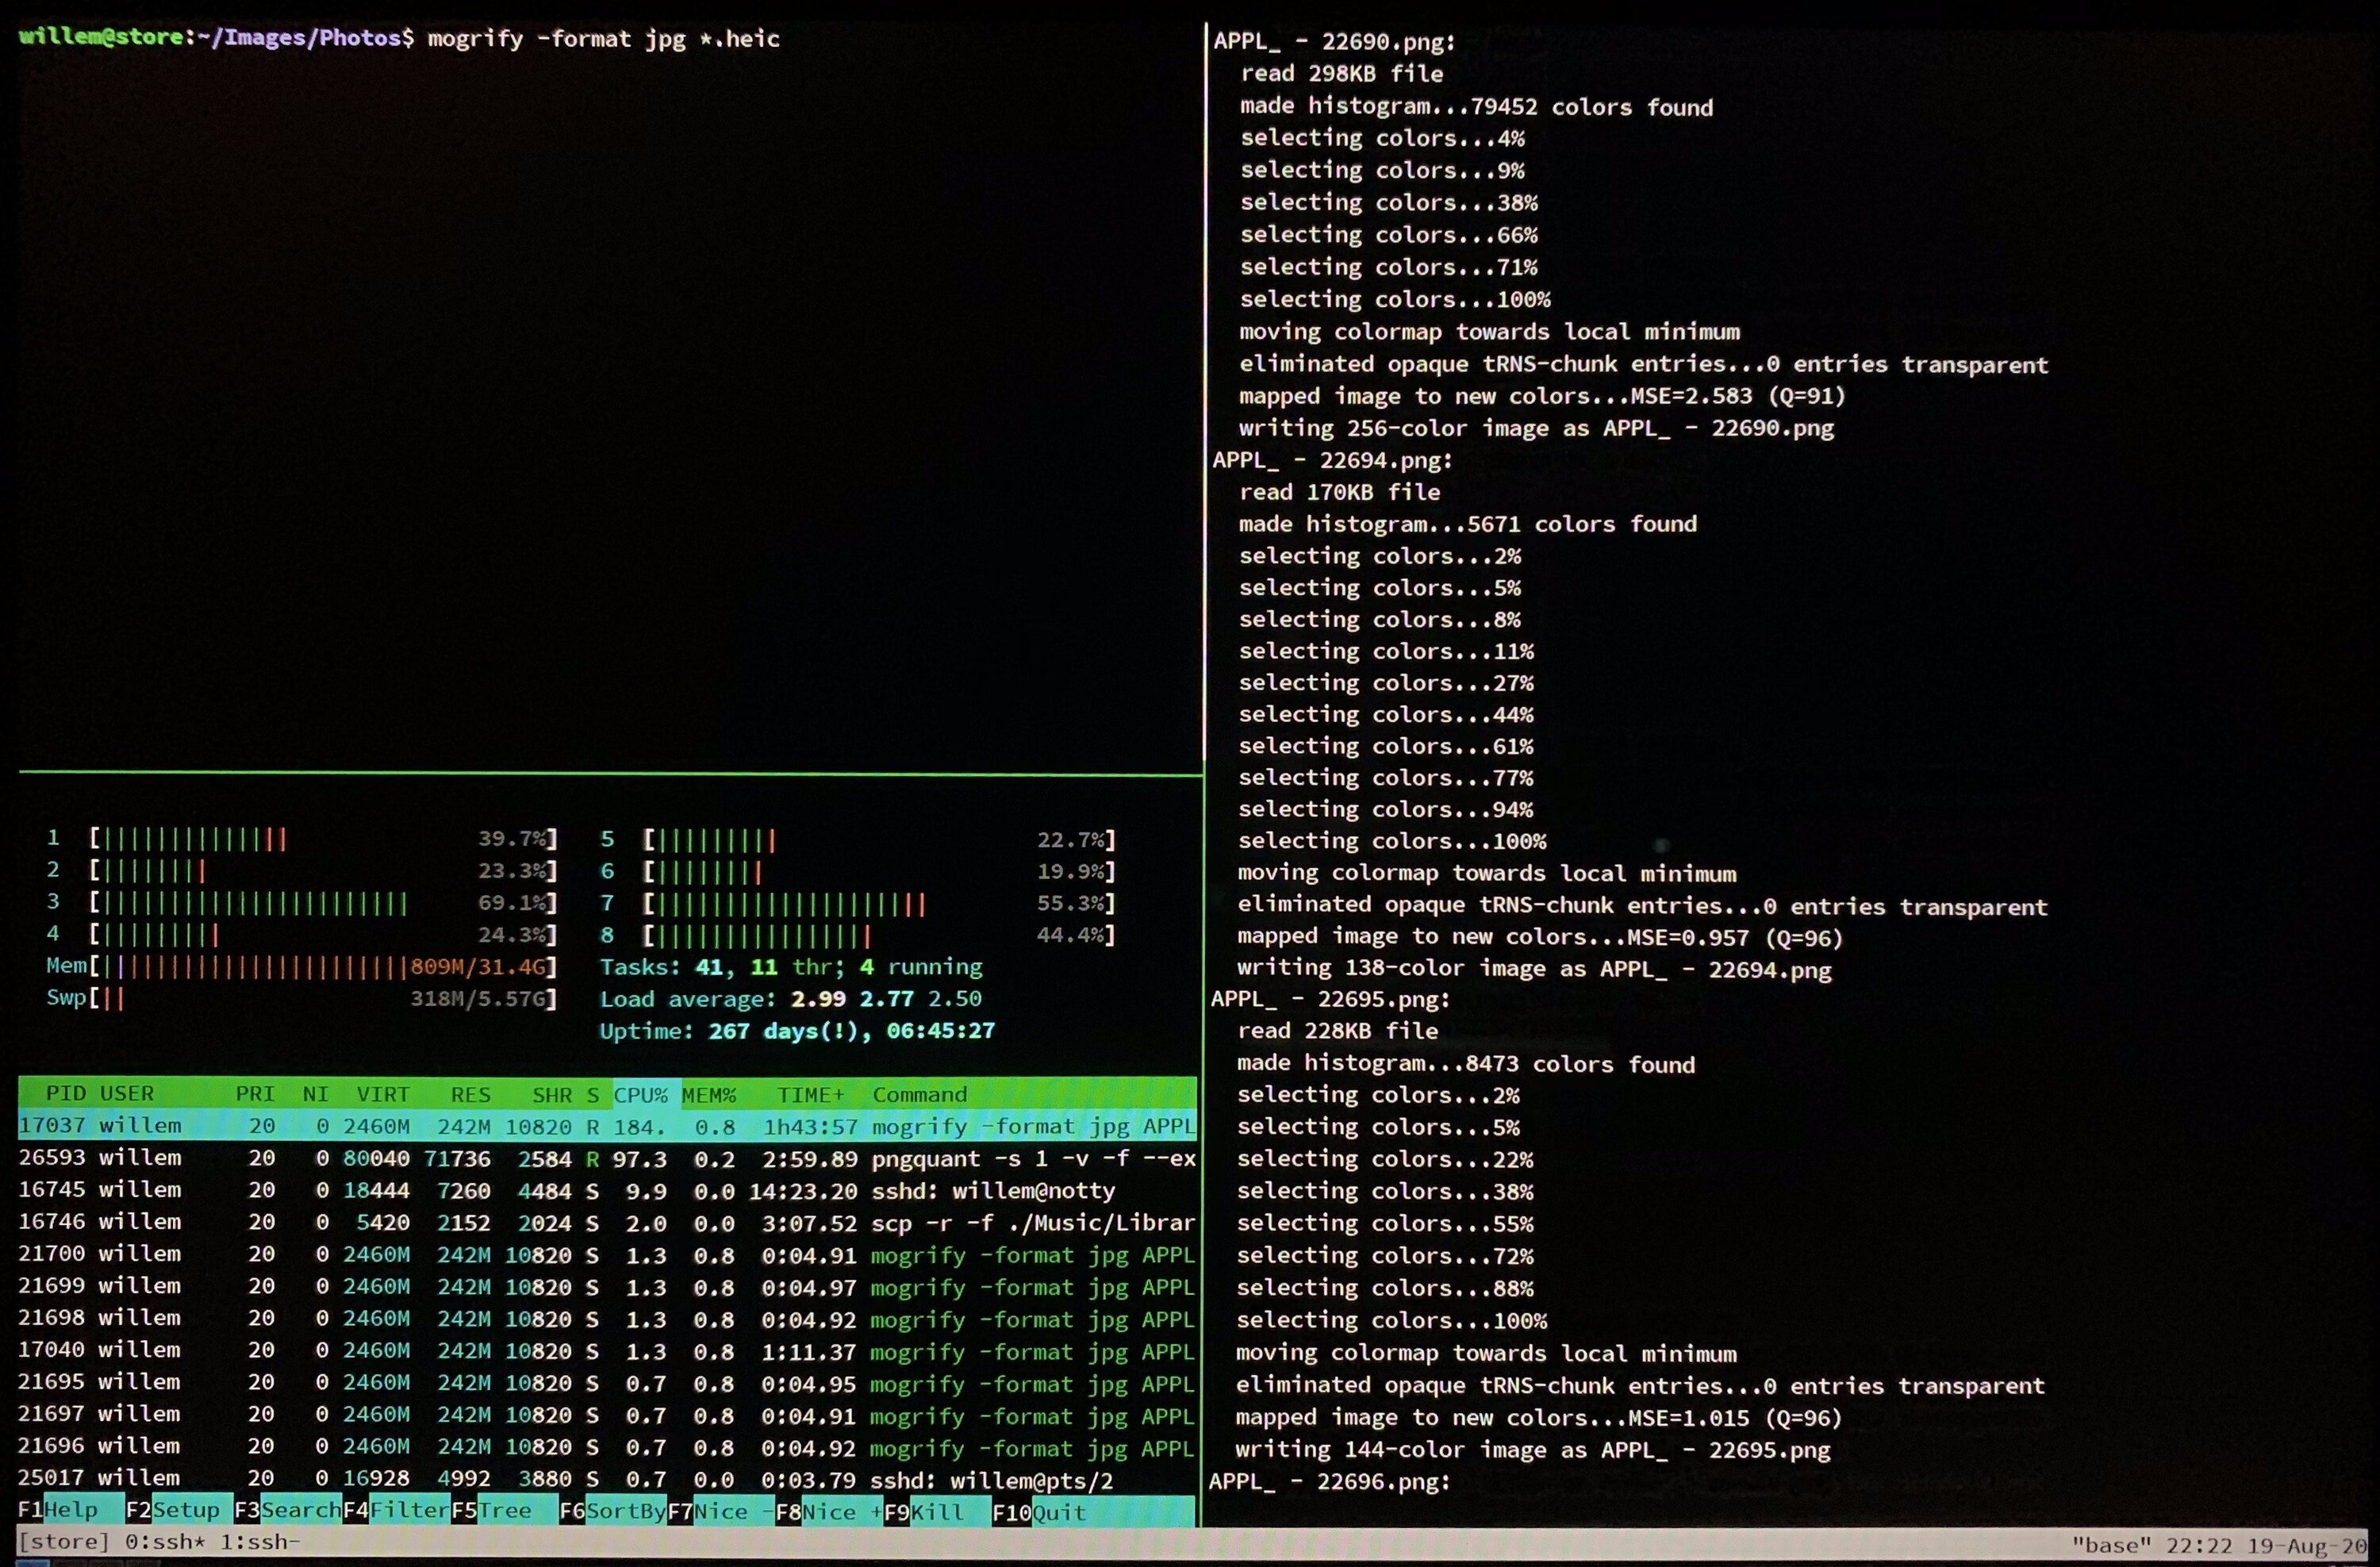
Altough the modern HEIC image format (used by iPhones) is superior to JPG in terms of compression and image quality, it lacks support in many popular free software solutions. Support for HEIC is growing, but I wanted things to work well now. The easiest thing to do was to convert all my HEIC photos to JPG. To do this I used the ‘mogrify’ command that is part of the popular ‘imagemagick’ suite of tools available on pretty much any platform. As my photos where copied to a (powerful) server, I took advantage of the server's computing power by running the conversion there. The exact command I used was mogrify -format jpg *.HEIC”, don’t forget to remove the HEIC files after you’ve converted them to JPG.
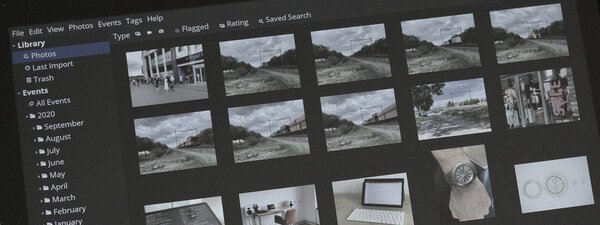
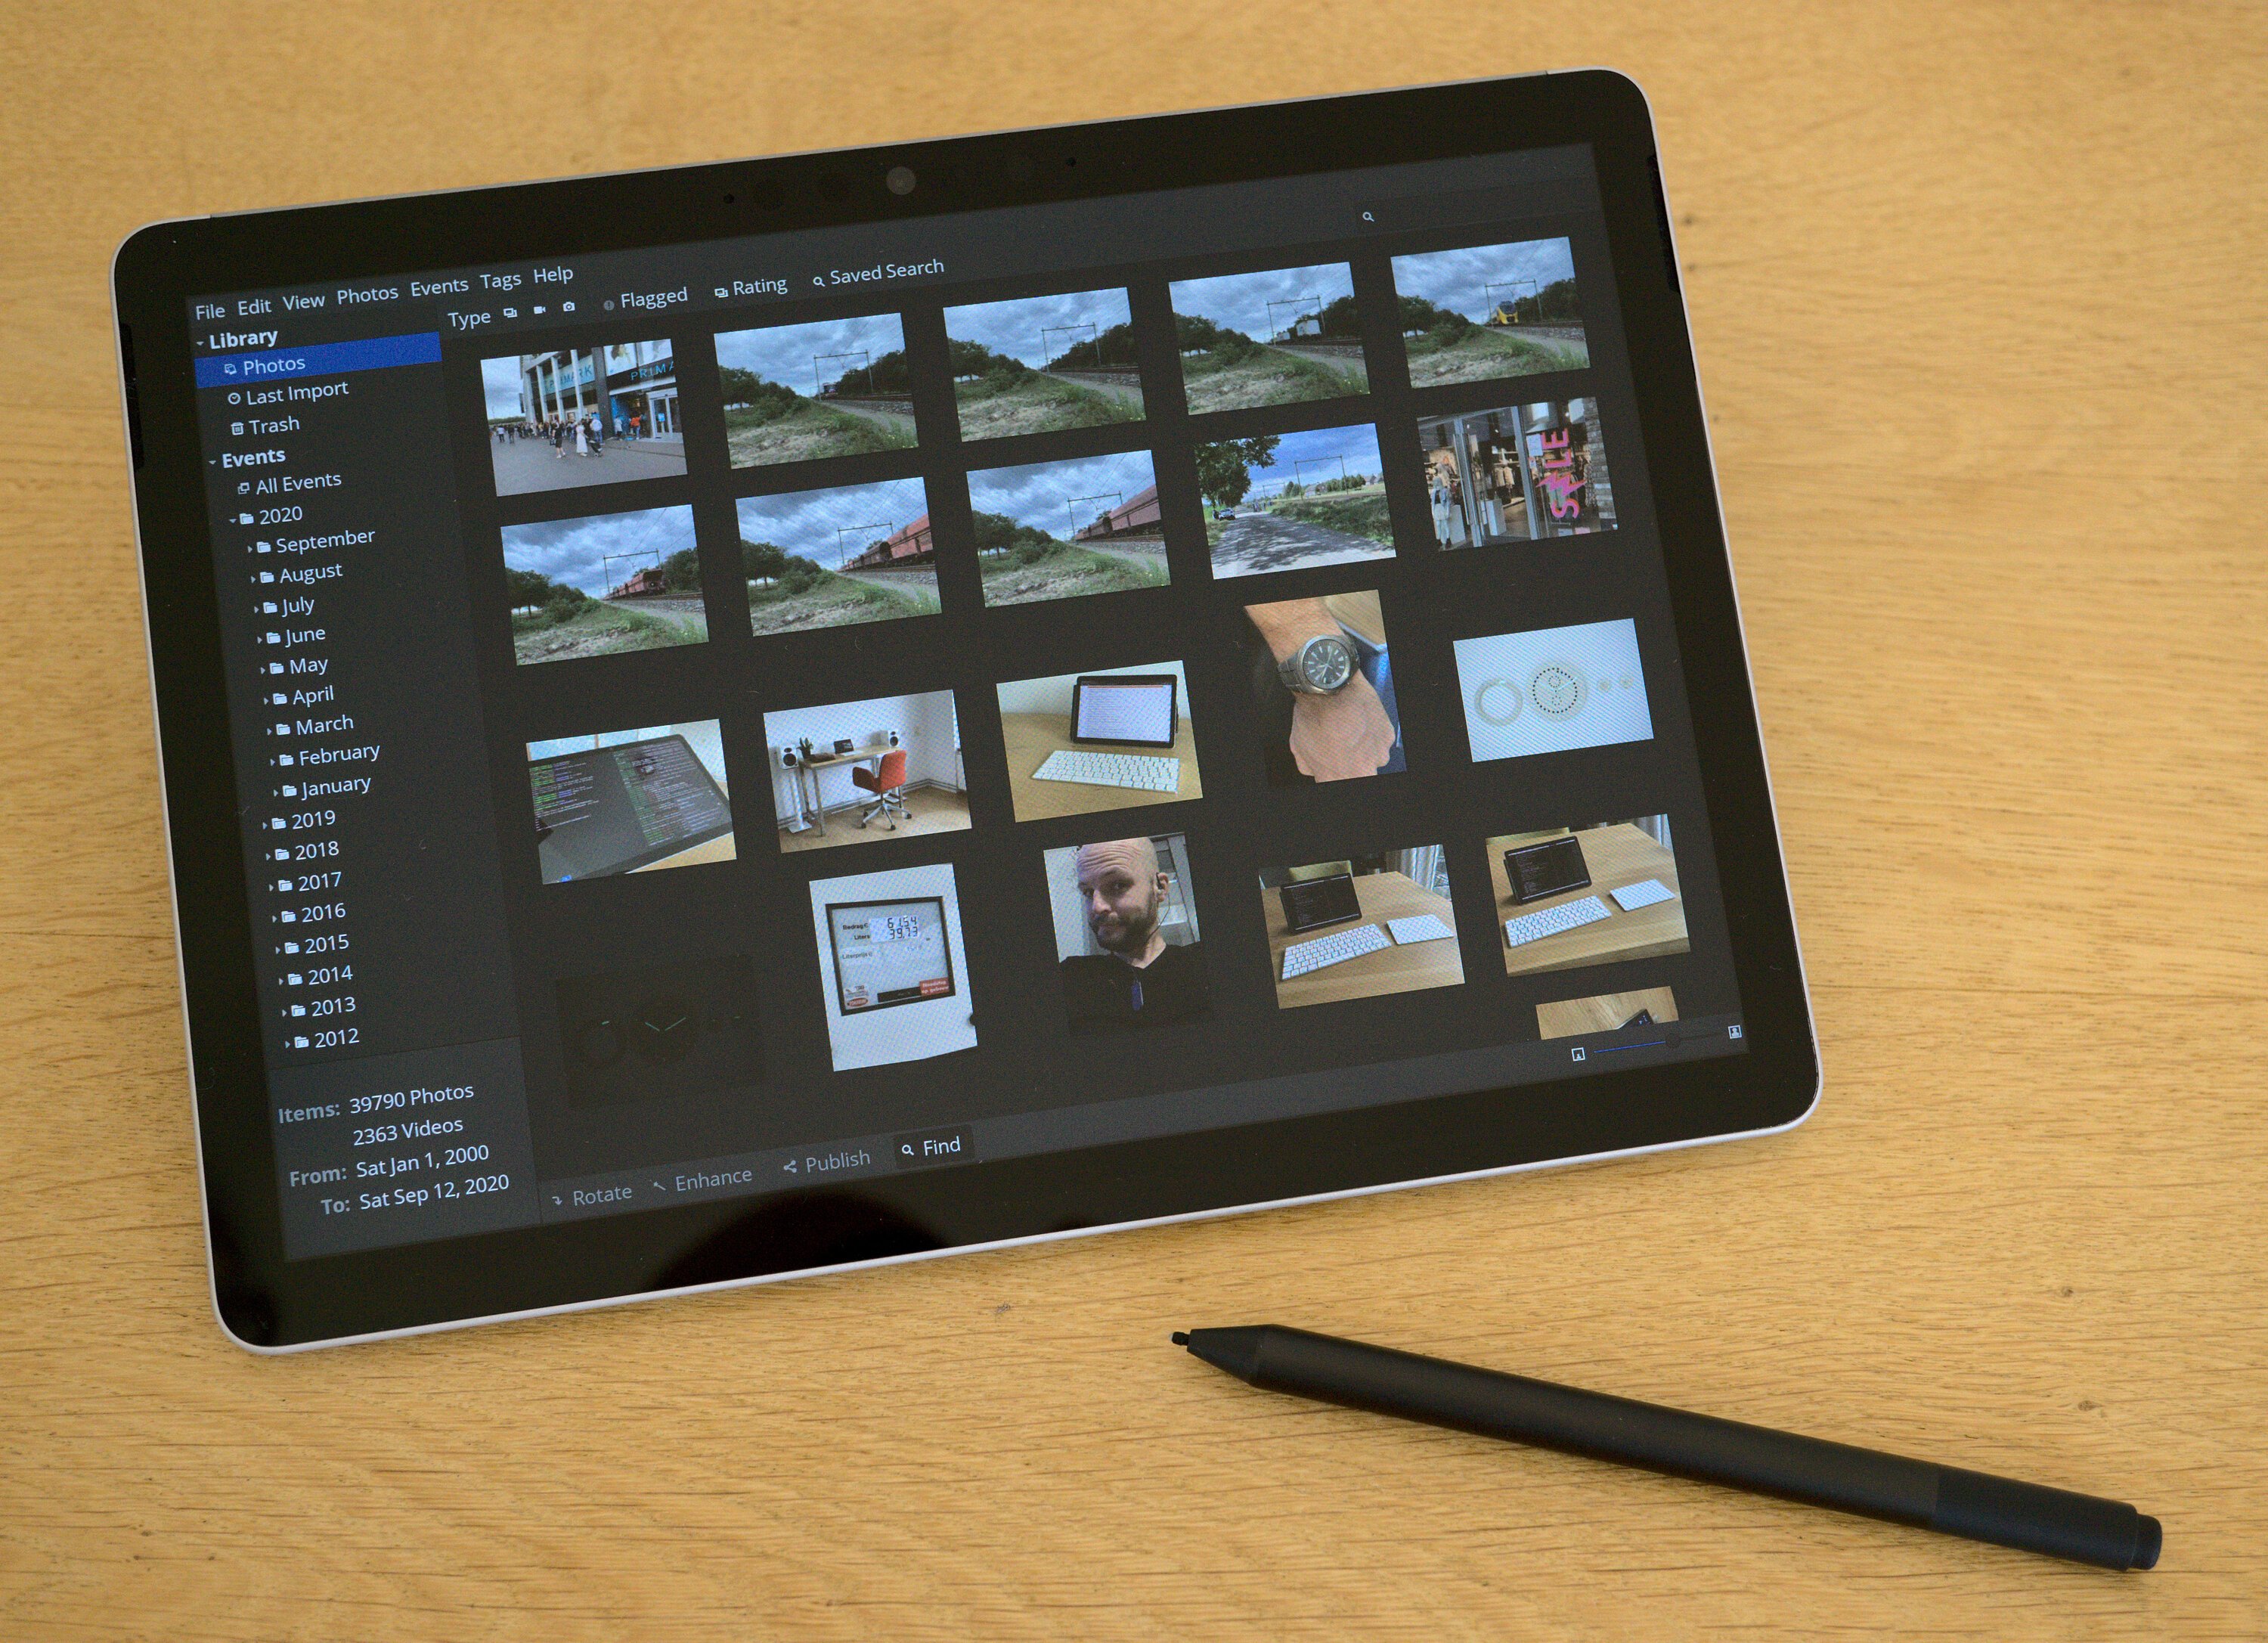
Creating a new library
After checking the various free software apps I selected Shotwell to be the new home of my photo library. It runs well on my tablet and it works well in combination with advanced apps like Darktable and GIMP. It can automatically import new photos, organise them by year and month, and provide me with quick ways to export my photos. This works best for me, but you might select a different application or method to organise your photos. The beautiful thing about free software is that you can decide for yourself what works best for you.
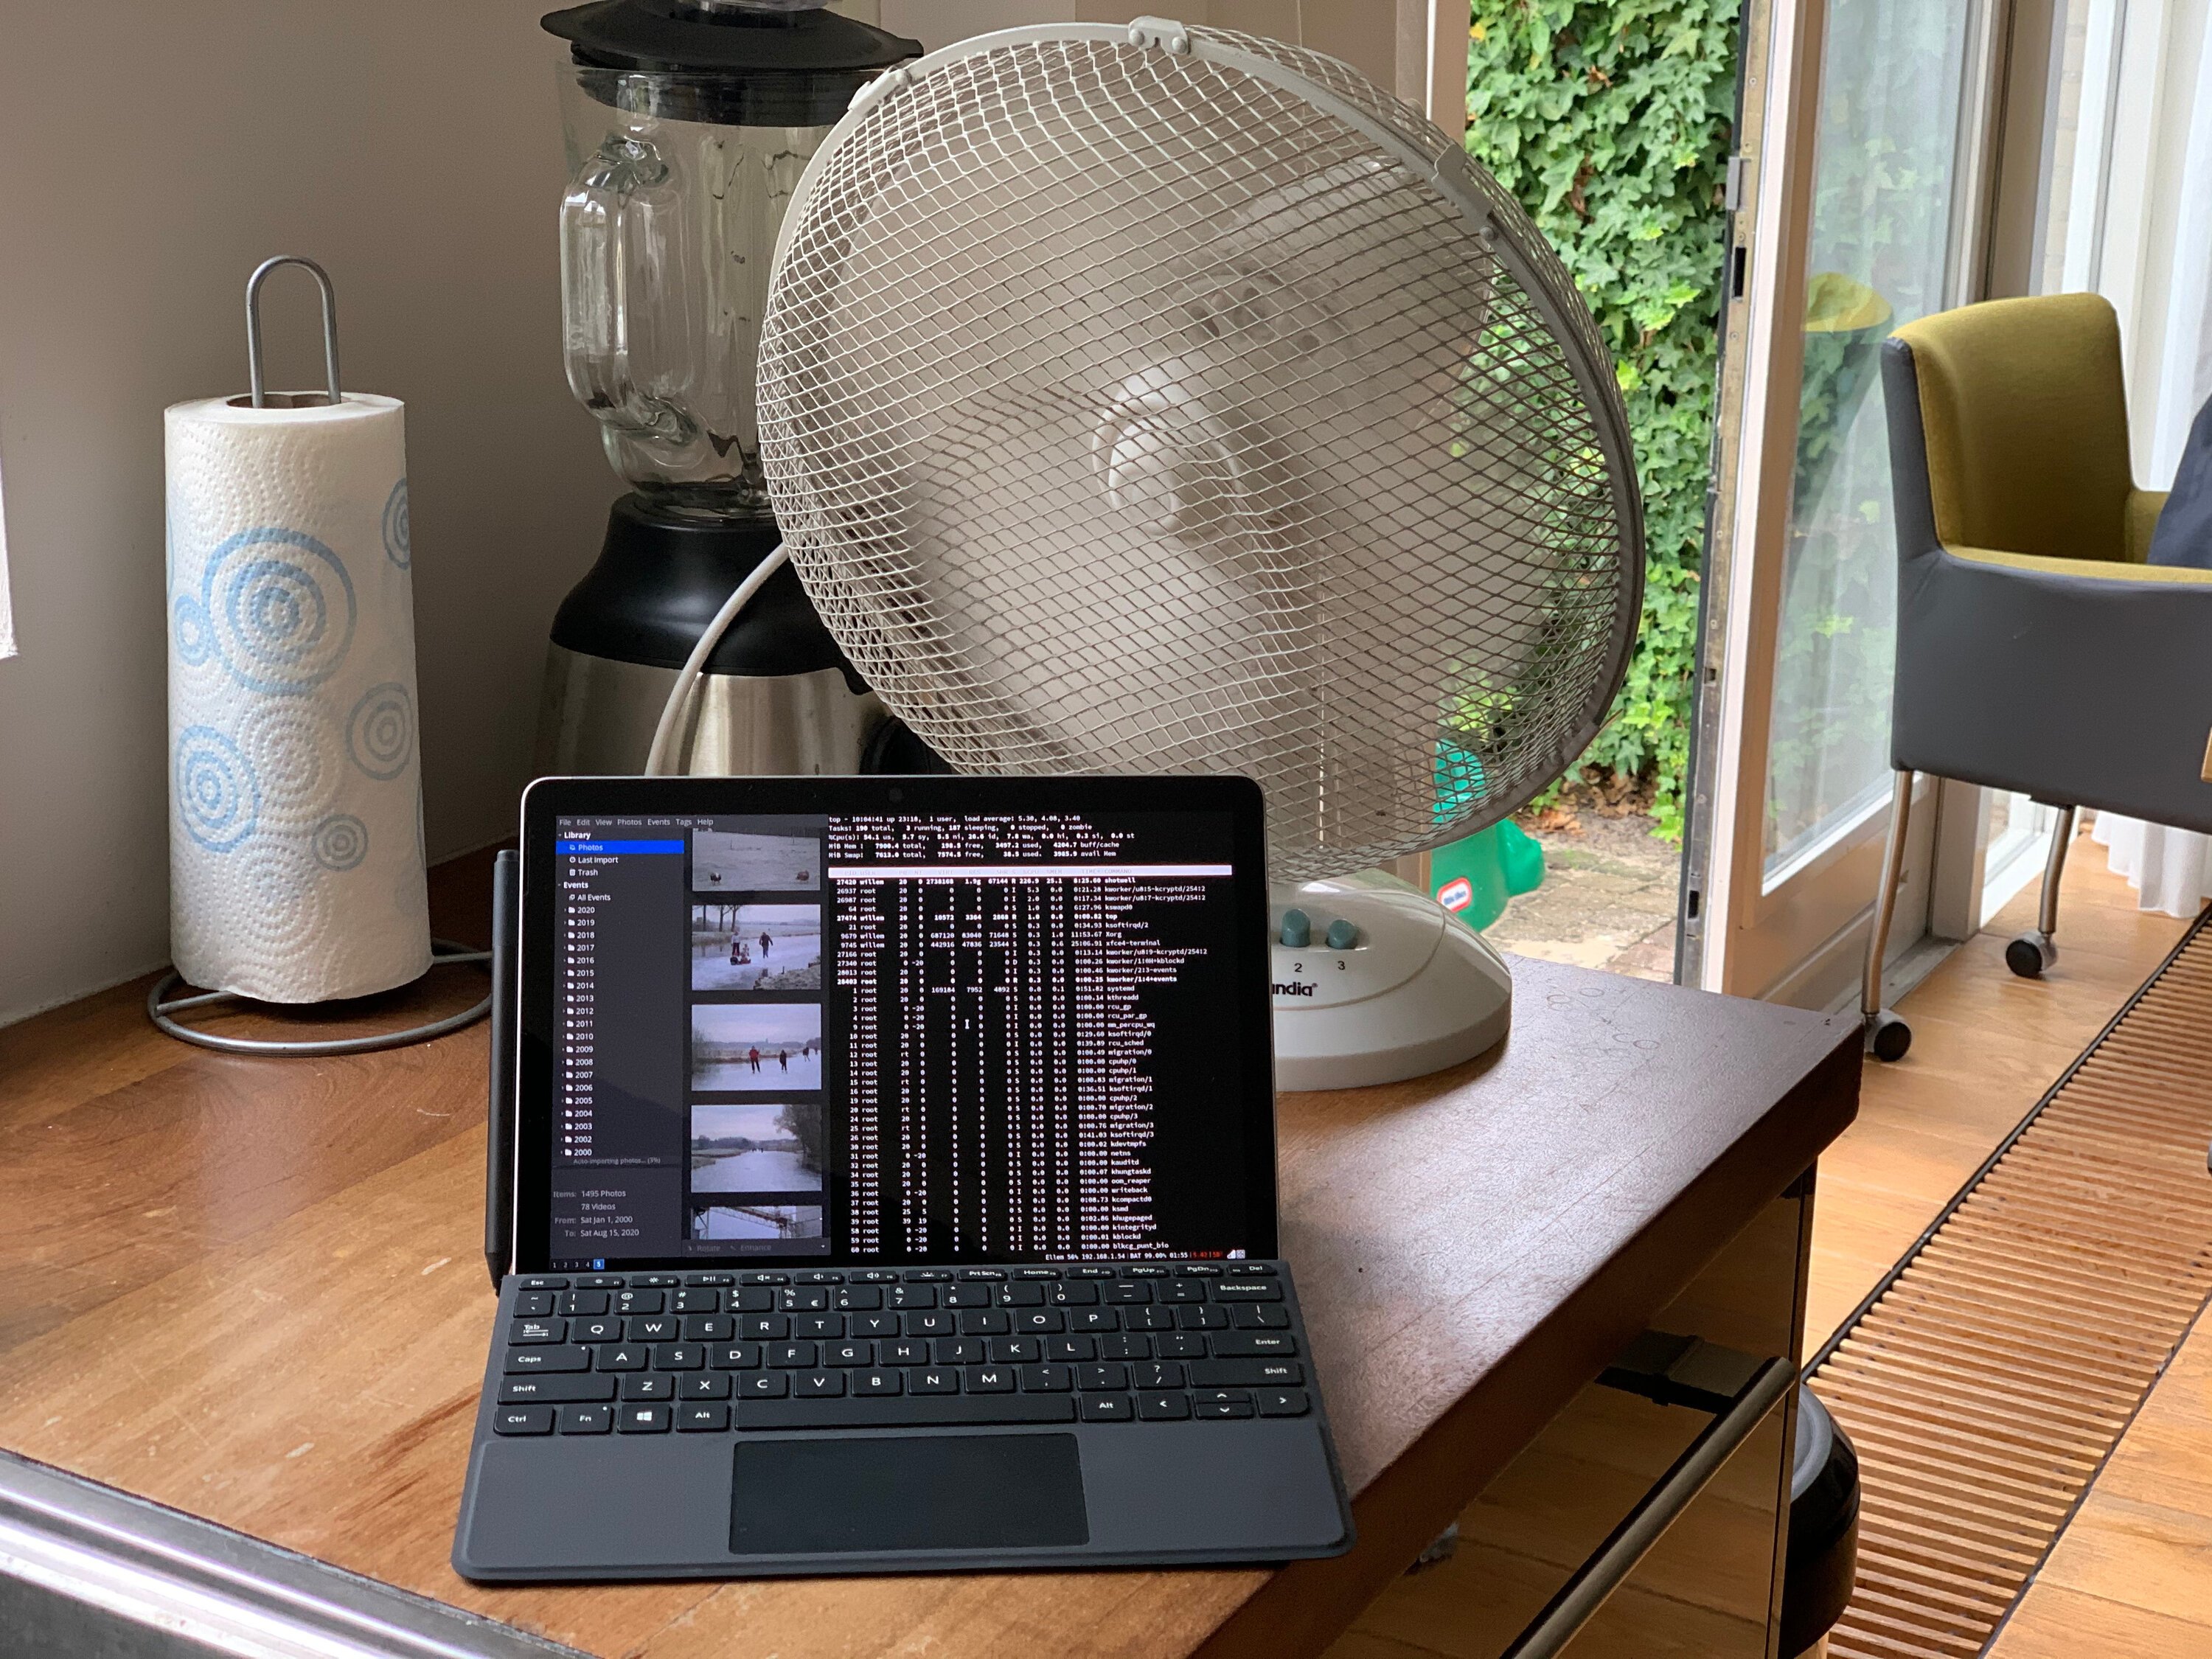
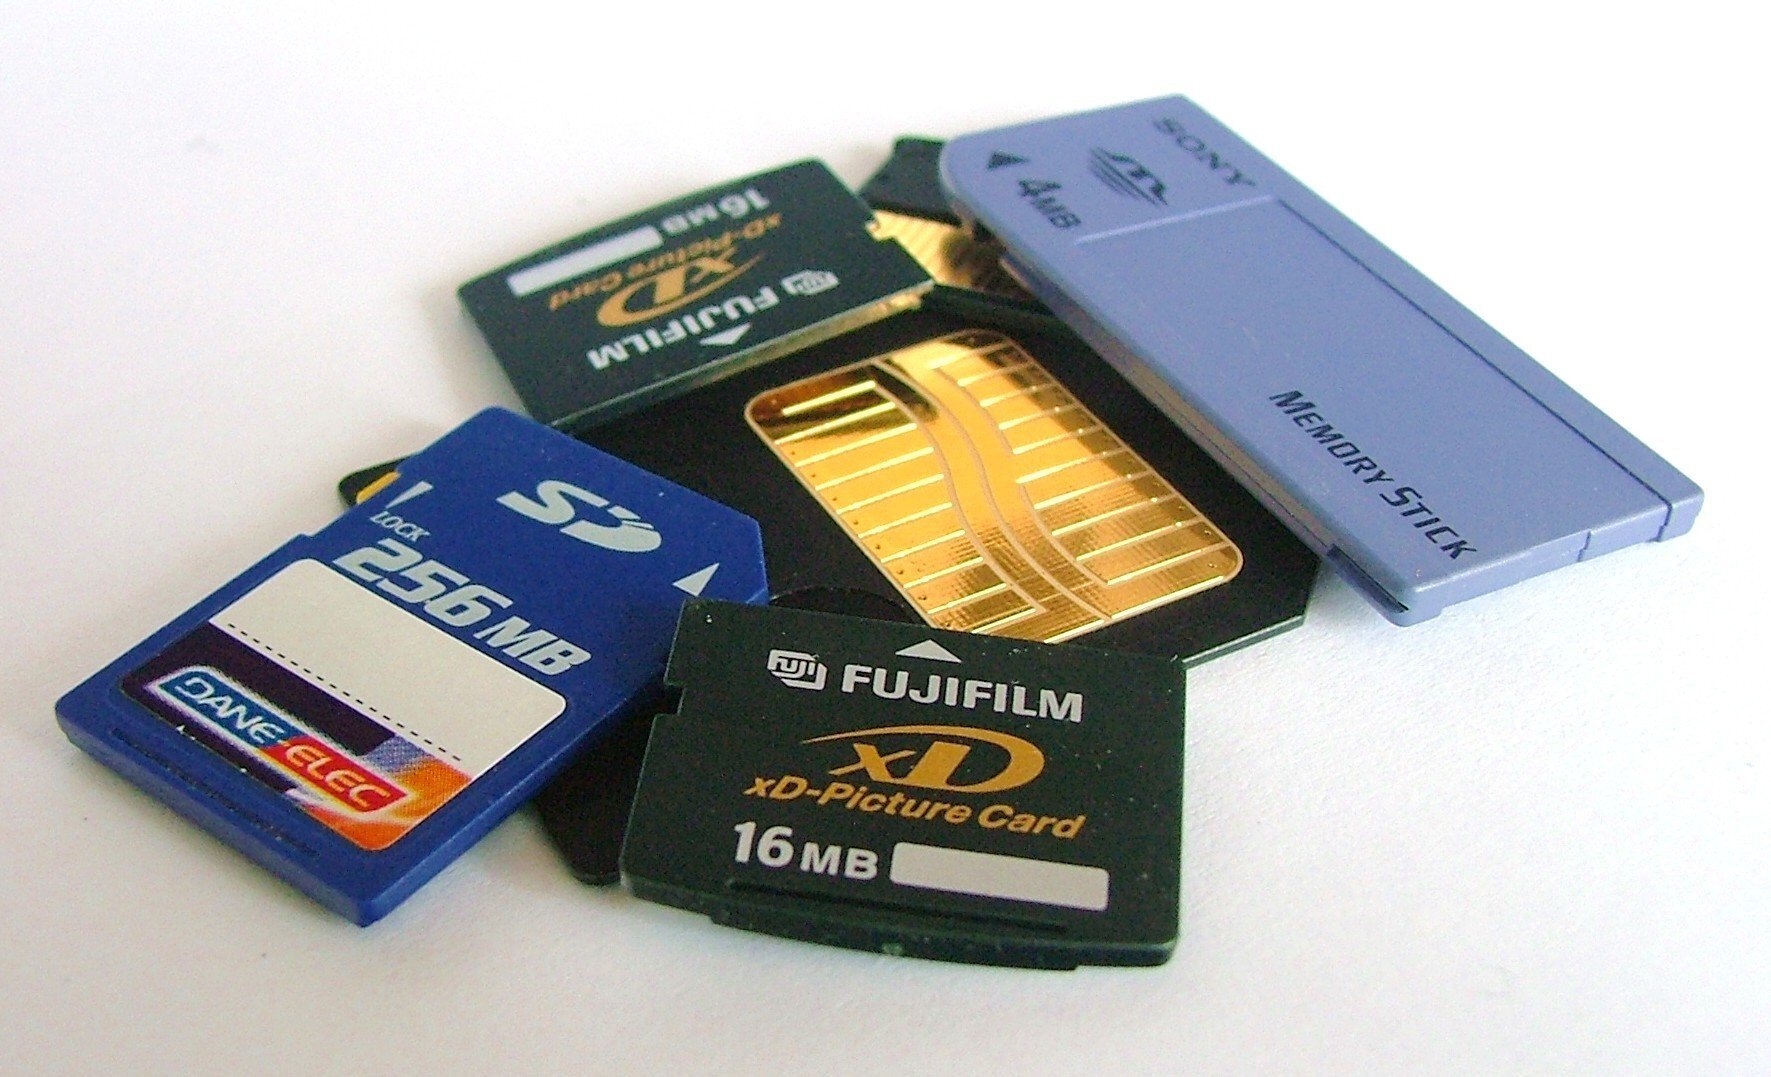
My entire photo library now fits on a single Micro SD card (512GB) that I have put in my Surface tablet. If you look at the old memory cards (shown earlier) it makes you realise how far technology has come. I have encrypted the entire Micro SD card so that my photos remain private even if my SD card is lost or stolen.
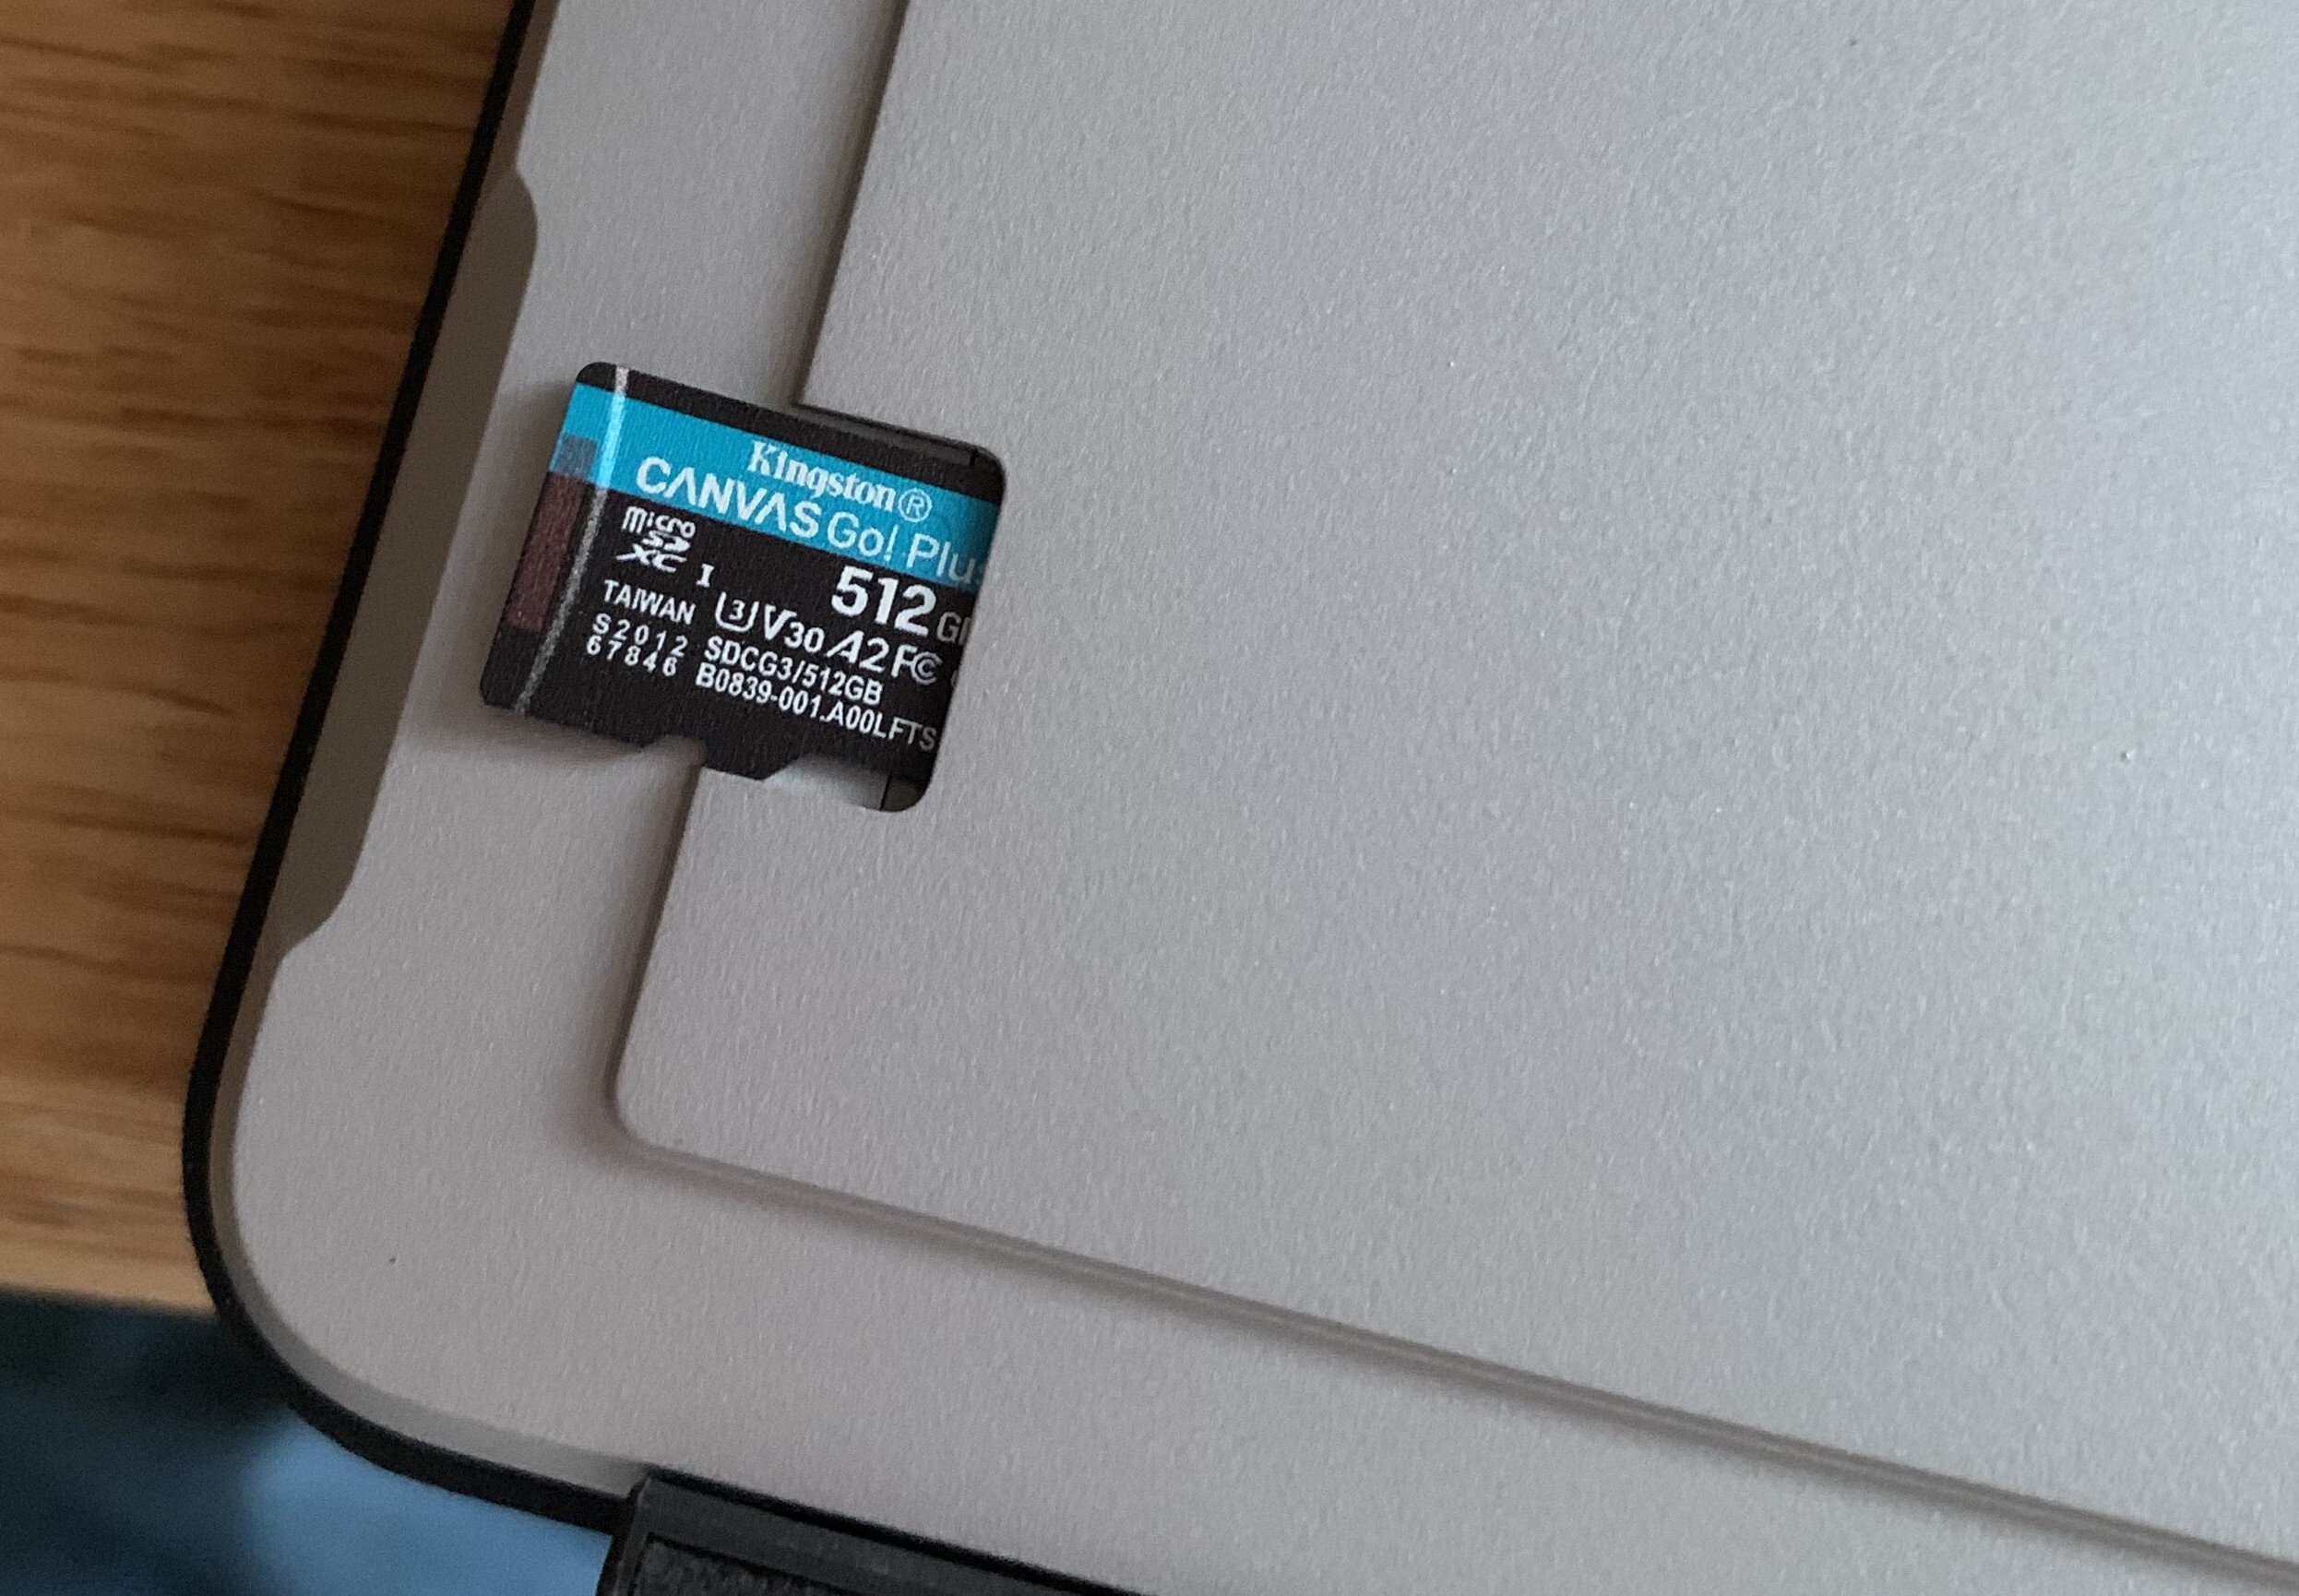
Photo library backups
As my new photo library lives on the filesystem with no "secret Apple magic" obfuscating the photo files, I can now easily backup my photos by making copies of the photo directories. I do this using ‘rsync’, another command line tool that enables you to create incremental copies of directories and files. It will only copy new and modified files, which saves you a lot of time when you’re working with large libraries. You can use a task scheduler such as ‘cron’ to automate the backups. I automatically backup my photos to a server that I manage myself, which sits in a secure (and fire protected) data center.
Cloud access to my photos
Part of the appeal of the new iCloud Photos by Apple is that you can access your photos from any device, anywhere. I like this, too. Luckily, the server that I use to backup my photos can double as an ‘always on’-way to access my photos from pretty much any device. I can login to the server using the secure file transfer protocol, allowing me to browse my photo files. Alternatively you can setup protocols like WebDAV or SMB to access your files in even more ways.
Importing new photos
It is very easy to import new photos into Shotwell. Depending on the camera you use you can import wirelessly (using WiFi) or by using a simple cable. I have small USB-C cable in my bag that connects my camera to my tablet, allowing me to import new shots without any hassle. New shots are automatically copied to my server and from there become available on all devices I use.

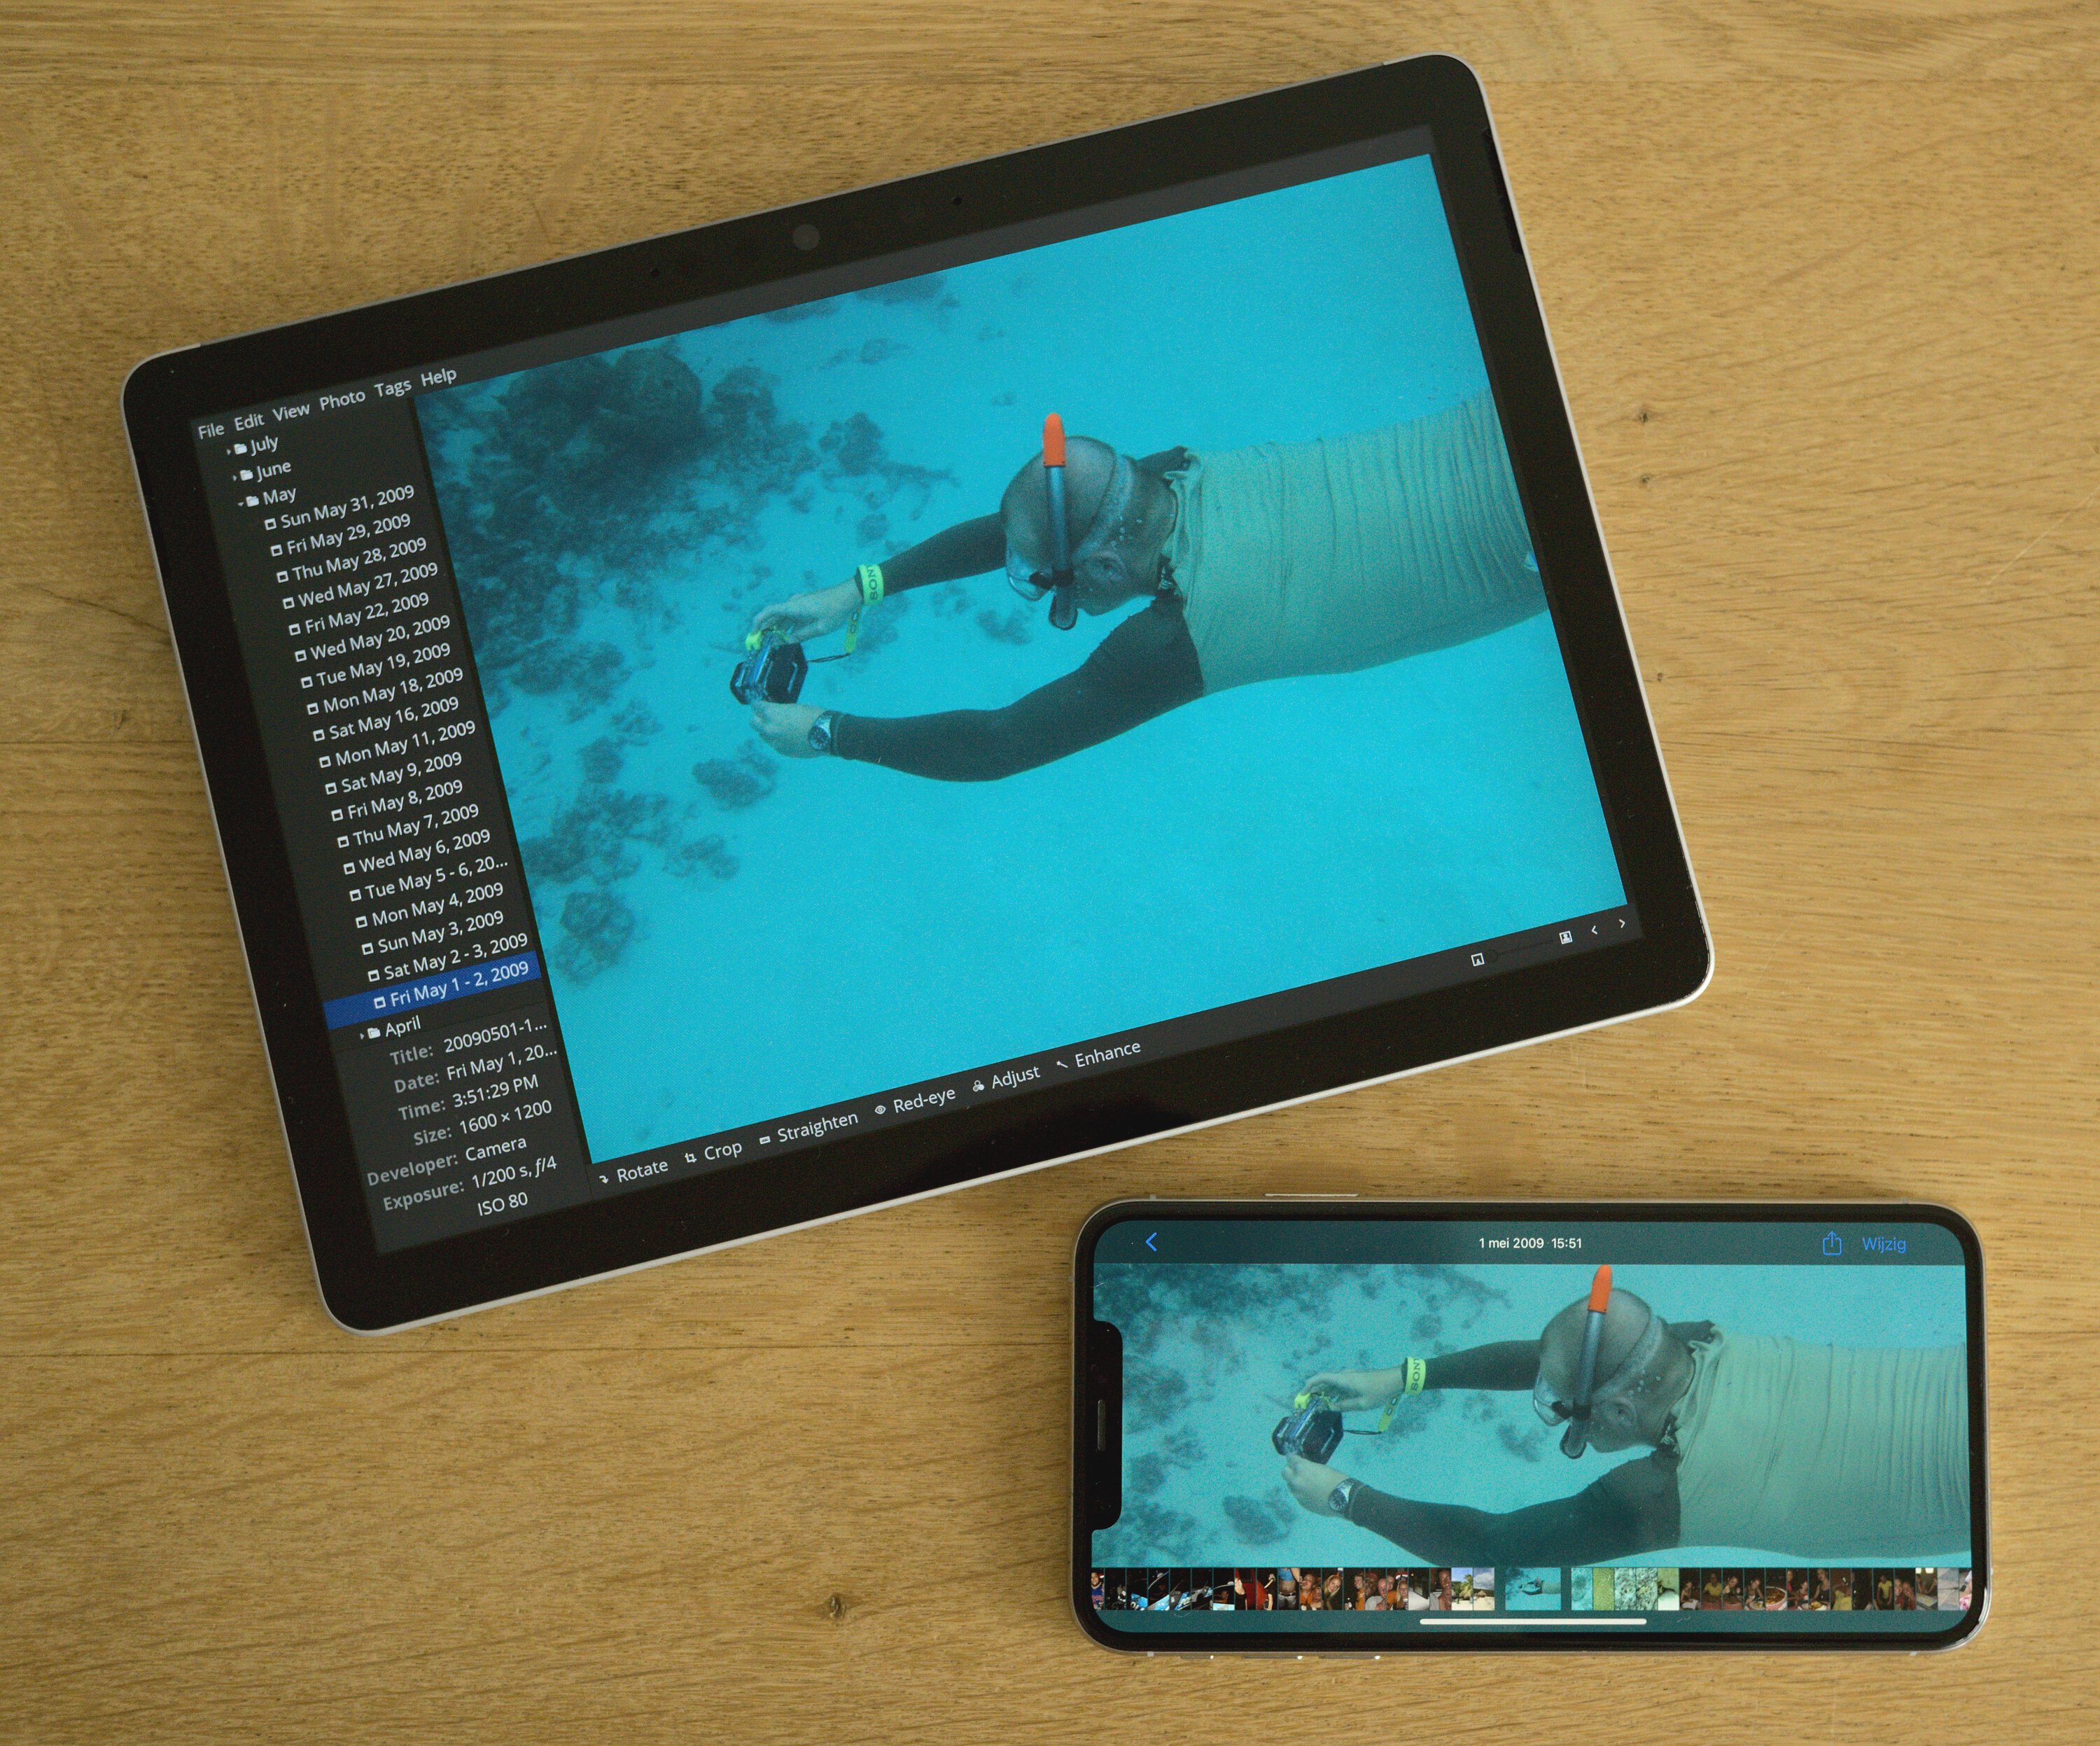
Photos on iPhone
One final thing I wanted to achieve is to have access to all my photos from my iPhone using the native iOS Photos app. Although I can access all my photos through my server, the iOS Photos app is unparalleled in speed and ease of use.
In addition, I think Apple has done a truly remarkable job with the on-device machine learning that enables you to search your photos based on what’s on them. Ask Siri for photos you took of watches, cars, bikes or whatever, and it will find them in your library. This works surprisingly well and it provides novel ways to rediscover old pictures.
But it requires some sweet irony...: the only way to get this to work is to go back into the “photo jail”. In order for the iPhone's neural engine to do its job, all your photos have to be loaded to your device. Few people know however, that you can have your photos inside the iOS photos app without the need to have a desktop Apple Photos library!
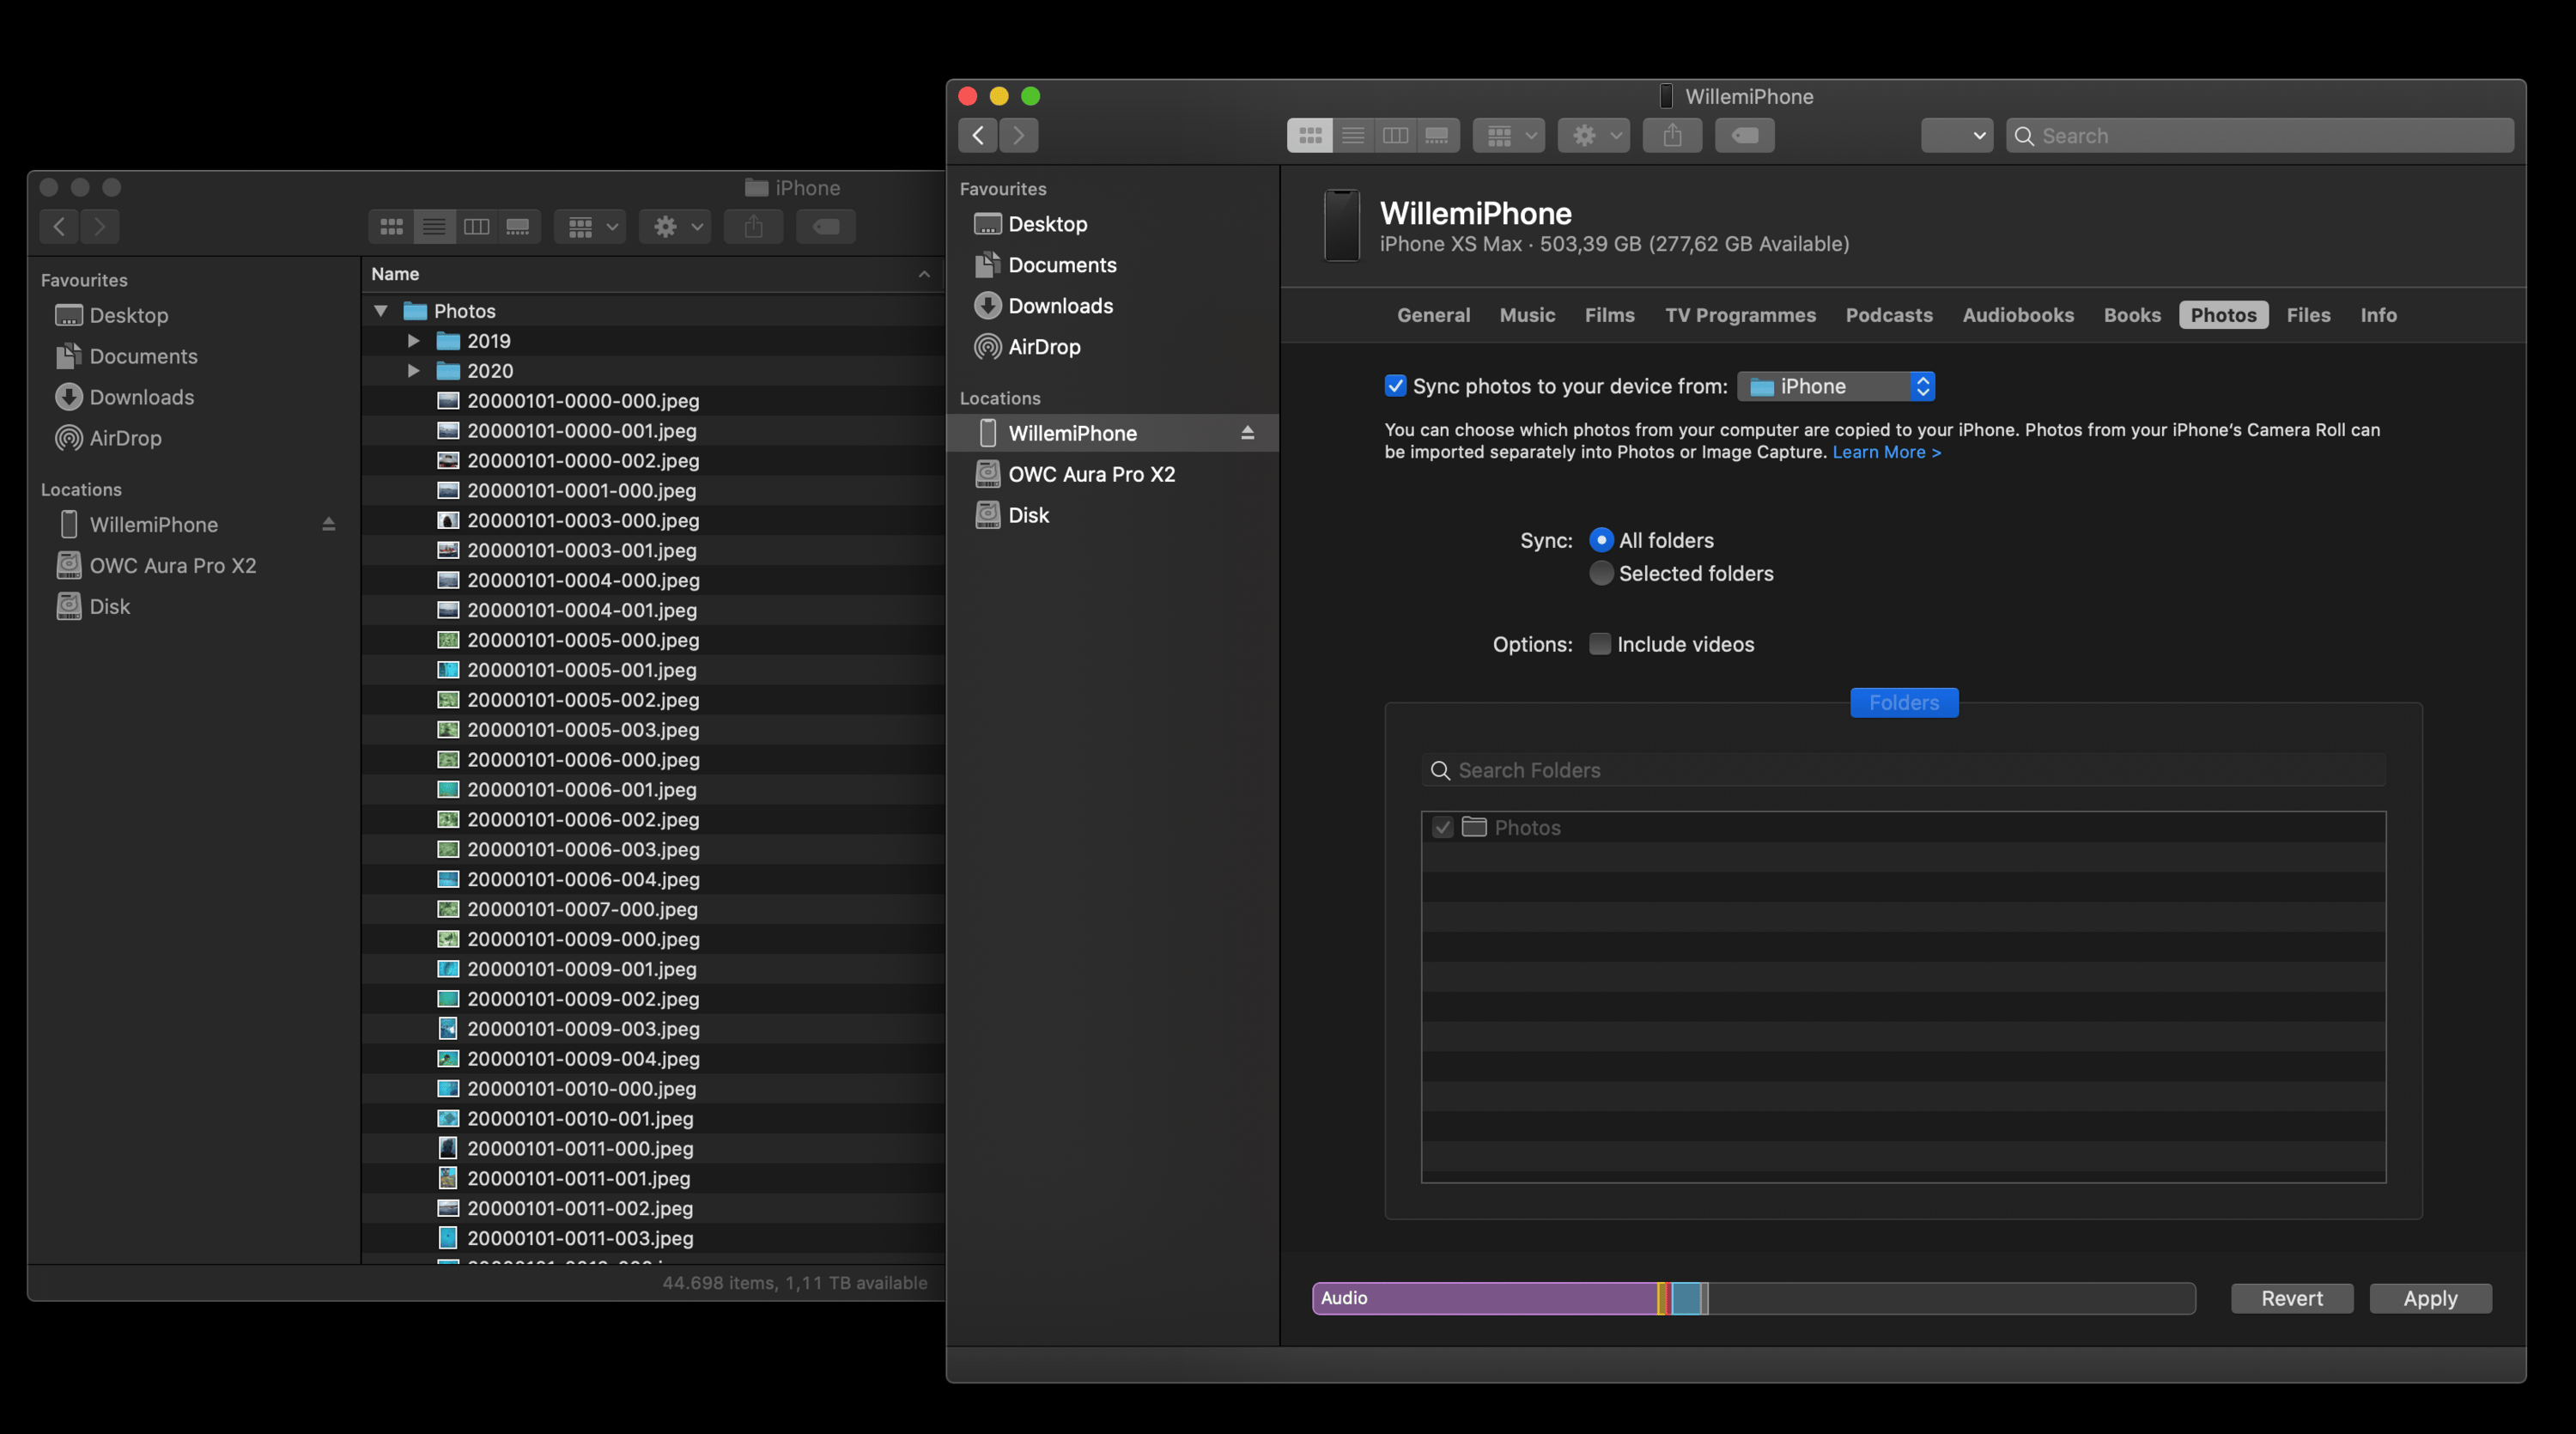
MacOS provides you the ability to synchronise any directory containing photos with your iPhone. As the Mac is still very much UNIX based, setting up an automatic synchronisation with my server based photo repository was as easy as configuring a cron job that uses rsync to get new photos. Then you can setup your iPhone to automatically synchronise over WiFi once it is within range of your Mac. The only downside of this approach is that you still need a Mac to do this, although I suspect that you could - in theory - achieve this using by running macOS inside a virtual machine. I'll leave that for another time.
Conclusion
Some things require time, effort and energy to get right. For a long time I accepted my personal photo library to be in bad shape, held within the constrains of the modern Apple Photos that continues to nudge you to upload your everything into the iCloud. That has changed!
Now I am able to manage my photos using free software, enabling me to do it in exactly the way I deem fit. I took back control over my personal memories, and it feels great! The alternatives to Apple iCloud Photos are more than capable to do this - just take your time to do it right!
Fun fact: many of the older photos that I used in this blog post where rediscovered because I took the time to go through my photos. You’ll be surprised by the hidden gems in your own photo library if you take the time to revisit them!

Download
If you enjoy reading offline, this article is available for download:
Translations
This article is available in the following languages:
RSS / Atom
Grab one of the feeds to stay up to date, the feeds contain the full posts: