
Oct. 15, 2020
Rescuing photos from a crashed iMac
Using advanced tools to read files from a faulty disk
This week I received a message from someone with a iMac that crashed. It contained more than 50.000 photos, covering two decades of personal history. As there was no backup, it was up to me to attempt to safe as much as I could. Could I possibly recover the personal photos?
iMac
The Apple iMac is an impressive all in one computer. The computer is integrated into the display. All components are closely packed together using tiny screws, tape and magnets. It’s a challenging computer when it comes to repair (and recovery).
The iMac did not boot any more, likely the result of an hardware failure as the standard Apple (software) recovery system did not work either. This often means trouble, as I have learned the hard way after some handy work on my own iMac...
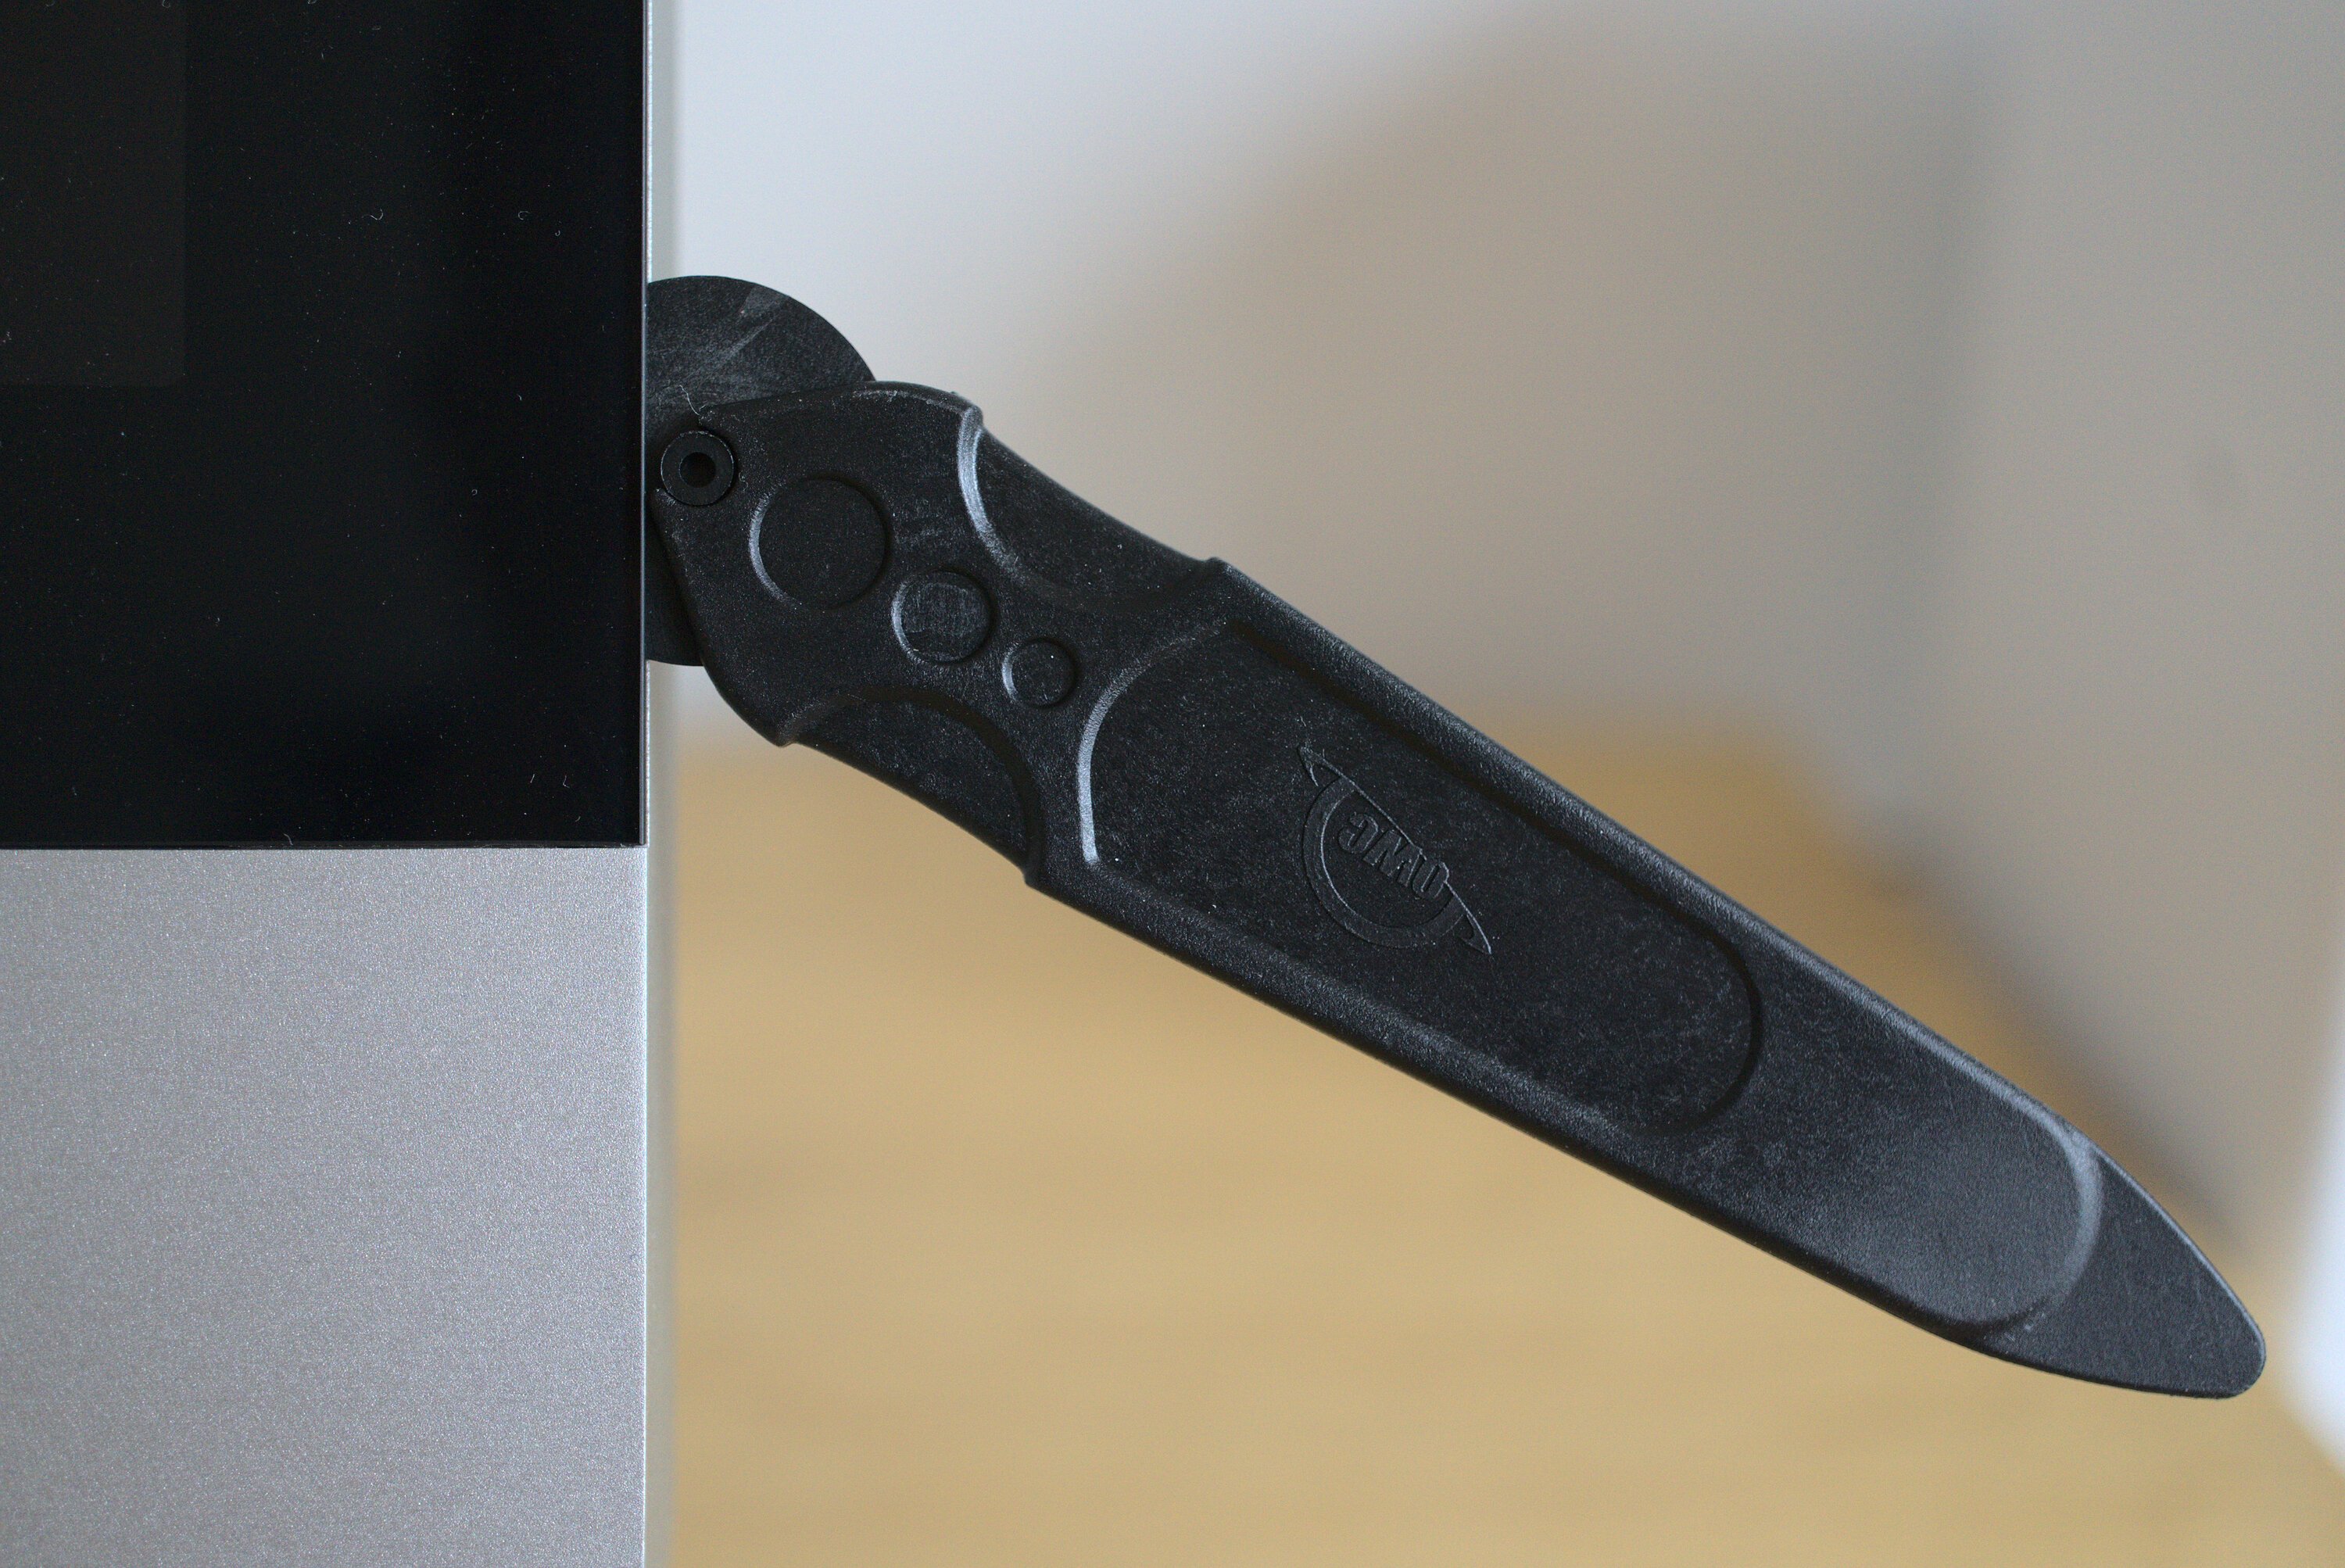
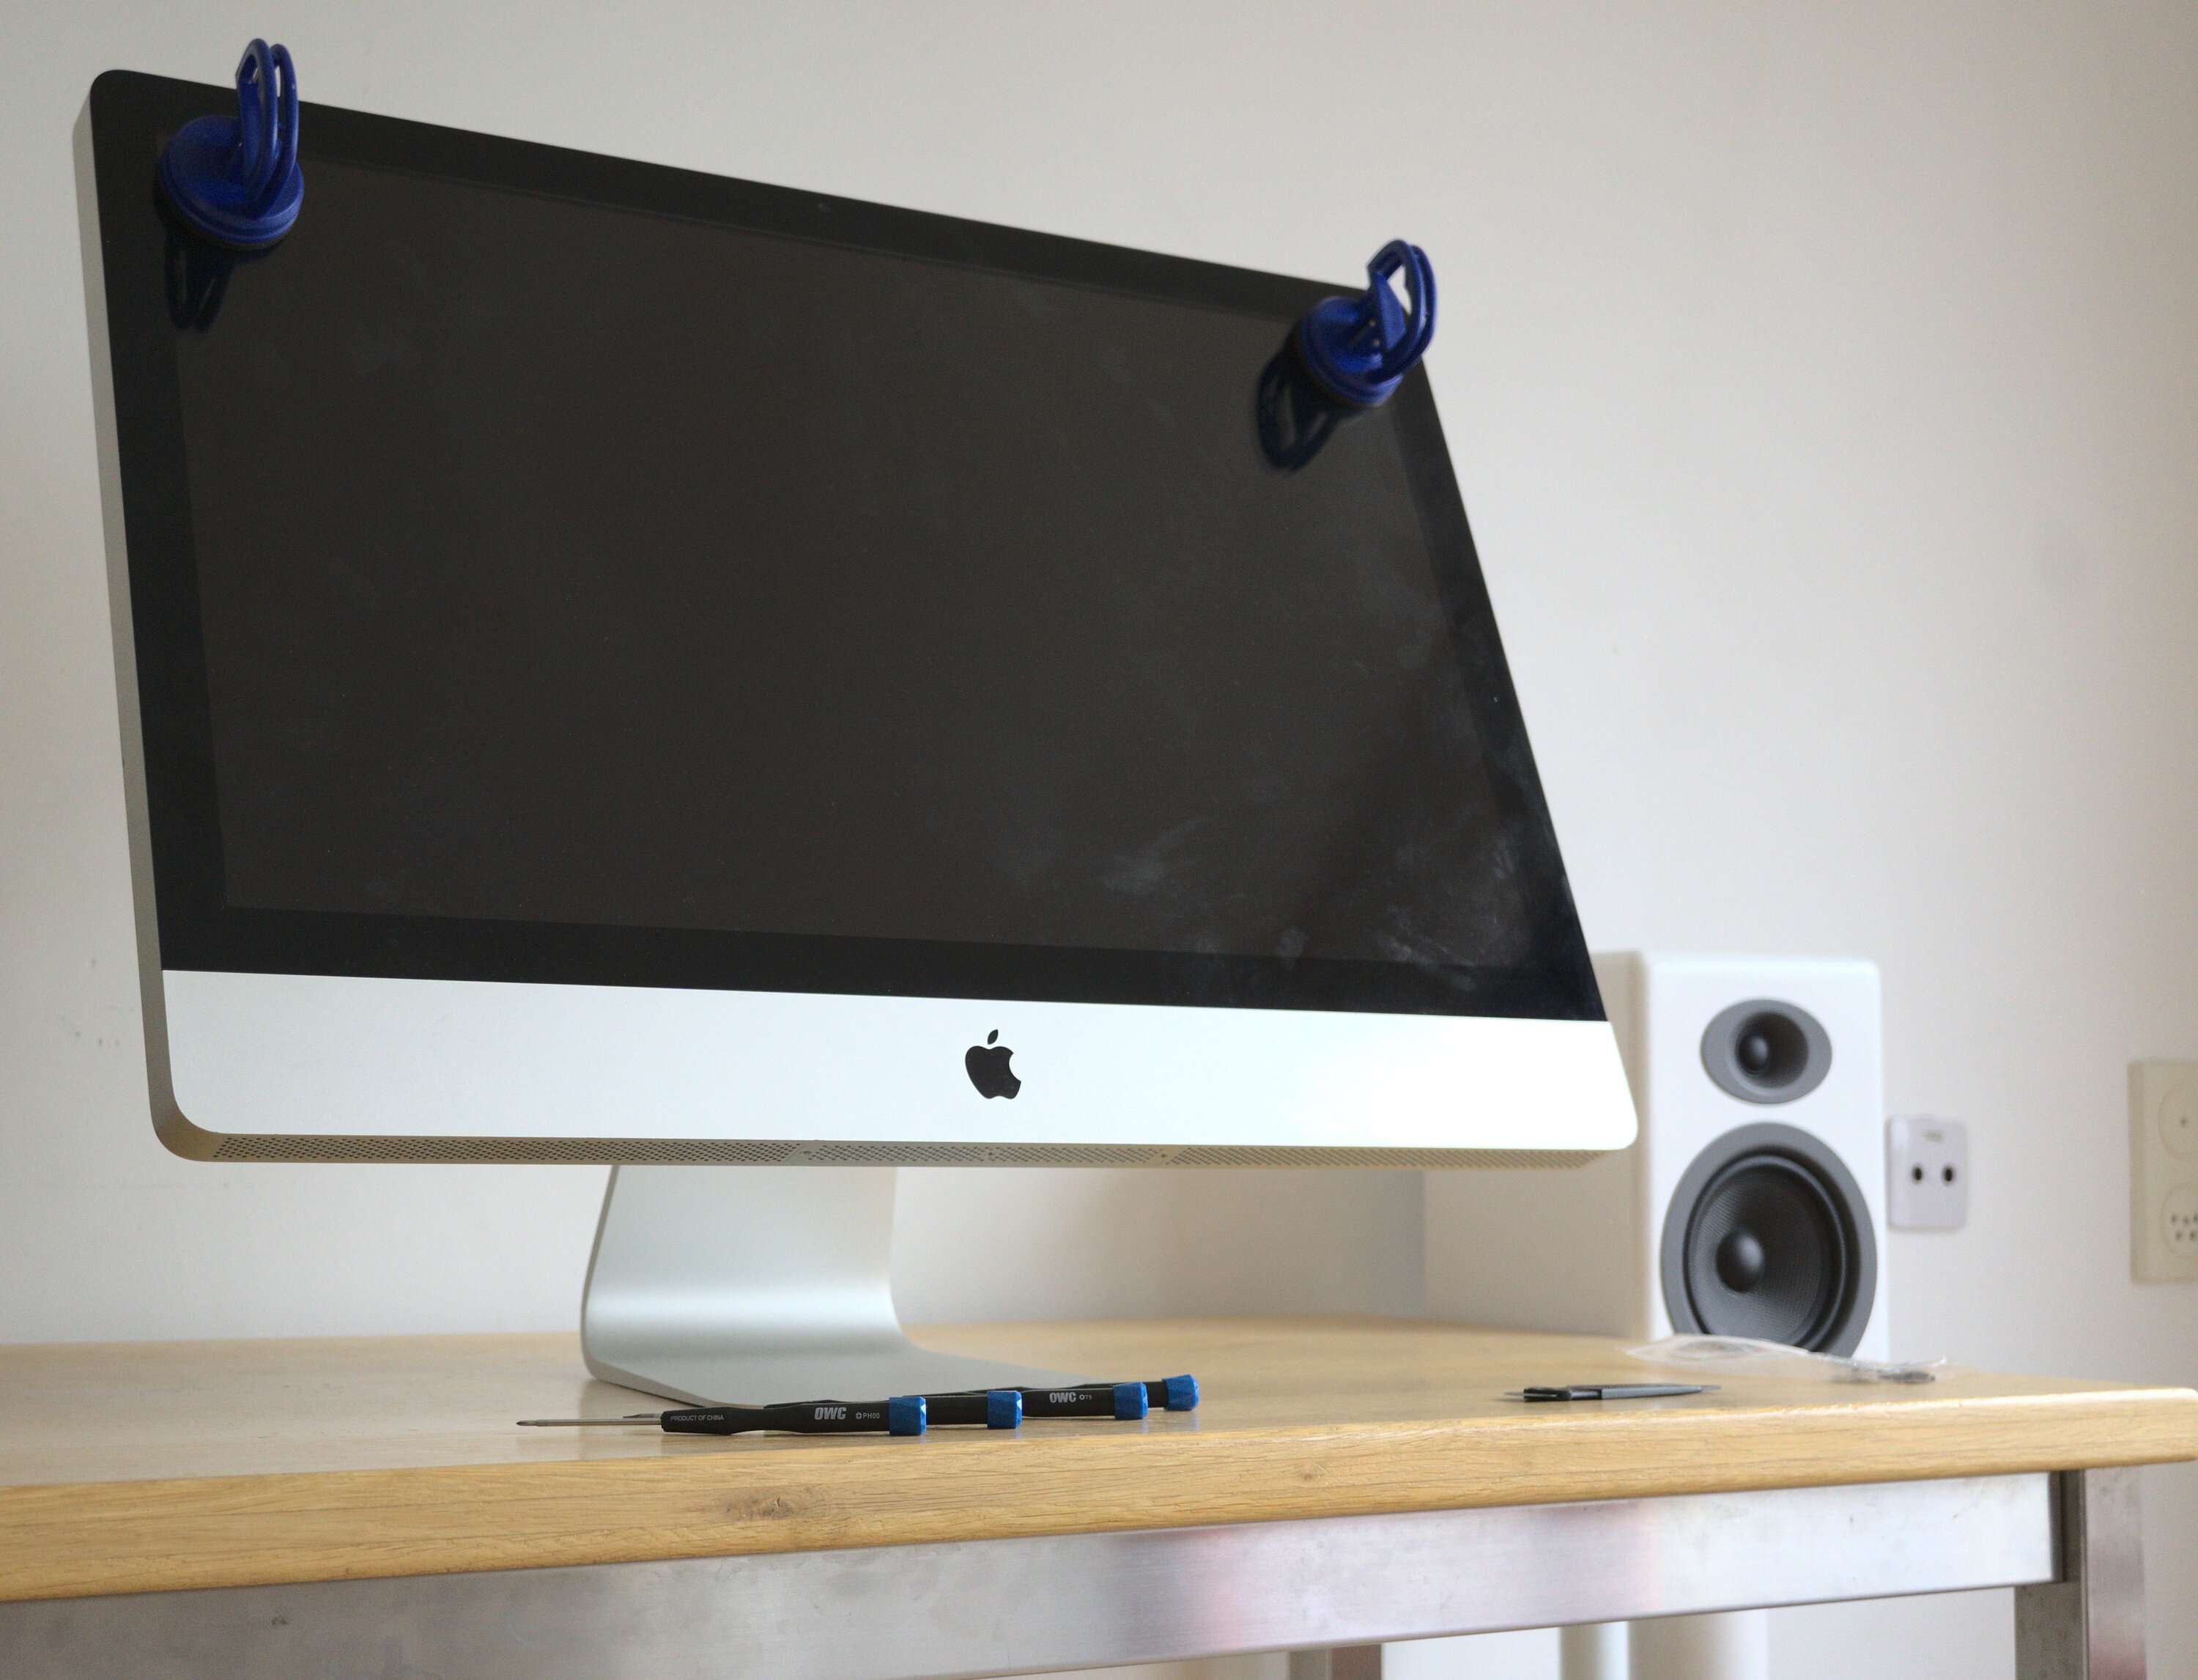
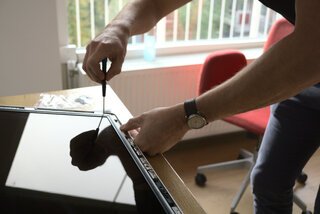
Depending on the exact iMac model, you might need a special blade to remove the display from the enclosure. It is the only way to access the components inside the computer. To recover lost files (and photos) you’ll need to find the hard disk (or SSD).
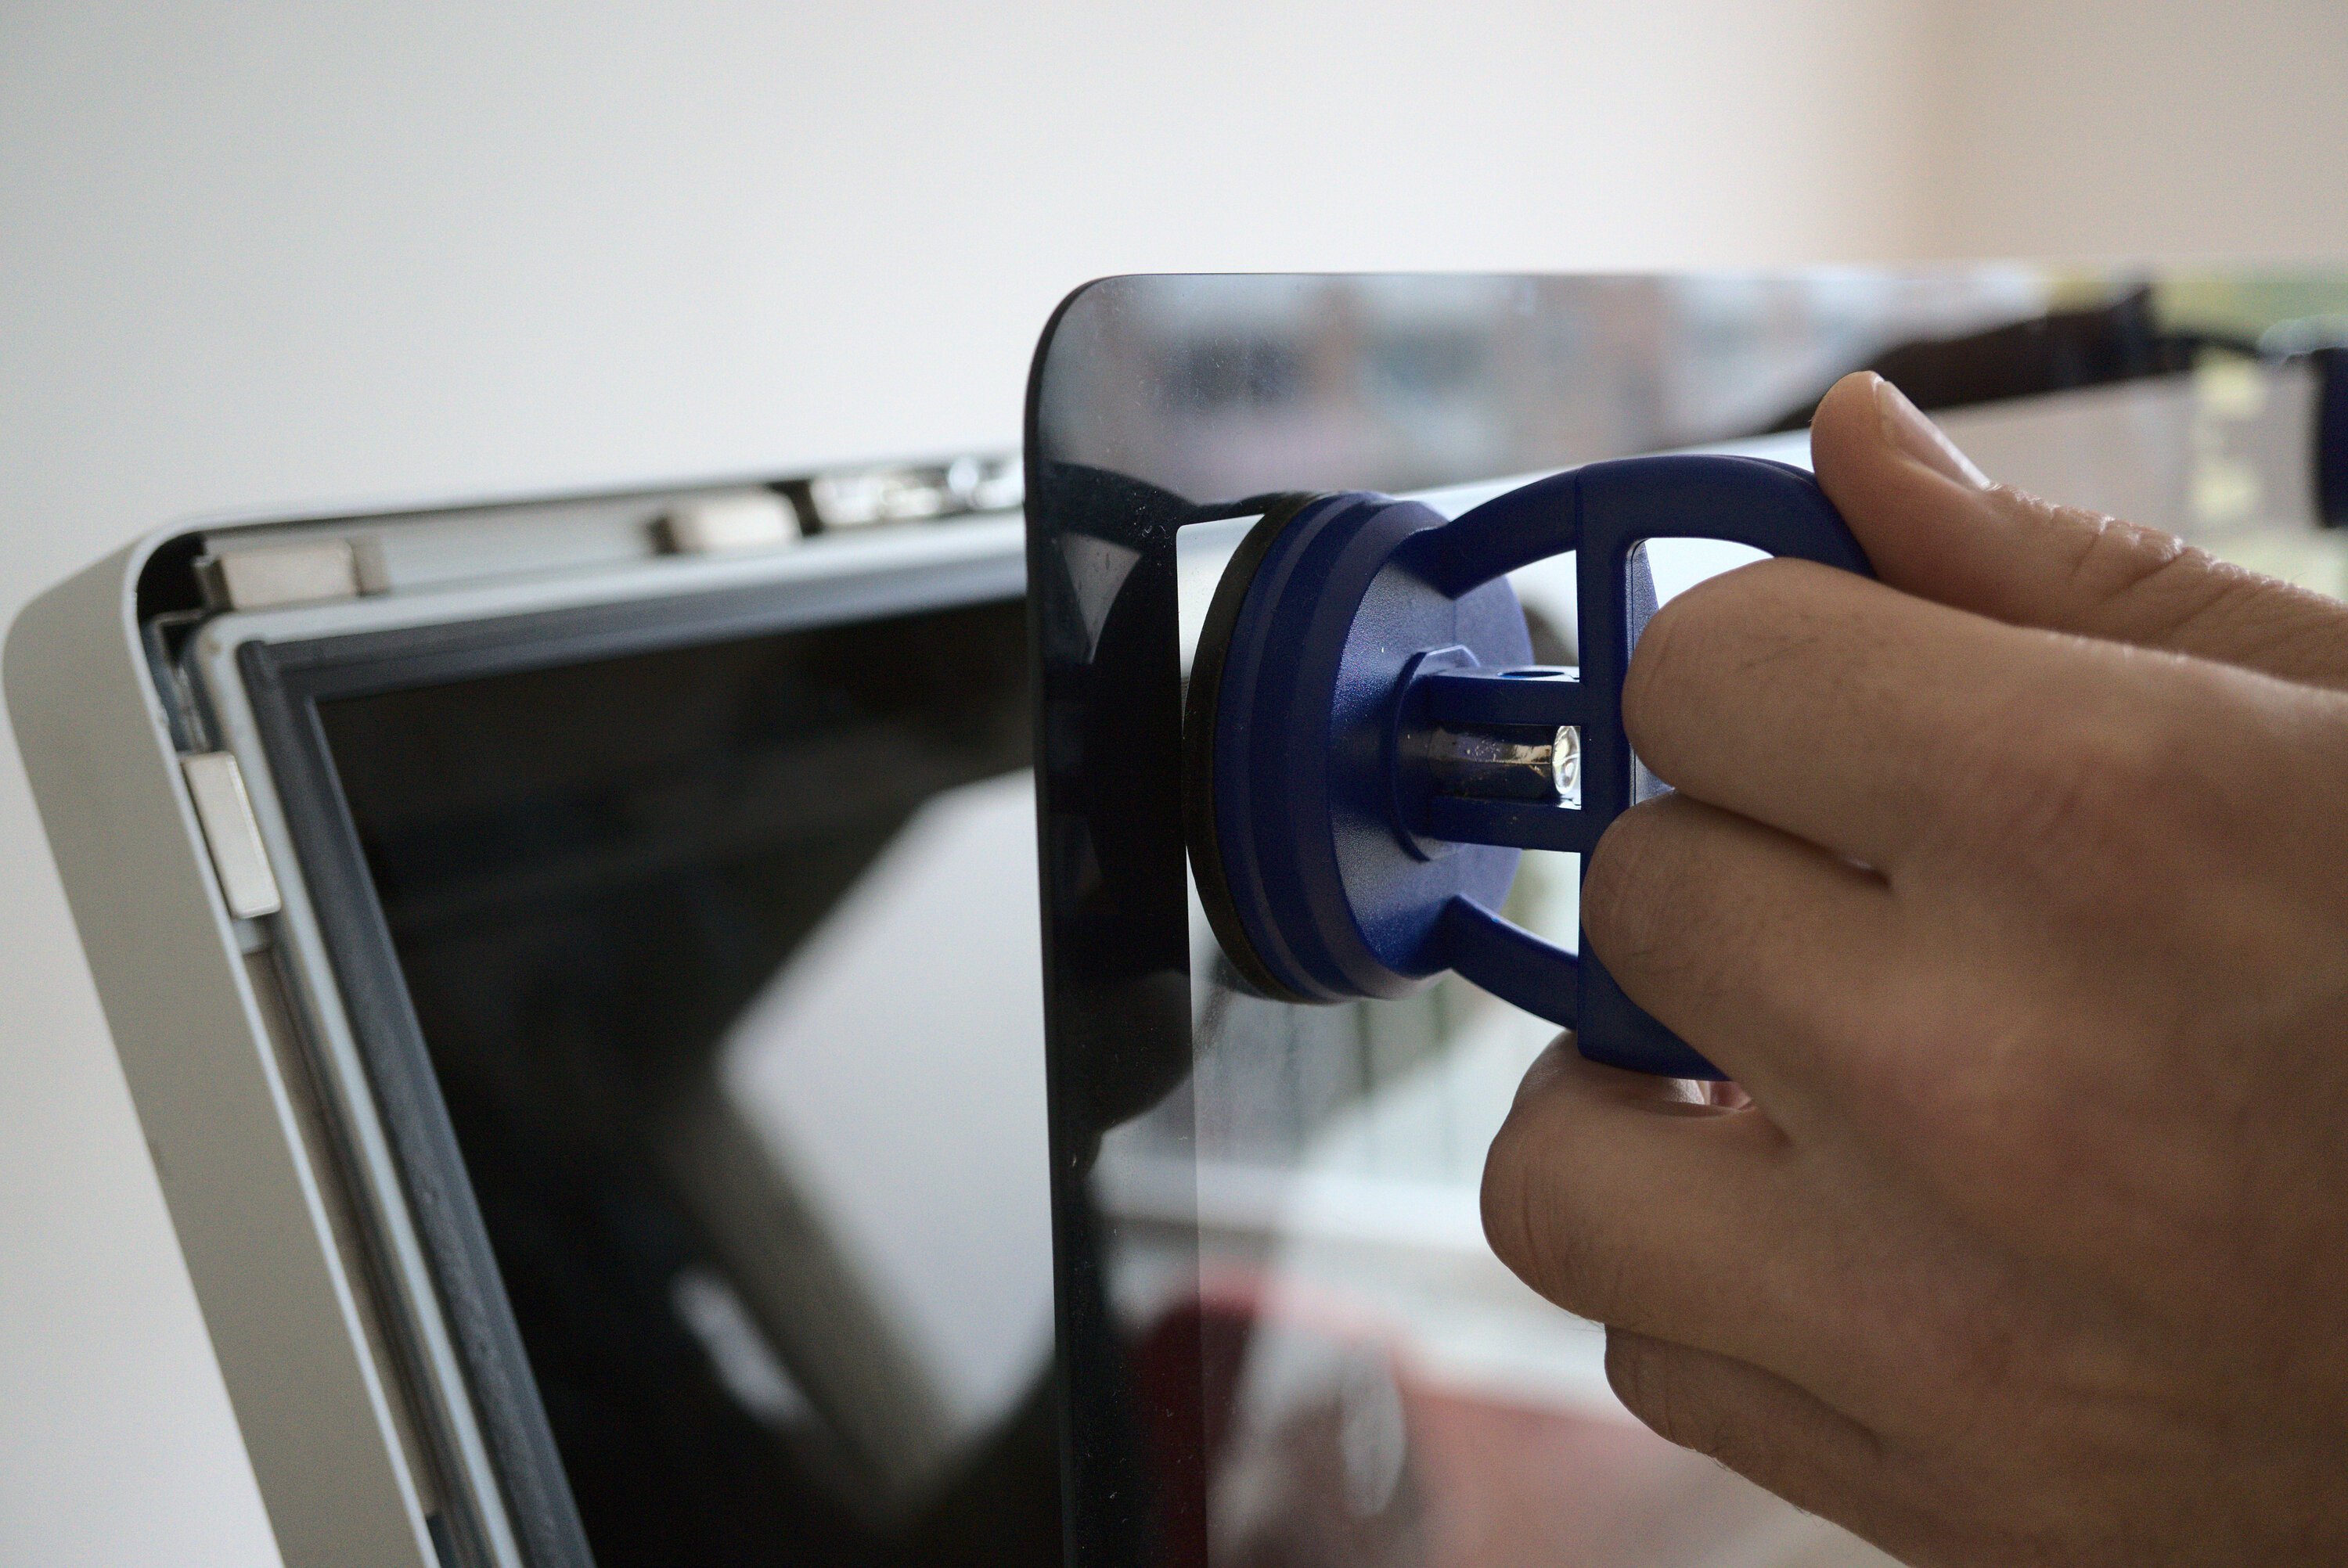
This particular iMac has a glass panel that is held on to the aluminium frame by (strong) magnets. You can remove the panel using suction caps. Be careful with the glass panel to prevent it from cracking. You don’t want to hurt yourself!
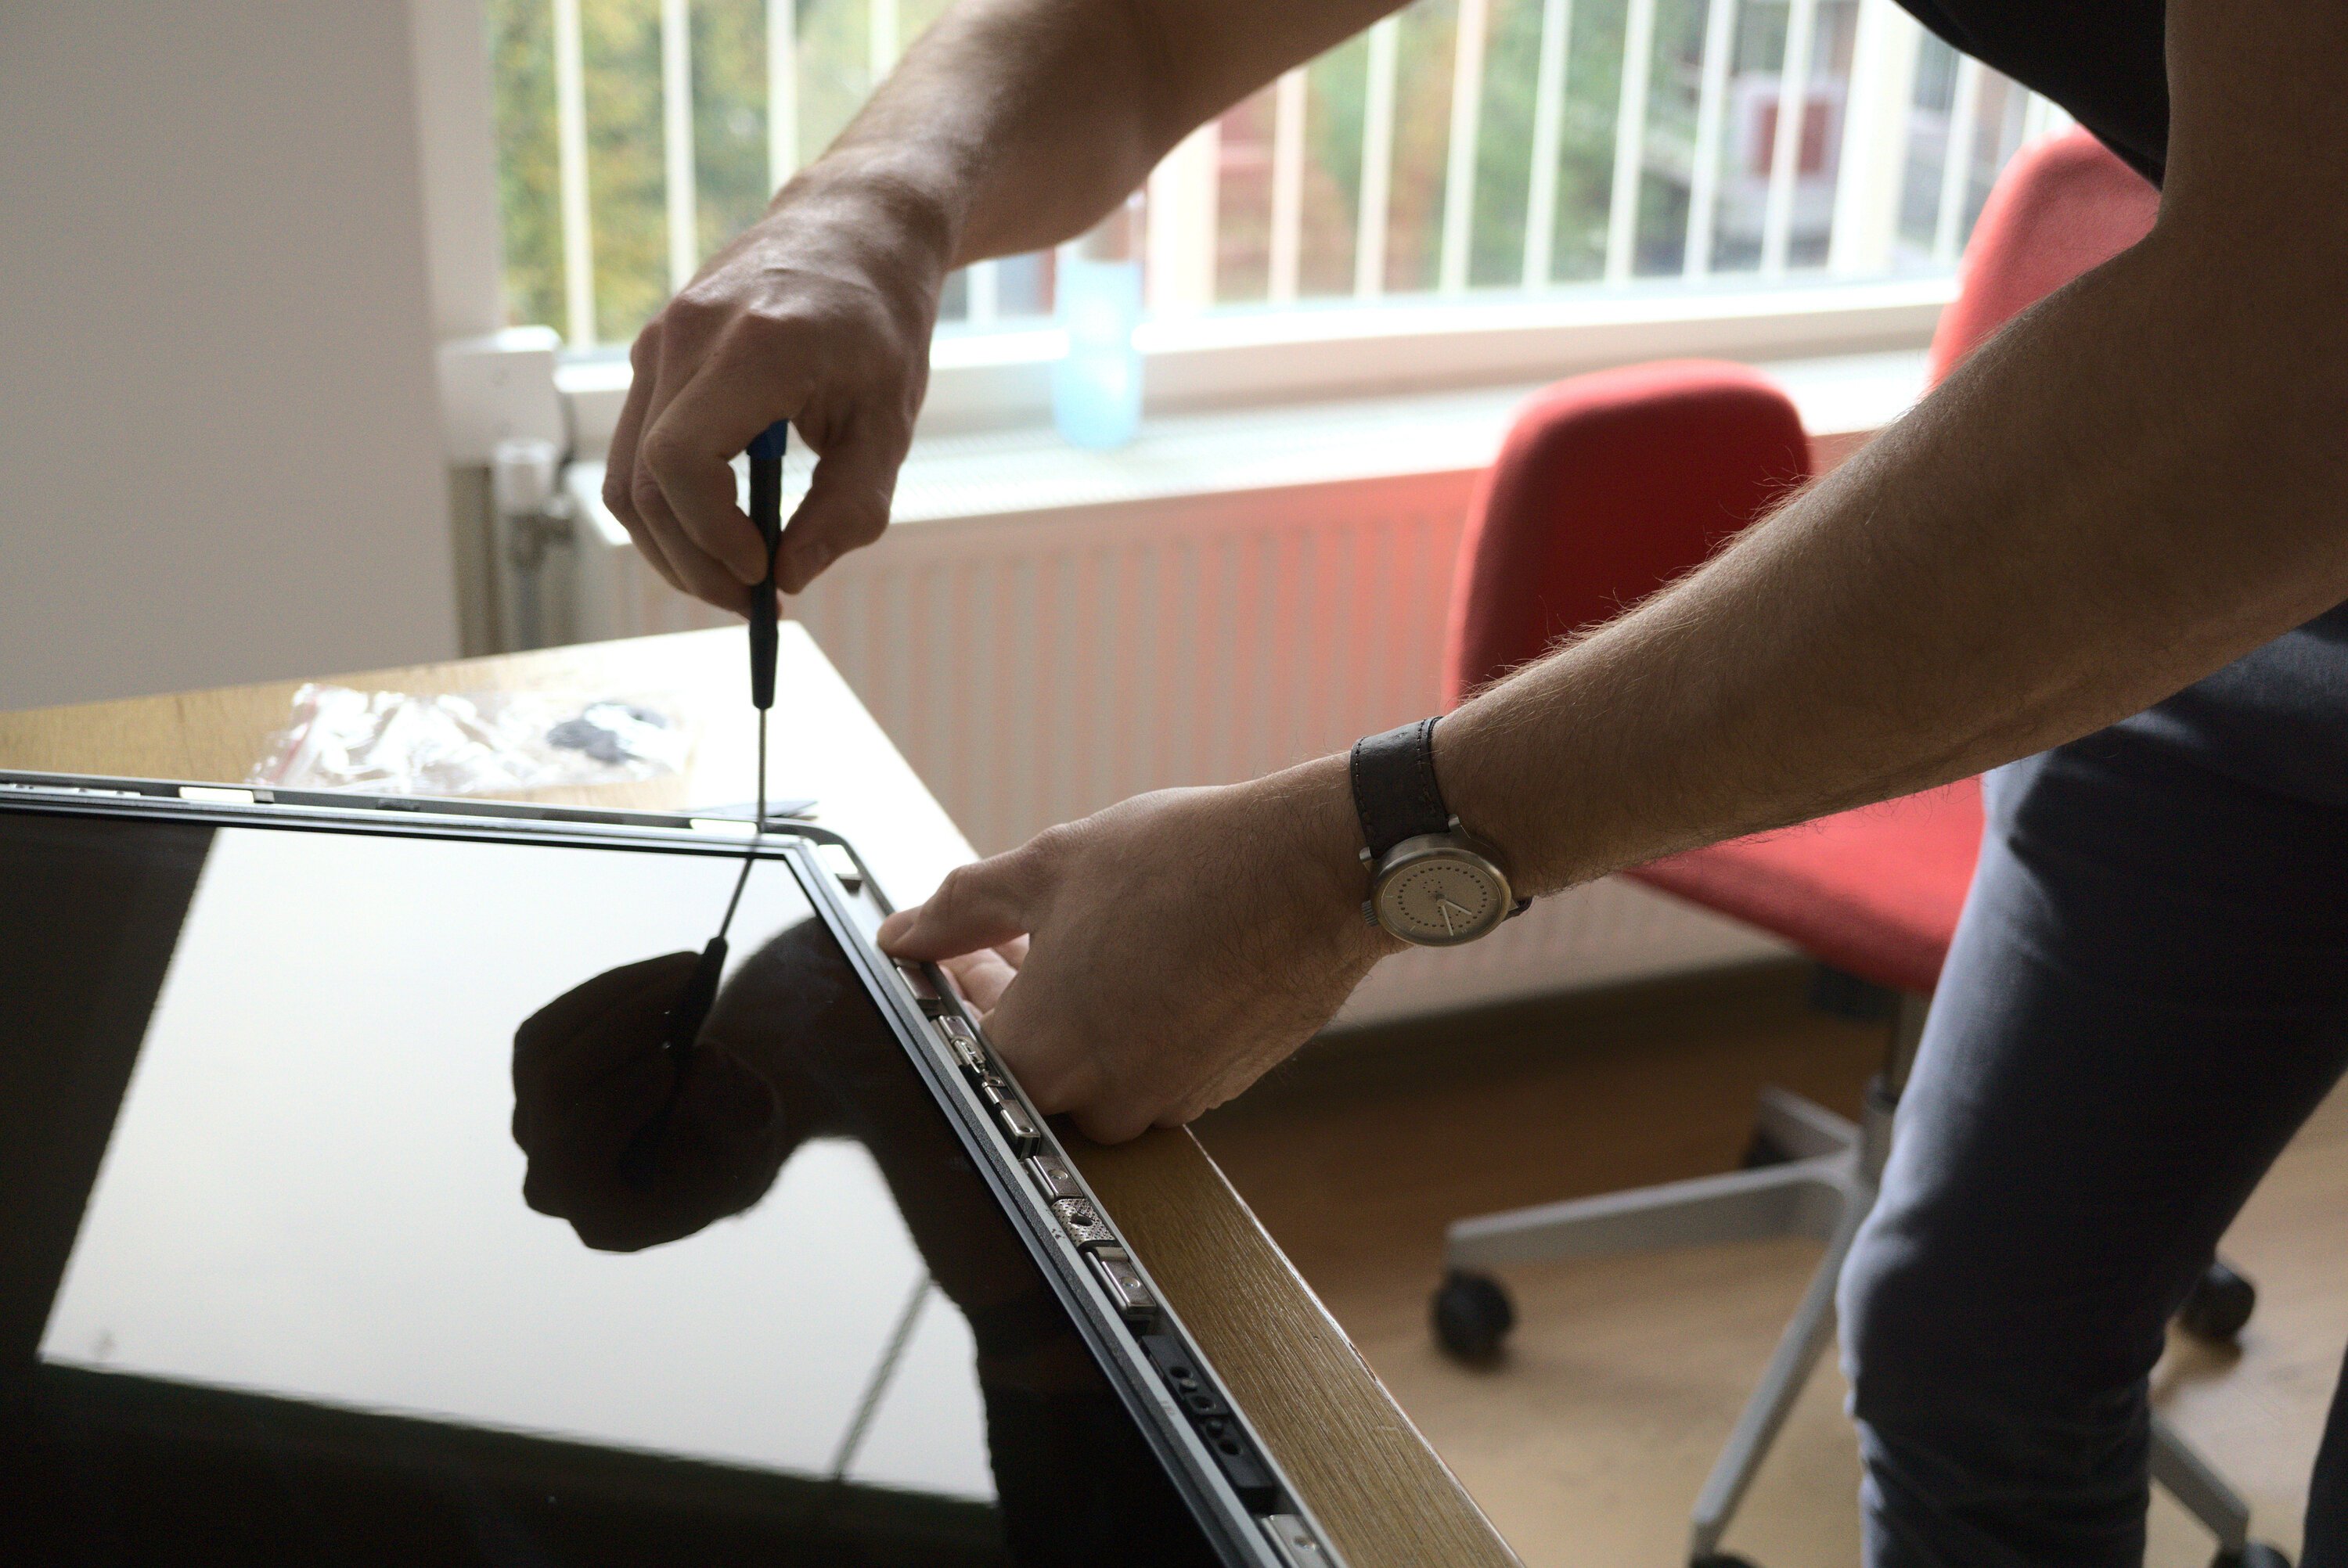
After you have removed the glass panel you should be able to remove the display once you have removed all the Torx screws. Take your time to do this as it can be a little tricky with the strong magnets close to the screw holes.
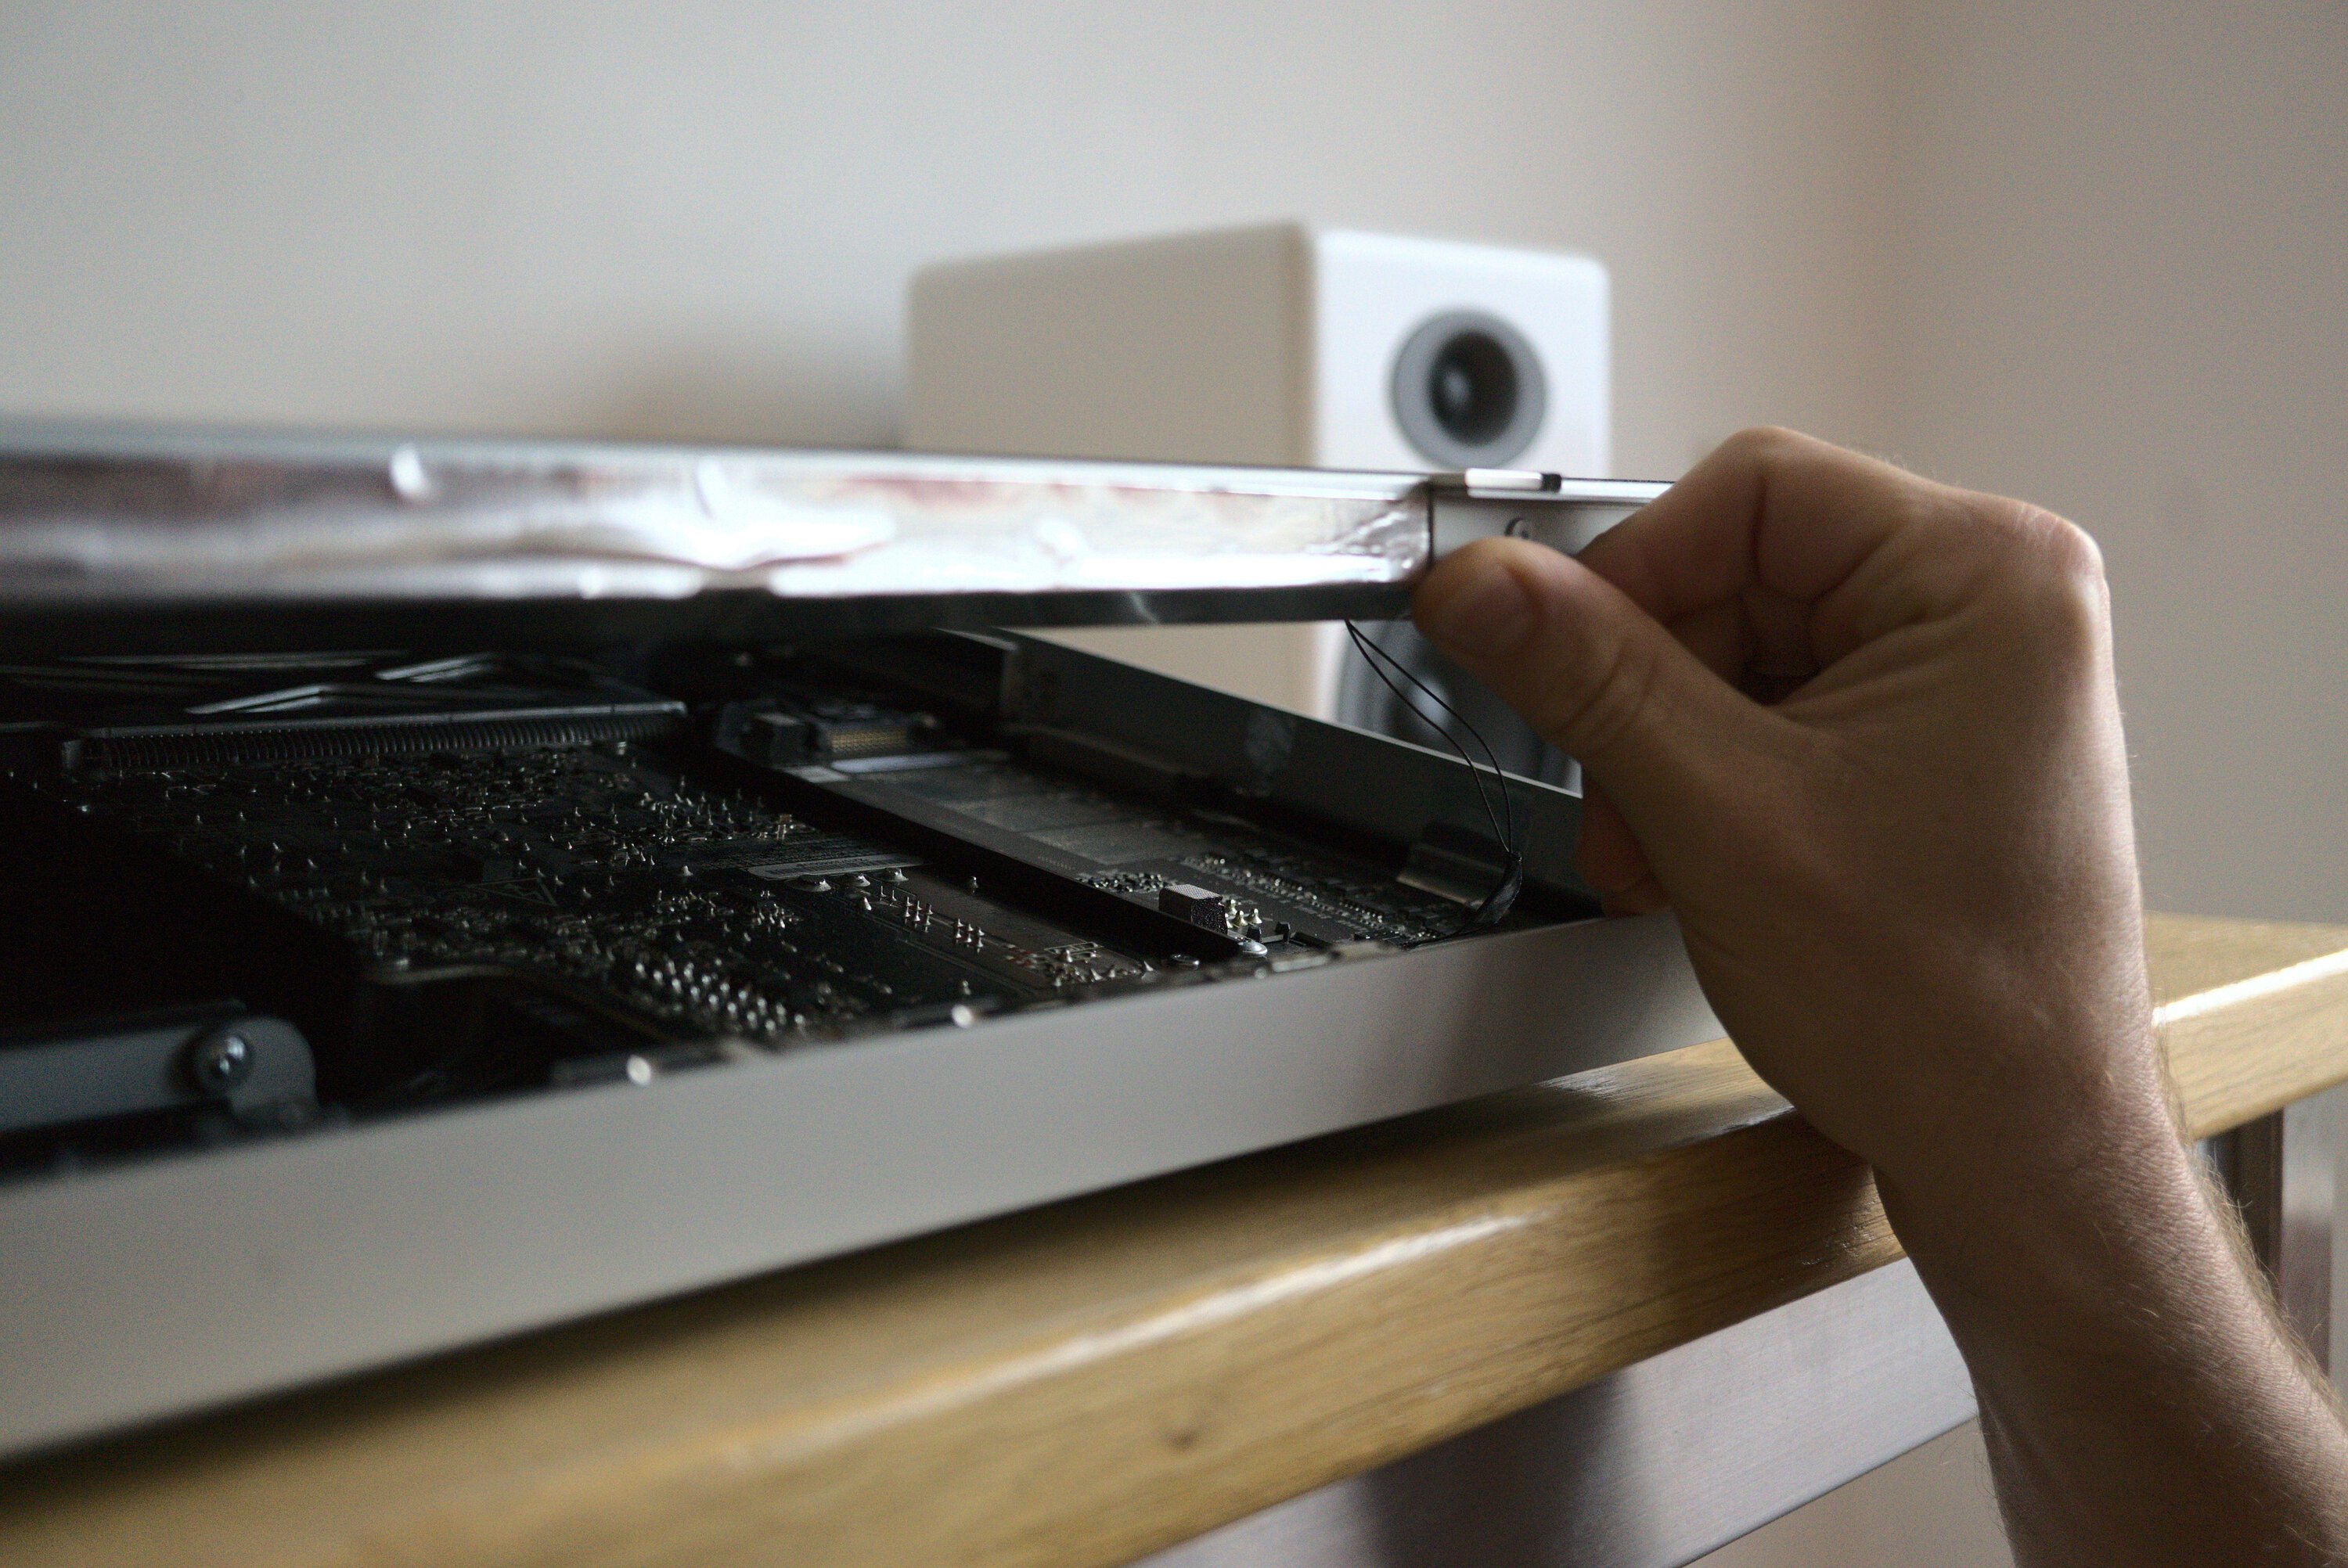
Once the screws are removed you should be able to lift the display with your fingers. Be careful as the display is connected to the main logic board with multiple cables. Once the display is removed you should have a clear view on the iMacs innards.
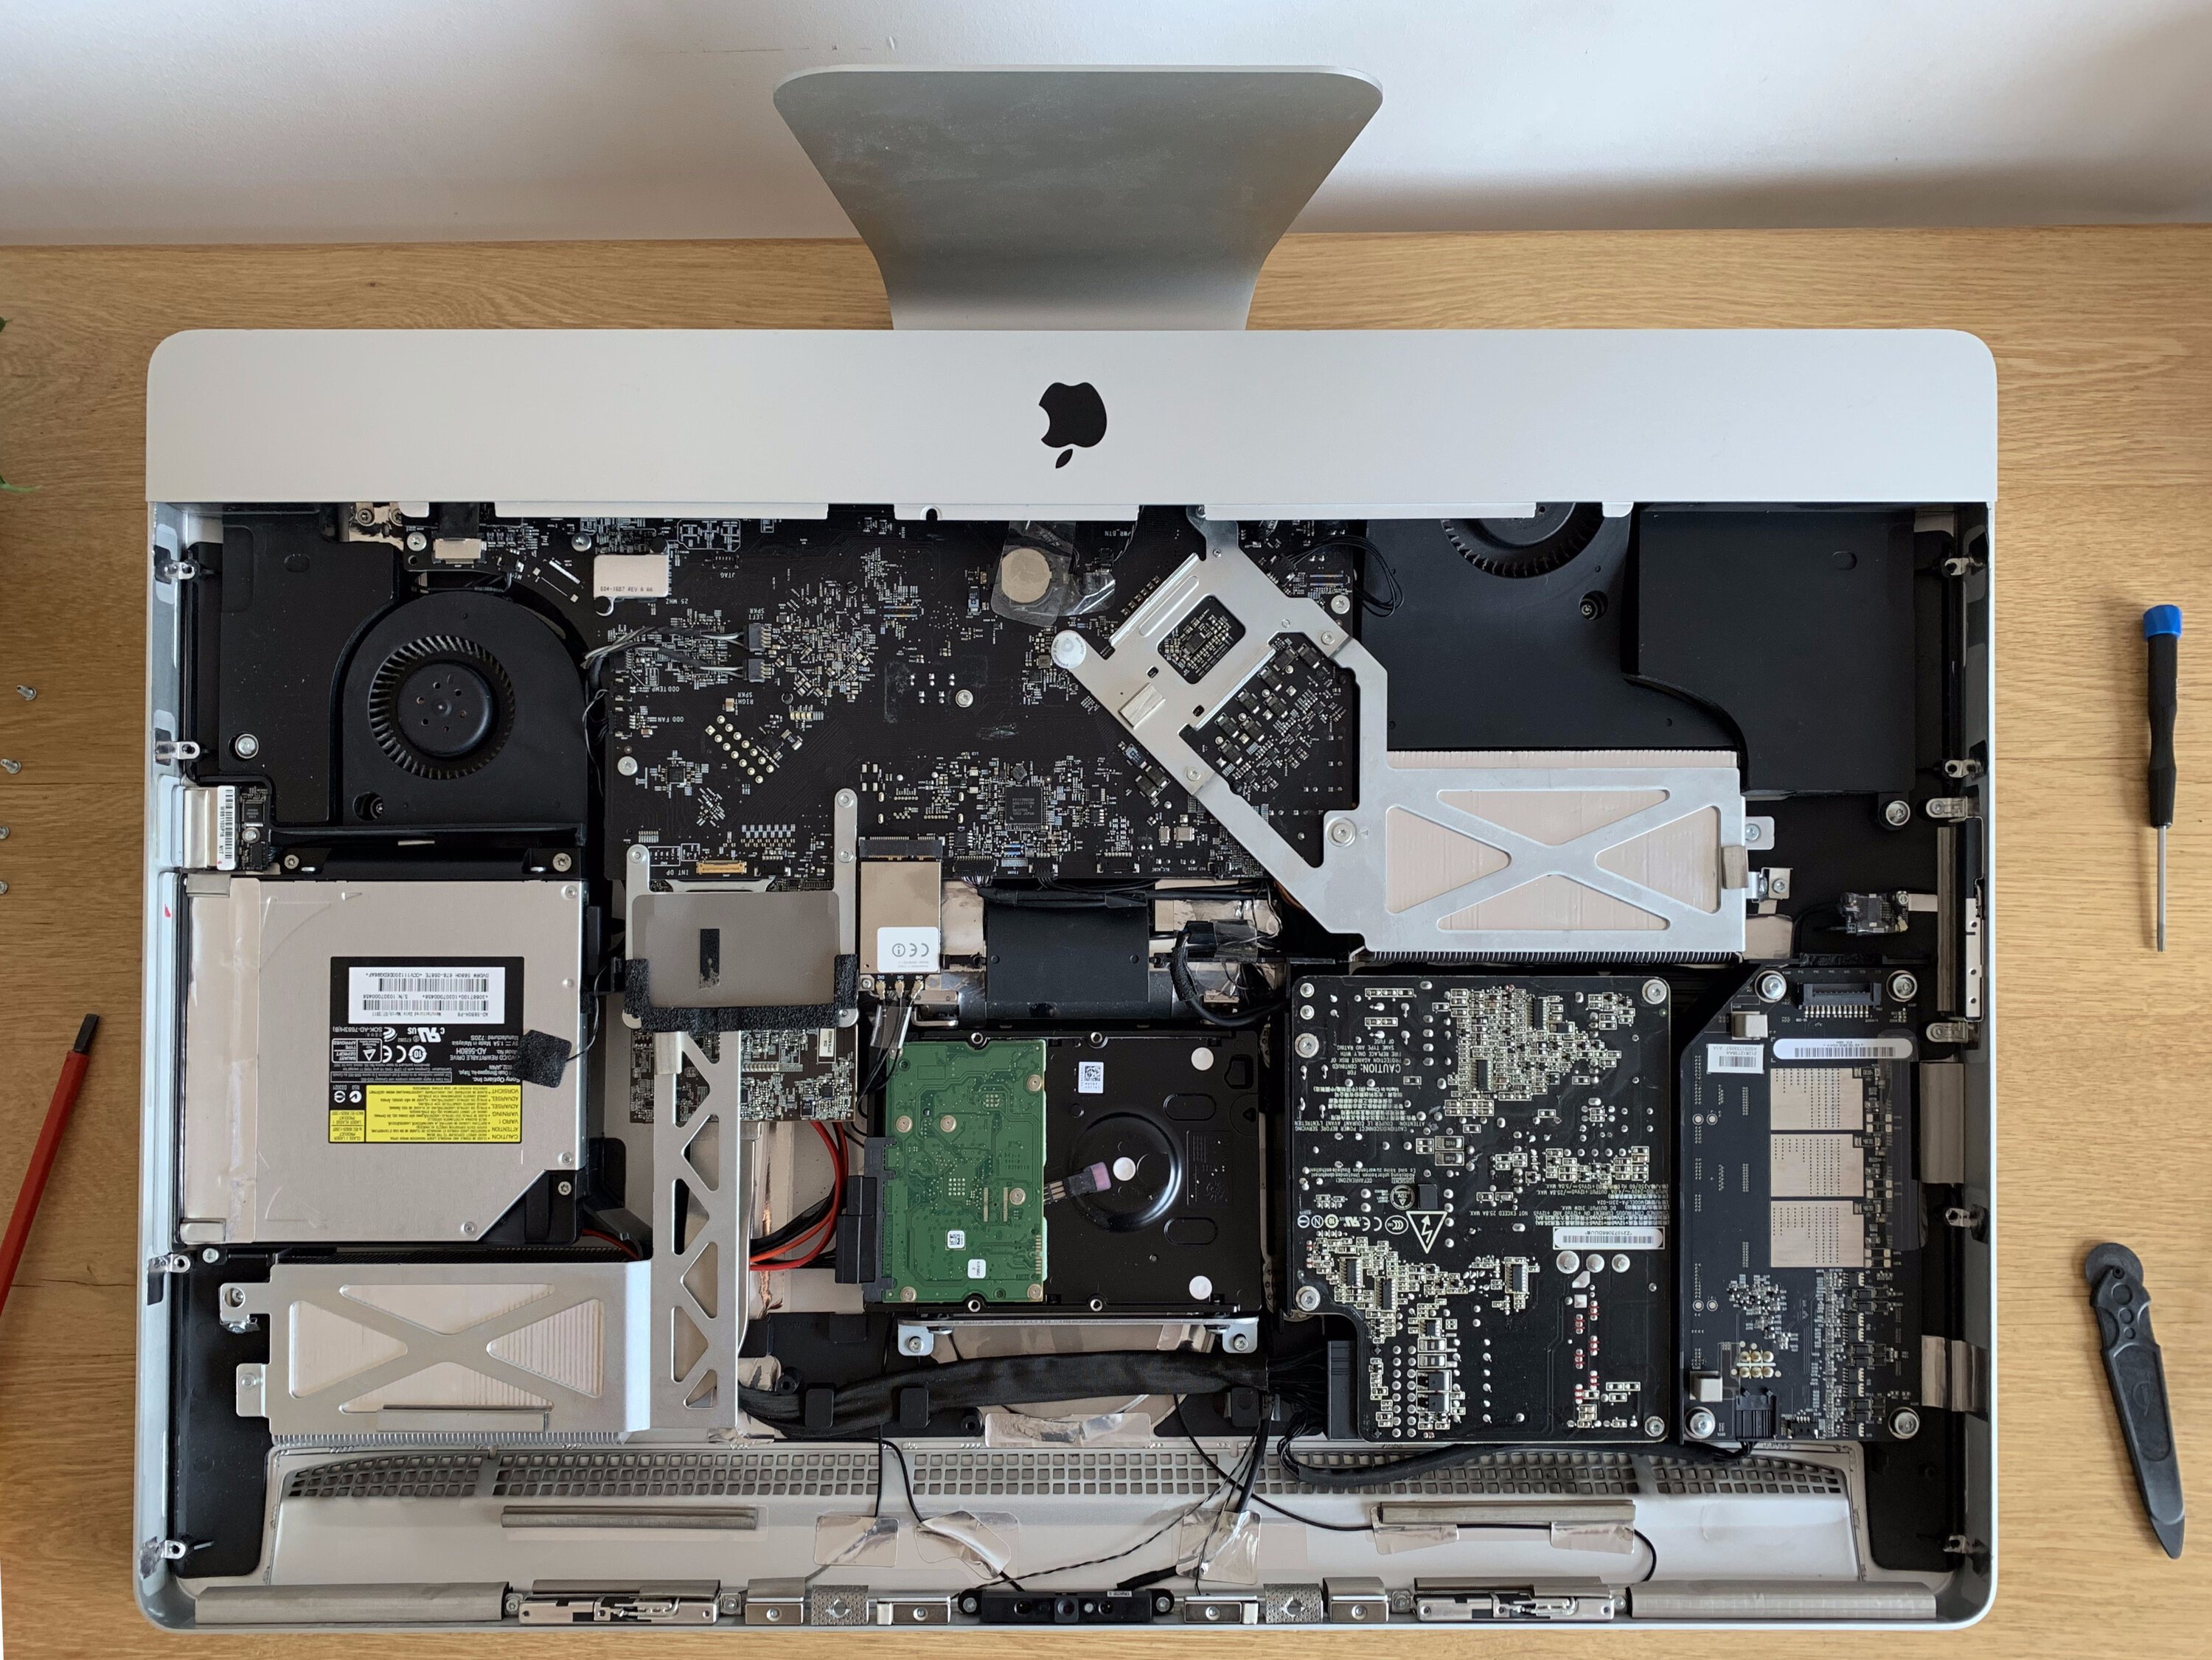
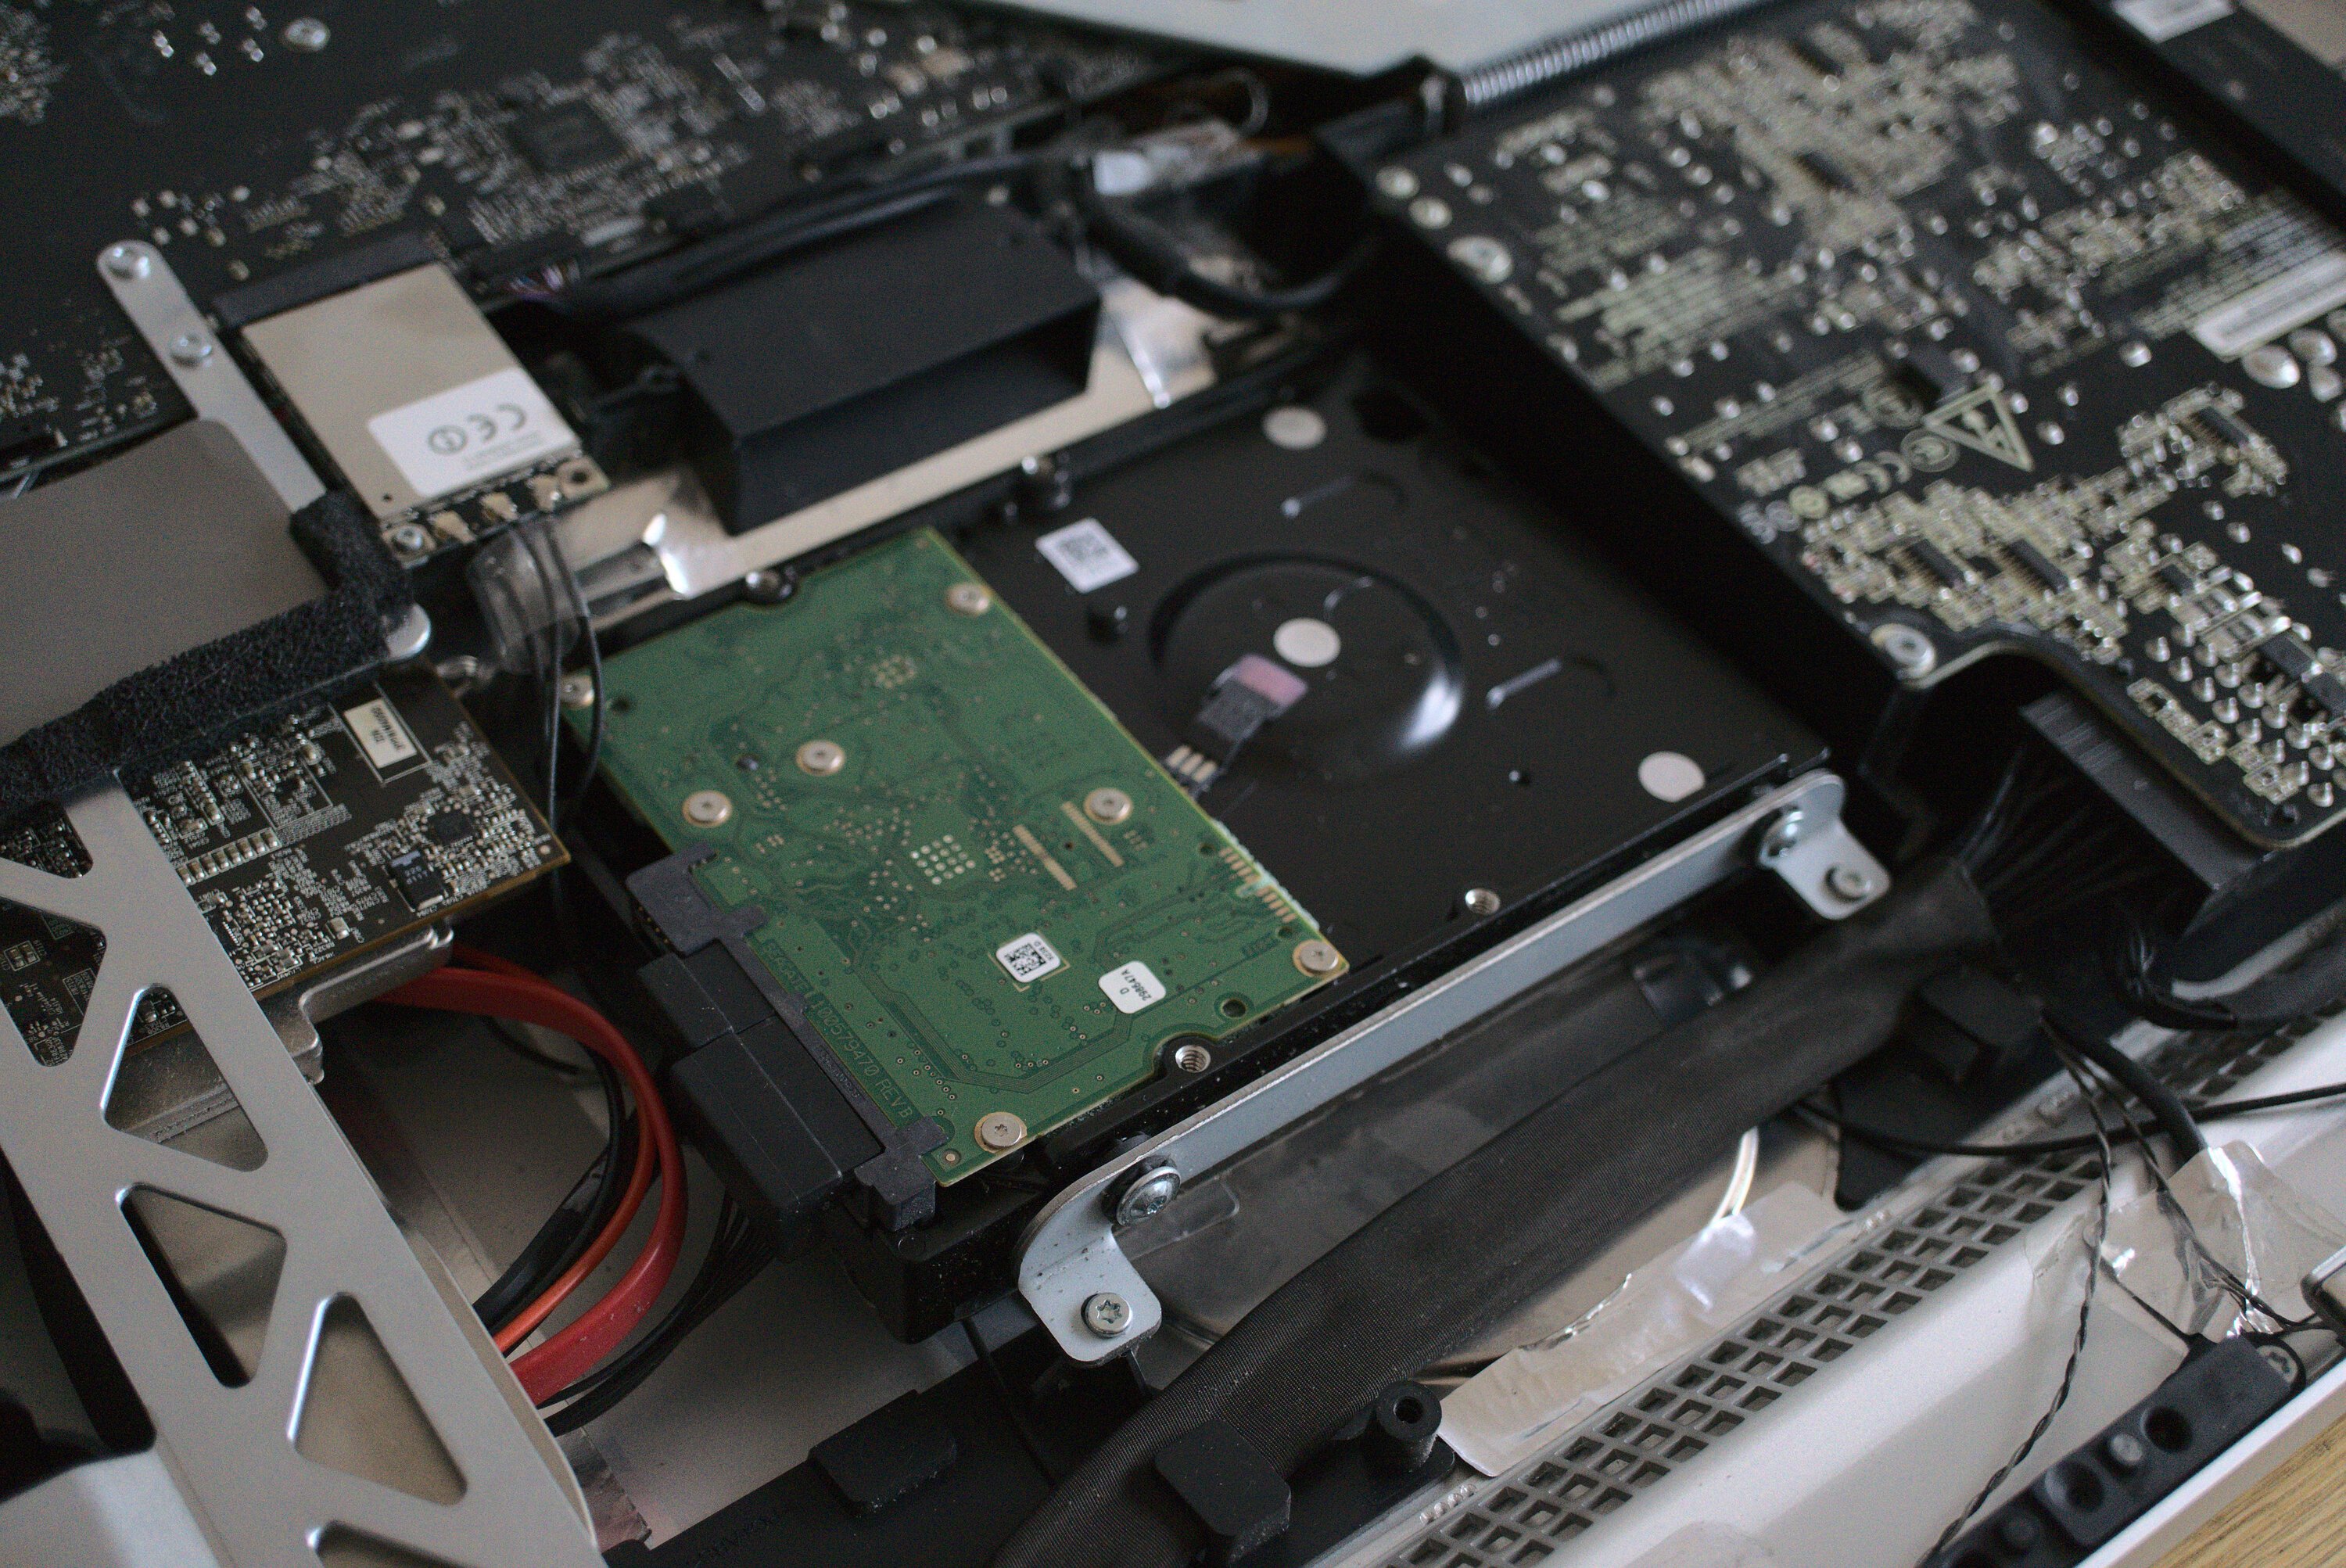
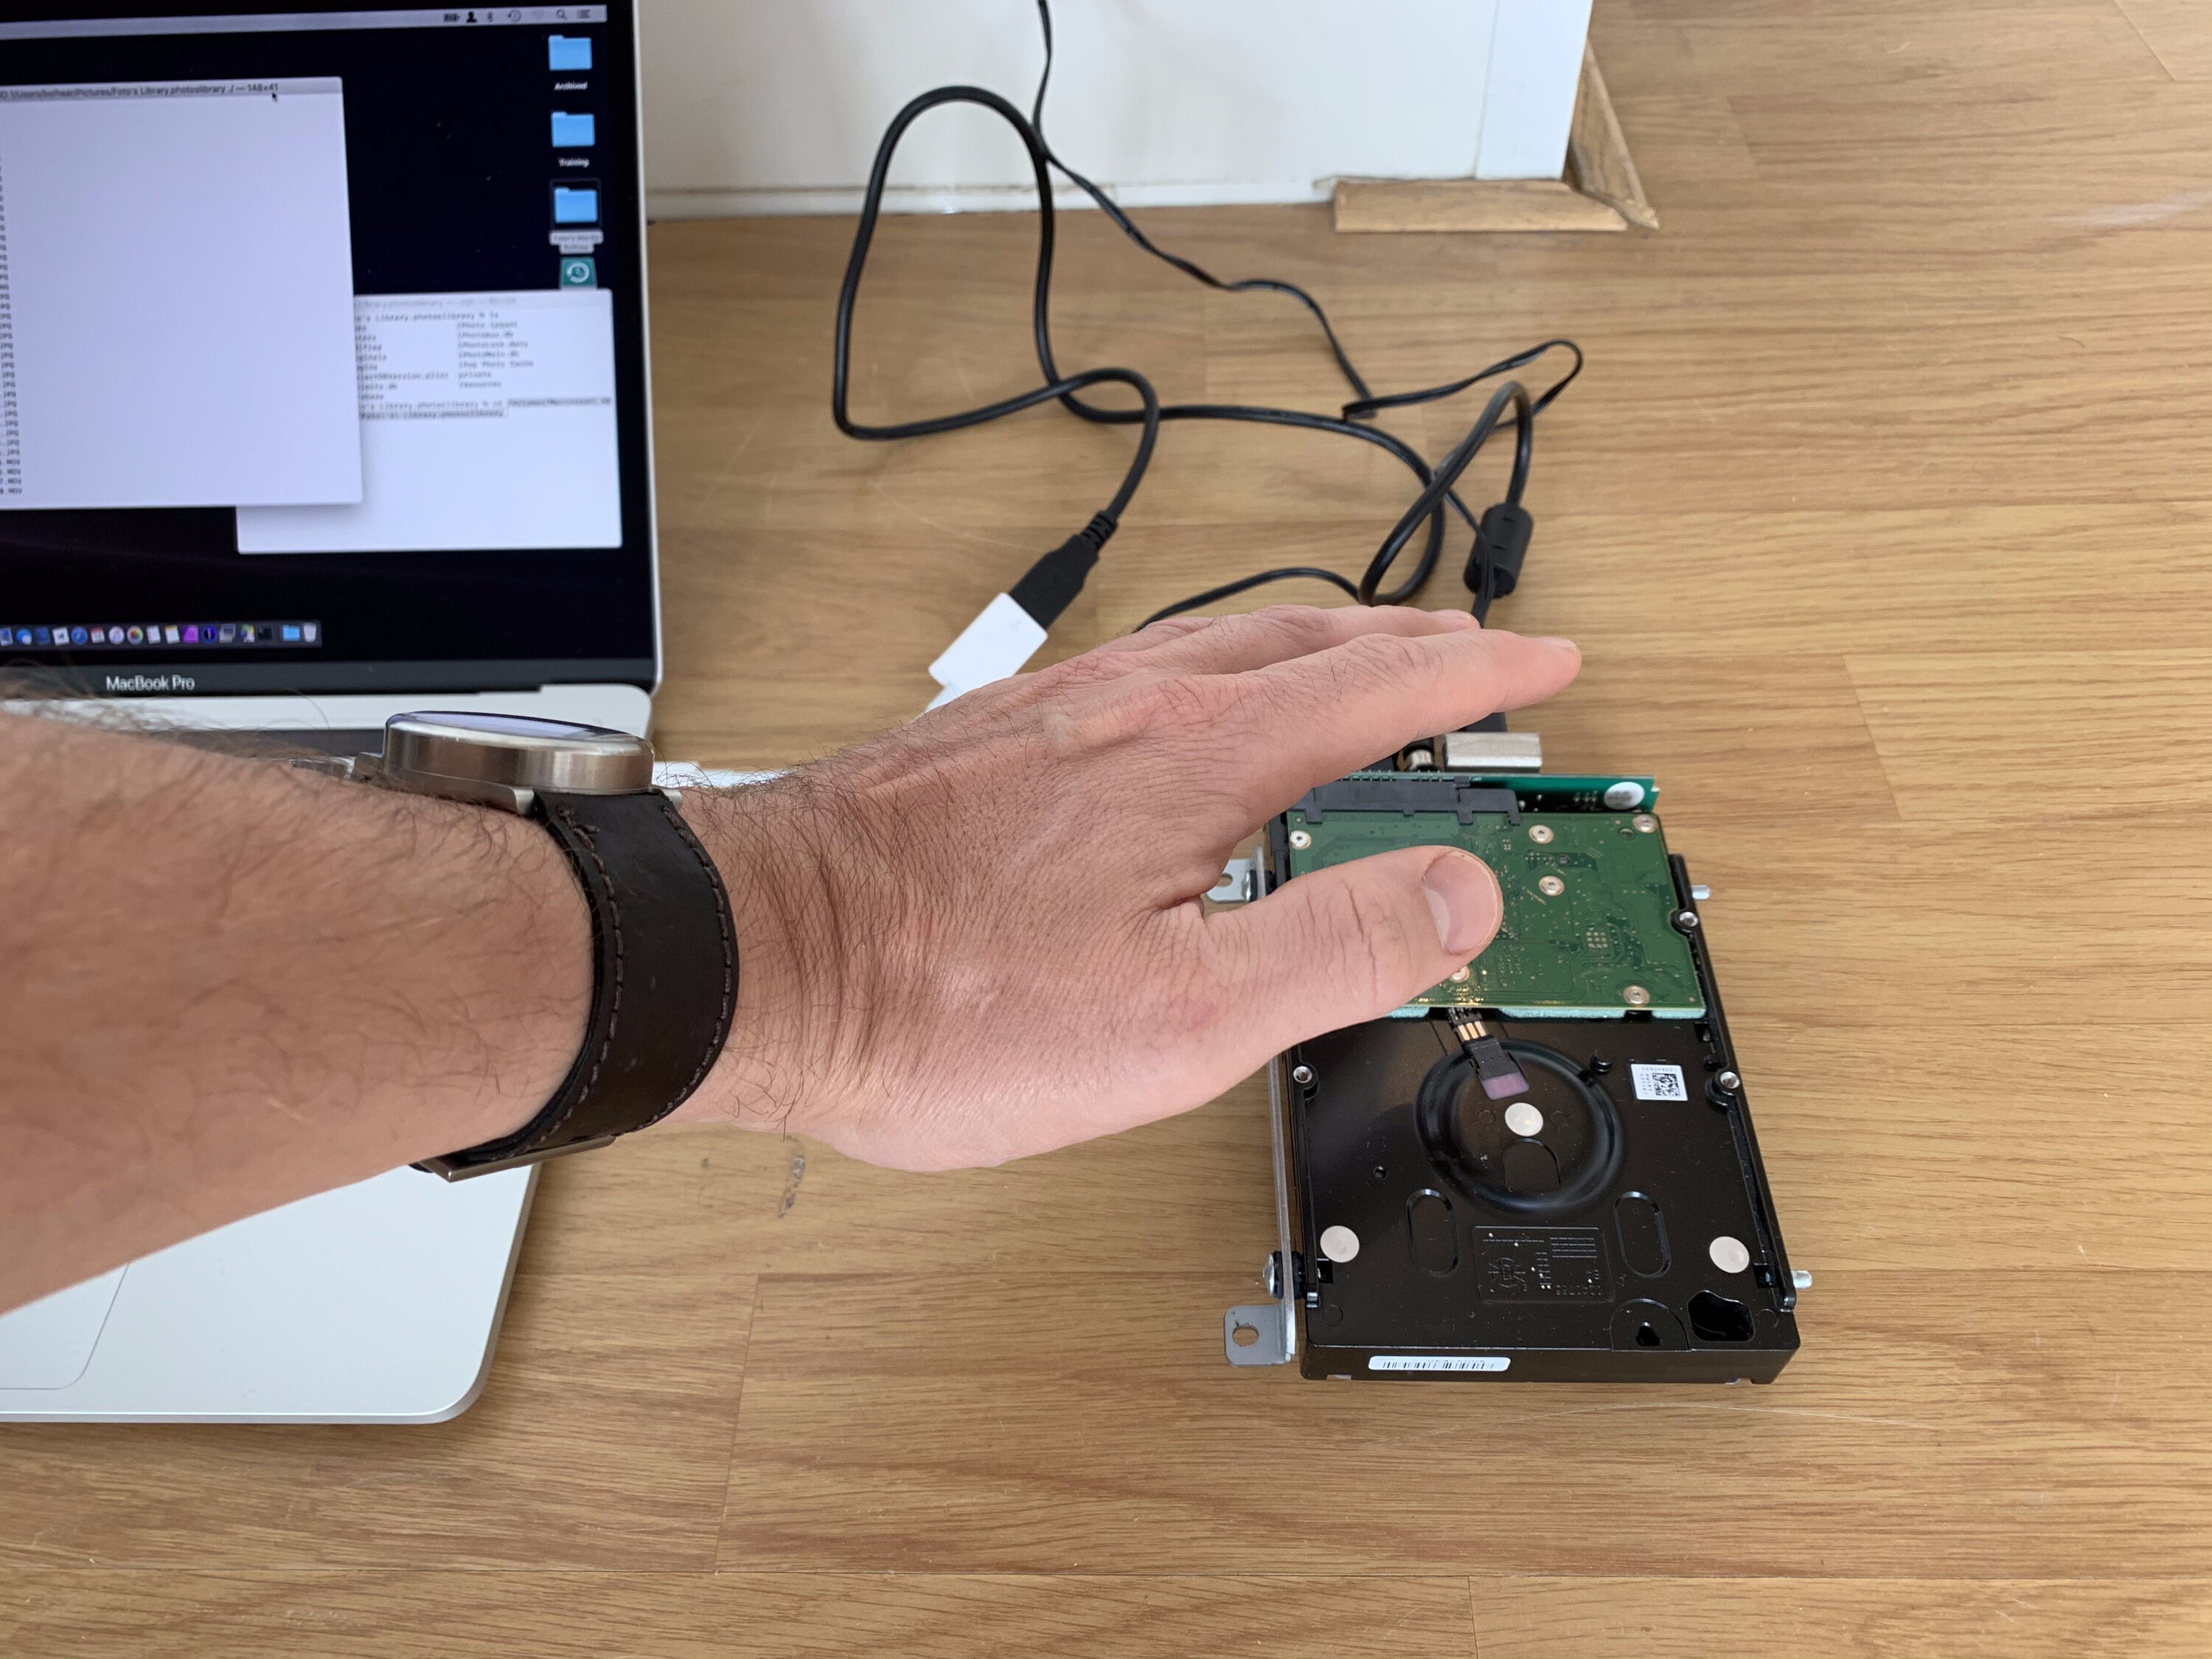
For my attempt to recover the personal photos from this iMac I was only interested in the hard disk. It’s an easy part to recognise, usually big and bulky. You can recognise it by its rectangular shape and green chip. After I removed it, I closed the iMac again to return it in its current condition.
Recovering photos from the hard disk
If you cannot get your computer to start any more, it does not necessarily mean that everything on it is lost! Very often (parts) of the computer’s memory are still functional. You can compare it to personal injury: although you cannot walk (easily) with a broken leg, you might still be able to move when you get a little help from someone. If the computer contains valuable data, it can be a good idea to do an attempt to recover files.
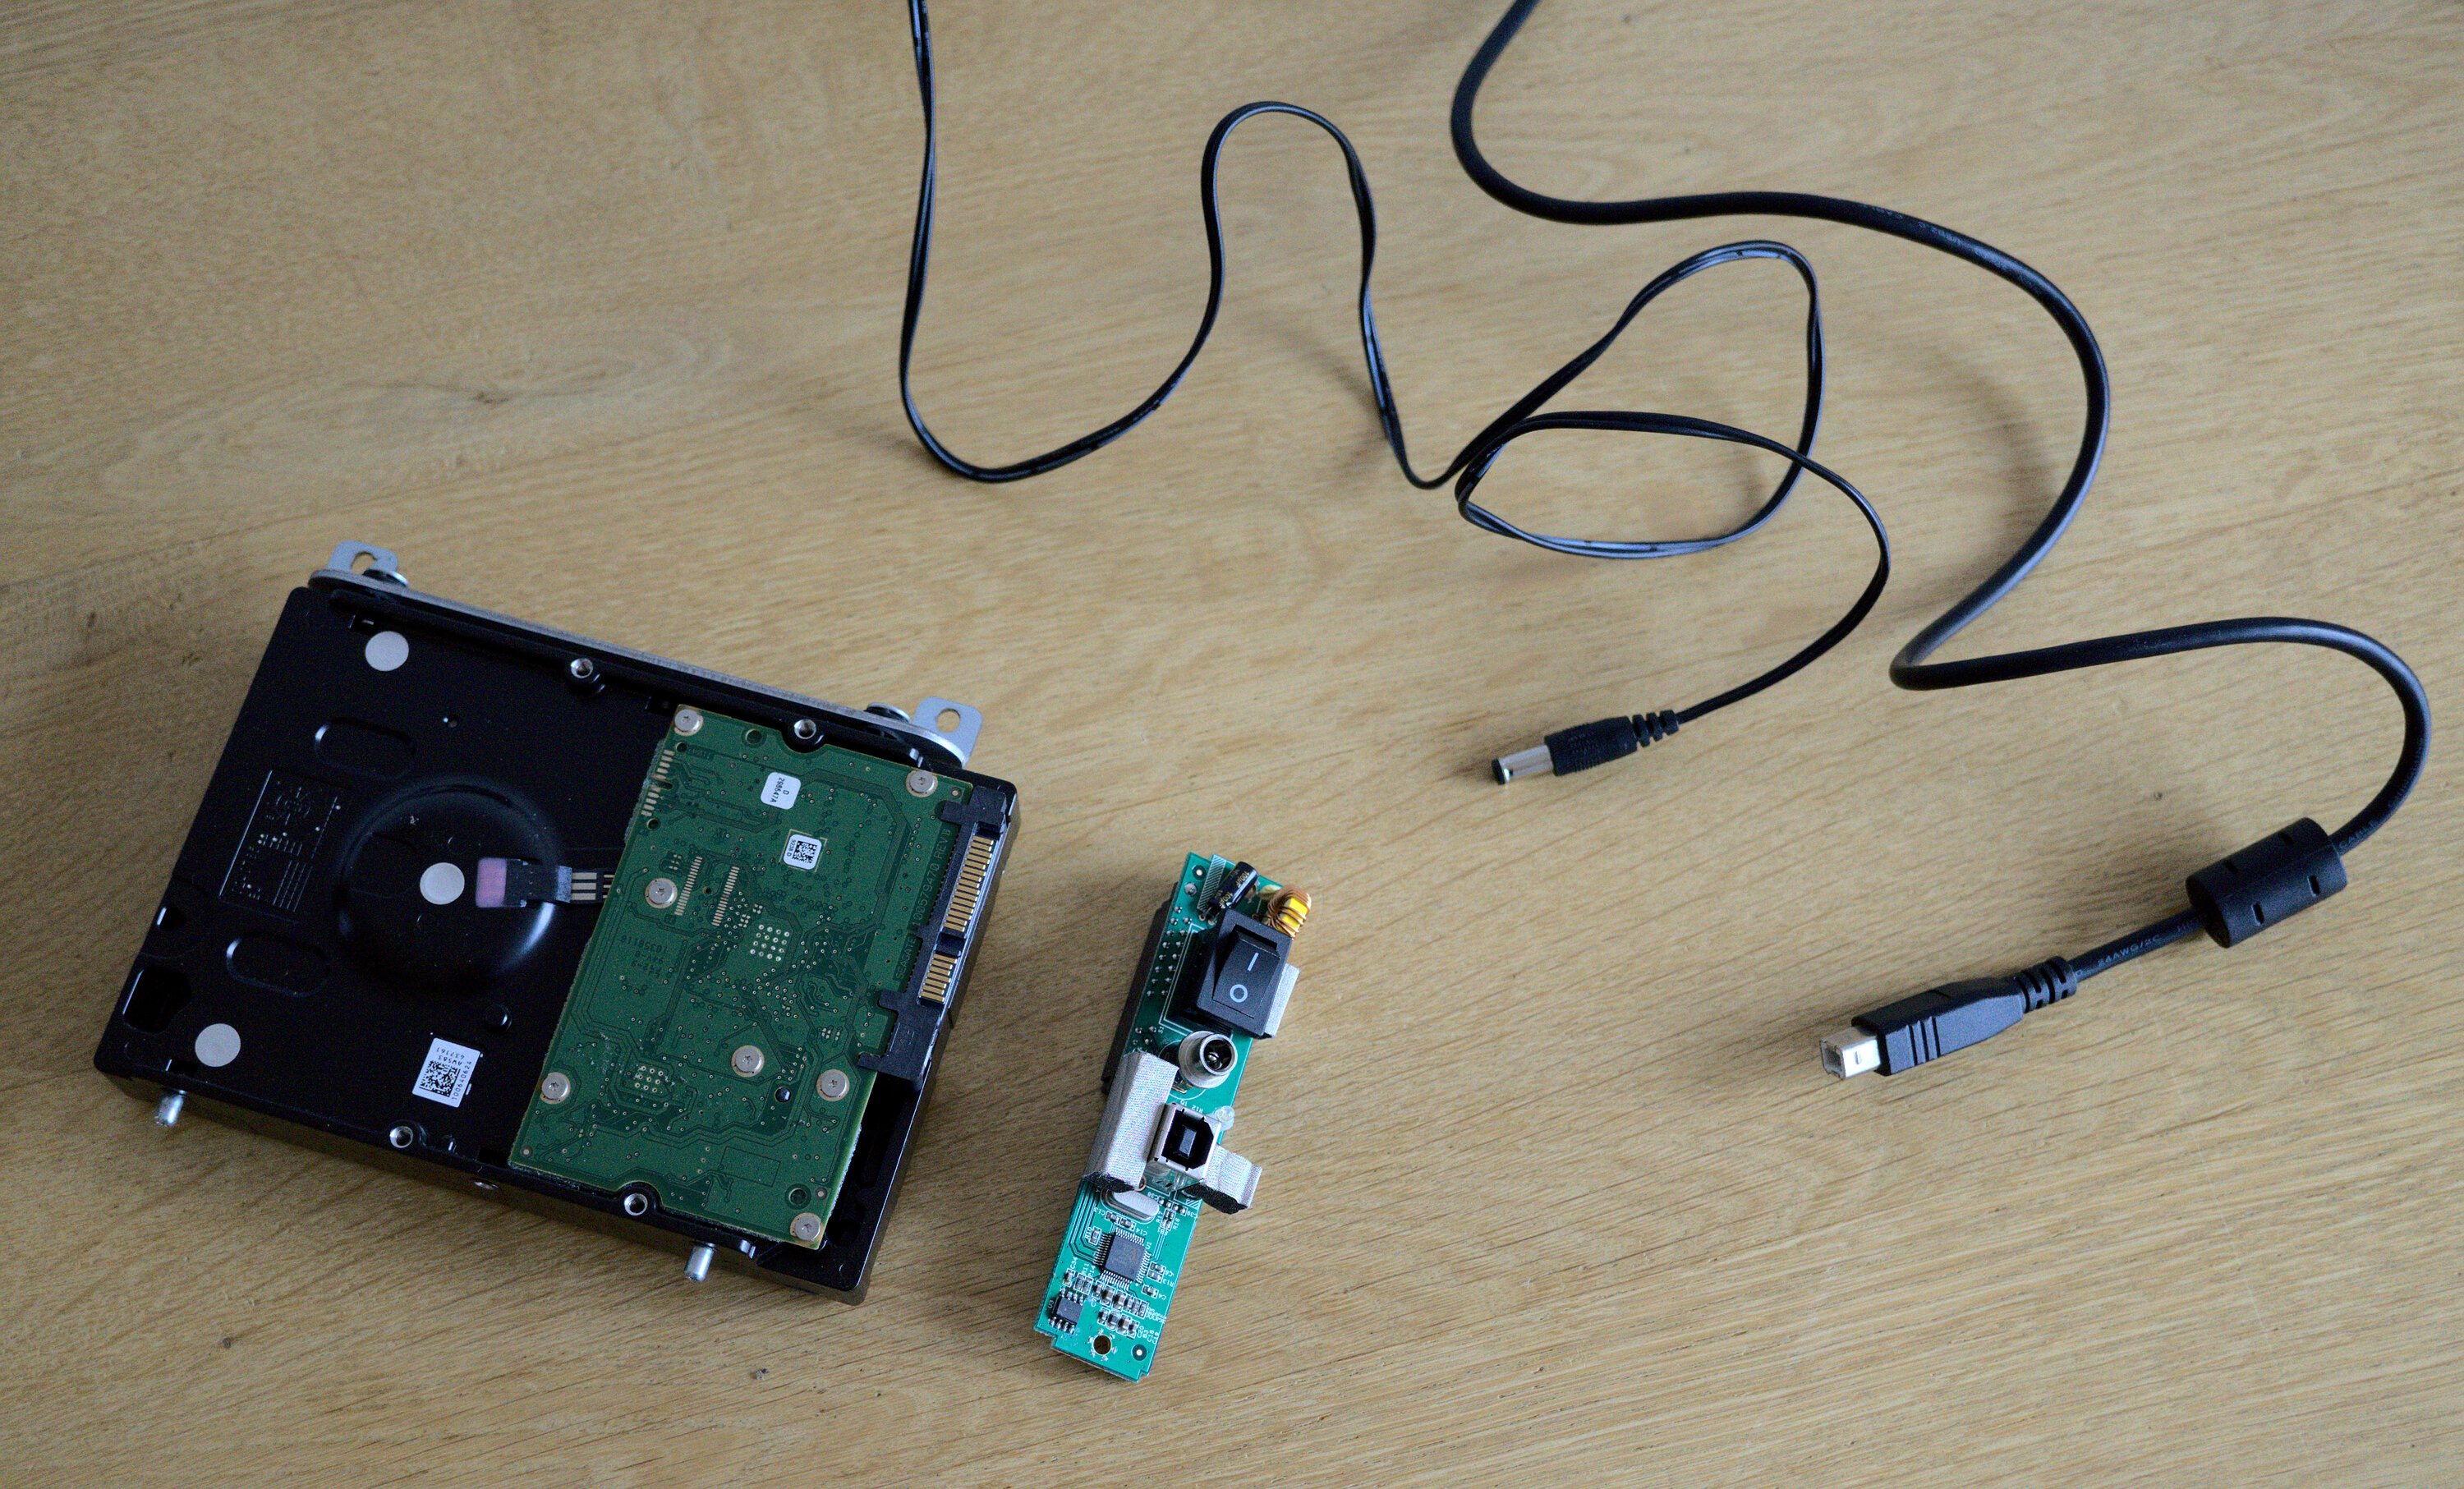
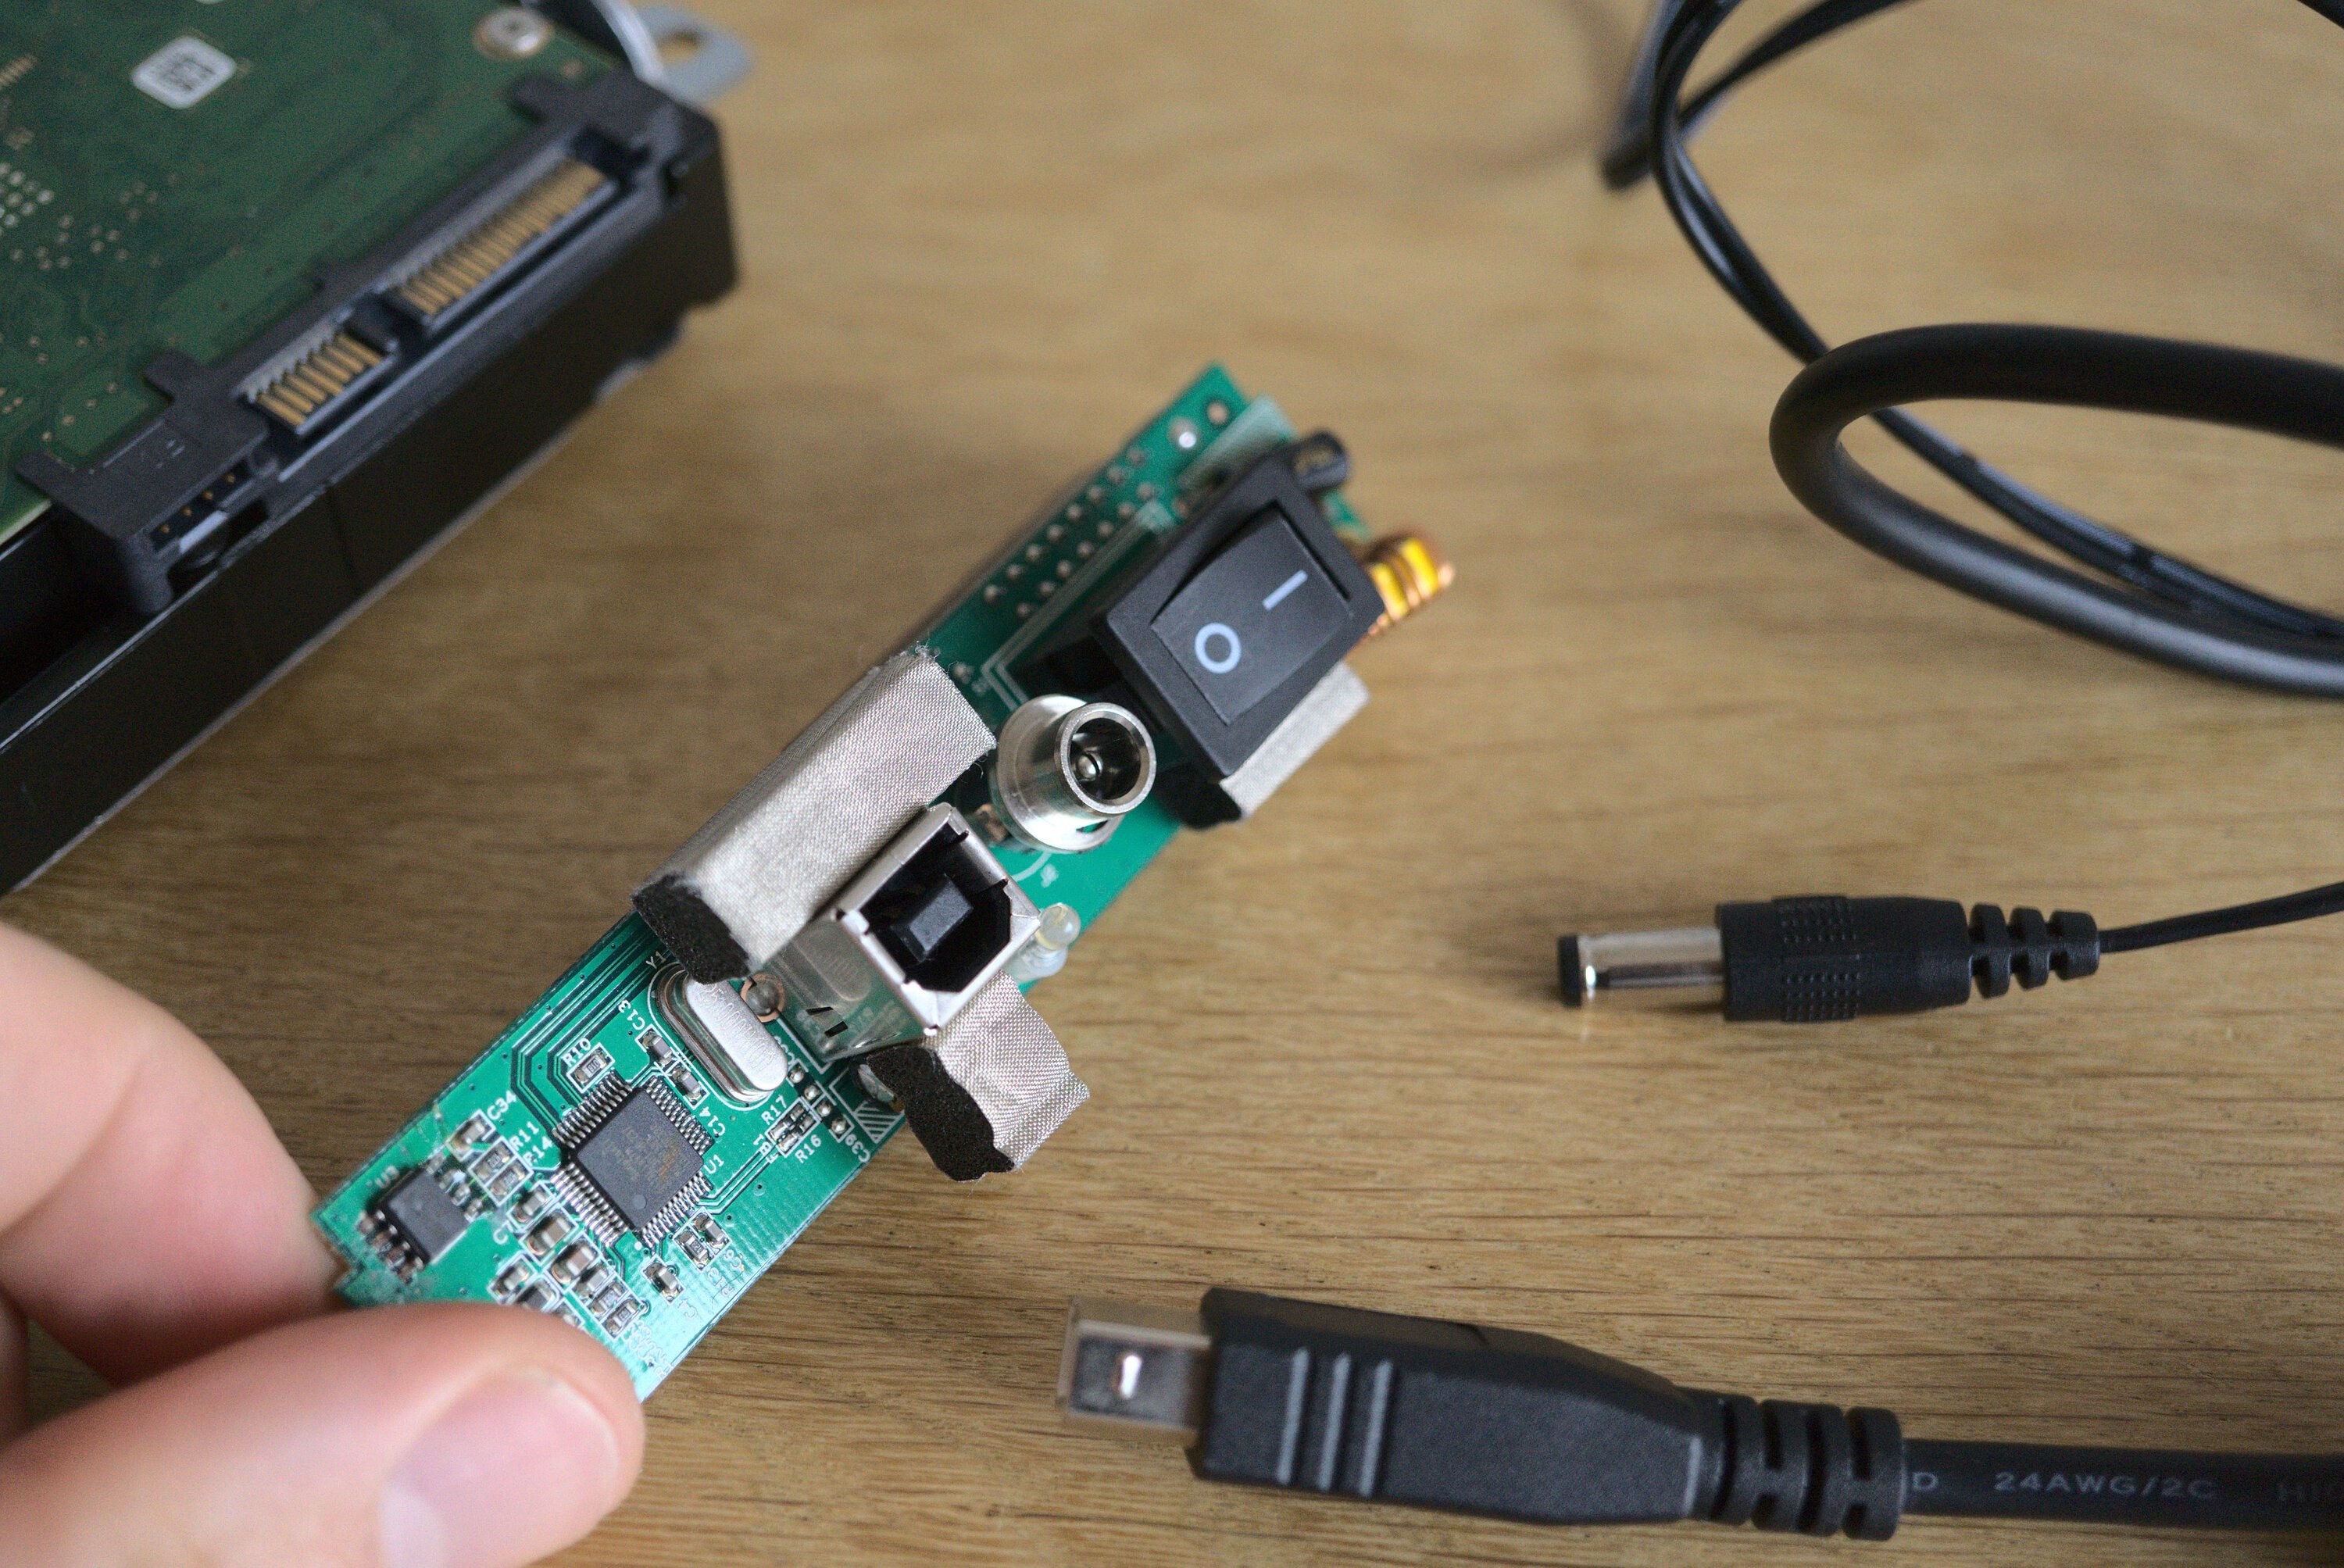
Using a standard SATA-to-USB convertor chip (that I once removed from an external hard disk’s enclosure) you can connect the disk to another computer. This enables you to read from the disk, even if the operating system on the disk is broken. I have used this strategy before to rescue photos from a broken laptop.
The best thing you can do is to connect the disk to a computer running the same operating system. Disks are formatted into data structures that comprise a “file system”. These file systems differ per operating system. Some file systems can be read by different operating systems, while others can’t. By using another Mac that I borrowed from my brother, I knew that the operating system would be able to understand the filesystem on the salvaged disk.
Go for the gold, first!
If the disk is not (entirely) defect, you might be able to read its contents using the other computer. You may be tempted to ‘click around’ and browse its contents. But you must focus on recovering the most important files first! You don’t know how long the damaged disk will continue to work - it may die any second!
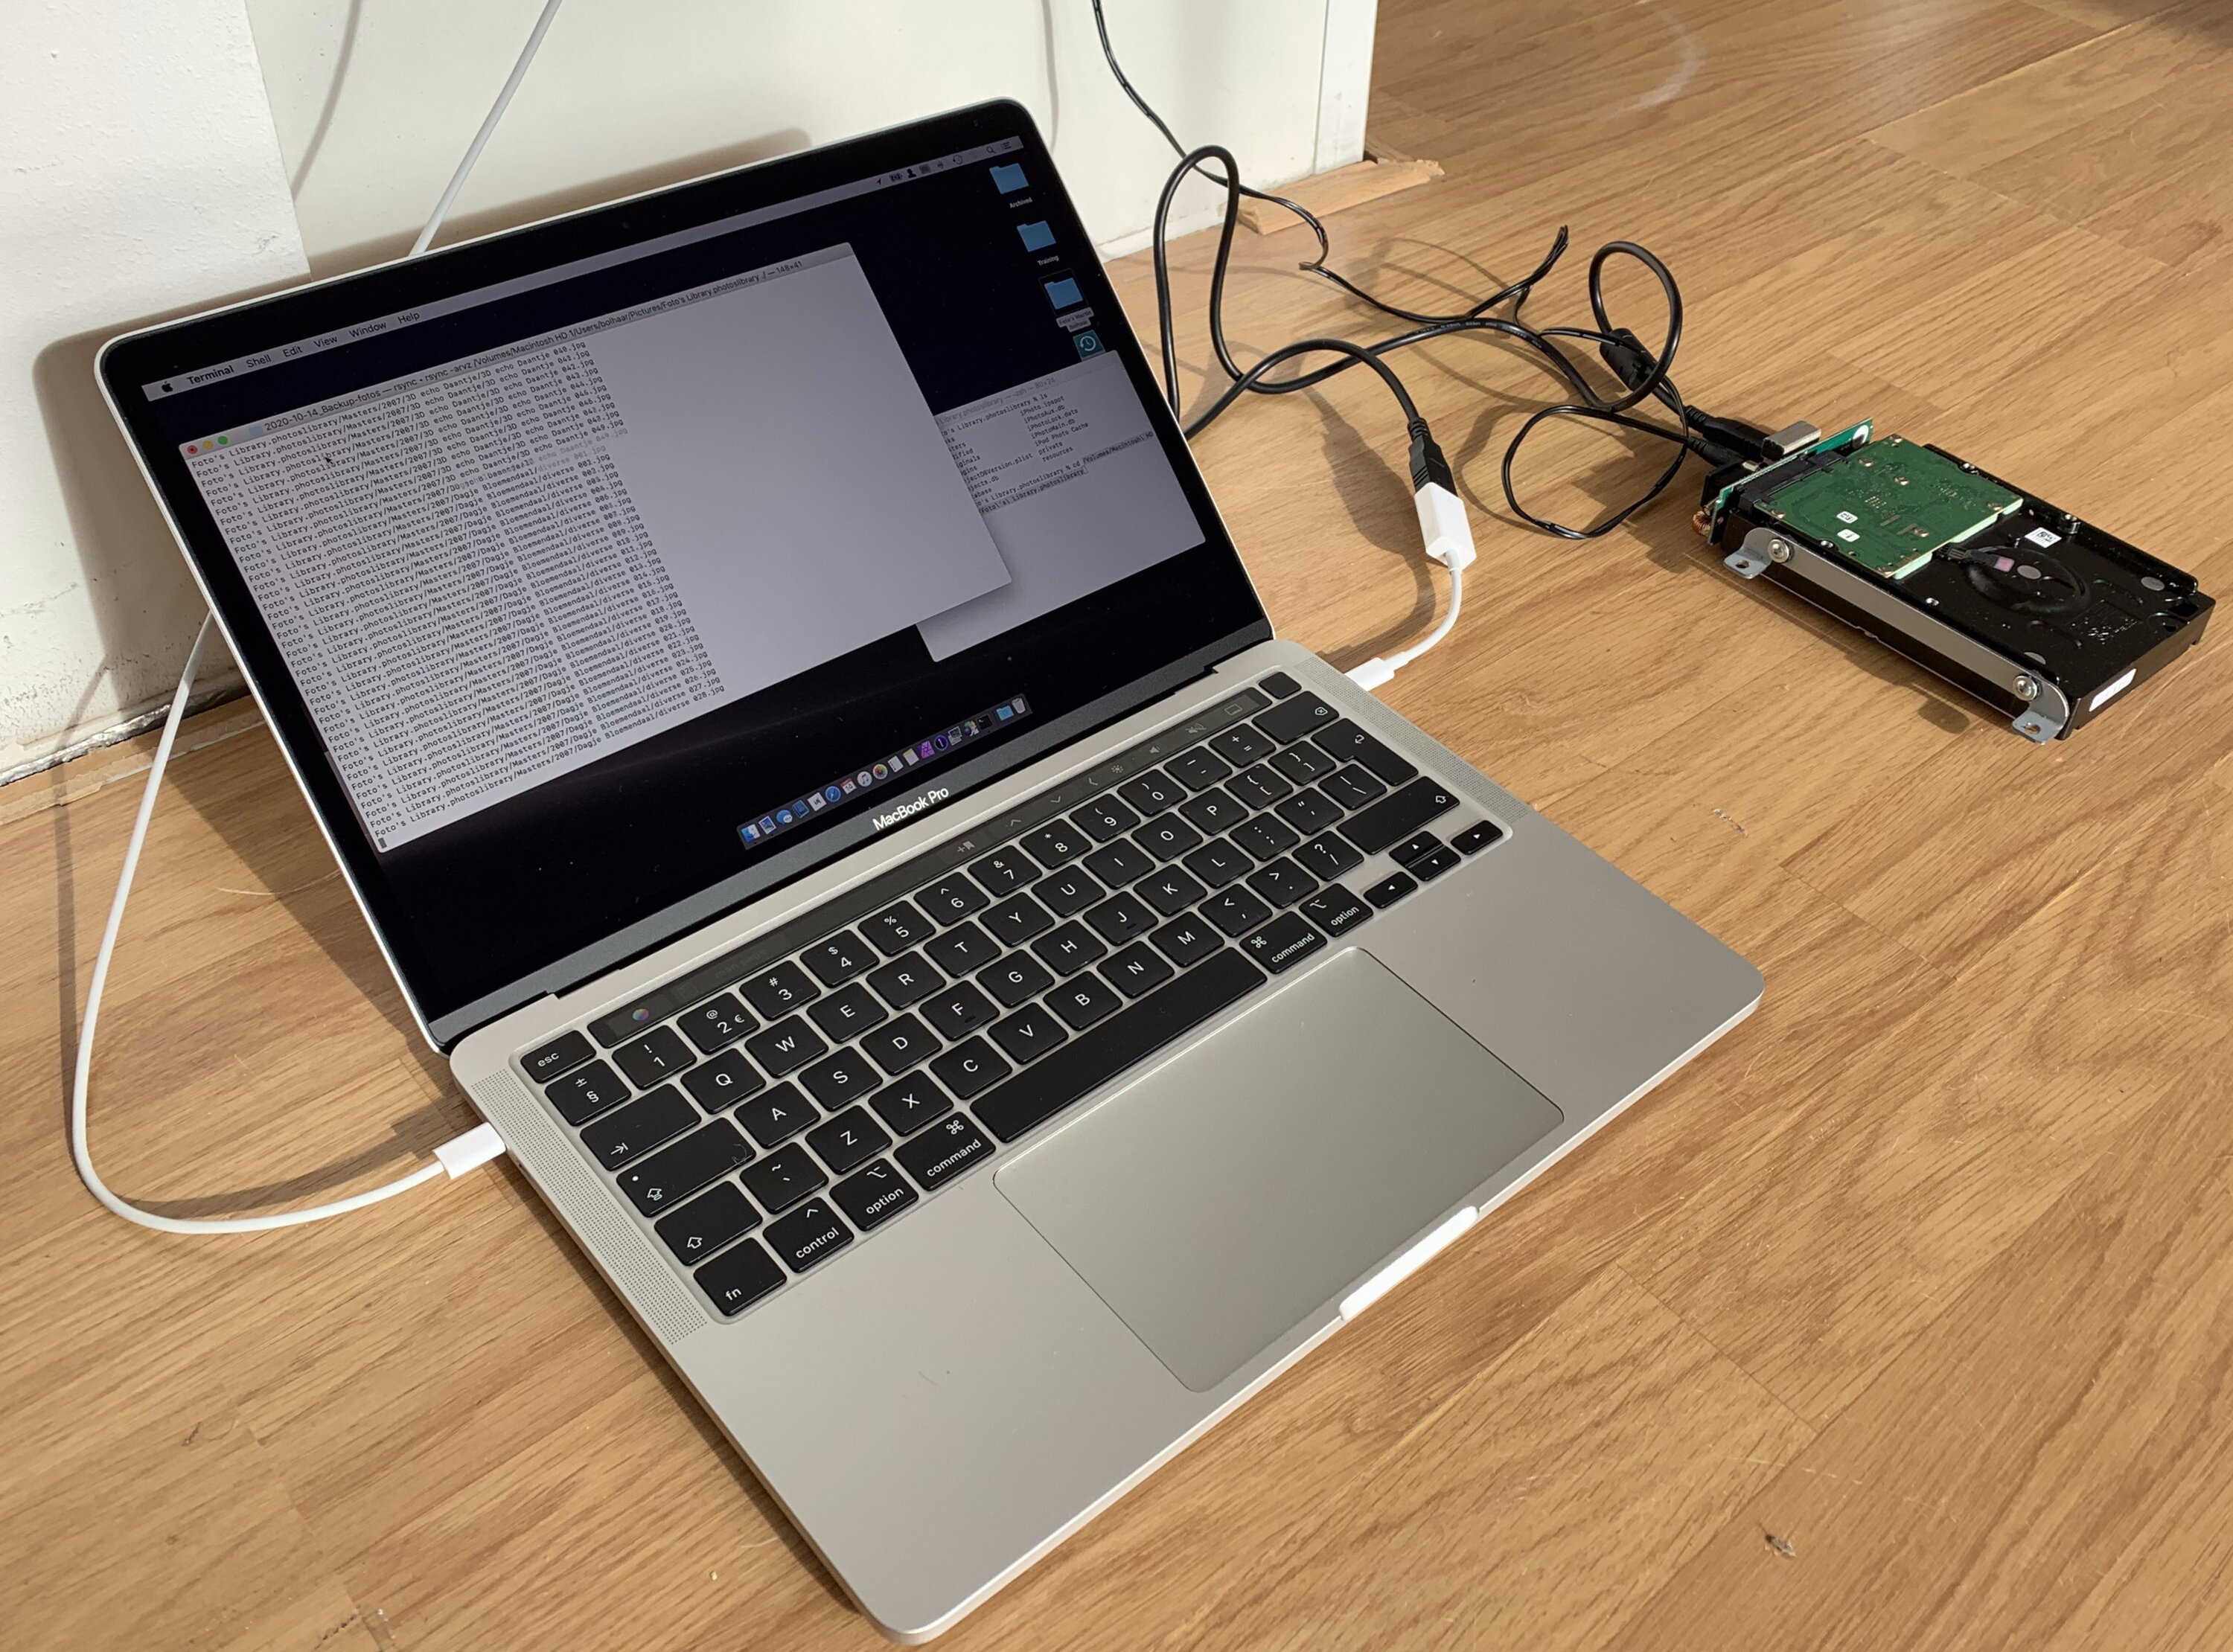
As I am familiar with Apple Photos, I know where the (original) photo files are kept. This allowed me to optimise my strategy, directly attempting to copy the personal photos. Instead of using the macOS Finder (or Windows Explorer), I prefer to use terminal commands to copy files from unreliable sources.
With a tool like ‘rsync’, you can copy directory structures just like you would normally do. But its advantage is that it’s able to skip unreadable files and it can ‘resume’ copying if it is ever interrupted. I started the command and simply hoped for the best.
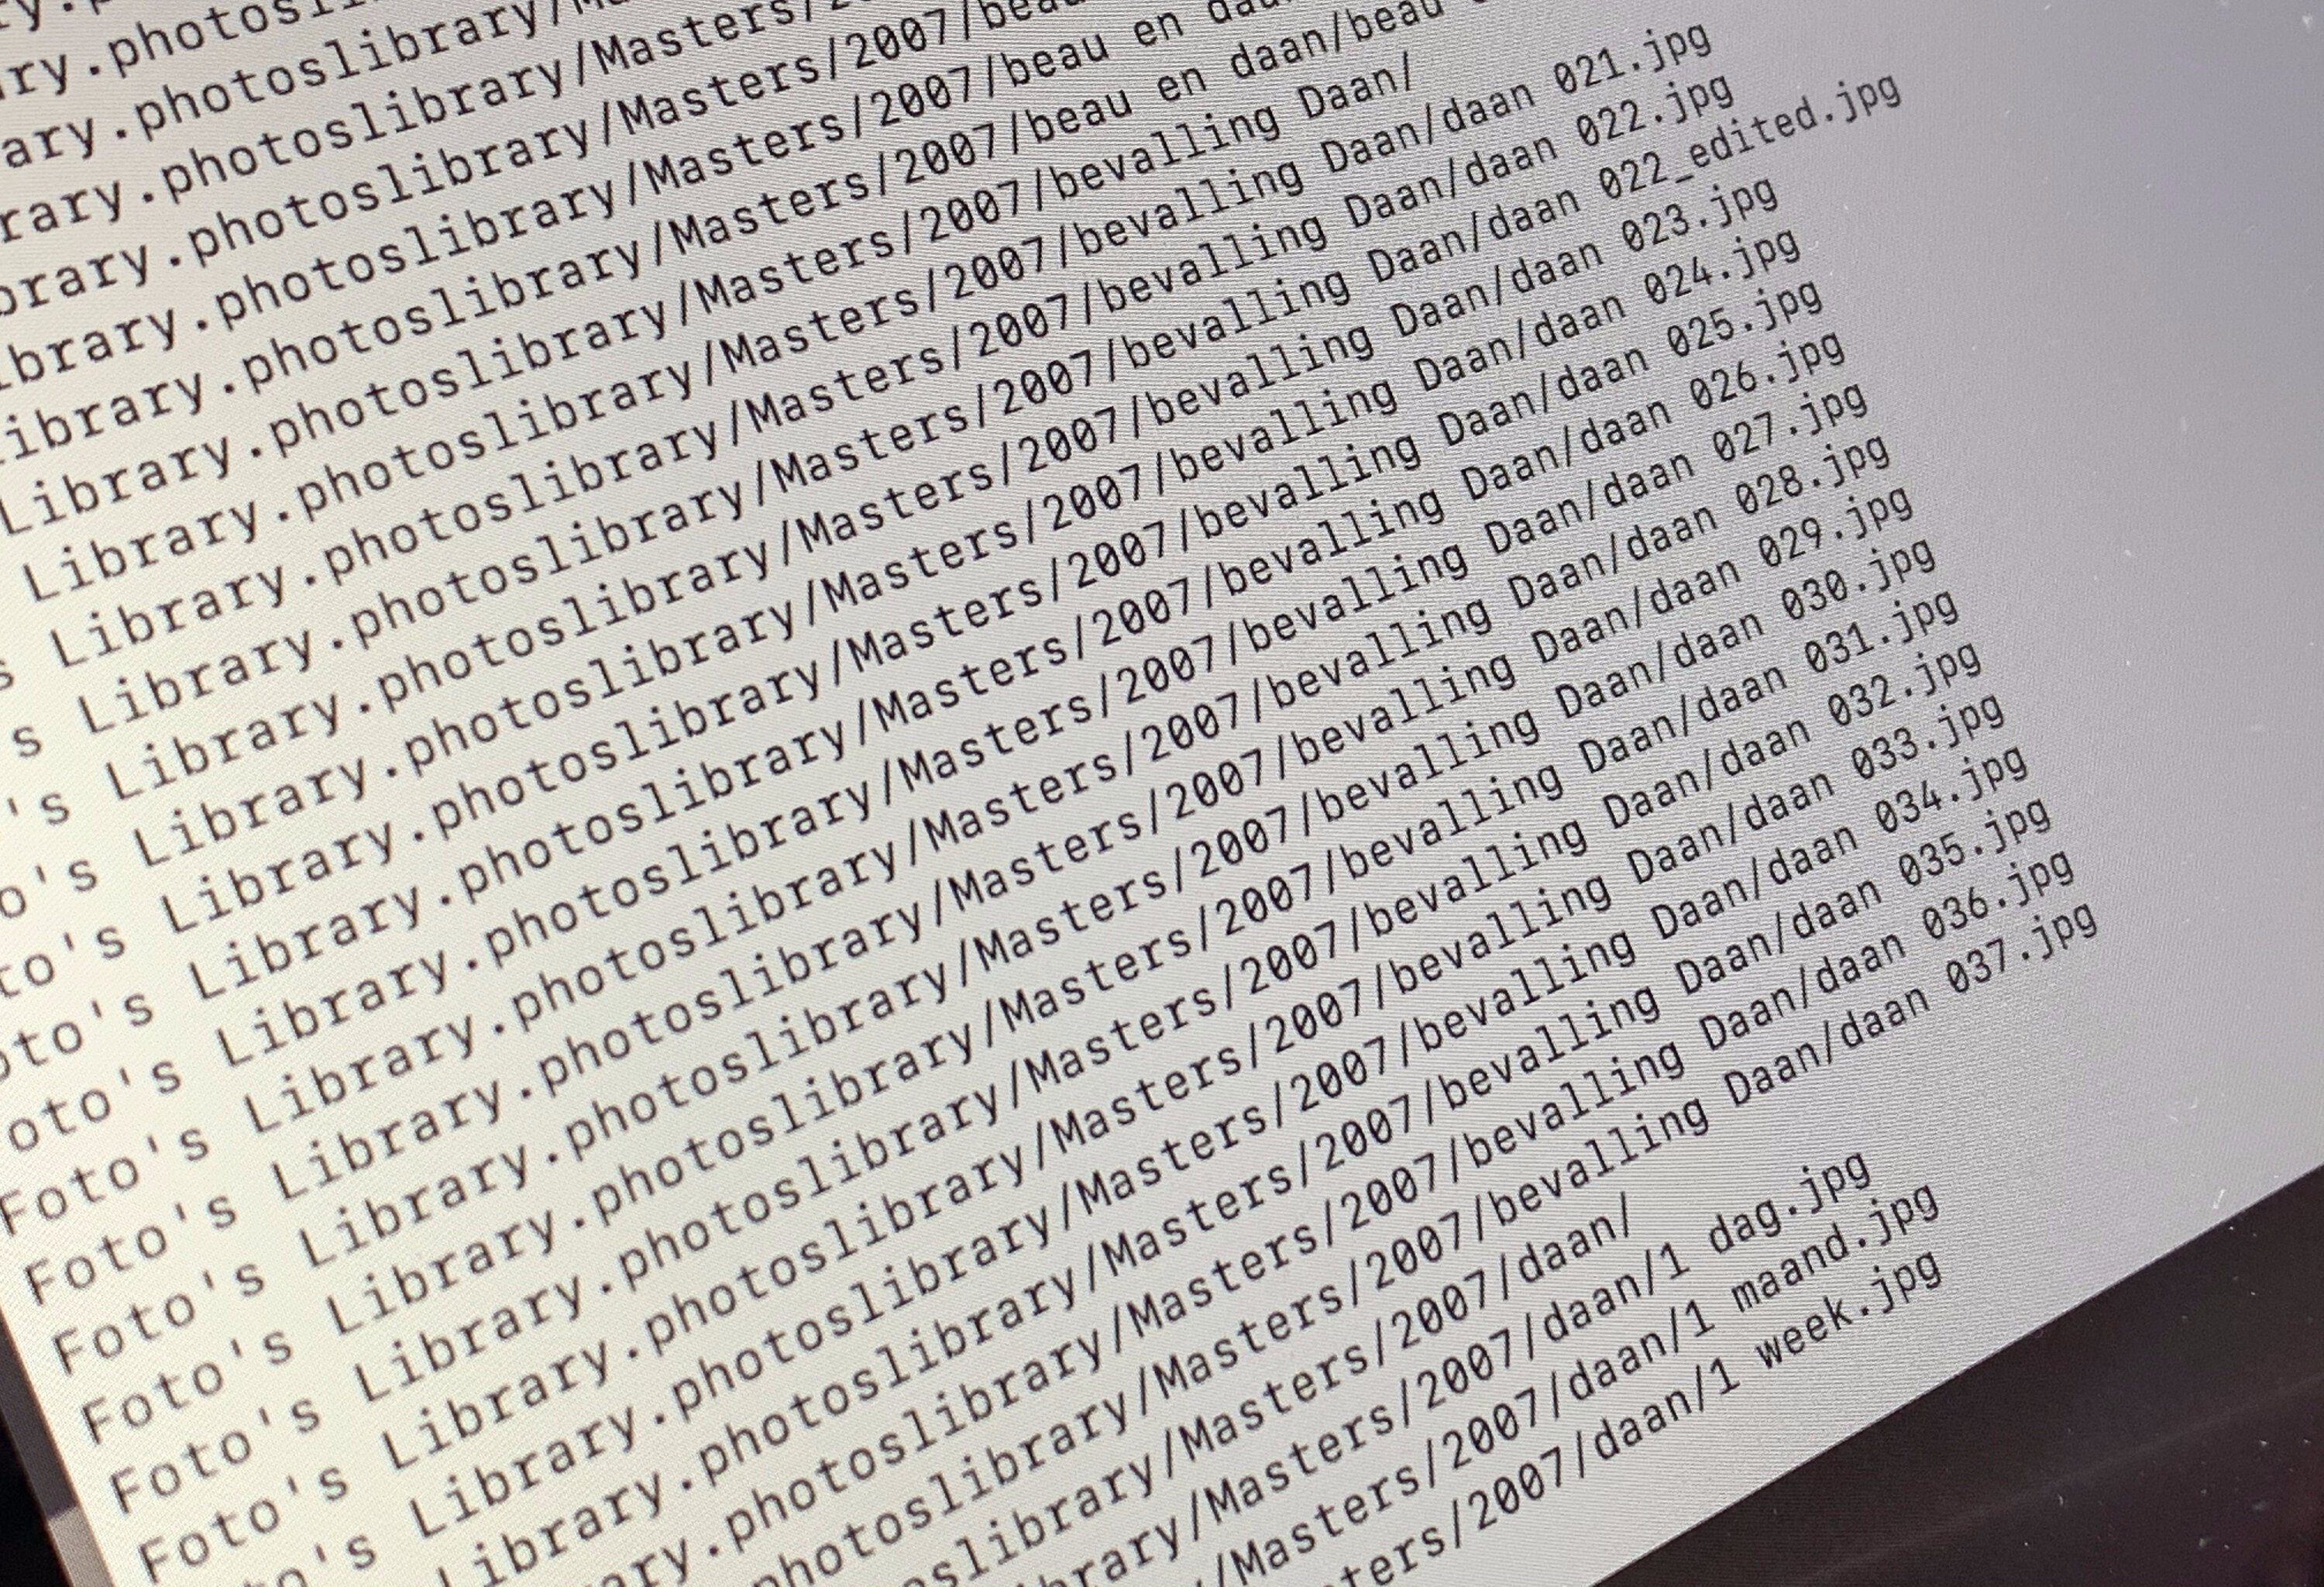
Things were looking great for the first years of photos, one by one the photos where copied onto the “rescue computer”. Depending on the disk’s condition, copying can take a long time - much longer than it would normally take. You should pay attention to the hard disk’s sound, if it starts making weird noises you might be running into trouble...

Suddenly the disk started to make weird rattling sounds, the copying stalled and errors appeared on my terminal window. I’ve hit a rough part on the disk. For a few moments I allowed the disk to attempt to read the damaged files, but to prevent it from damaging further I stopped the copy process.
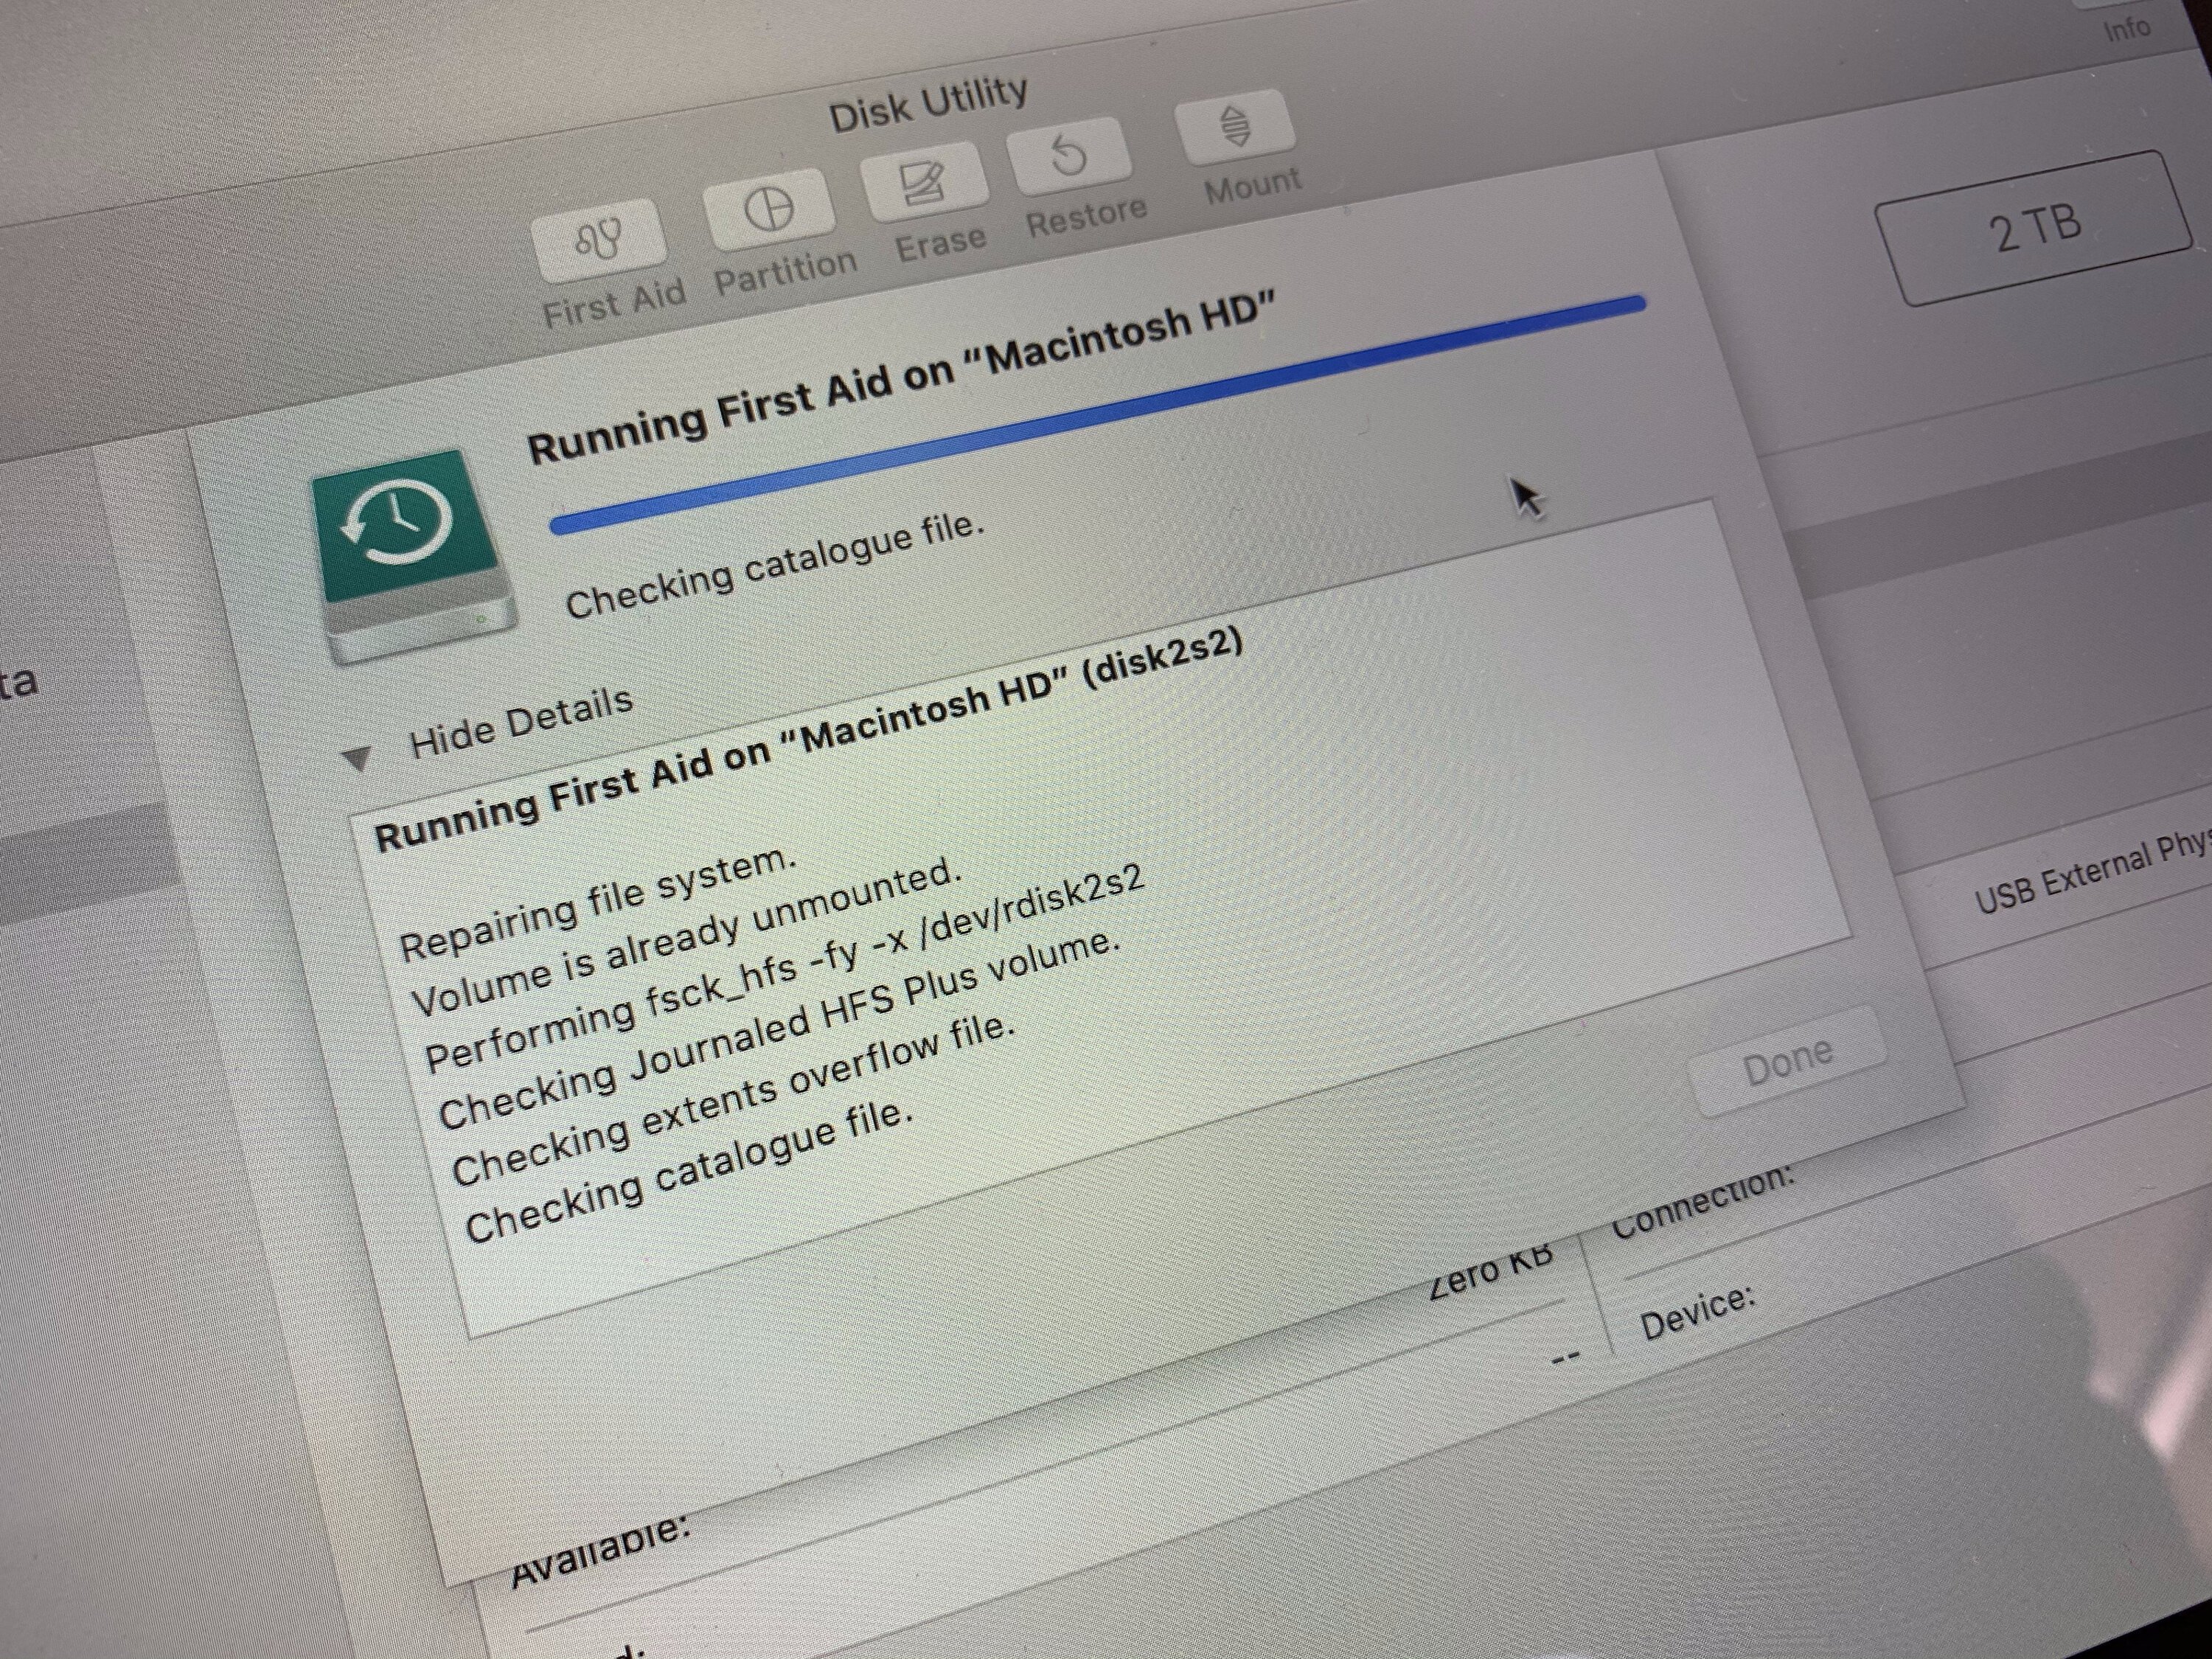
Using the Mac’s Disk Utility app I attempted to do a “First Aid” file system repair. Perhaps that the disk’s file mappings could be restored. Because I use “rsync” to copy the files, my next attempt would continue where it was previously interrupted. Unfortunately the First Aid did not repair the disk, the photos from September 2017 where still unreadable.
The next thing I tried was to tell my copy command (rsync) to skip the photos from September 2017. You can use the “--exclude” option from rsync to do this. Perhaps that the bad sectors on the disk where only affecting those photos, newer photos could possibly still be recovered.
Guess what? It worked! Copying continued without any trouble once I excluded the damaged photos from September 2017. Ultimately I was able to rescue all other photos! Not a bad yield: only one month of photos was unrecoverable from a collection of about 20 years!

Conclusion
Protect yourself from data loss by making decent backups! It is incredibly important, don’t wait for (hardware) trouble to surprise you unprepared.
Just don’t panic if you do happen to be struck with some bad luck. Using the right tools you might still be able to recover files from a faulty drive. If you don’t feel comfortable doing it yourself, find someone that can help you.
Download
If you enjoy reading offline, this article is available for download:
Translations
This article is available in the following languages:
RSS / Atom
Grab one of the feeds to stay up to date, the feeds contain the full posts: