Oct. 30, 2020
How to use rsync to make backups
Explaining a powerful file transfer tool
It is very important to make backups of your data, as you never know when disaster strikes! One powerful, cross platform, tool to help you achieve this is 'rsync'. In this post I'll explain why rsync is useful and how you can use it to set up your own backups.
Rsync
Ever since it was originally created in 1996 (by Andrew Tridgell and Paul Mackerras), rsync has grown to become a standard utility that is available on popular GNU/Linux distributions, Apple macOS, FreeBSD, NetBSD, OpenBSD and (through Cygwyn or WSL) on Windows.
Key features
Rsync is typically used for synchronising files and directories between two different computers. It can use SSH to connect to another computer and to transfer files. In addition to remote computers, you can use rsync to synchronise to external hard drives and network attached storage (NAS) drives. Rsync is popular because:
- It is licensed under the GNU General Public License, making it free software; both free as in "free speech" and "free beer"
- Rsync's algorithm is a type of delta encoding meaning that it minimises data / network traffic as it only copies the parts of the files that have changed. In addition, data can be compressed to even further optimise the file transfer traffic.
- It can resume interrupted transfers by using checksum verification. This allows rsync to detect errors when copying a file from one place to another. If two files differ by just one bit, their checksums would become different. Checksum verification is an efficient way to check that every byte was properly transferred to its destination.
Installing rsync
If you're on GNU/Linux, *BSD or Apple macOS you probably already have rsync installed. If you're on Windows you can look at the Windows Subsystem for Linux or WSL to get access to all the standard GNU/Linux tools. Alternatively to WSL, you can use Cygwin to install the large collection of GNU and Open Source tools on Windows.
Typical usage of rsync
Using rsync is done from the command line, or terminal. You run the 'rsync' command followed by (optional) flags, a source path and a destination path.

Using the -arvz flags you configure rsync to:
- a: "archive" mode which preserves permissions, created and last updated times
- r: "recursive" mode enables rsync to recursively synchronise subfolders inside the source/target directories
- v: "verbose" will enable more verbose output on the console, allowing you to track its progress, line by line
- z: "compress" will enable the compression of data as it is sent to the destination machine, which reduces the amount of data being transmitted, useful over slow or metered connections
- --delete: will enable files to be removed on the remote side if they are removed from the source directory. You should be careful with this option!
There are many other flags and options which allow you to customise the behaviour of rsync to your needs. You should check out the man page for rsync for a full list of all options.
How to use rsync to backup files
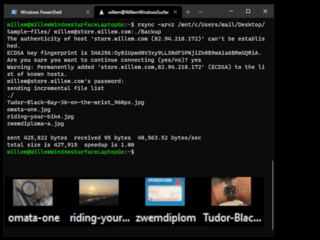
In the following example I'll use rsync to copy a directory ("Sample-Files") on my Windows 10 desktop to a remote server. I use WSL on Windows to have a working Debian_GNU/Linux environment in my Windows Terminal.
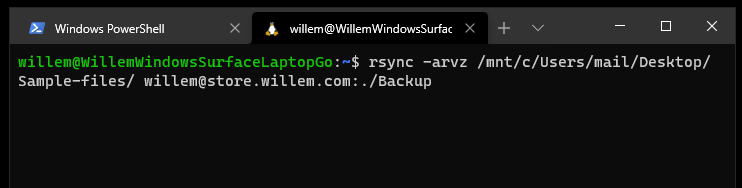
Let me explain the command that I use:
- rsync is the name of the program that I use
- -arvz are the flags that configure rsync to make an archived backup, including subdirectories and transfer data using compression
- /mnt/c/Users/mail/Desktop/Sample-files/ is the path to the source directory as seen through the WSL directory structure. It points to my Windows desktop (which is on the C: drive)
- willem @ store.willem.com:./Backup is the destination, which you should read as "user willem at the server 'store.willem.com'", and "on that server" use the "Backup" folder inside the "./" home directory of the "willem user".
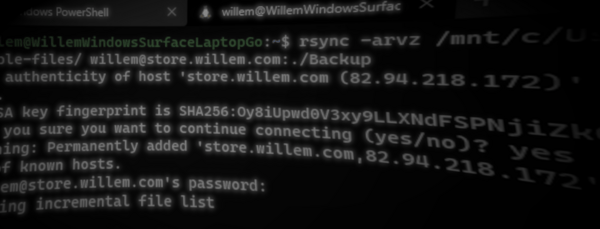
If you execute this command for the first time, the remote server's cryptographic fingerprint is shown. This is used to ensure that you're talking to your server. This prevents hackers to impersonate your server without you noticing (as the fingerprint is unique to your server. If rsync detects a change in this fingerprint, it will refuse to transfer files. This is critical as copying your backups to a random remote destination would be a potential risk for data leaks!
You're asked for your password if you're connecting over SSH without key-based authentication. This is fine if you intend to run your file transfer manually, but if you intend to automate transfers you might want to setup key-based authentication (using the handy command "ssh-copy-id"). You're computer will then be able to securely login to the remote machine without the need to enter a password manually.
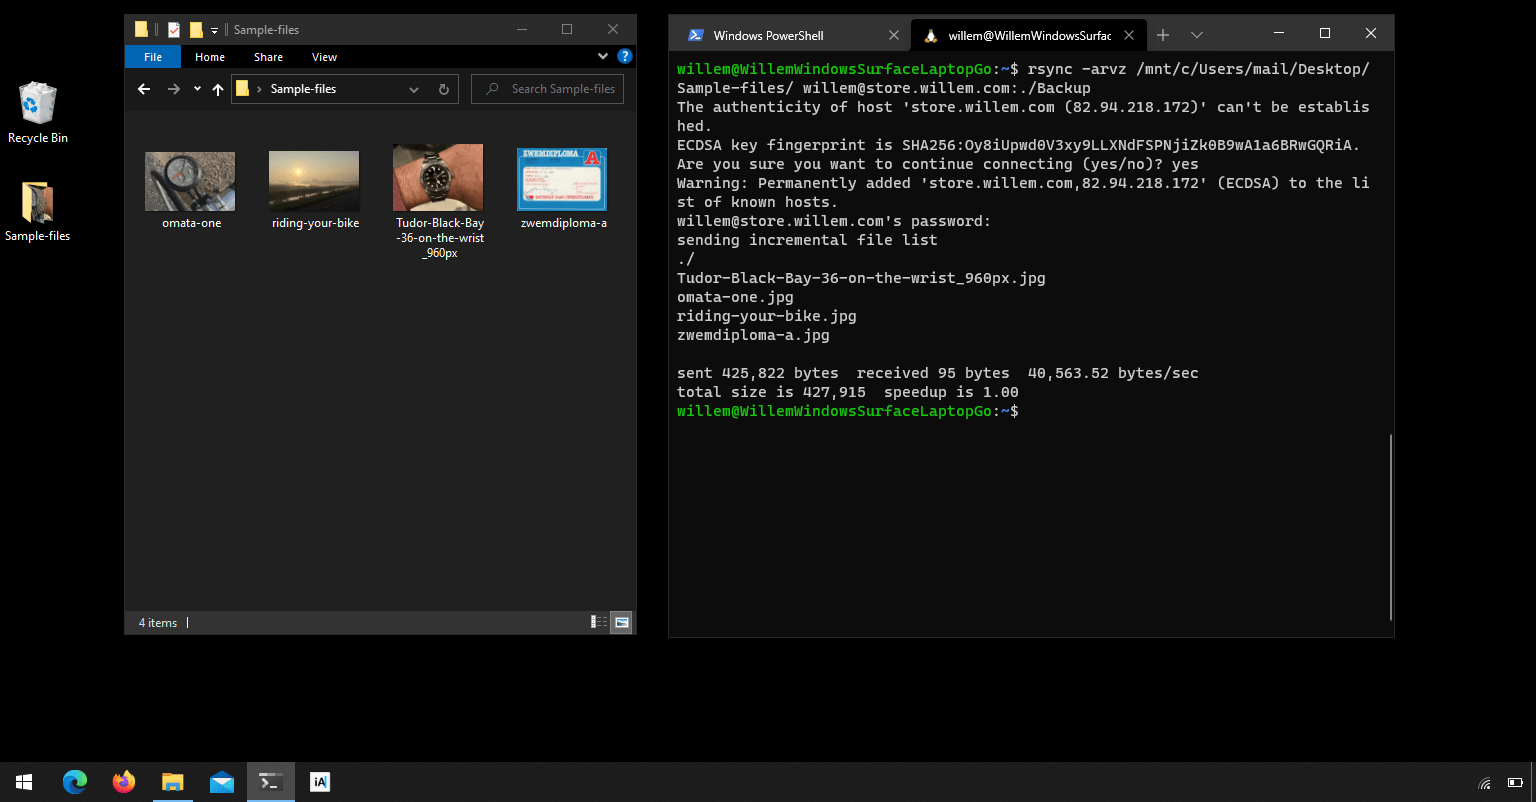
If rsync can connect successfully it will then continue to determine which files need to be transferred. If you have set the "-v" flag, you'll see the progress line by line. After the transfer is complete rsync will exit with a summary.
Incremental transfers
Rsync's party trick is that it fully supports incremental data transfers out of the box. If you have some new files and then run the same rsync command again, it will only transfer those files that are in need of transfer.
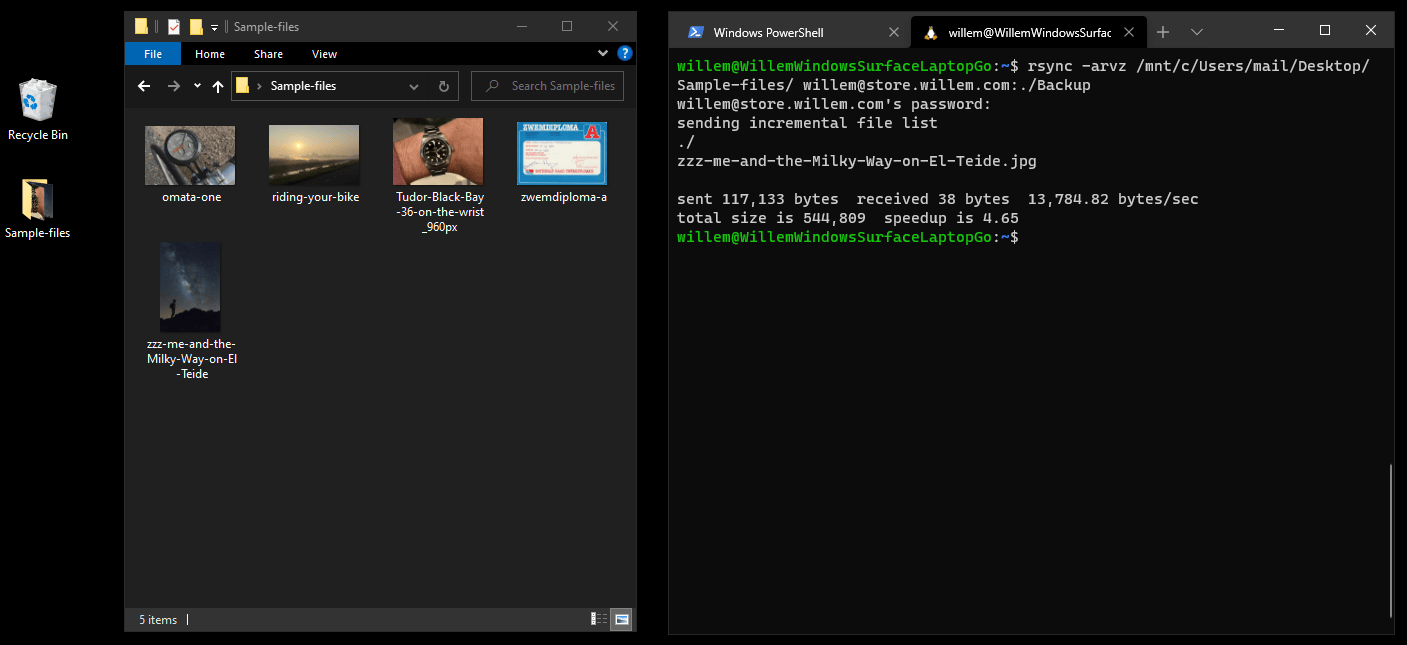
You can see in the screenshot that rsync automatically detected the new file. It only transferred that file to the remote server. Saving bandwidth, time and processing power. It works with new files and files that have been updated.
Optionally you can use the "--delete" flag to propagate local deletes to the target directory, creating a perfect mirror image of the local file structure. For backup purposes you might consider skipping this (as you might remove files unintentionally).
Automating transfers and backups
Because rsync is "just a terminal command" you can easily use it inside your own scripts. Think of a script as a collection of rsync commands that comprise a set of "source" and "destination" links between your files and their respective backup locations.
You can schedule your script to be executed automatically at a given day of the week and time of the day. On GNU/Linux, *BSD and macOS you can use cron to do this. On Windows you can use the "Task Scheduler" app.
Conclusion
With rsync you can transfer files from your computer to another system efficiently, securely and incrementally. It can be a crucial tool in your backup schedule.
It is free and widely available. Its performance and reliability are widely established. There really is no excuse for why you shouldn't setup your backups properly!
Download
If you enjoy reading offline, this article is available for download:
Translations
This article is available in the following languages:
RSS / Atom
Grab one of the feeds to stay up to date, the feeds contain the full posts: