Mar. 26, 2017
Repairing a Nintendo Gameboy Advance SP
Chip surgery to play classic Zelda
This month Nintendo released the Switch with Zelda "Breath of the Wild". The new console received positive reviews. The new Zelda game is amazing and can be played on-the-go, thanks to the portability of the Nintendo Switch. But it its hardly the first Nintendo device that features the mythical kingdom of Hyrule with Link and princess Zelda. I found an old Gameboy Advance, perfect for playing classic Zelda games... but it was in need for repair!
The Problem
When this Gameboy is squeezed (what happens during intense gameplay), the system suddenly resets... That is really annoying! (imaging fighting some bad ass boss, nearly winning and then BANG this happens)
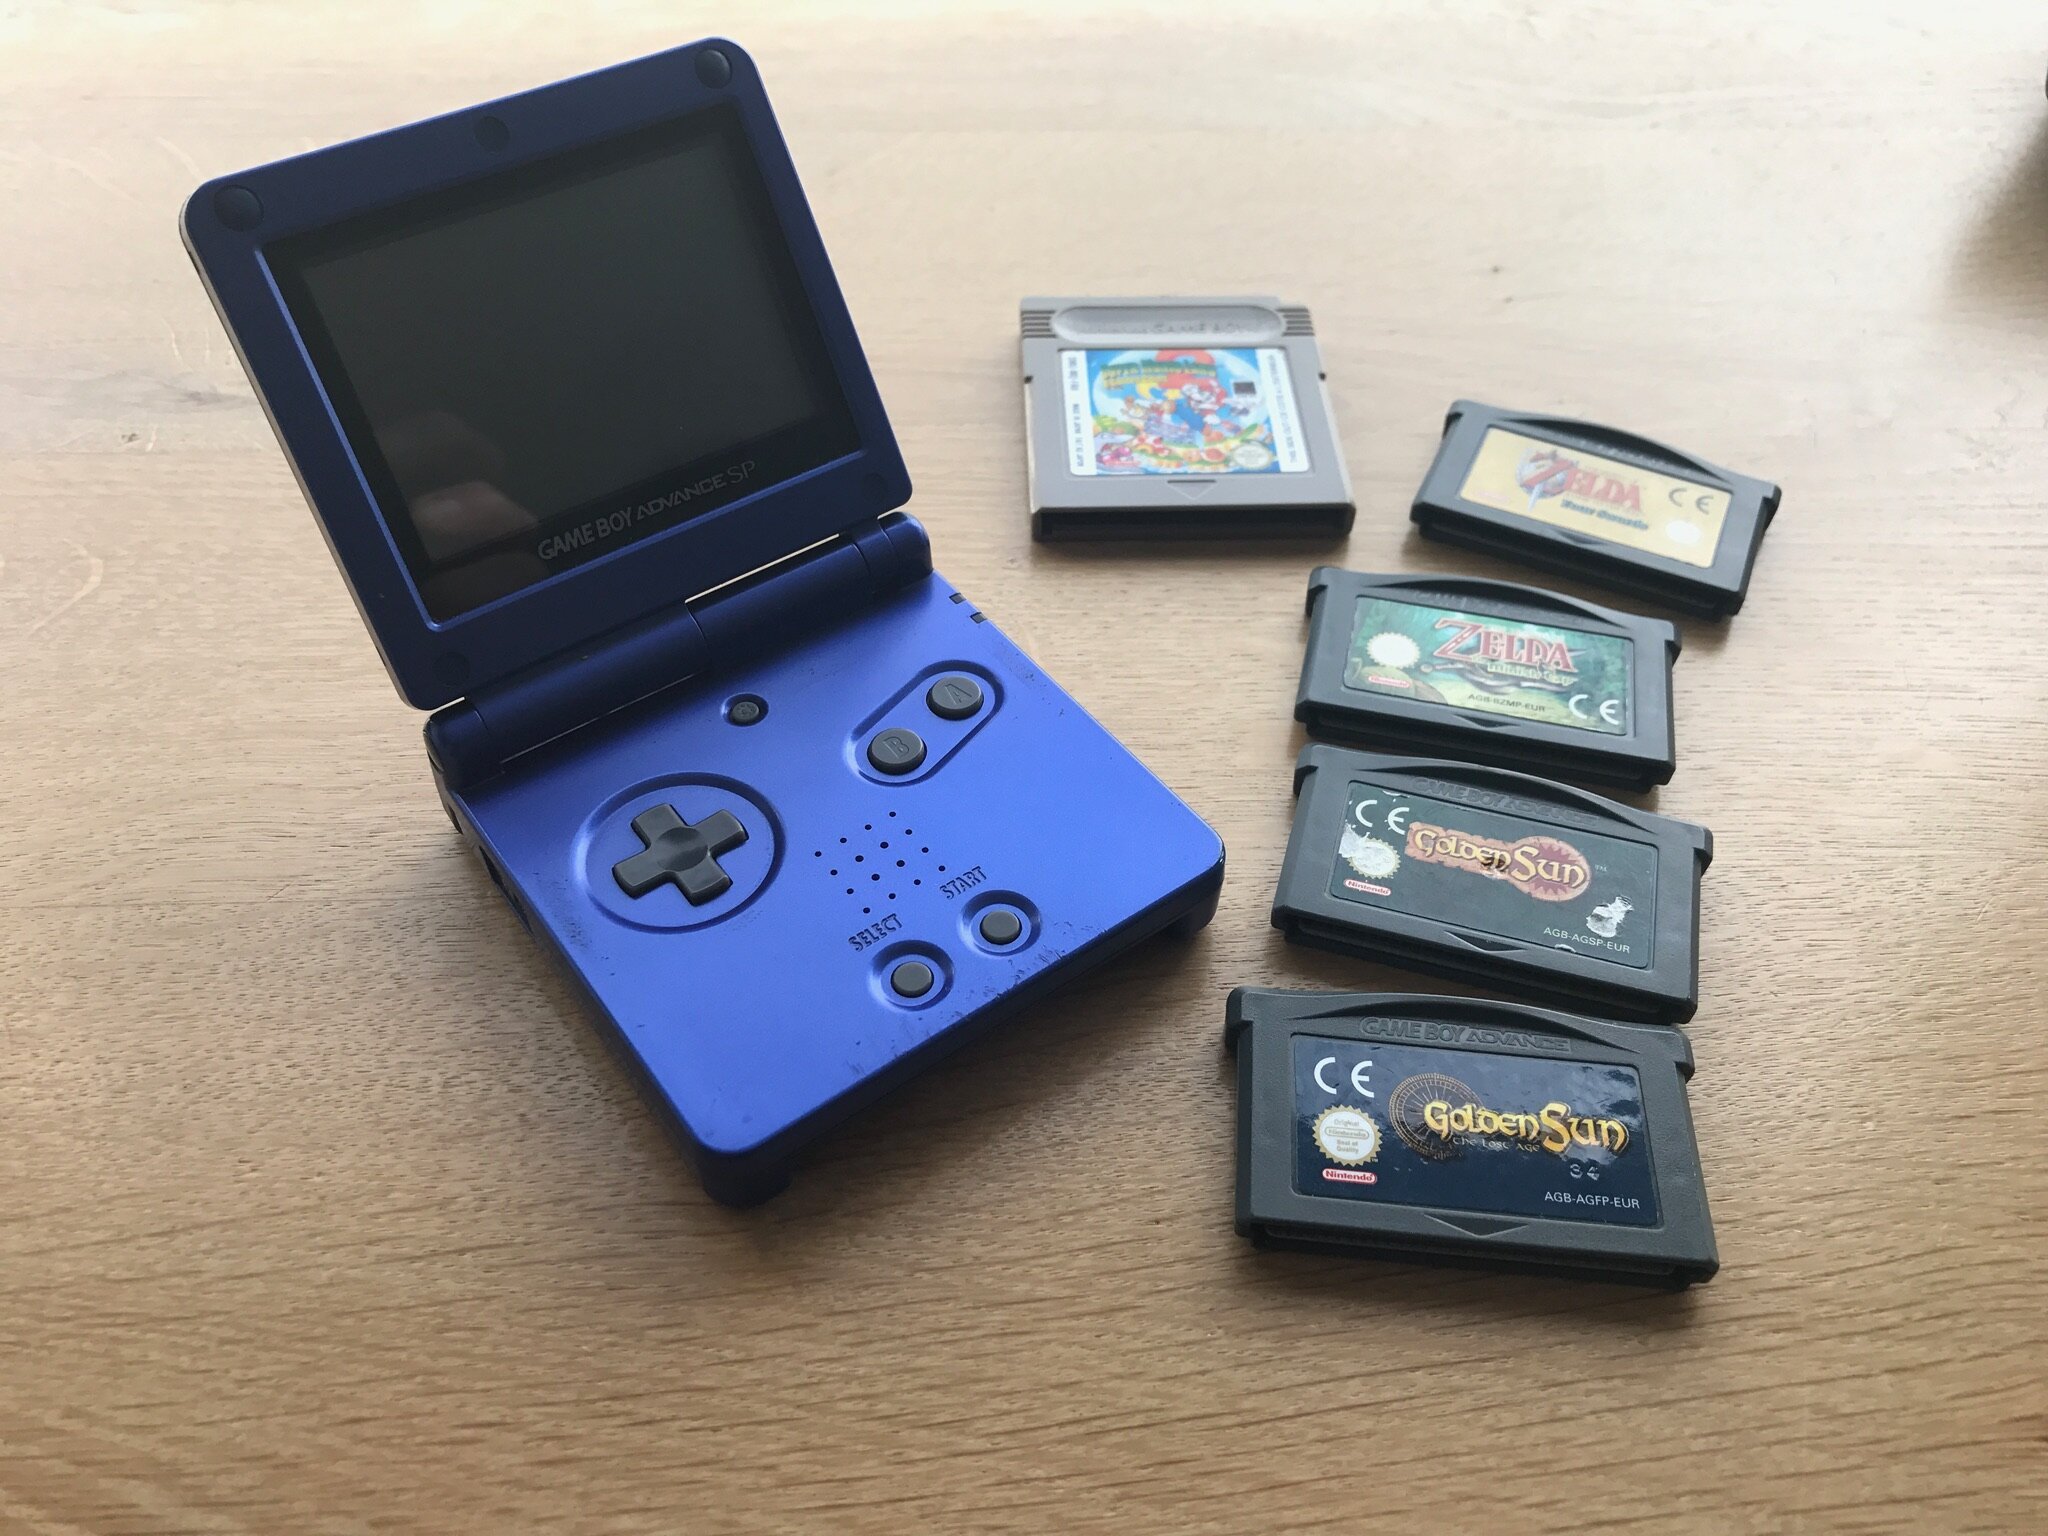
The Gameboy Advance was released in 2002 and was the first Nintendo handheld console that featured a display with light. And yet is is fully compatible with original Gameboy cartridges. It is the perfect machine to play classic Zelda games as many of the original NES titles have been made available as Gameboy Advance title.
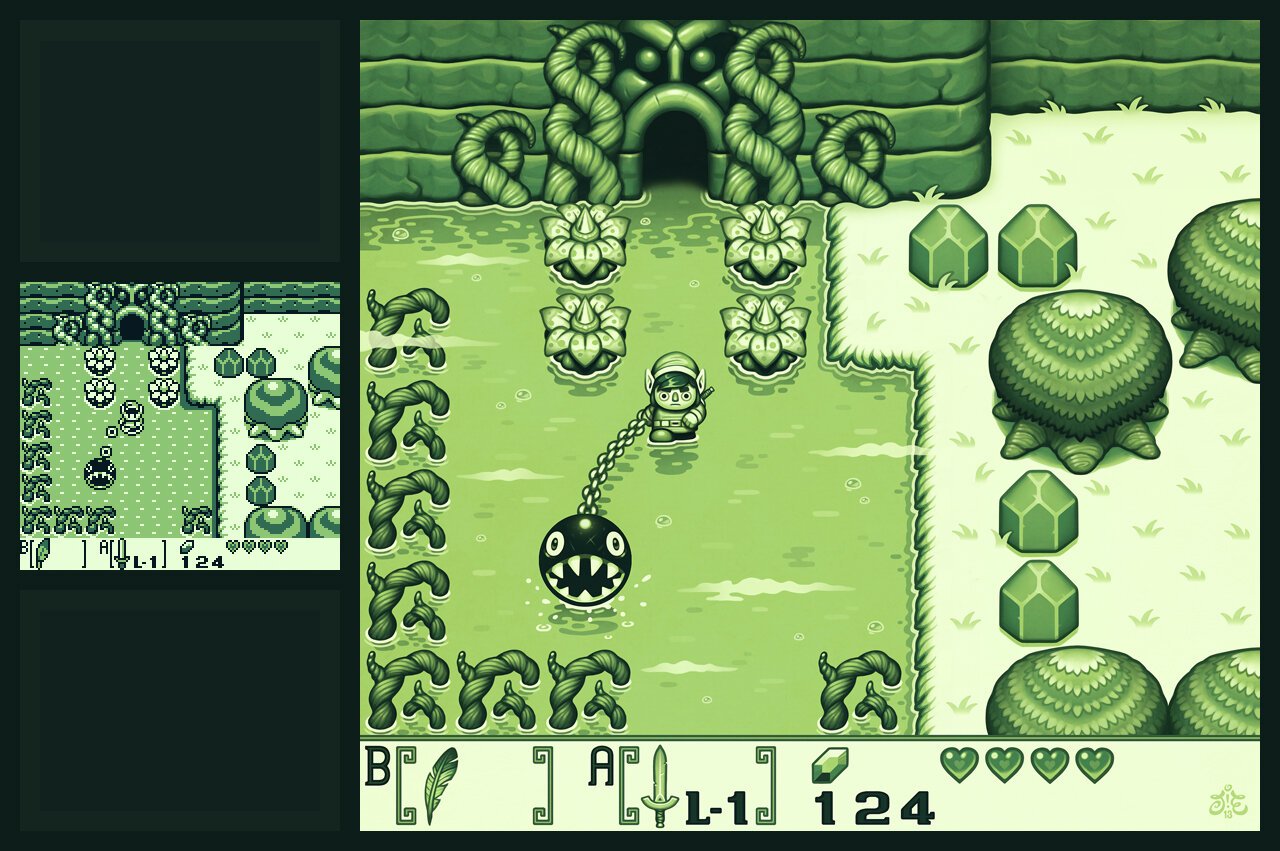
Why Zelda: Open world exploring and andventure
Ever since the first Zelda game in 1986 the game allows the player to freely explore an open world full of adventure. You decide where to go next and how to go there: walking (multiple routes), running, horse riding, swimming, sailing, warping and even time traveling. Along the way, the game surprises you with random challenges, interesting characters, secrets and puzzles. This really makes playing Zelda feel like a personalised adventure.

Repairing the Gameboy: replacing the logic board
Using some simple logic I determined that the Gameboy resets because something electrical fails. At first I suspected a faulty battery (contact), but the problem persisted checking the connection and replacing the battery. If it is not the battery, then it must be something else, but what?
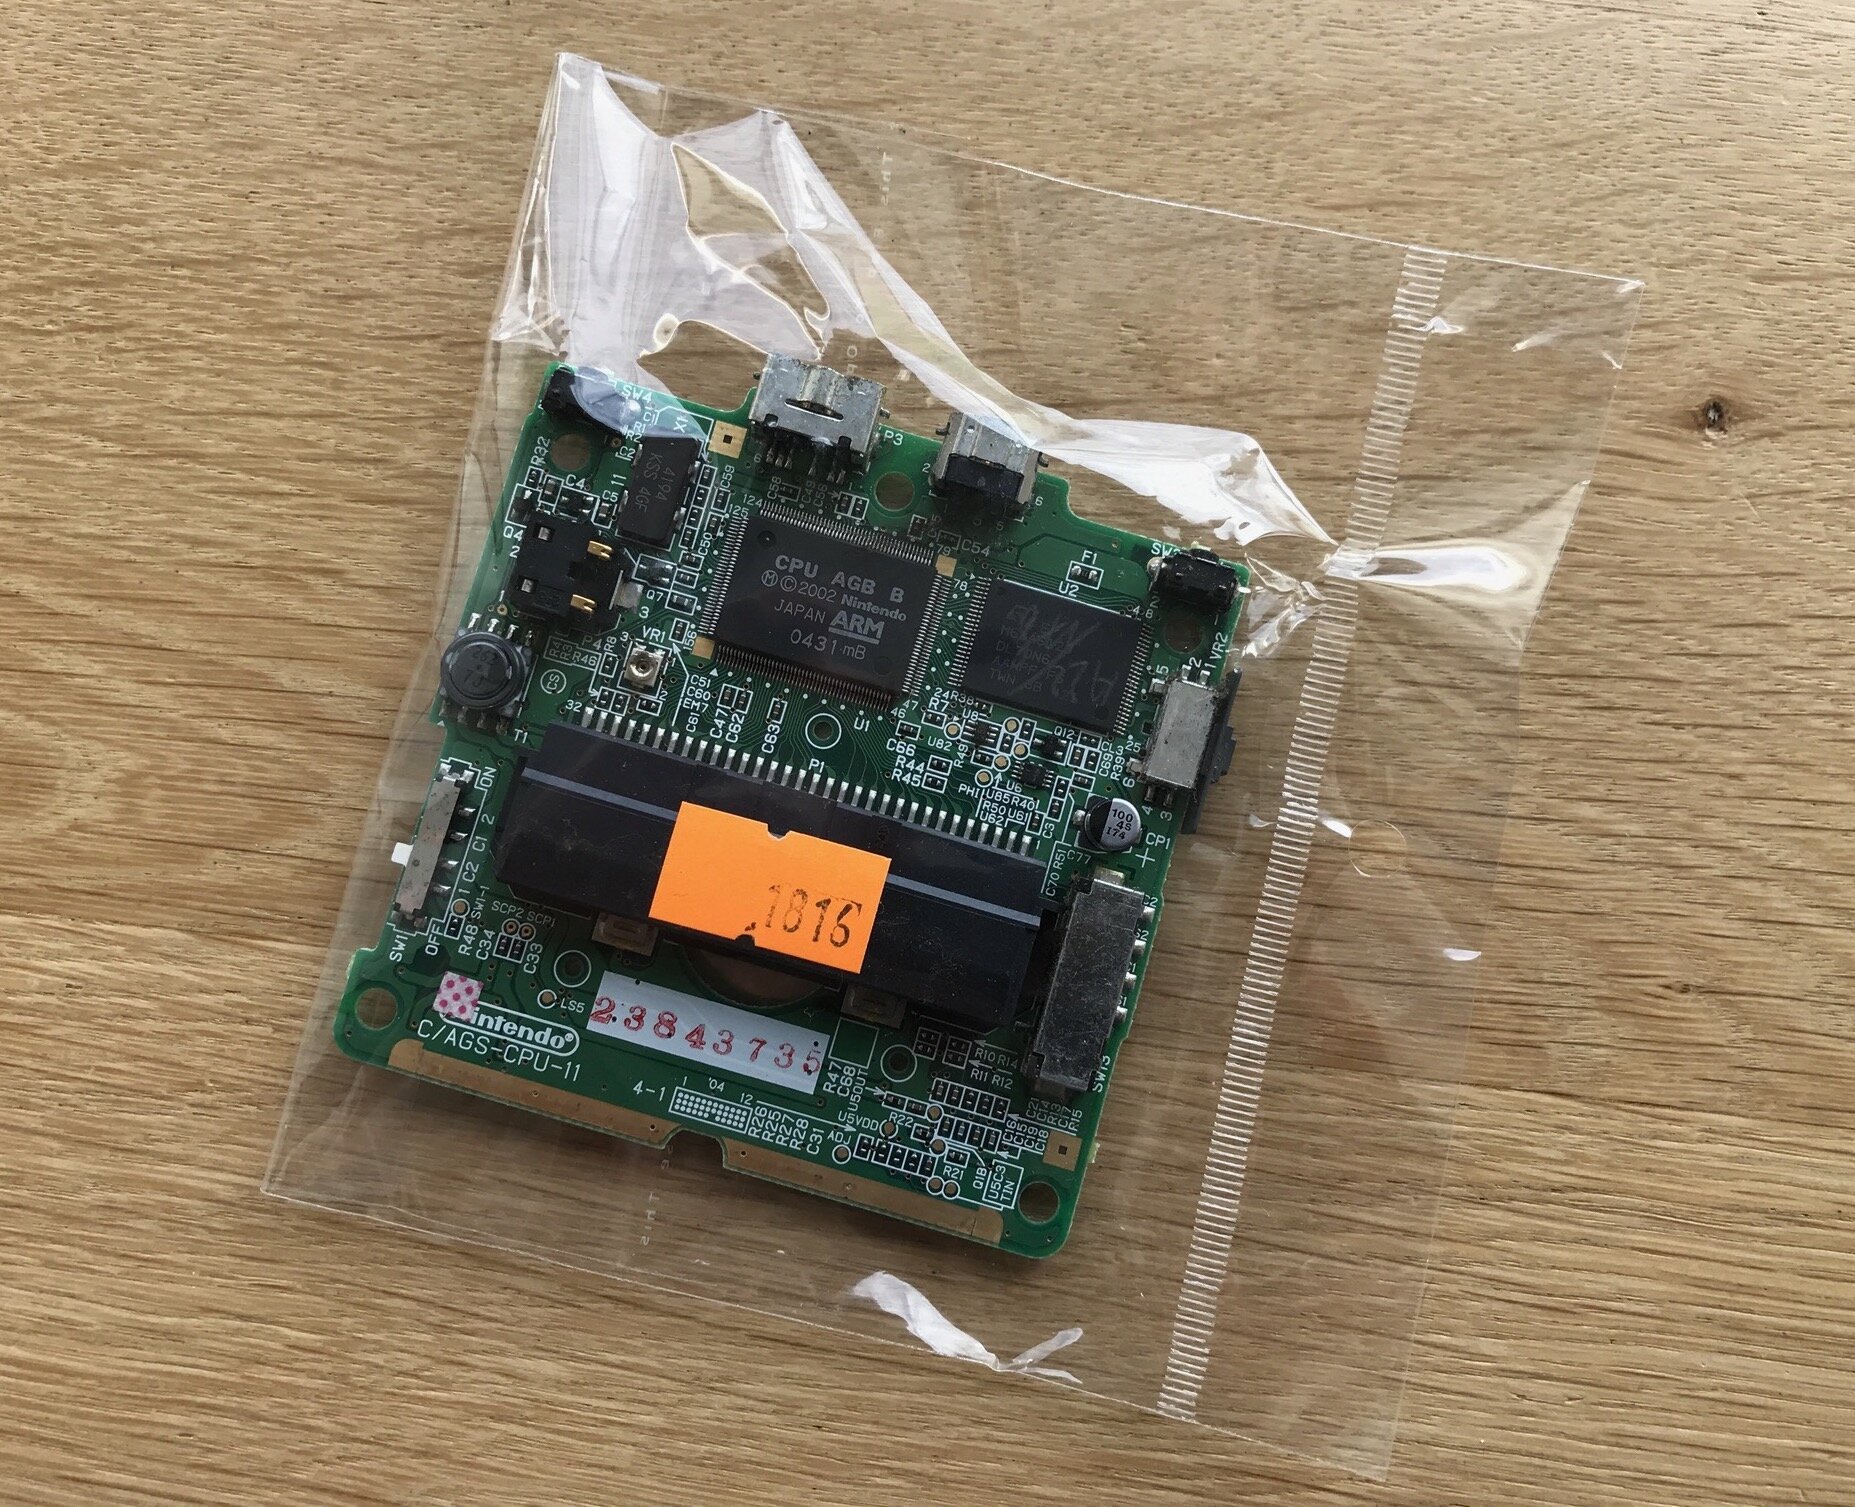
The Gameboy has very few parts, all the action is on one single chip: the logic board. I figured that if I replaced the logic board, the problem would be gone. Luckily original parts can be found easily through Ebay.
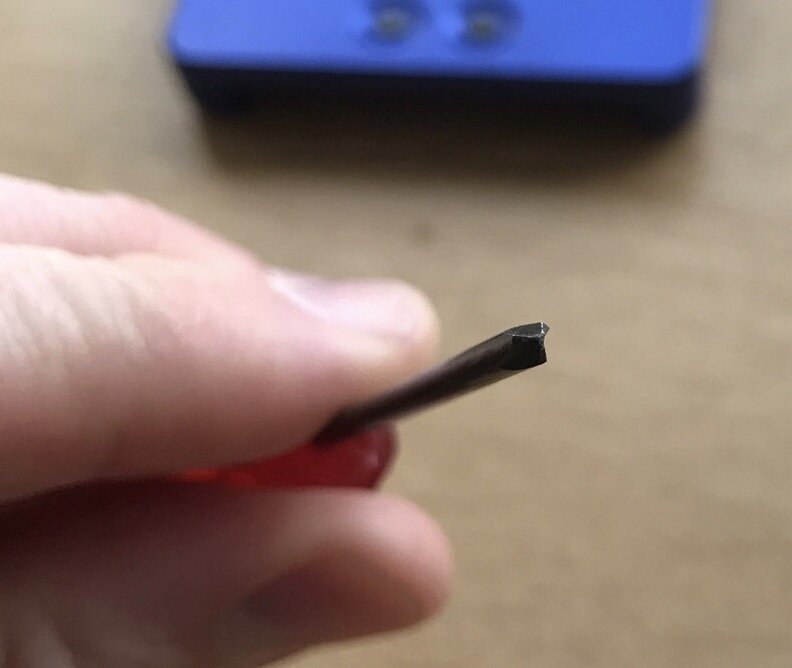
Nintendo prefers no tinkering with it's hardware so it uses special screws to keep people from opening the consoles. You really should use a tri-wing triangular screwdriver to open your Nintendo, using the wrong screwdriver will much likely damage the screws.
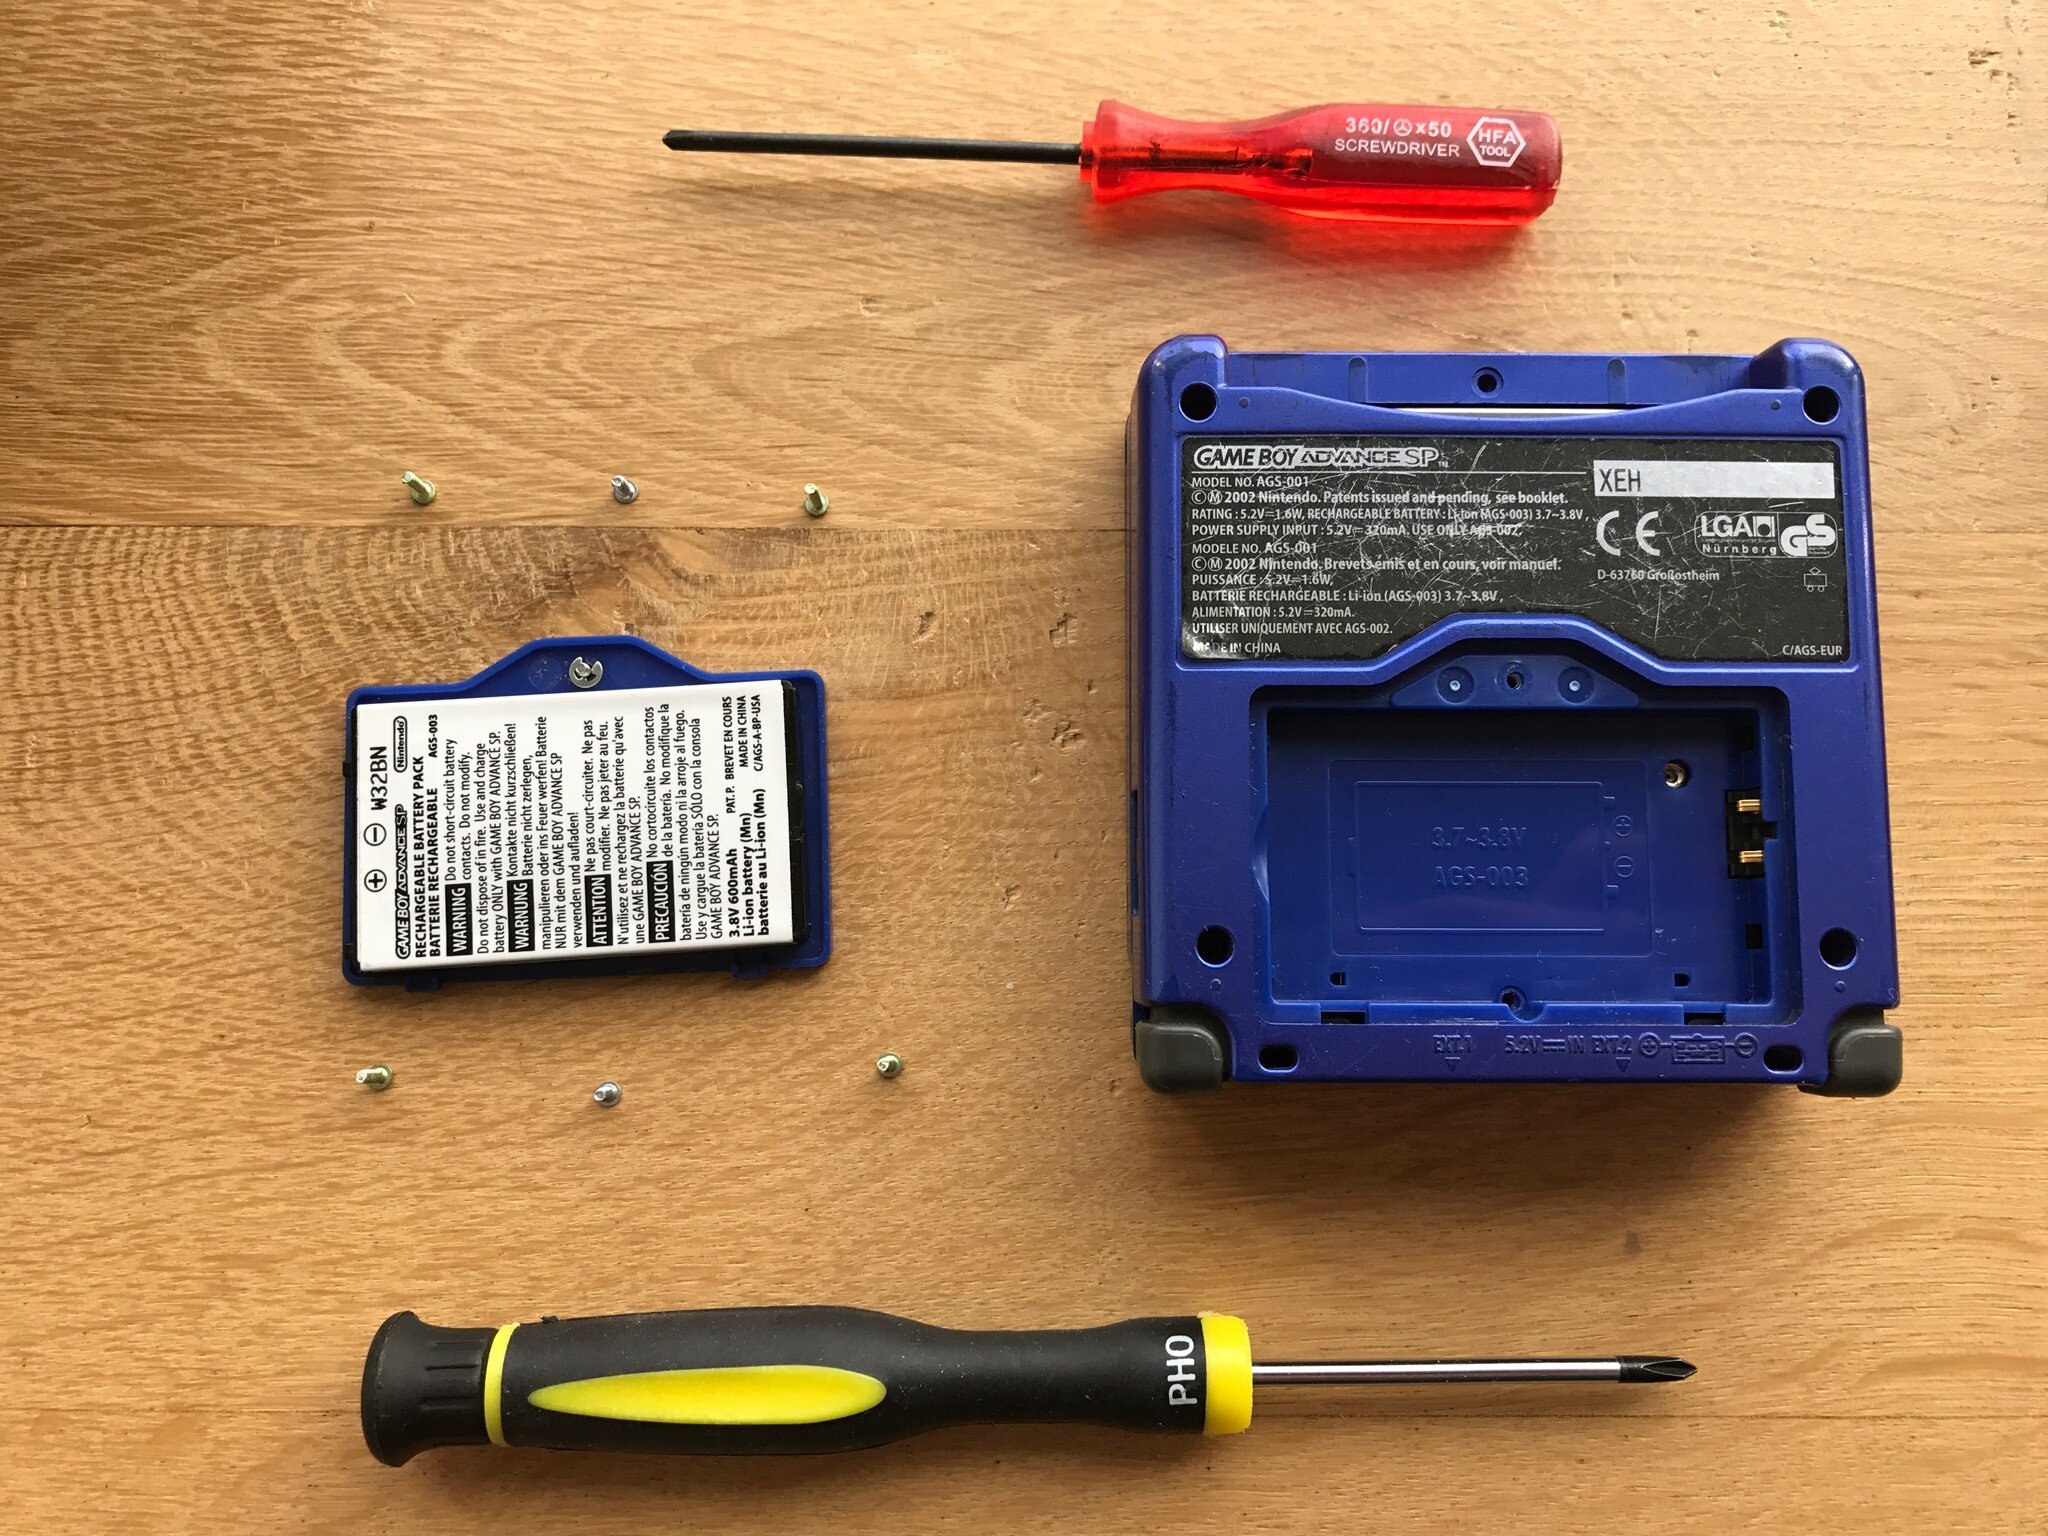
It is always good to keep track of individual screws when opening up electronic devices. Very often different screws (length, width) are used in specific positions. I learned this the hard way when opening up an Apple PowerBook G4 (a laptop that contained more than 50 screws...). I arranged the screws around the battery - something that I can easily recognise.
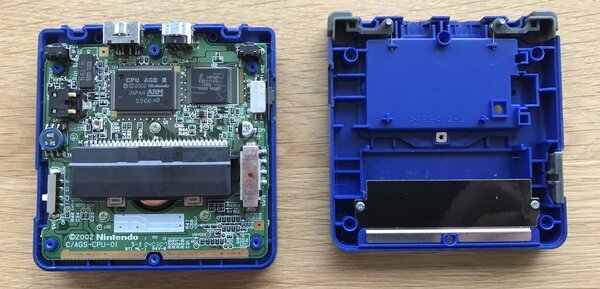
After removing the screws, carefully remove the rear cover. Pay special attention to the shoulder (L/R) and power buttons.
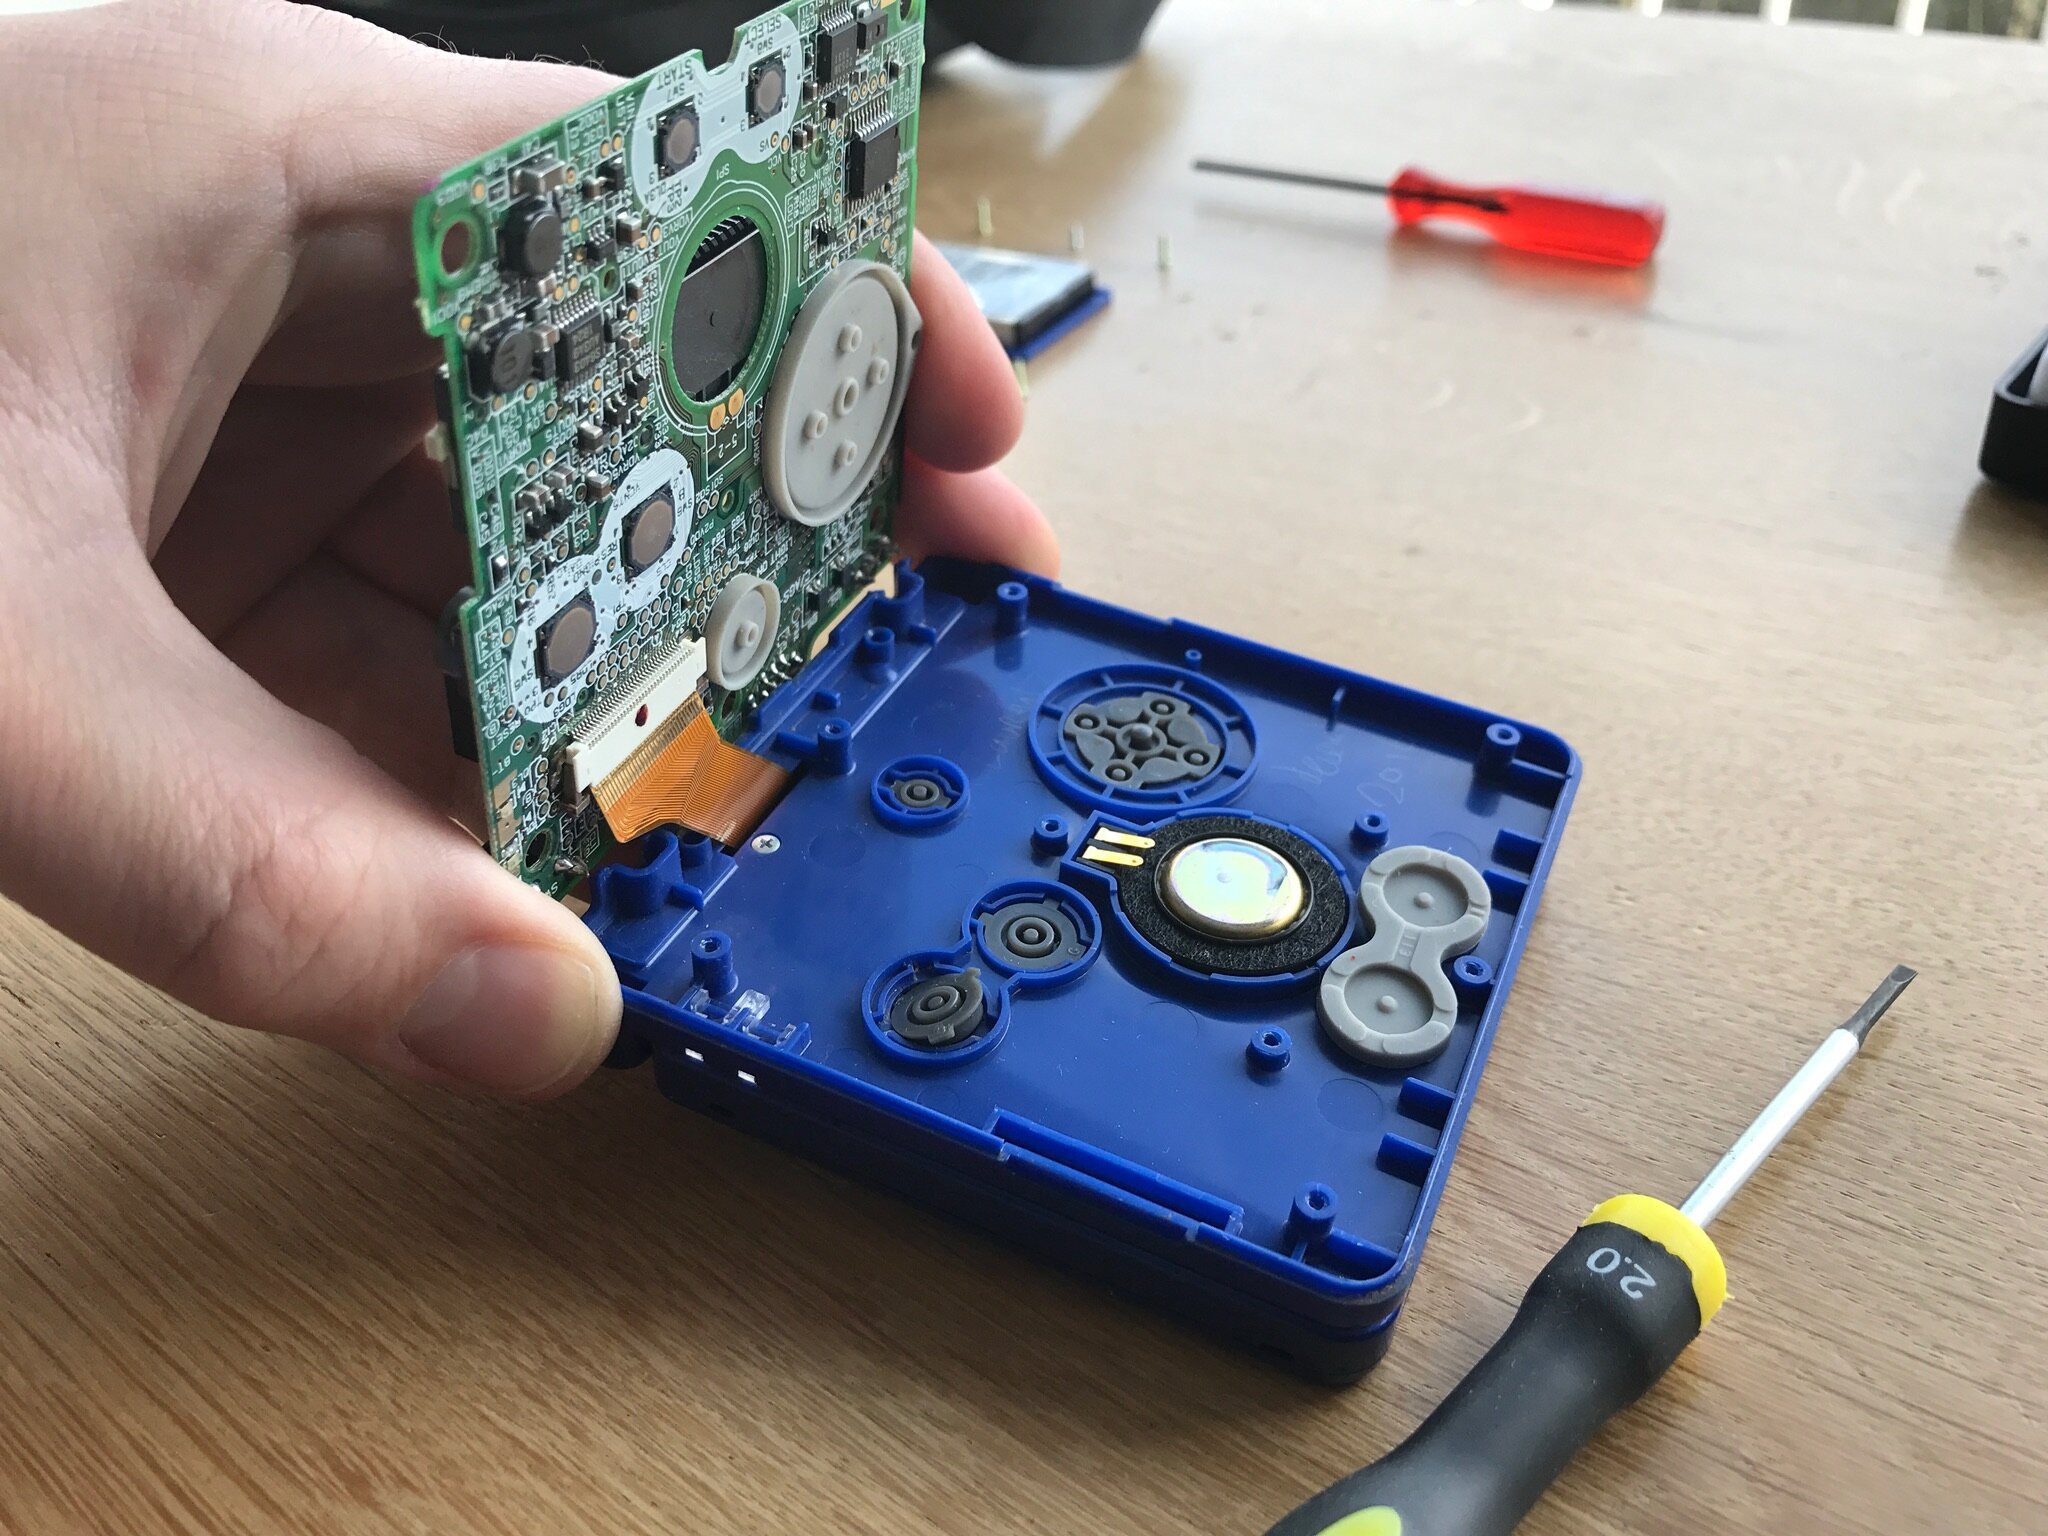
Lifting the logic board from the Gameboy, be very careful with the flat cable connecting the logic board to the display. It is secured using two tiny plastic 'flips'. Make sure to remember what logic board is the faulty one... and what is the new one. :-)
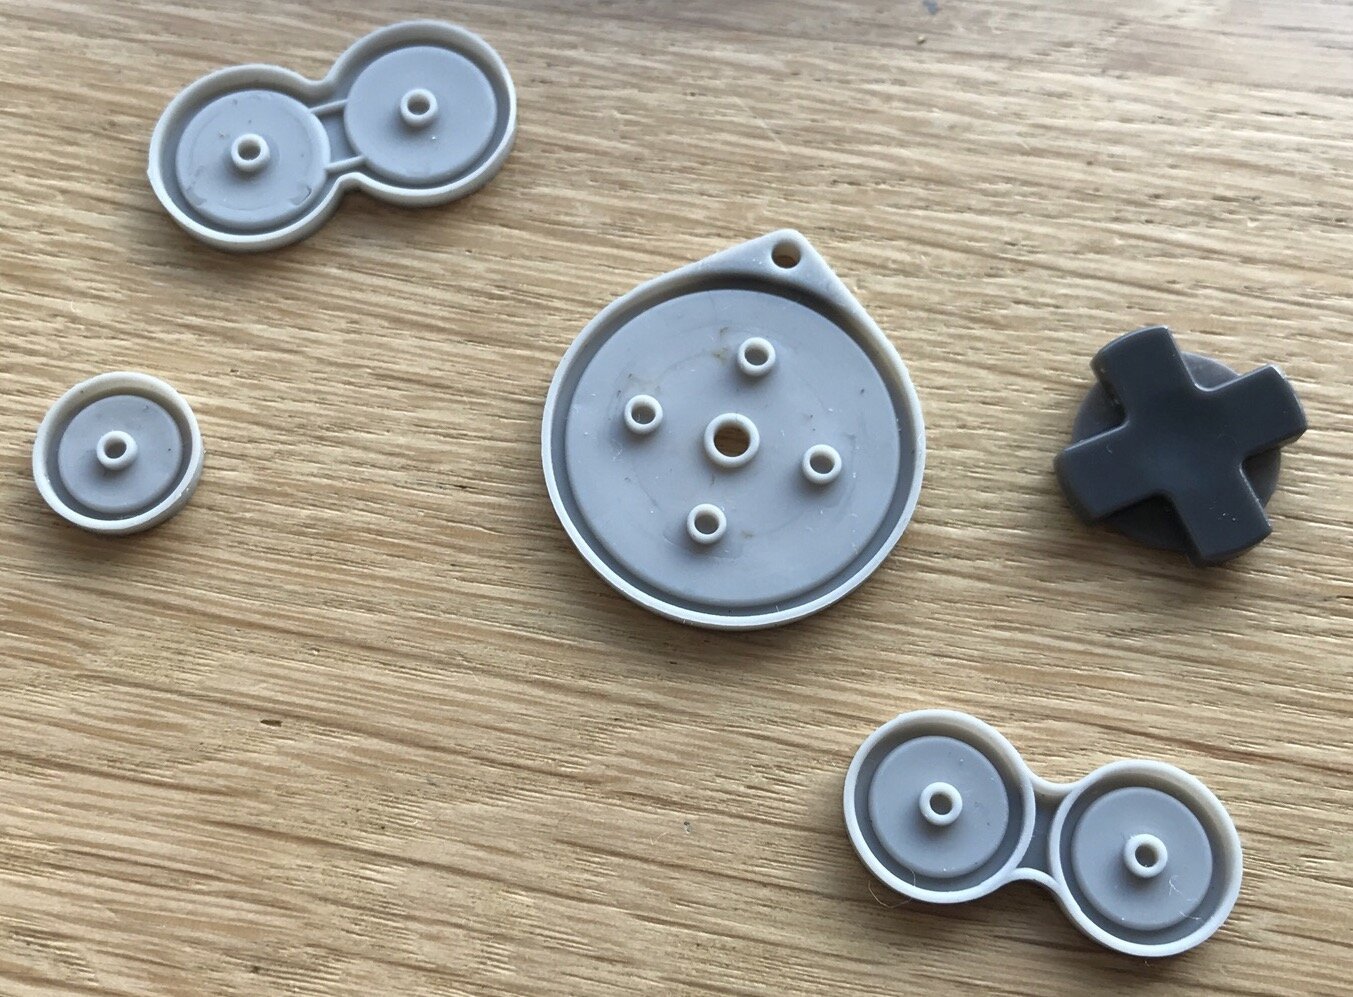
This is an excellent time to remove the buttons from the Gameboy and have them cleaned. Over time they collect dirt and cleaning them is an extra bonus.
I cleaned mine using some water with dish washing soap. Make sure to dry them thoroughly before placing them back!
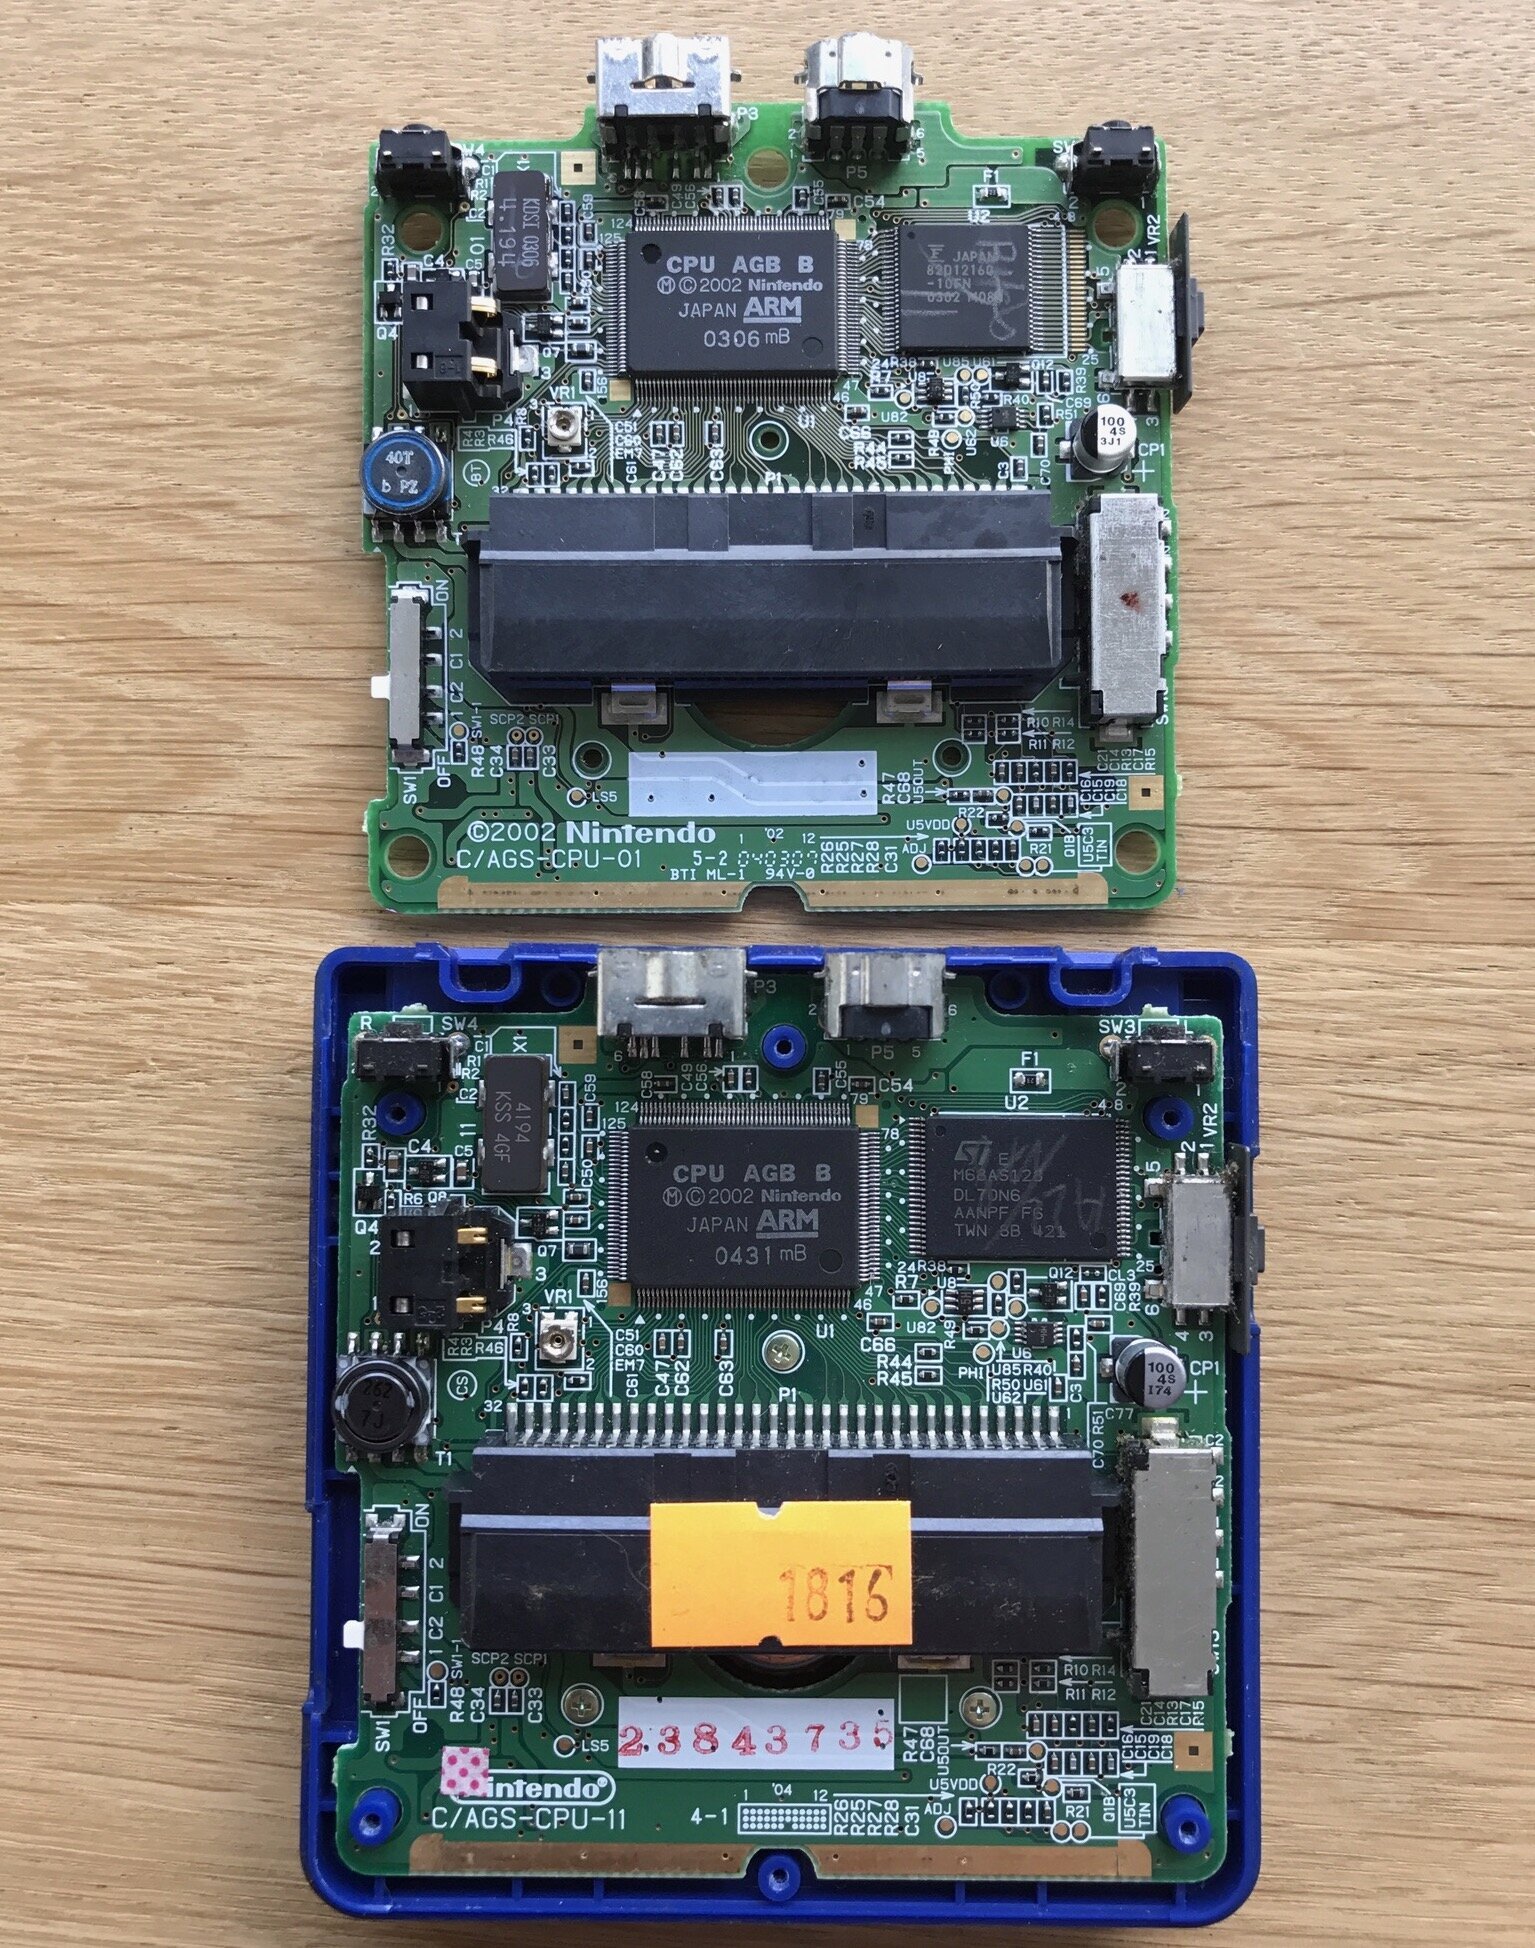
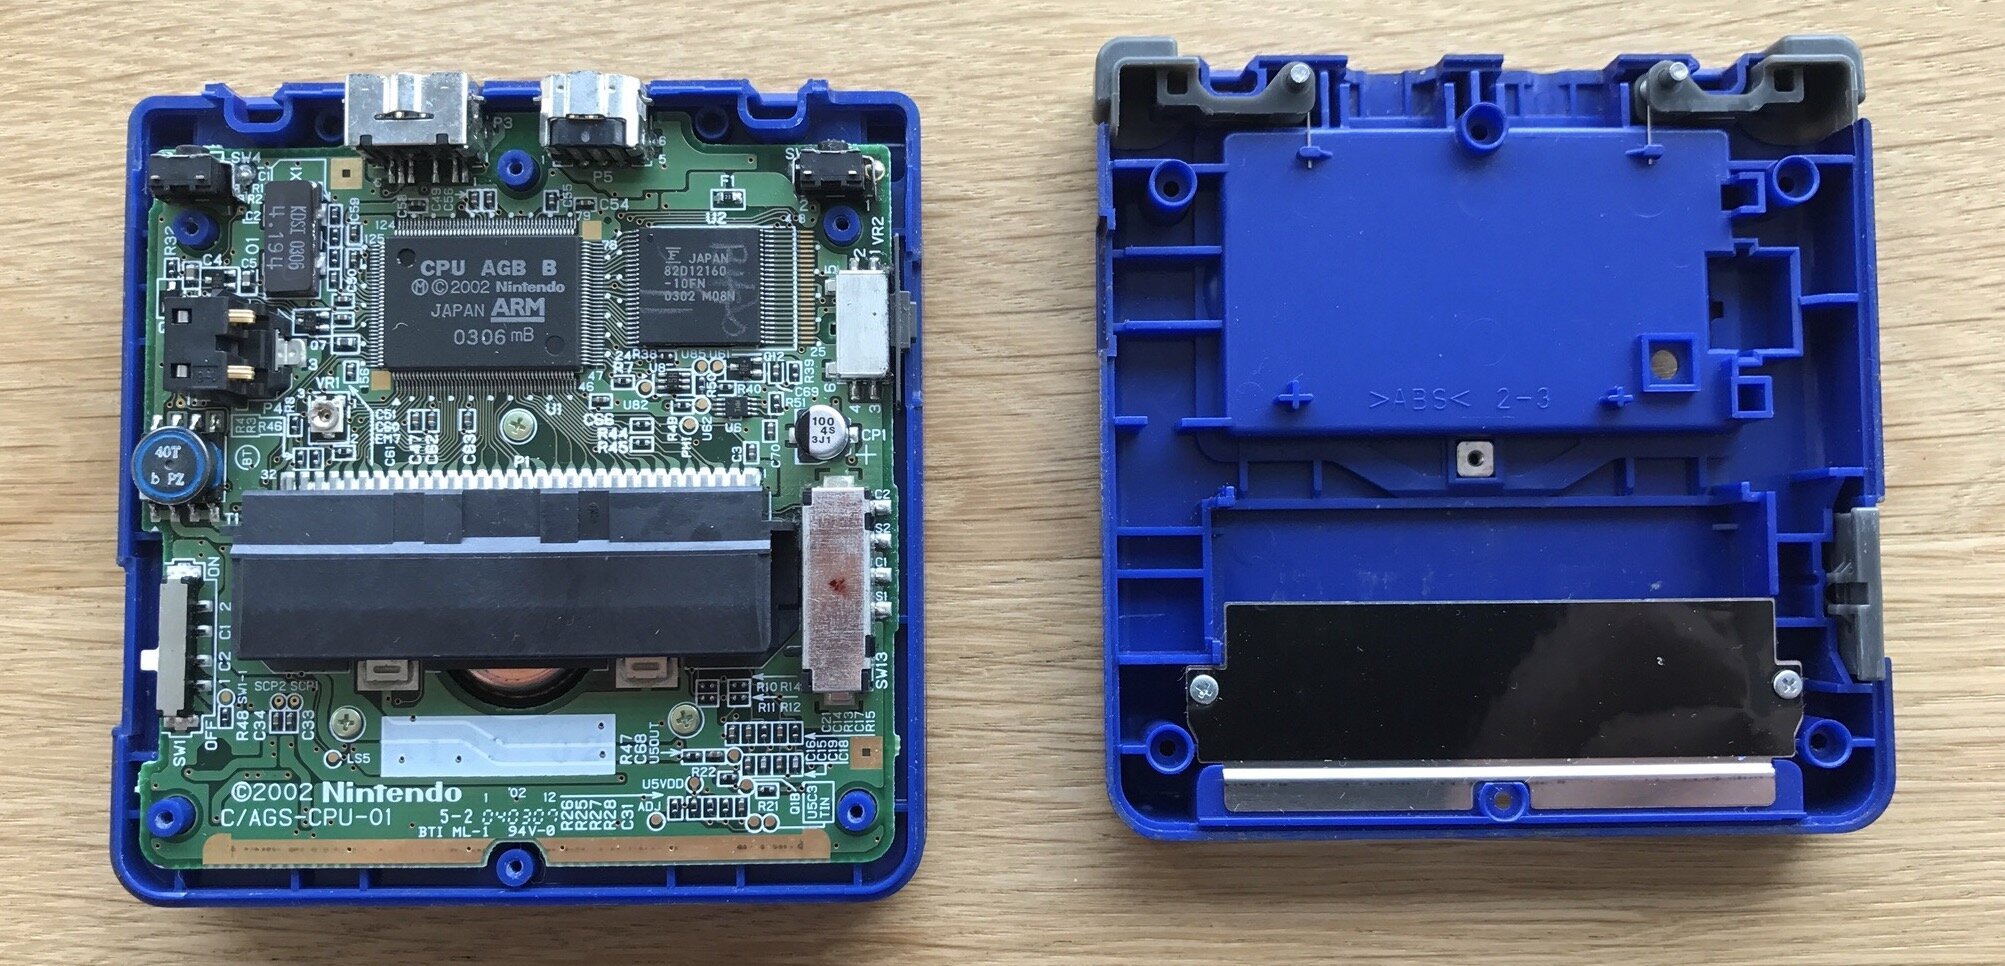
My replacement logic board appears to have a slightly different CPU. You can see this by the differences in reference numbers on the logic board. My replacement seems to have a higher CPU revision number, indicating a newer board. It is not uncommon that game hardware evolves during the lifecycle of a game console, but fortunately it doesn't affect gameplay whether or not you have newer logic board.
After reinstalling the logic board, make sure to secure the flat cable, buttons and screws back again.
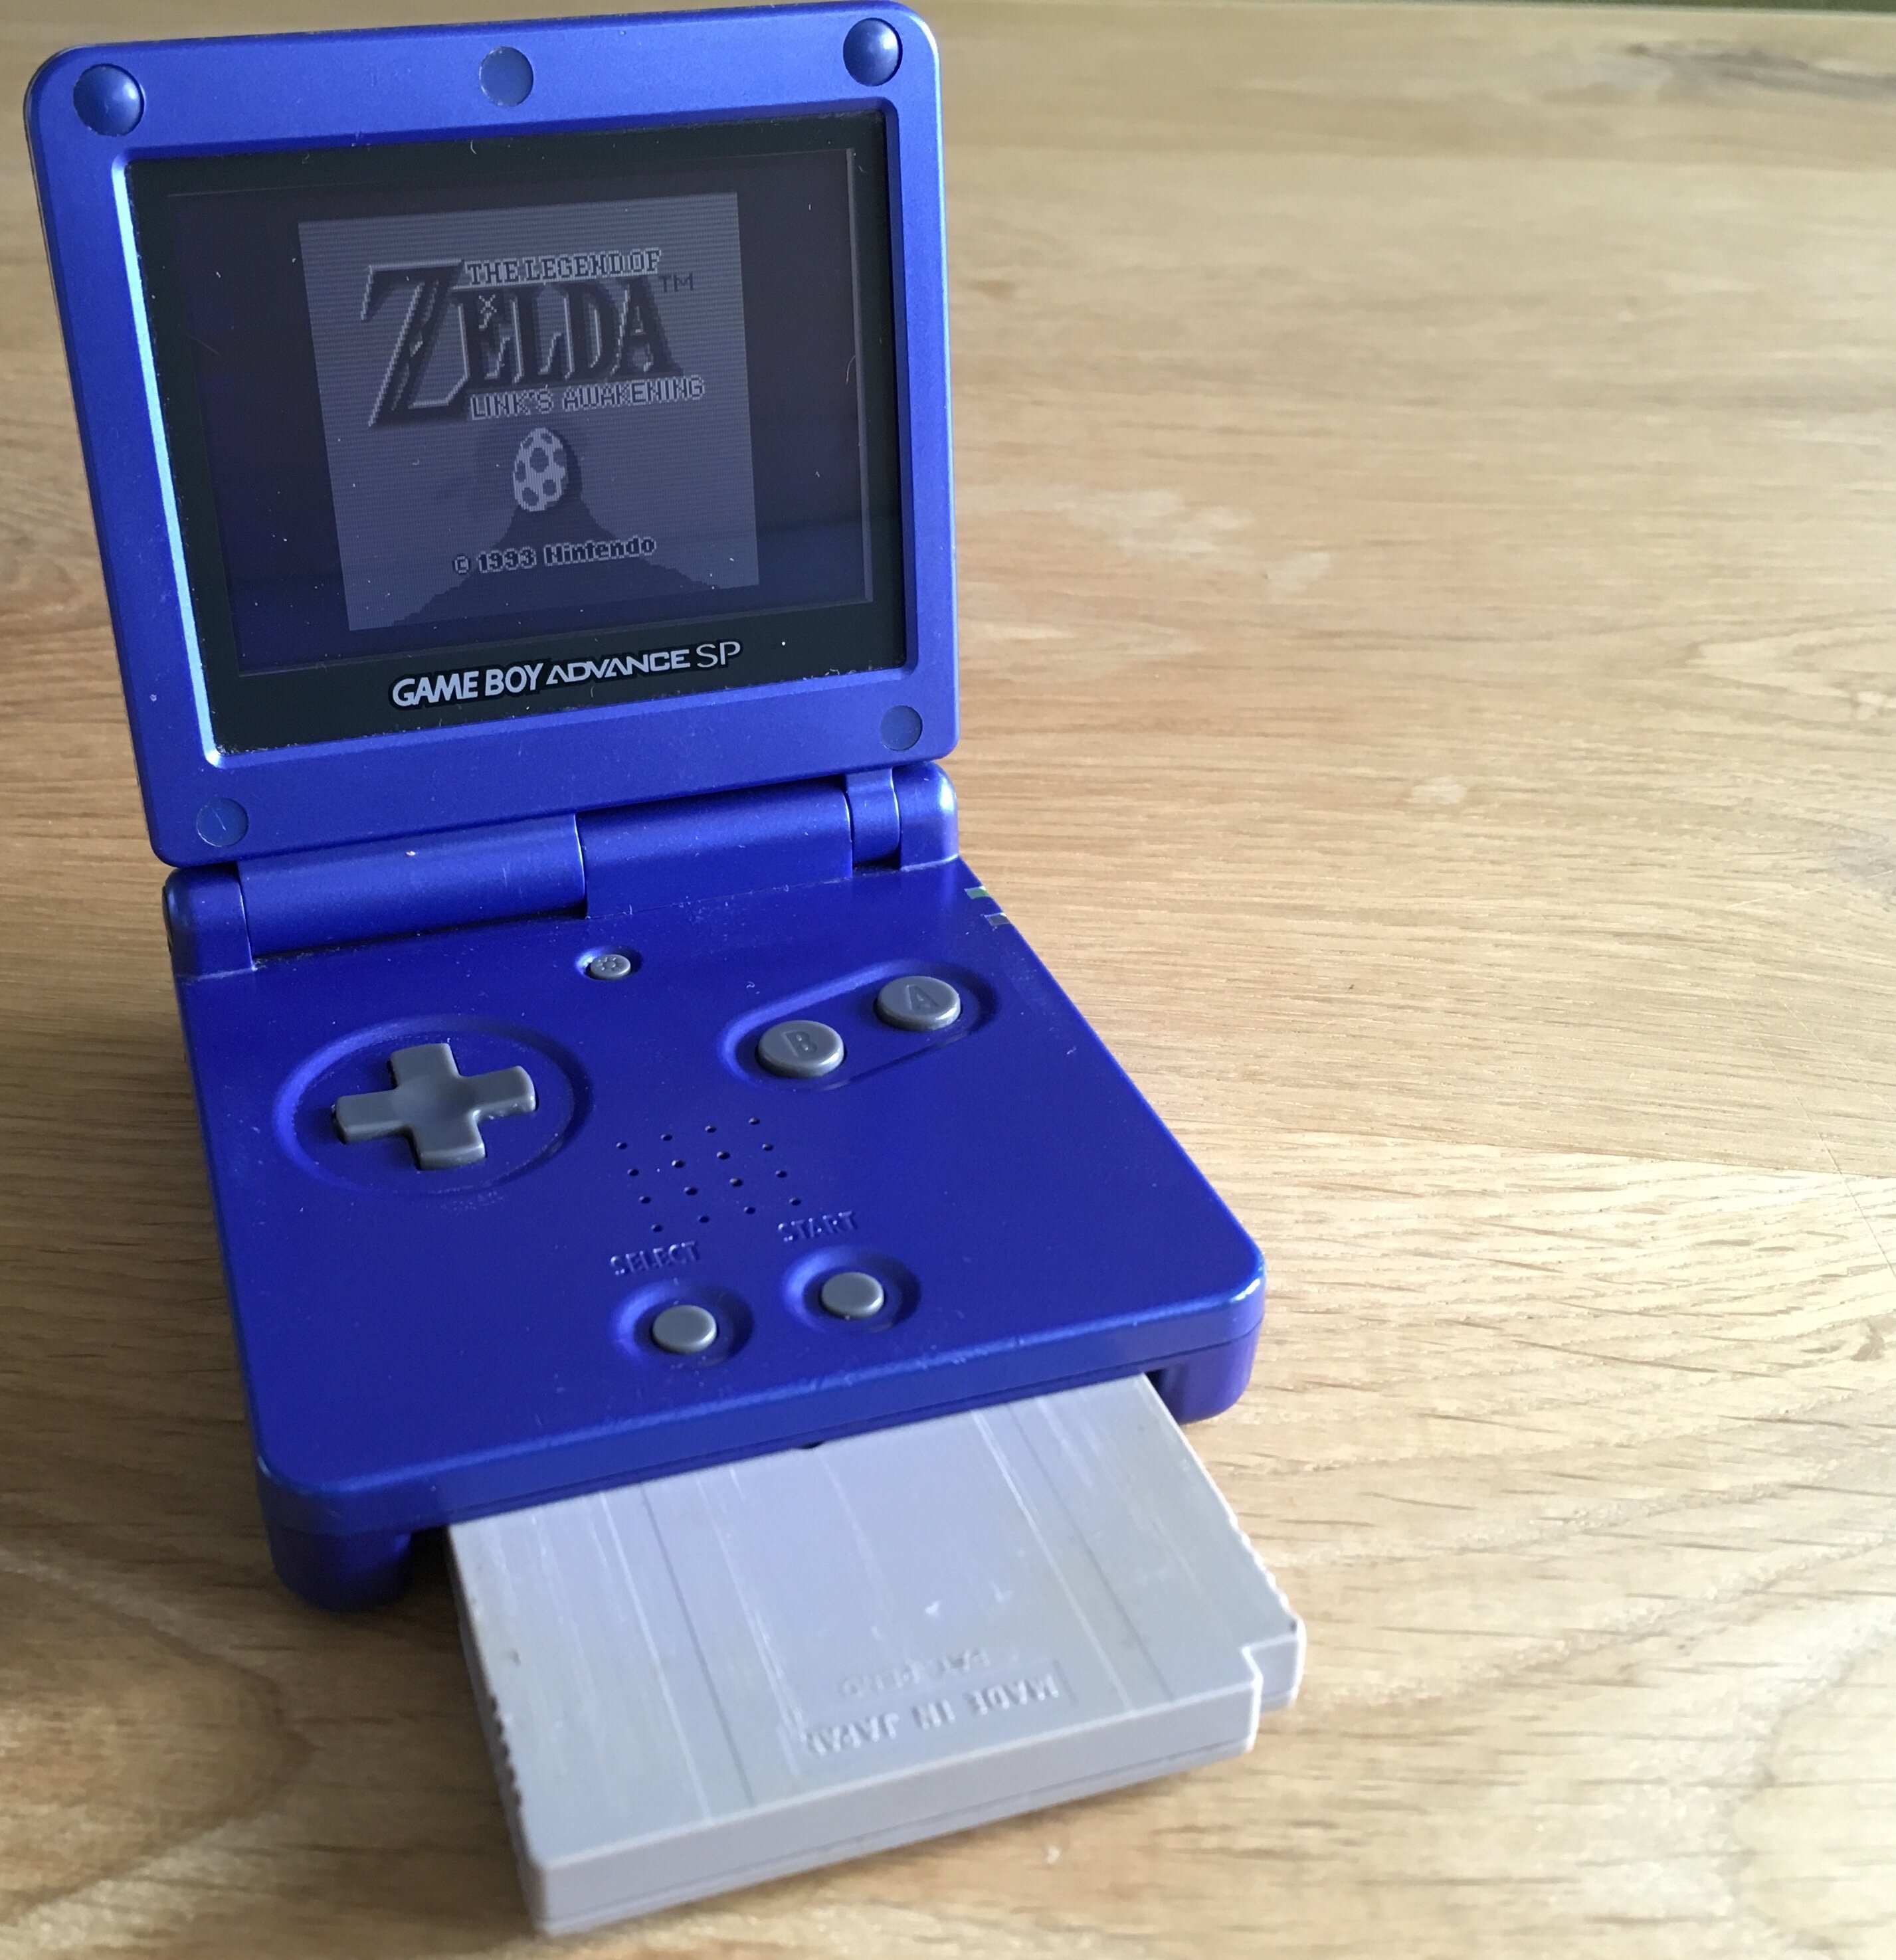
After putting the Gameboy back together it was time to see if it worked... it did! The repair was successful and the Gameboy is back into service!

Download
If you enjoy reading offline, this article is available for download:
Translations
This article is available in the following languages:
RSS / Atom
Grab one of the feeds to stay up to date, the feeds contain the full posts: